Adding a raised stenciling to furniture is a great way to add some extra personality and dimension to your pieces. It’s a relatively easy process, and the results can be really impressive. In this tutorial, we’ll show you how to do it.
Creating a raised stencil to a furniture piece is a perfect way to transform a plain and boring piece of furniture.

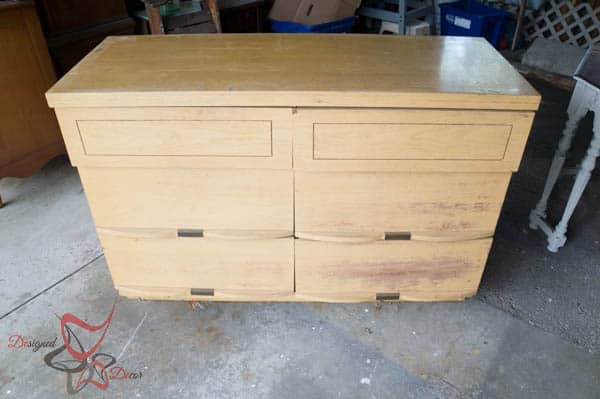
Do you ever come across a deal and buy it because the price was too good to be true? This is exactly what happened when I purchased 2 dressers from Goodwill that were plain and boring. After I brought them home and really looked at them, I thought what in the world am I going to do to these ugly things. I had buyer’s remorse!
After doing a few internet searches for inspiration, I decided to add some details to the dressers by using furniture stencils. I also decided to create a raised stencil design instead of using the traditional painted stenciling.
This post contains some affiliate links. Click here for my full disclosure policy.
How to apply a raised stencil
I was so excited to start this project but the weather has been damp and cold and was preventing me from working in my garage, so I decided I would start the dresser drawers and bring them in the house. See how plain these are. The dressers were solid wood and in good shape, so I could not pass up the deal in spite of boring.

Step 1 – Prep the Furniture
Start by lighting sanding, followed by a good cleaning, and then priming. If you are using chalk paint or any type of furniture paint, you can skip the priming part. Since I decided to use Modern Masters paint in Champagne, for these dressers, this paint recommends priming before painting.

Step 2 – Paint the Furniture
Since I was using the Modern Master paint and it is a very sheer paint, I decided I would give my pieces a first coat before adding on the raised stenciling. Again, if you are using furniture paint, you can skip this step of painting the furniture first.

Step 3 – Applying raised stencil textured paste
Now the fun begins! Place your stencil on your project and secure it by using a spray adhesive or securely taping your stencil so it does not shift while you are applying the texture paste.

The wood icing product that I used for this raised stencil furniture makeover is no longer available. See the list of other products I recommend below.

Apply a generous amount of the texture paste over the stencil. Using the “off-set knife” at a slight angle, evenly spread out the texture paste. Once you have the texture pasted smoothed and even, carefully remove your stencil.
TIP- Scrape off the texture paste from the stencil and place it back into the jar. I recommend wiping off the remaining paste from the stencil with a baby wipe, so you are not rinsing all the product down your drain.

Are you wanting to learn how to paint furniture but just can’t find the time in your busy schedule to go to a local workshop?
Frustrated with all the conflicting tutorials on “how–to” or “what products”?
Are you eager to learn a new paint technique but afraid you will mess it up?
Learn many different furniture painting techniques with video training from beginner to advanced.
Online Furniture Painting Workshops for Every Skill level
Insider Furniture Painting Tips and Tricks
Step 4 – Sand the raised stencil
Let the texture paste dry completely, overnight. Using medium-grit sandpaper, sand over the raised stenciling pattern to smooth out any peaks and rough surfaces. Remove any extra dust and debris from the furniture.

Step 5 – How to paint a raised stencil
Now you are ready to paint the raised stencil and furniture. Apply 2 more coats of paint over the design, making sure to get the paint into all the raised details.
This is done easily by needing your paintbrush in a circular motion until all the paint settles into the raised stencil design.

Seal your painted furniture piece with wax or a water-based sealer. Consider applying a dark wax or a furniture glaze to bring out the beauty of the carved details.
For this furniture makeover, I applied furniture glazing in black over the painted design. After the painting was finished, I sealed the drawer front before applying it. Usually, when using a light color paint and a dark glaze, sealing may be required to give the glaze a longer working time. This glaze has a quick dry time, so this was needed for this piece. I used a small slightly damp sponge to apply the furniture glaze, applying it on the edges and over the raised design.
The Micah stencil from Royal Design Stencils is the stencil for these dressers. Stop over to see the completed dressers and also see the cool hammered effect that happened when using the Modern Masters paint in a paint sprayer.
What products are used for raised stencil technique
Since the Wood Icing product is no longer available, here are a few others that I have used and would recommend for your raised stenciling projects.
- Artisan Enhancements
- Dry Dex Spackling
- Deco Art
I have also found some DIY homemade versions for an embossing cream, however, I have never tried any of them so I can’t speak for how well they hold up on furniture.

So, there you have it! How to add a raised stencil to furniture. As I mentioned before, raised stencils are great for adding texture and dimension to your work. They also create interesting patterns or designs. I hope you’ll give them a try! Have you ever tried using raised stenciling on your furniture makeovers? What was your experience like? Let me know in the comments below.
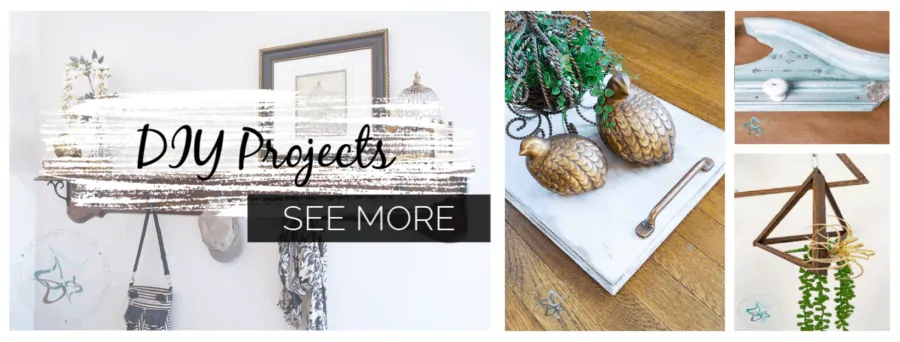
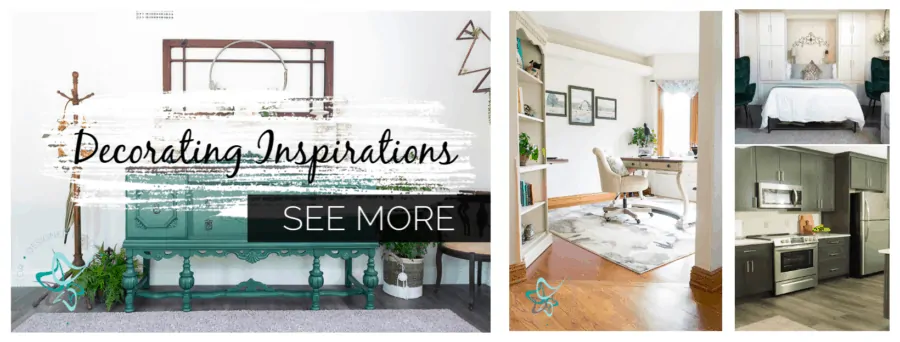
Check out these furniture makeover inspirations


sharon fisher says
Because I love your ideas, I am sharing a comment. I understand that the primary way to make money is to allow advertising on your site, and in fact I like to see relevant advertising. But this site is so full of ads, and very distracting ads that change all the time when scrolling, it is impossible to enjoy the experience. You may want to consider minimizing it, or you may lose enough viewers that advertisers won’t want to be here. Thanks for listening and sharing your creativity!
Designed Decor says
Hi Sharon, Thank you for taking the time to leave me a comment about the ads. I know some of the ads cover up the pictures and that is VERY frustrating. If you keep scrolling they usually disappear or go to the bottom out of your way. It is very hard to find the right balance of ads and not messing with the user experience. I guess when I scroll I have just become so numb to ads that I know what is an ad and what is the actual post. This is the same for me on any website. I really appreciate you letting me know as I want to hear feedback, good or bad.
Don Stone says
Where may I purchase the wood icing, I am in McKinney, TX
Adele Oliver says
Awesome! It’s so simple! Thank you for sharing.
Designed Decor says
Adele, you are welcome!
Karen Courson says
I have been debating whether to purchase appliques, but I may have stumbled upon a much better alternative! Thank you for the info.
Designed Decor says
Karen, I am so glad this helps. I also would always look at appliques and decided to do the embossing.
M J Kugle says
I am a beginner with chalk painting with only a few pieces completed. One of my goals is to use the stensil technique when I find the right piece of furniture. Thank you for your info and demo. So helpful. MJ, Texas
Designed Decor says
MJ, I am so glad you found it helpful and good luck once you find the right piece of furniture.
Cathy Augros says
What a beautiful transformation! Wow! Can you tell me if anything special has to be done to make the wood icing stick to the wood? I would hate to make a piece like this and then have the design, or pieces of it, start peeling off.
Designed Decor says
I did not have to do anything special to make it stick. The product is designed to adhere and stay.
Christell Smith says
I just found yor site ang Love it. Can you use any stencil?? Still looking for one that I like.
Designed Decor says
Yes, you can use any type of stencil. I prefer to use a heavier weight(10 mil) since they are easier to clean and last longer.
Teena says
Dreeser looking very beautiful..from where i can buy wood icing in toronto are
Designed Decor says
Teena, You can go to their website and see where they sell products. woodicing.com
Mary Ross says
I haven’t gotten my stencil yet…(ordered already) but I am so looking forward to doing this on many drawer projects. I’ve also gotten my “Wood Icing”, but my question today is:…………..Can I use spackling compound, I’ve seen projects like this using compounds that can be sanded, painted, stained etc.?
Just curious.
Thank you, and keep sharing
Mary
Designed Decor says
Mary Ross, yes, you can use a spackling compound. Just make sure it is one that does not crack or shrink when drying.
Mary Ross says
I was looking at your post this morning and I’m so glad I’ve joined YAY…………..now my question is…..did I see in one of your post you bragging about how you love your Ryobi Air Nailer ? If so and it was your post,…………..which style? I went on Home Depots site to check them out and oh my, my there were
so many to choose from………….and I also like the fact if your using it, then it will be light weight and I’ll LOVE that.
Thank,
Mary……………………and I’ll be checking in almost every day for more “deliciousness”
Designed Decor says
Mary, I am so glad you have joined! Welcome! Yes, I LOVE my Ryobi air nailer. I use it all the time and now wonder how I ever got by without it.
CathyW says
Lovely! Wish you had posted a pic of the whole dresser done! 🙂
Designed Decor says
Cathy, Thanks for the reminder. I need to link the finished dresser to that post. Here is the finished piece. https://designeddecor.com/dresser-makeover-touch-sophistication/
Julia Edith Strange says
How do I buy these products , stencils and wood icing. Julia
Designed Decor says
Mary Mozzocci says
Love your creative projects! Wonderful website!
Designed Decor says
Thanks for stopping by Mary!
Stephanie @ Sandpaper and Glue says
so, so neat!!! what a cool product!
Jodee says
Beautiful! This looks absolutely stunning…thanks for sharing!
Designed Decor says
Thanks Jodee, now I need to finish the base!
Kat says
Absolutely stunning effect! Love your work, Thank you for sharing.
Heidi McKeehan says
This is elegant and simply classic!