Are you looking for ways to make your furniture painting easier? Keep reading so you can discover some easy furniture painting tips that will save you time and frustration. These tips are from my 8+ years of experience in painting and flipping furniture for a profit.

This post contains affiliate links. Click here to see my full disclosure policy.
NO Can Painting
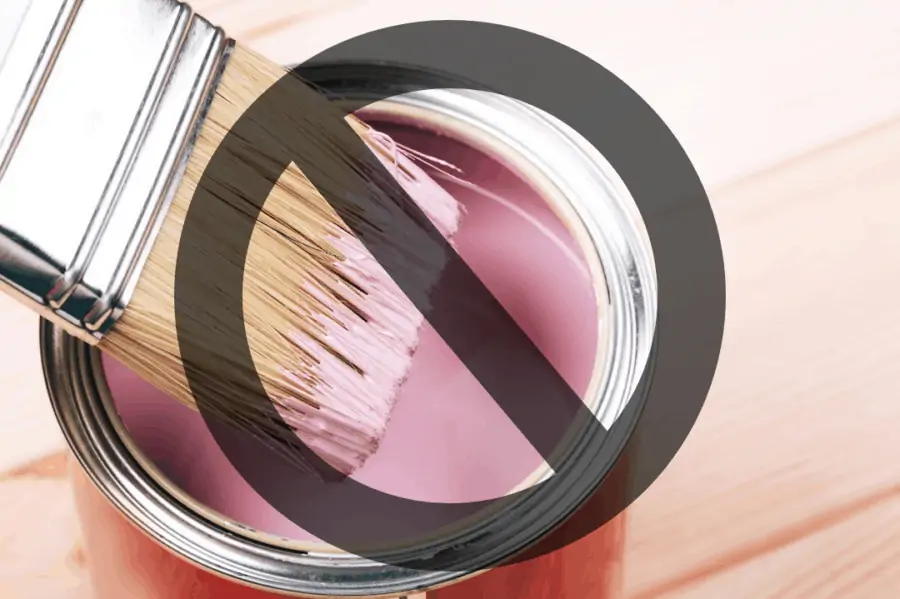
Brush painting directly from the paint can form build-up on the edges. That build-up leads to dried paint, rust, and other impurities getting into your paint. Nothing is worse than trying to pick out old paint clumps from freshly painted pieces of furniture.
The best thing to do is pour a small amount of the paint into a clean container and paint from that container. Do not pour out too much paint, it is best to continually pour small amounts into your working container. This allows you to stir the paint as you go and not be left with a bunch of extra paint that needs to be poured back into the original paint container.
When you have finished the painting, pour the leftover paint back into the original paint can and make sure to strain it as you pour it back. See the video below on how I strain paint. This helps keep the paint free of debris and helps the paint to last longer.
Straining Paint
Once your paint can have been used, always make sure to strain the paint before using it again. Watch this quick video on how to strain your paint. You can also see the amount of debris this saves from going onto my painted furniture.
It is extremely important to strain all paint if you are using a paint sprayer. This will save you the frustrations of debris clogging up the sprayer and potentially ruining it.
I have used paper disposable strainers, and the mesh strainer part separates from the paper. This makes more work, so I found it much easier to use these great plastic mesh strainers instead of paper strainers.
Straining your paint is one of my top furniture painting tips that everyone needs to do!
Paint Containers
Some of your existing paint cans can be hard to close as they may have dried on paint or rusted lids. These FIFO squeezable containers are the bomb for storing paint.
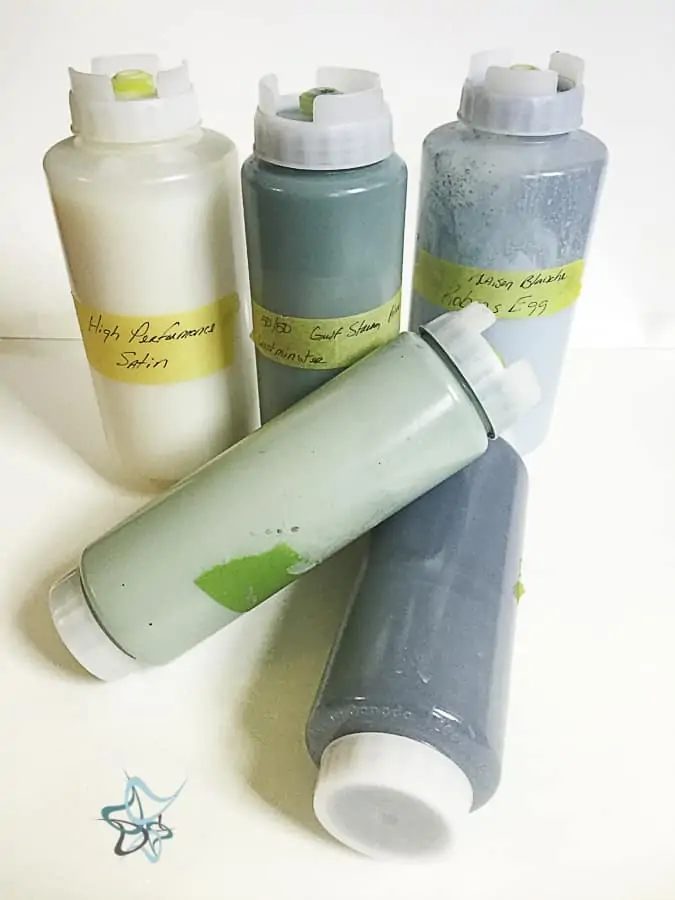
Make sure you strain the paint as mentioned above as you transfer the opened paint to these containers. The other great bonus about these containers, it forces you to use a separate container to paint from. Just make sure you place a label on the FIFO container to list the paint brand and color.

Screw Pulls
Once you remove the hardware from the furniture piece it is very difficult to open the drawers.
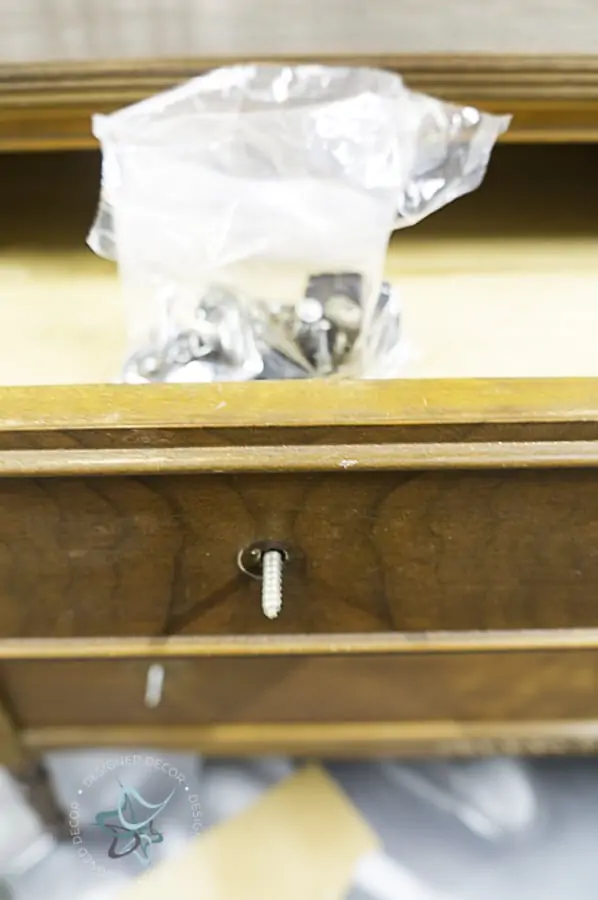
I insert old furniture screws into the backside of the drawers so the screw is sticking out. This allows me to easily open and close the drawers while painting. If you spray your furniture, this also serves as a plug to prevent any of the paint from being sprayed inside the hole. Keep reading for more furniture painting tips.
Color Mixing Left-over Paint
Sometimes you are left with 1/4 of a paint can and it is not enough to paint the next piece. You can stretch the paint by mixing it with other partially used paint.
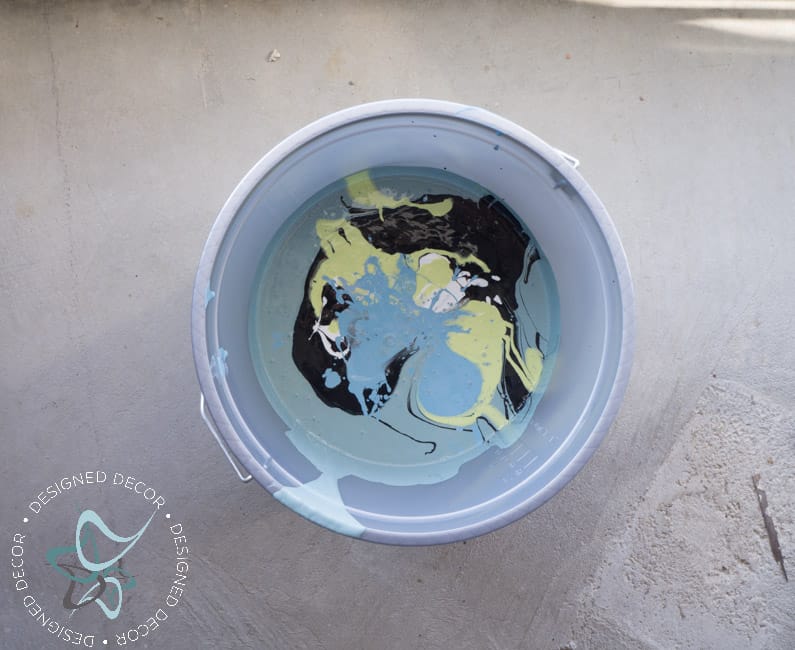
The easiest way to stretch paint is by mixing it with a white/cream color that will make it lighter or a black/brown color to make it darker. You can also mix colors within the same color family. Discover how to easily mix furniture paint from this post where I give you more details.
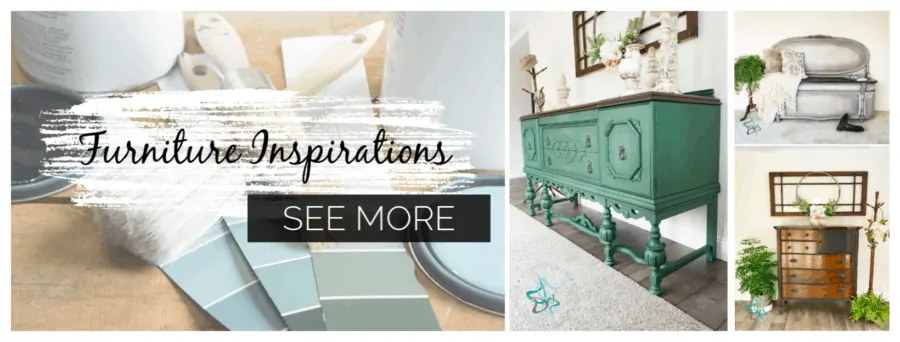
Take a look at some of these furniture makeovers using custom colors
- Greige Entryway Table Makeover
- Deep Green Buffet Makeover
- Floral Furniture Transfer Dresser Makeover
Spray It
One of the best things you can do if you plan to paint more than 1 piece of furniture is invest in a paint sprayer. Years ago, after painting 4 spindle chairs for the very first time, I went and bought a paint sprayer.
I use the paint sprayer for most of my painting with a few exceptions for special paint techniques that require a paintbrush. I will NEVER ever hand paint a chair again. The paint sprayer is so easy to use and the clean-up is an easy process as well.
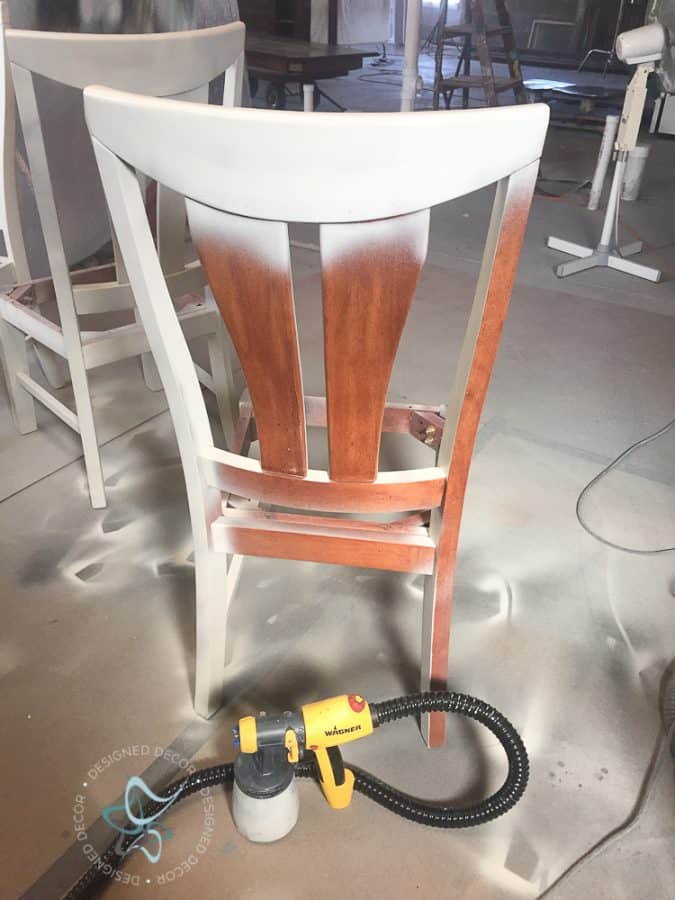
Wagner has some entry-level paint sprayers that are great for light painting use and they won’t break the bank on the budget. I use the Wagner Flexio paint sprayer.
Check out this coffee bar makeover to see the paint sprayer in action
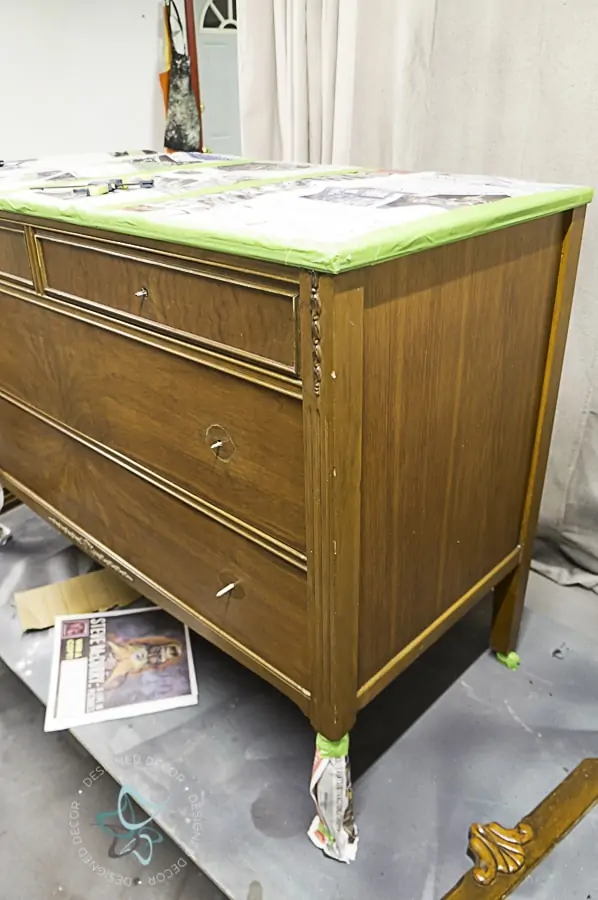
Make sure to properly tape and cover off any sections of the furniture that you won’t be painting. I use newspaper and Frog tape to get the job done.
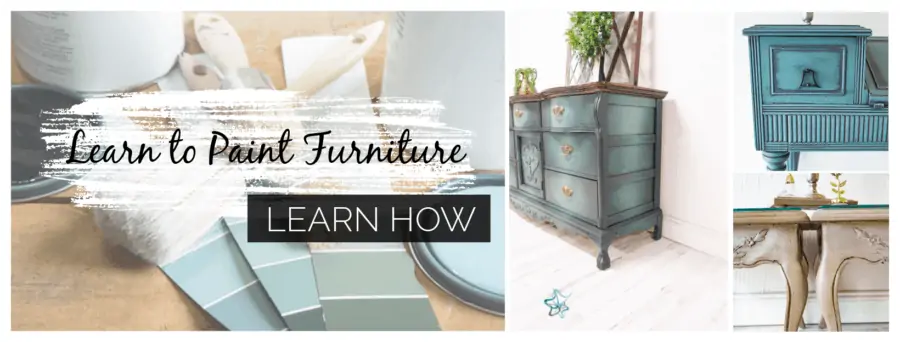
Learn how to paint furniture with these online furniture painting workshops
If you have any other furniture painting tips, please share them in the comments below.
Leave a Reply