
I almost gave up of this Dresser Makeover, but so glad that I did not throw in the towel.
These dressers were plain and boring and the were just plain UGLY!
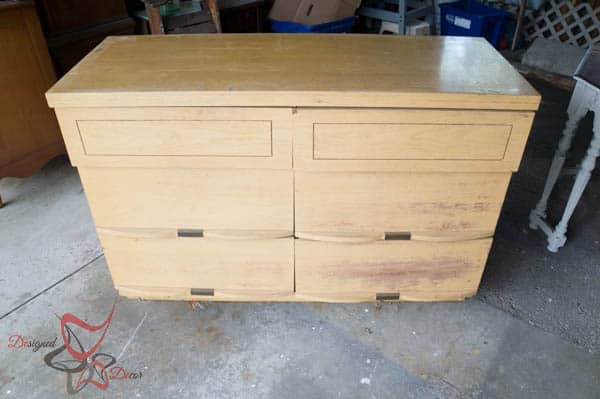
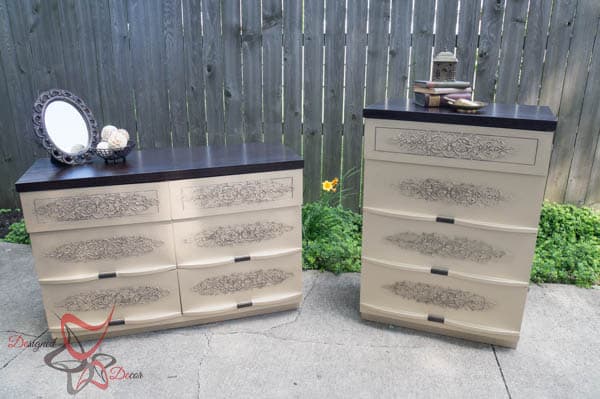
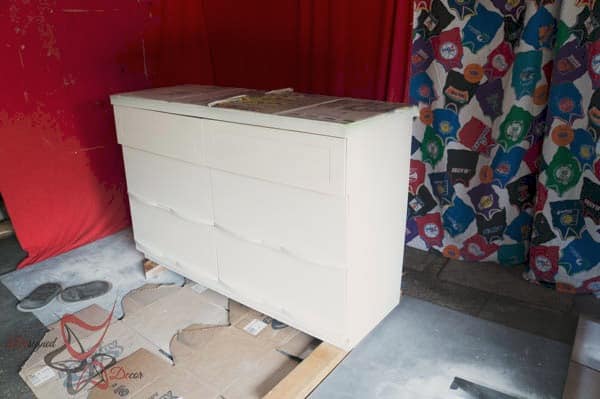
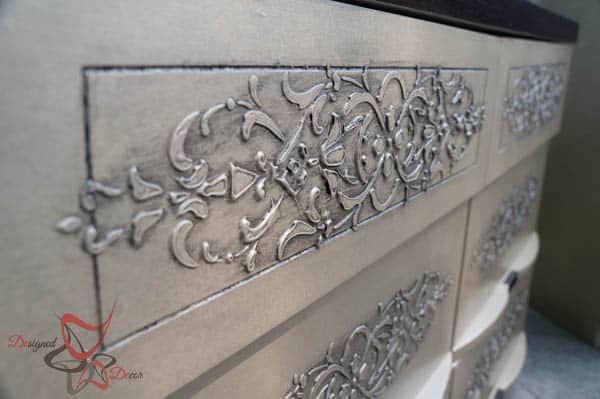
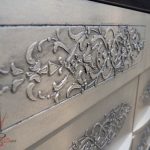
What ever finish was placed on these dressers was flaking off, so I ended up sanding down the majority of the dresser to get a smooth surface before priming. I could not just give these dressers a new coat of paint, they were screaming for more. I made the decision to emboss the front of each draw and I am thrilled with the outcome. You can read all about how I used WoodIcing to Emboss the drawers to look like wood carving. If you never heard of this product before, I would highly recommend you stop over to their site and see what magic can happen when using this product.
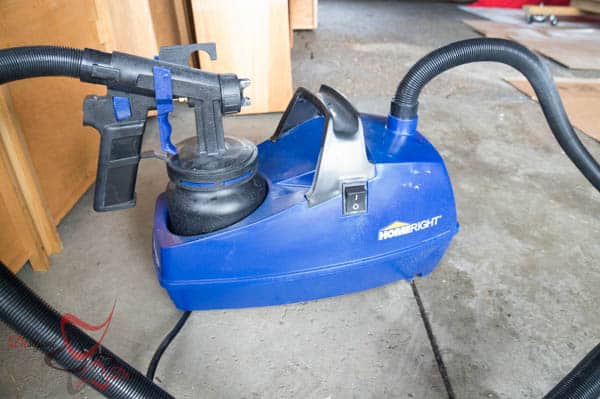
I used my new toy to apply the primer and paint. I was doing the “HAPPY” dance once I used the Finish Max Pro from HomeRight! Can you hear the music in your head “Because I’m happy- Clap along if you feel like a room without a roof – Because I’m happy –
Clap along if you feel like happiness is the truth – Because I’m happy- Clap along if you know what happiness is to you – Because I’m happy – Clap along if you feel like that’s what you wanna do. Yes, I was dancing to this!
The clean up was just as “HAPPY” too! Now, for my not so “HAPPY” moment. I decided to paint these dressers with Modern Masters Metallic Paint in champagne. I used the viscosity cup that was included with the HomeRight sprayer and slightly diluted the paint. I loaded the paint sprayer and away I went. The paint began to sputter out, I kept going with it. Within minutes, I had the entire dresser coated with the paint. Yes, that is how fast you can spray a piece of furniture with the Finish Max Pro. Panic set in once I stopped, I knew the paint should not splatter out and I knew the primer did not come out like this. My thoughts were if this is a flop, I will have to sand down the entire piece again. I grabbed a paint brush and began to smooth out the splatter. I did leave one side with the splatter, because I was intrigued to see how it would dry.
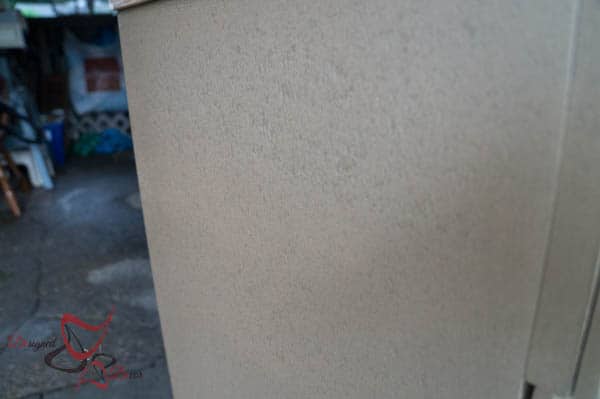
Much to my surprise, I loved how it looked when it dried. Since the paint was metallic, it looked like it was a hammered metallic paint. I asked Mr. DD when he came home what his honest opinion of the finish was, and he was in agreement with me. So I loaded up the Finish Max Pro again and went back over the parts I smoothed out and finished the other dresser. This is when I wished I did not panic, but things are always crystal clear in hind sight.
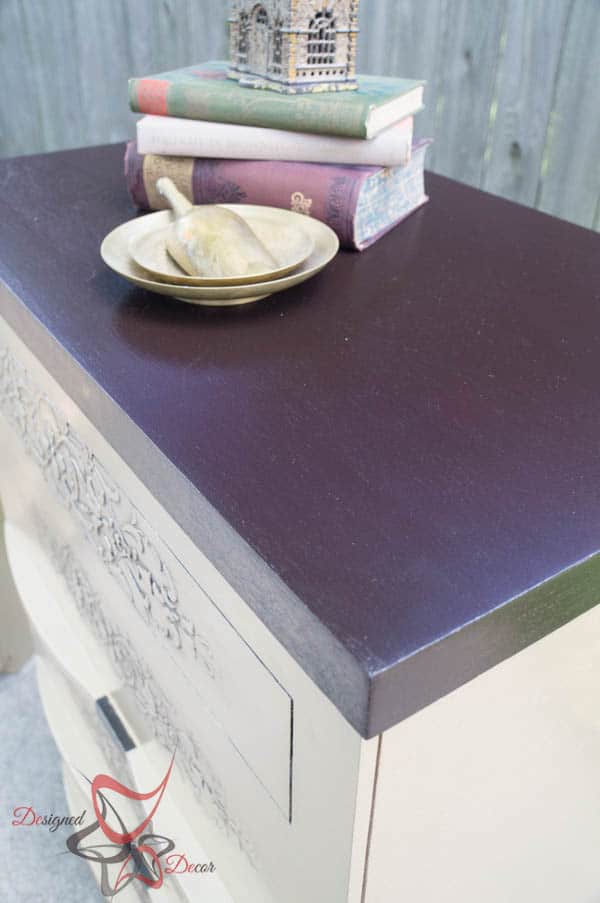
I applied the master clear form Modern Masters before applying the furniture wax. I stained the top with Java gel. This is why I love what I do. I can experiment with products and mix products to create my own unique look. I will be trying the hammered metal effect again, because I truly loved how it turned out.
I like to keep it real, so I will just quickly mention the glazing fail I had on the drawers, the over spray fail on the side of the dresser, the dripping of the master clear and of course I told you about the splatter almost fail. This is why I almost threw in the towel with these dressers. I like to look at all of these things as my learning curve. I am stubborn, and this is why I am determined to make things work. I don’t throw in the towel quickly and I also like to be told you can’t, because I will figure out the can.

Cindy says
Thanks for pointing me to this project – it is so similar to what I am trying to achieve on my daughter’s dresser!
Designed Decor says
I hope yours turns out just as you have envisioned it.
kat says
It is stunning!!!
You done really lovely transformation, I absolutely adore it! Well done.
karen@somewhatquirky says
These turned out beautifully. I love the dressers made in this era. The drawers are so big and hold SO much stuff.
Malia Karlinsky says
What a stunning set! Pinned!
Karen Marie Kedzuch says
DeDe,
Your determination paid off. You created beauty out of this beast of a project.
Have a Creative day,
Karen Marie
Dragonfly & Lily Pads
Designed Decor says
Thanks Karen! I always seem to take the more complicated route instead of just slapping on some paint! You should see the ones I am working on now, of course the complicated route! lol
Funky Junk Interiors says
Oh my gosh… the detailing! I’ve seen this done once at a show and was so amazed. Gorgeous!
Designed Decor says
Thanks Donna! This stuff is my new best friend!
Stephanie @ Sandpaper and Glue says
off to go check out that wood icing now– this looks fantastic!
Designed Decor says
Stephanie, You will love it!
Sarah says
“Wood Icing” — what?? So cool!
Designed Decor says
Sarah, You have to check it out! I love this stuff!
Darrielle Tennenbaum says
Looks good-I want to try the embossing!
Leslie says
I love this! You did a great job! Better late than never.