Have you ever wanted to darken an existing finish? Have you ever looked at your table and thought, “I would love this table if it was just a little bit darker.” The thought of stripping and sanding the furniture stopped you in your thought process. Well, I am here to show how to easily darken stain without stripping.
This process can be used on wood furniture and hardwood wood flooring.
How to Stain Wood Darker
Step 1: Lightly Hand Sand
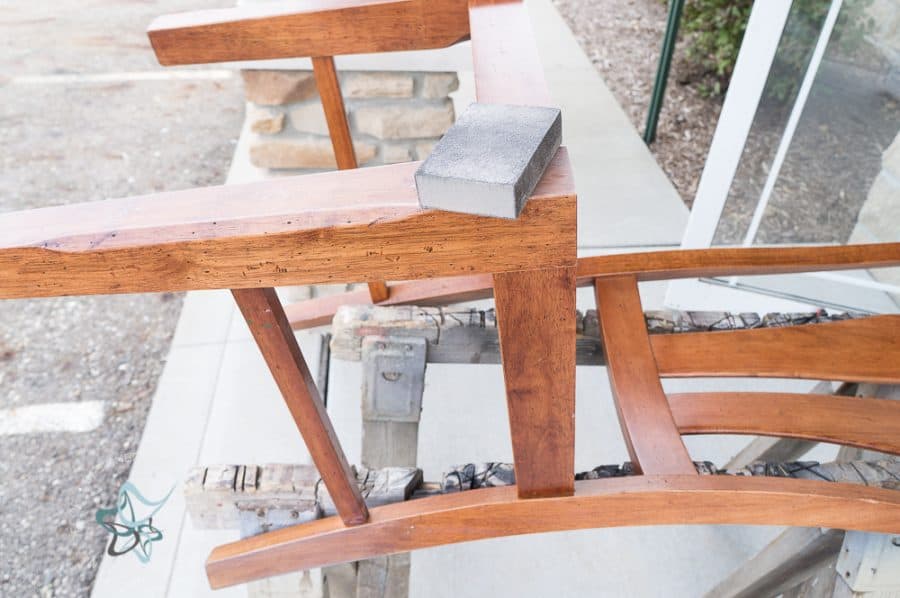
Start by lightly hand-sanding the table top or the entire surface of your project. You are only doing scuff sand to remove the shiny surface, dirt, and grease build-up, and to smooth out any rough spots. Make sure to use light grit sandpaper(300+) because you do not want to scratch the wood with heavy grit sandpaper. Sand in the direction of the wood grain.
This post contains affiliate links. Click here to see my full disclosure policy.
Tip- Do not use a power sander, unless you are using a SurfPrep sander. Traditional power sanders will leave vibration marks. Also using an electric sander could remove some of the original finish, which causes variated staining. If hand sanding, I like to use a sanding block because it is easier on my hands and easier to grip. Here is a post on how to properly sand wood.
If you are someone who flips furniture, I would highly recommend investing in a SurfPrep sander. This sander allows me to do light hand sanding as well as completely stripping an existing stain. They offer many different sanding pad options that will complete any sanding job. It also is a miracle worker with sanding rounded edges.
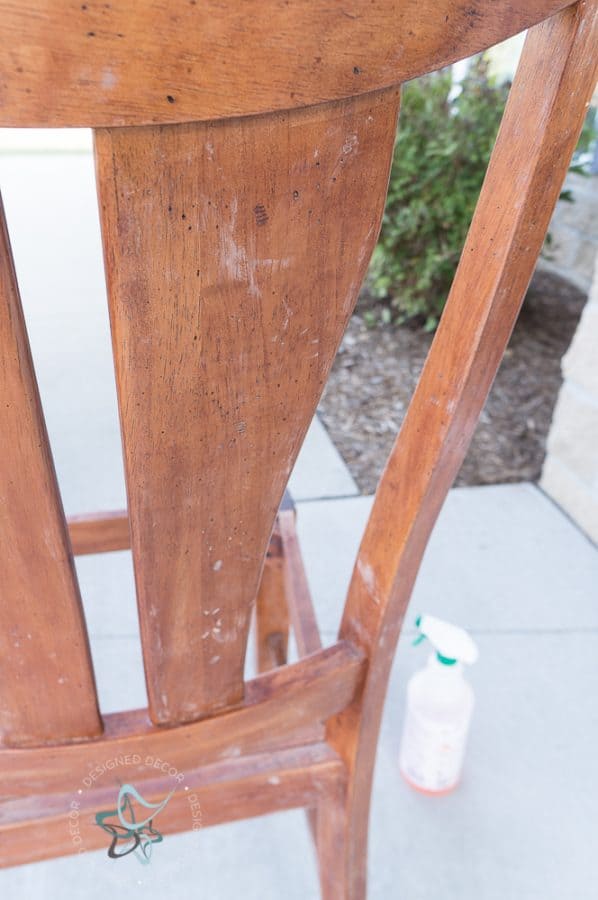
Lightly sanding also removes any build-up on the wood items. The picture above shows some white marks, this is where something sticky or build-up was on the wood. Make sure to remove all the white build-up areas by continuing to sand until the wood project feels smooth to the touch.
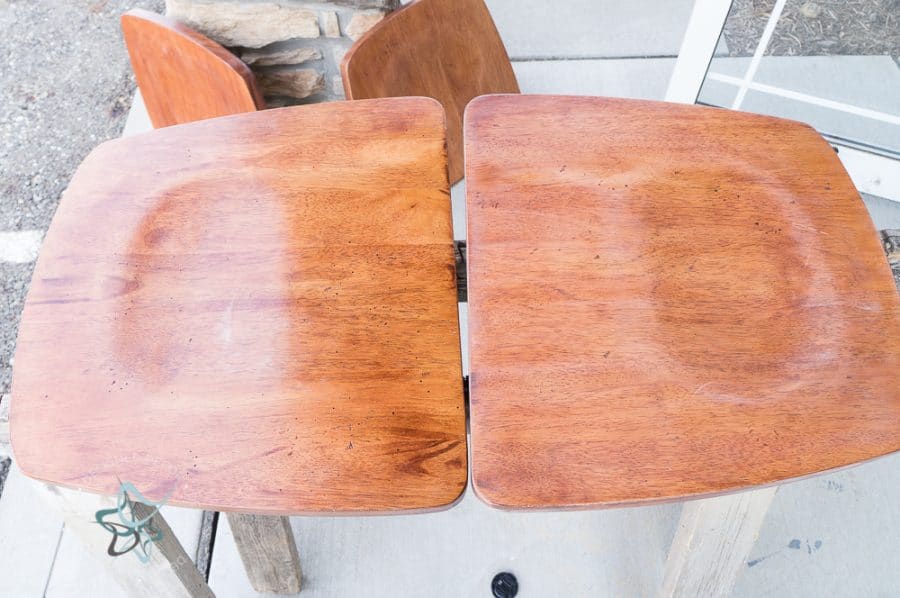
The seat on the right has been sanded, you can see the top coat shine has been removed compared to the light sand on the left. This is all that is needed to prep the original stain.
Step 2: Clean Wood
Clean your entire piece thoroughly using a mild cleanser or mineral spirits. I like to use a 50/50 mix of vinegar and water. Do not use an oil-based cleaner like an oil soap. You want to keep the freshly sanded pores open and an oil cleaner will clog the open pores.
Step 3: Apply Dark Gel Stain
Apply the General Finishes gel stain over the old finish using a chip brush or sponge brush. Work in small areas as you do not want the new stain to start to dry. The dry time can be quick depending on the environment you are working in.
Wipe away a small area with a clean lint-free shop towel to test the stain to see if it is your desired color. Reapply some gel stain and wait a few more minutes, then wipe away and blend. Make sure to keep the gel stain wet, because once it starts to dry, it is hard to remove.
Tip: If the stain has dried too quickly, apply some more stain to moisten and wipe away.
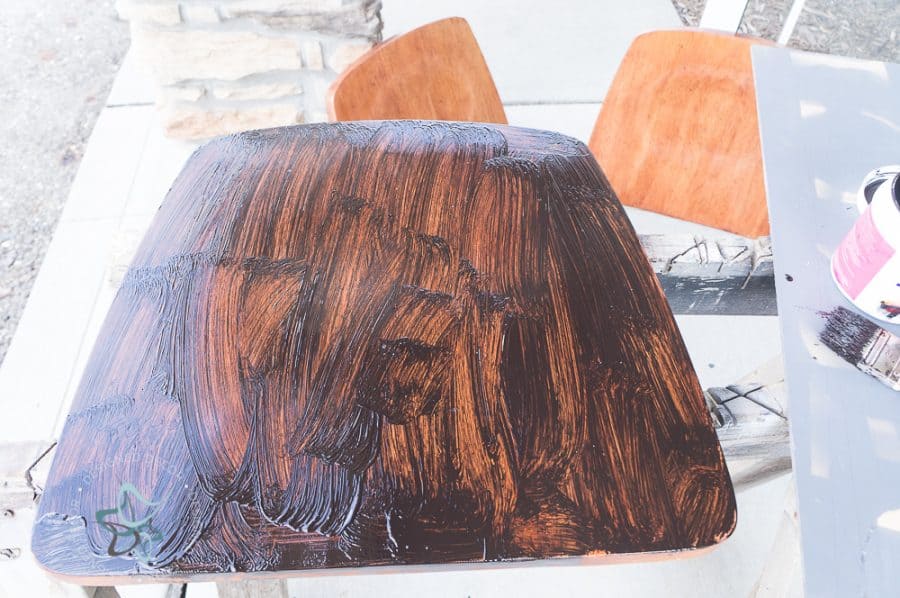
If the wood surface is not dark enough let the first coat dry completely and apply a second coat of the gel stain, in the same manner, to get a darker color.
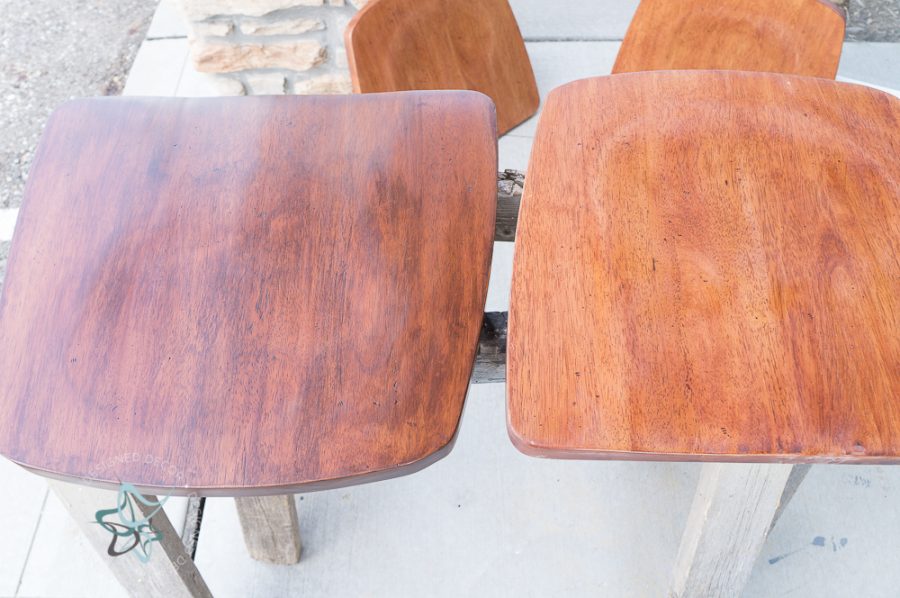
This is the before and after, after applying the first coat of gel stain.
Step 4: Seal
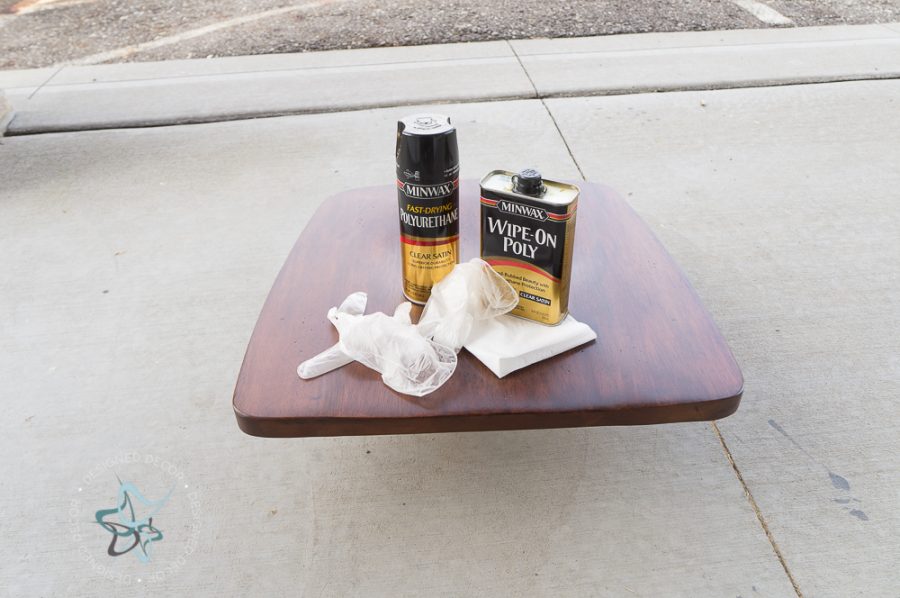
Apply a light coat of the spray-on polyurethane sealer and let dry completely. The gel stain has a tendency to lightly rub off when applying the first coat of sealer with an applicator pad, no matter how long you let it dry. This is due to the nature of it sitting on top of the wood and not permanently penetrating the wood as it does on a bare wood finish.
Using high grit sandpaper, 400+, very lightly hand sand the dried sealer, this helps to smooth out the finish. Clean off the dust and apply a light coat of wipe-on poly with a lint-free rag. It is best to use 2 or 3 thin coats over 1 heavy coat.
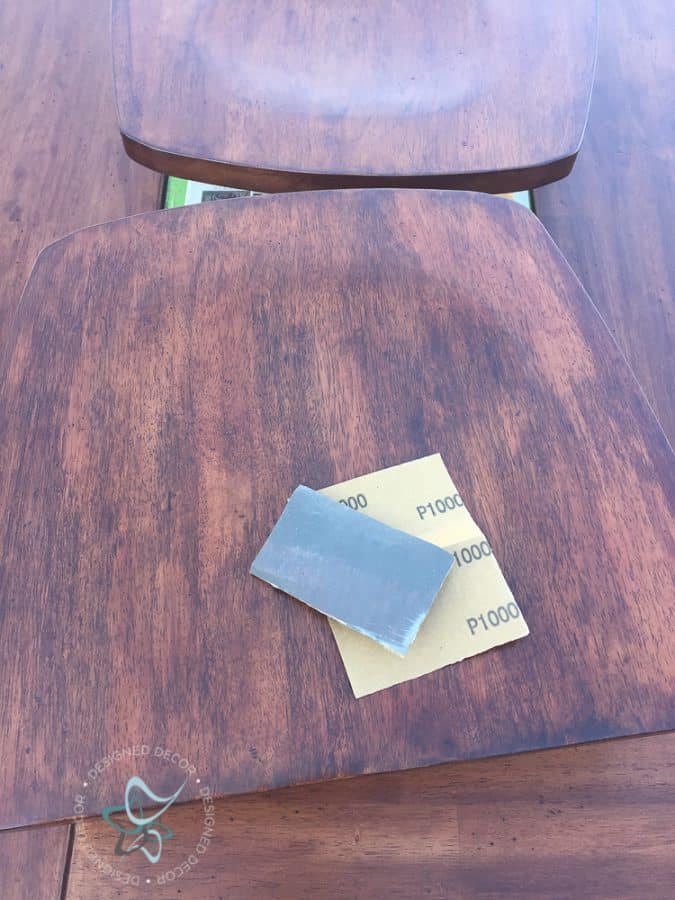
Supply List
- Sanding Blocks
- Wipe-On Poly from Minwax
- Spray Polyurethane
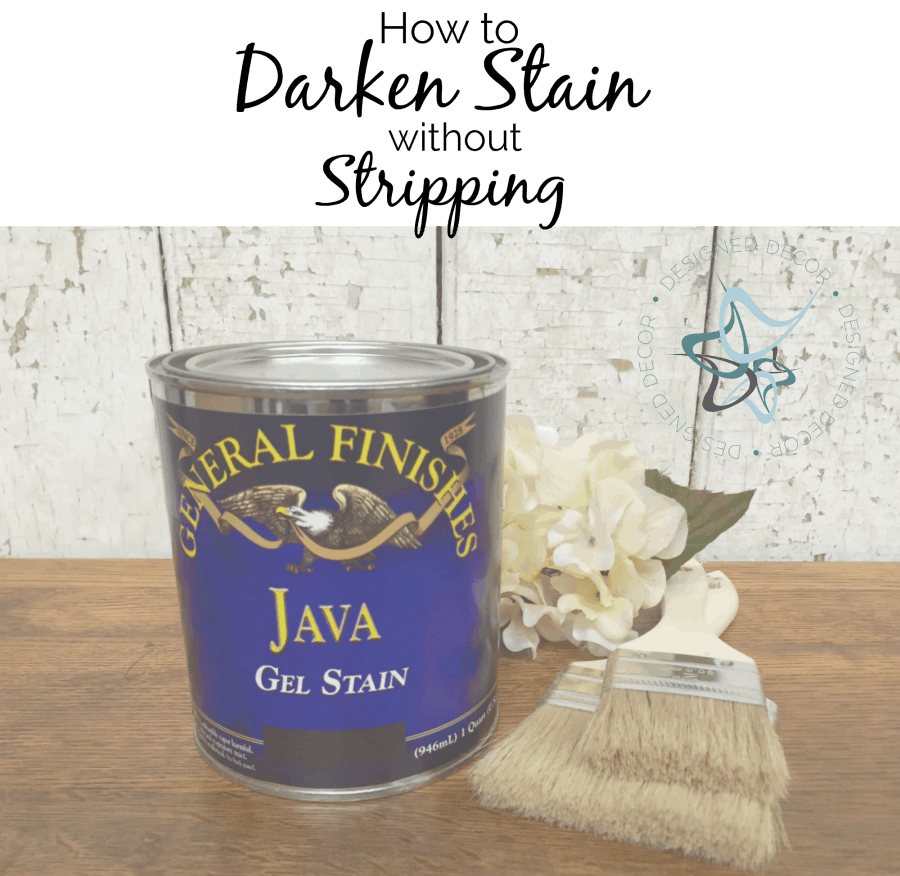
- Java Gel stain You can use any brand of gel stain.
- Fine grit sandpaper
- Foam Brushes, Natural Bristle Brush
- Lint Free Clothes
Feel free to use any brand, however, I truly love the Minwax wipe-on poly. I have tried other brands and I love how easily the Minwax brand glides when applied. I also prefer to wipe on the poly using a lint-free cloth. A lint-free cloth gives a smoother finish with fewer bubbles.

How to darken stain without sanding
I get asked this question many times so here is my opinion on not sanding.
All pieces need to be lightly sanded as I mentioned above and for the reasons I mentioned. However, if the piece you are working on is in great shape, with no shiny surface, no old flaky varnish, and is clean thoroughly, you could get away with not sanding. Each piece is very different so it comes with trial and error.
You could also try using liquid sandpaper products. I have used this product on furniture before painting, however, I have never tried it with the gel stain method. I always recommend testing it on a sample wood board before trying it on your project.
Darken Stained Wood Inspirations
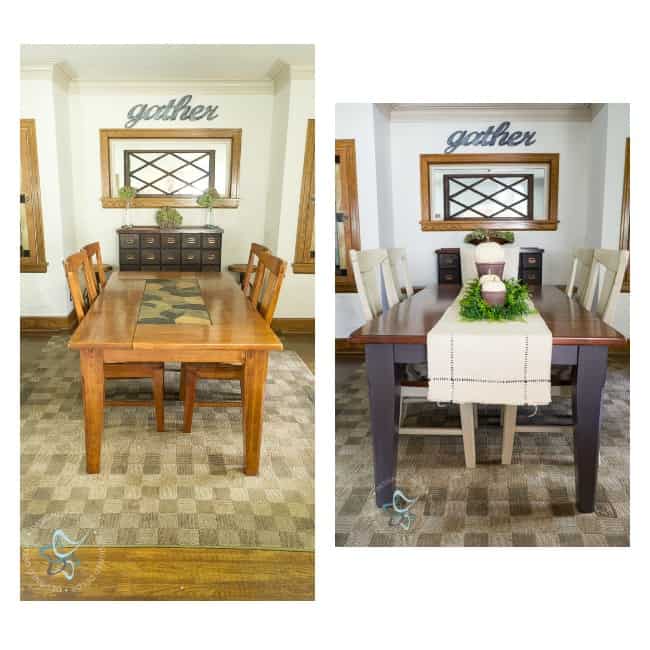
To find out what paint I used for the dining table in the after photo, click on the link to read all about it, dining room table makeover.
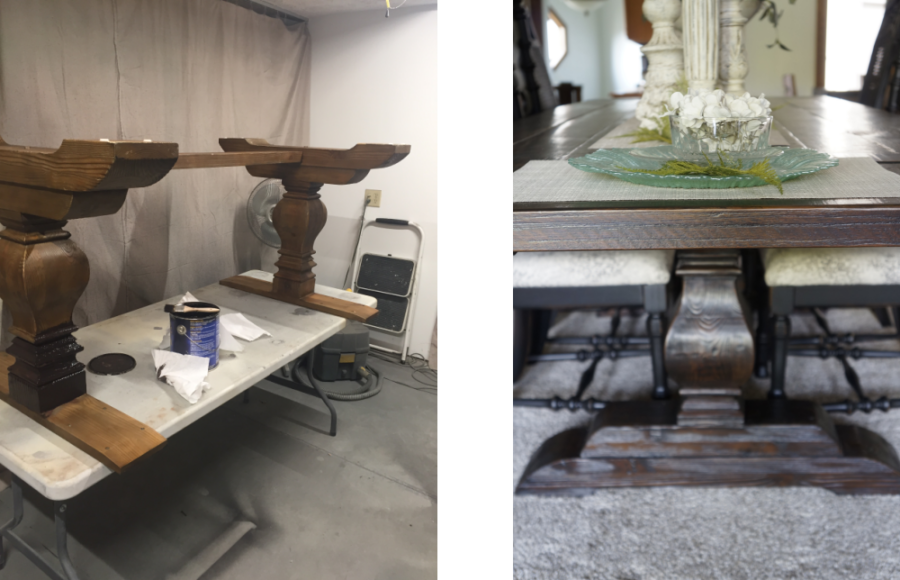
I used this same process on my Arhaus Kensington table makeover.
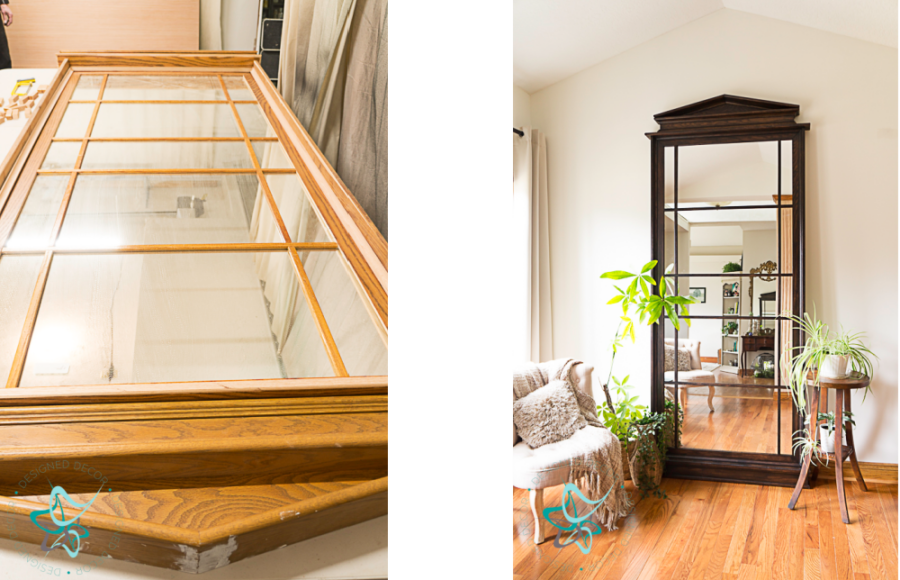
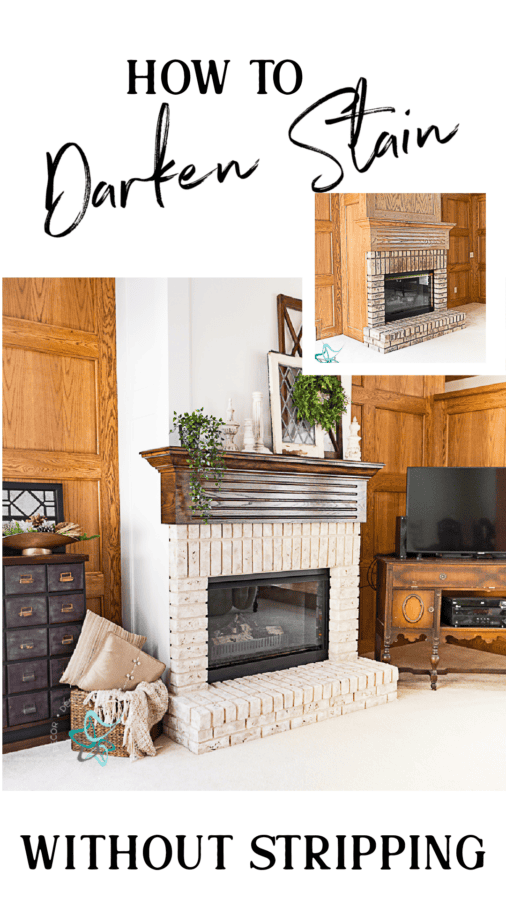
I darkened orange oak on this DIY leaning floor mirror. As well as my orange oak wood mantle.
How to stain wood floors darker
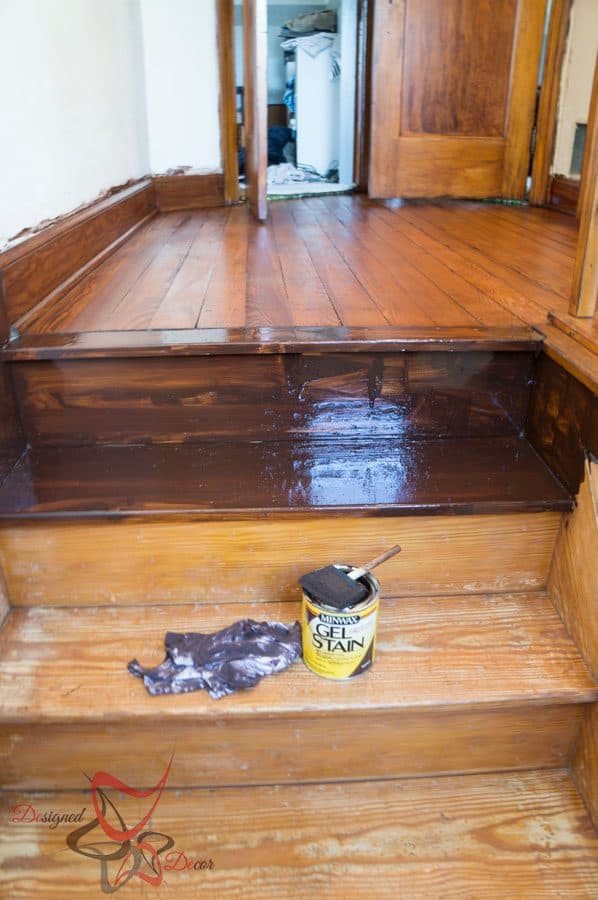
Yup, you can easily darken finished wood stains on hardwood floors, doors, and stairs. Come over to get all the details on how I did this to my attic stairs and doorways. You DO need to use a different sealer on the floors, so check out this post, How to darken my hardwood floors and stairs.
Check out these other furniture makeovers
Would you like to see what I stock in my Paint Closet?
You can receive my DIY’ers guide to see all my favorite tools and products by signing up to receive my weekly updates. Yours free by joining the DD Community.
DeDe Bailey
DeDe Bailey is the artistic mastermind behind Designed Décor and The Puzzle Table. With a rich background in home décor retail, she has transformed her website into a platform driven by a profound passion for helping individuals craft spaces they adore. As a self-taught furniture painting artist and thrift decorator, she loves sharing her knowledge and empowering others to beautify their homes through furniture painting and thrifting. When she isn’t sharing her wisdom on the Designed Décor blog, DeDe is occupied with showcasing her ingenious jigsaw puzzle table design and expanding her short-term rental located in NE Ohio.
Get your FREE ELIMINATE BRUSH MARKS GUIDE => How to Eliminate paint brush marks




Join the DD Community!

Join the Designed Decor Community and receive weekly free tips on DIY home projects, painted furniture, decorating, and much more.
zaun7.de says
I particularly appreciate how you emphasize the importance of testing the stain on a small area first to achieve the desired shade. Your expertise shines through in every detail, making it clear that you’ve mastered the art of woodworking. Thanks for sharing your knowledge and empowering us to transform our projects with confidence!
Leslie Campo says
i have rattan bar stools that I want to darken. Will this process work on rattan?
Designed Decor says
You should be able to stain the rattan parts of the bar stools. It also depends on the outside layer of the rattan as some are very shiny and may not allow the stain to penetrate. I have used stains on baskets to darken them as well.
Sherry Lynne Barnett says
Hello. Love your projects. Can you tell me what you painted the base of the table that you darkened (the one with the light color chairs). I love the combination of the dark stained top and the dark, but not matching, bottom.
Designed Decor says
Hi Sherry, I did a mix of driftwood and dark chocolate from General Finishes. Here is the link to the table makeover- https://designeddecor.com/dining-room-table-makeover/
Charles Jeffress says
We restained and refinished our kitchen floor with dark walnut stain but it’s too light compared to rest of the house. Can I darken it some with this without changing the color?
Designed Decor says
You can look into the stain color they offer in the gel stain to see if there is one in a similar shade to the one you used.
Margaret L says
I’d like to try this! Your directions are great. I have one question in your directions, what is a chip brush? Your directions say to use a chip brush to apply the stain.
Designed Decor says
They are cheap natural bristle brushes you get from any hardware store. They are called chip brushes so if you ask the next time at the store, they will show you exactly what you need. You can apply the stain with cloths or sponge brushes too, I just prefer the chip brush. Here is what they look like- https://www.amazon.com/dp/B01MCYP53Y/?ref=idea_lv_dp_
Mona Johnson says
I love your puzzle table. I would love to build one for myself. I love puzzle and at the present I put them together on a table that I got from my daughter when the hotel she manages remodeled. I can leave it out because that’s all I do with it but I would love to have a table like the one you build. Things are tight right now so I will have to wait for the plans, but I wanted to say how much I like it and you and Mr. DD did a “GREAT JOB” on that table.
Designed Decor says
Thank you so much, Mona! We really love it too!