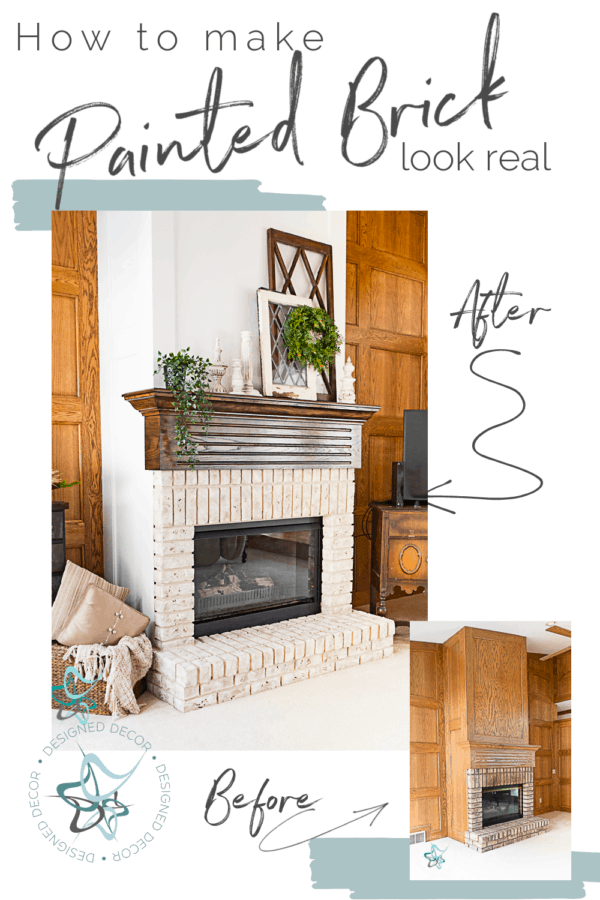
I know you have seen all the different types of painted bricks. So many people are searching for a way to transform their outdated looking fireplaces. This is why I am going to show you how to make painted bricks look real.
The challenge with painting brick is, it looks painted. Most people just slap one a few coats of white paint and call it enough. I personally wanted my brick to look natural and NOT look painted.
This post contains affiliate links. Click here to see my full disclosure policy.
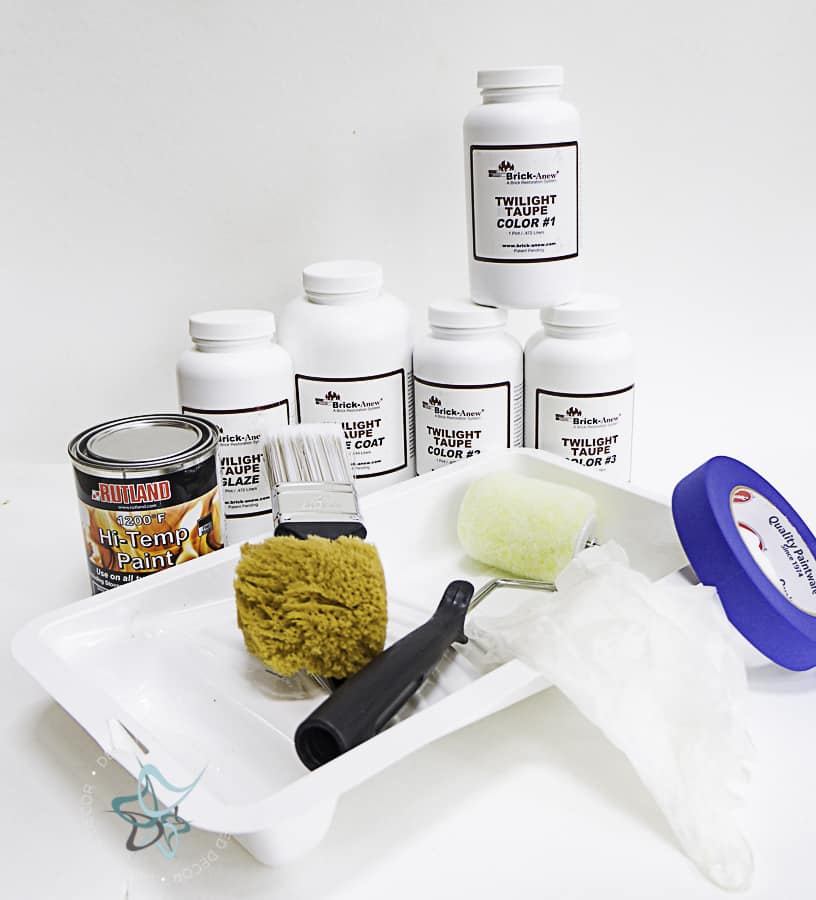
When researching the best method for painting my brick fireplace, I found BrickAnew. BrickAnew uses an easy step-by-step process that helps you repaint your brick for an authentic real brick look. It isn’t a single coat of paint that looks like an amateur did it. It won’t peel off as the years go by. And their paint kit has everything you need, including an instructional video.
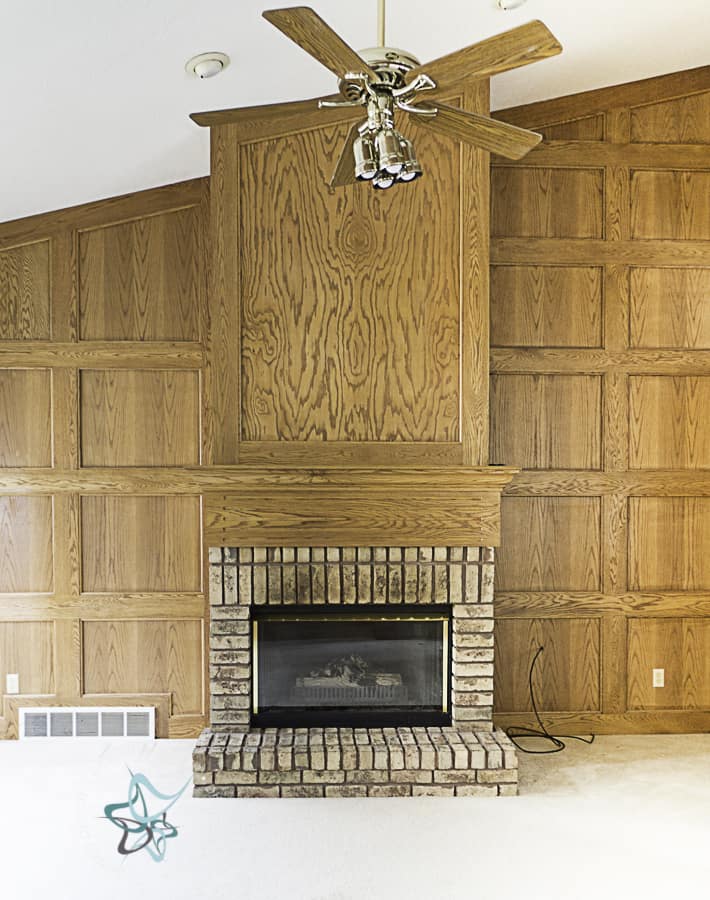
My brick was not that bad looking. I am thankful it was not red brick and I was able to live with it for a few years until I made the decision to give it a makeover.
We thought we were going to stone the entire fireplace all the way up to the ceiling to break up the large amount of orange oak. I decided to try a makeover before spending the money on stone. If I didn’t like the makeover, we would proceed with the stone.
Guess what, I LOVE how it turned out and we just saved a bunch of money!
Brick Painting Process
It was so easy to use the painting kit from Brick Anew. The paint kit gives simple step by step details on which paint to use and how to apply it.
Step 1 – Prep
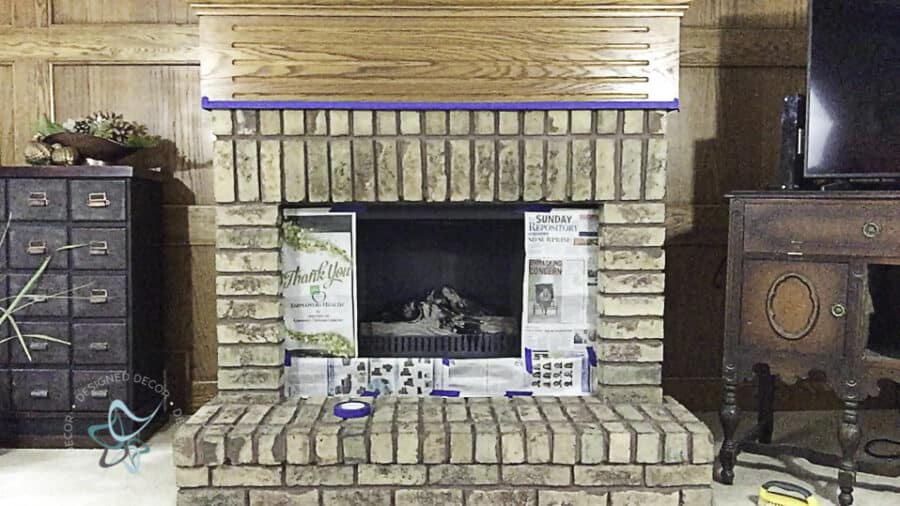
Start by cleaning your brick using a scrub brush and vacuuming the loose debris after scrubbing. I did not have much soot build up so I did not need anything more than the dry scrub brush.
If you have soot build-up you may need to use a vinegar and water solution. Make sure to let the brick dry completely or over night to be safe before painting.
Videos from Designed Decor
Step 2 – Apply Base Coat
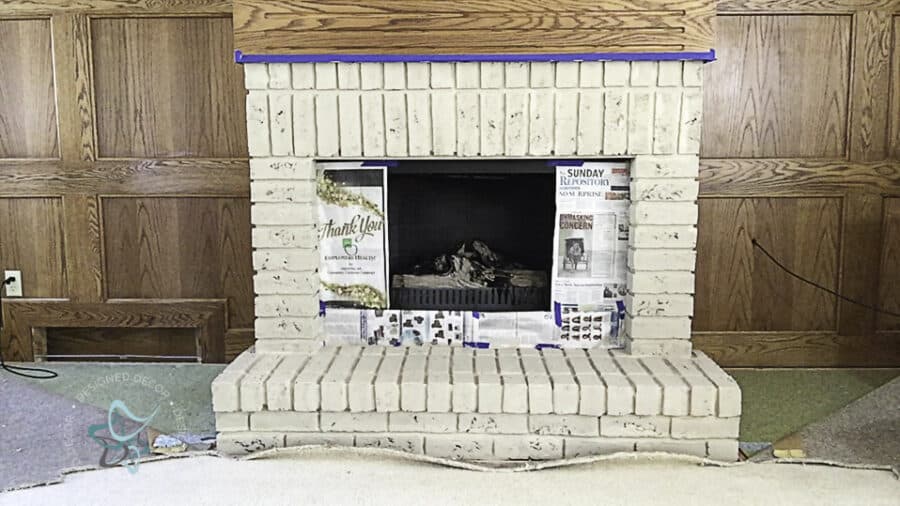
Apply the base coat using the paintbrush from the kit. This is your mortar color so make sure you get good coverage in the cracks especially if you have a really dark mortar color.
Since my brick was not red, I did not worry about total coverage in the deep natural cracks of the brick. This makes my paint job look more natural since I don’t have tons of paint sitting in those areas.
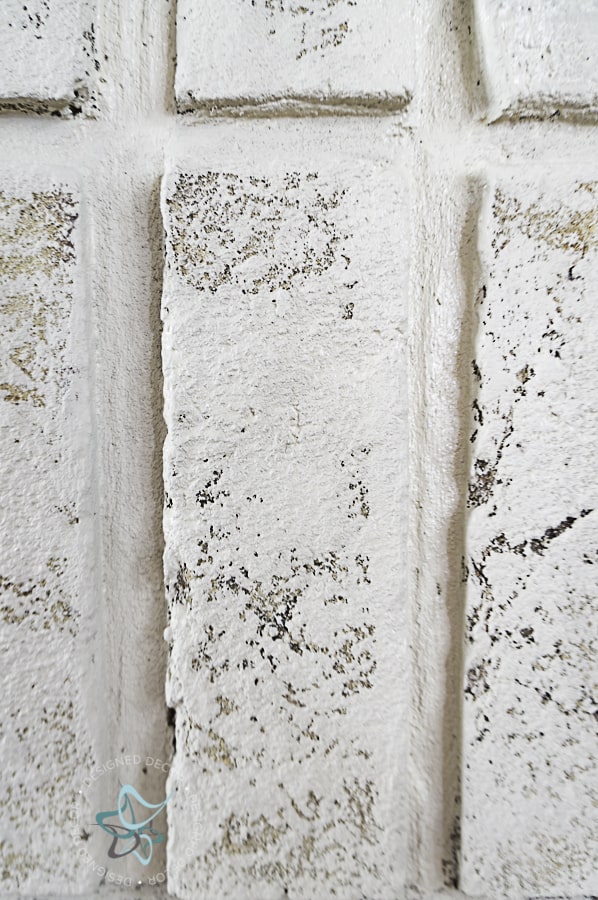
This is a close up of my coverage after applying the base coat. Since I was not covering up red brick, I did not worry about total coverage.
I let me base color dry overnight since I started late in the day. The instructions tell you to do the painting during the day with natural light, as indoor lighting can cause shadows.

Step 3 – Apply Color #1
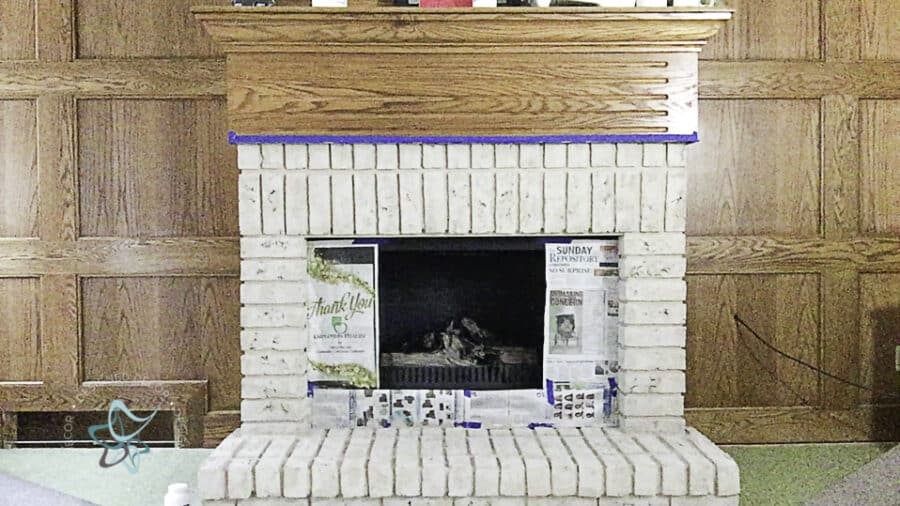
Apply color #1 with the roller in the kit, using a random pattern. You want some heavier spots than others and some with less coverage. You do not want to have full coverage, you are wanting a variegated look. This variegated look makes the brick look natural and not painted.
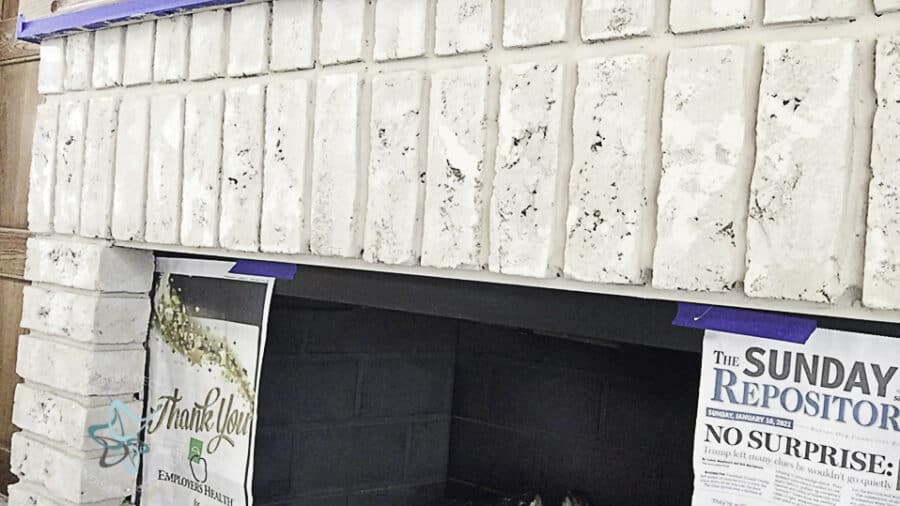
This picture gives you an idea of how I randomly placed color #1 with the roller.
Step 4 – Apply Glaze
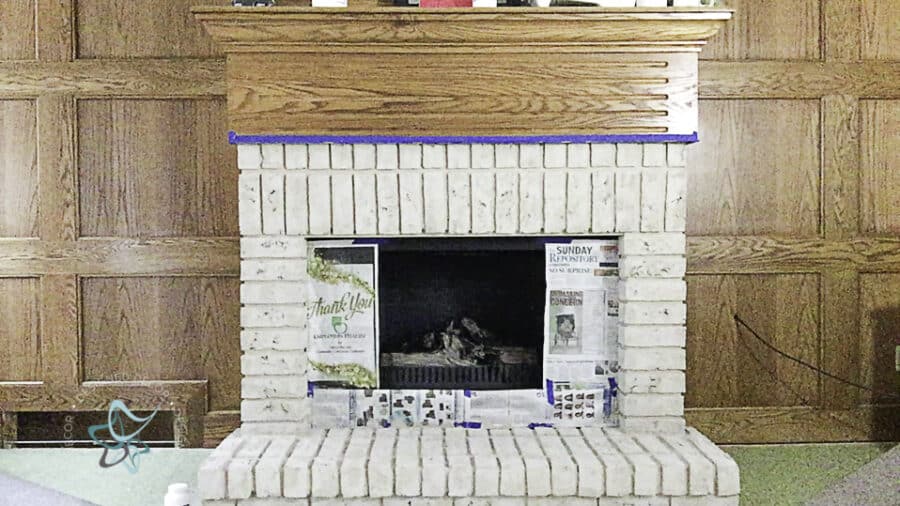
The next layer in the process is applying the glaze with the sea sponge. The glaze color gives depth. I sometimes would dab the sponge and other times would give it a slight drag. After I dipped the sponge in the glaze, I really made sure to apply it in far random areas as this is when you have the most paint on the sponge and you don’t want to work in the same small area.
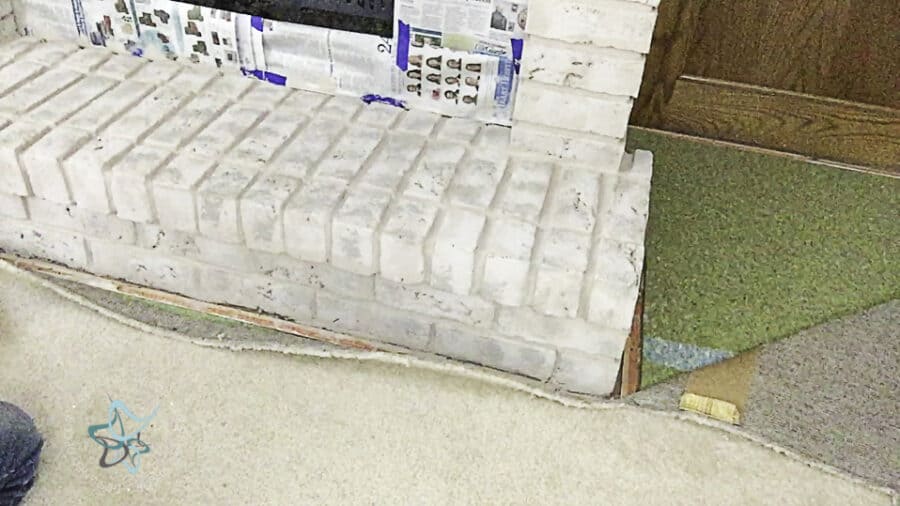
You can see with this close up the darker shading spots that the glaze added.
Step 5 – Apply Color #2
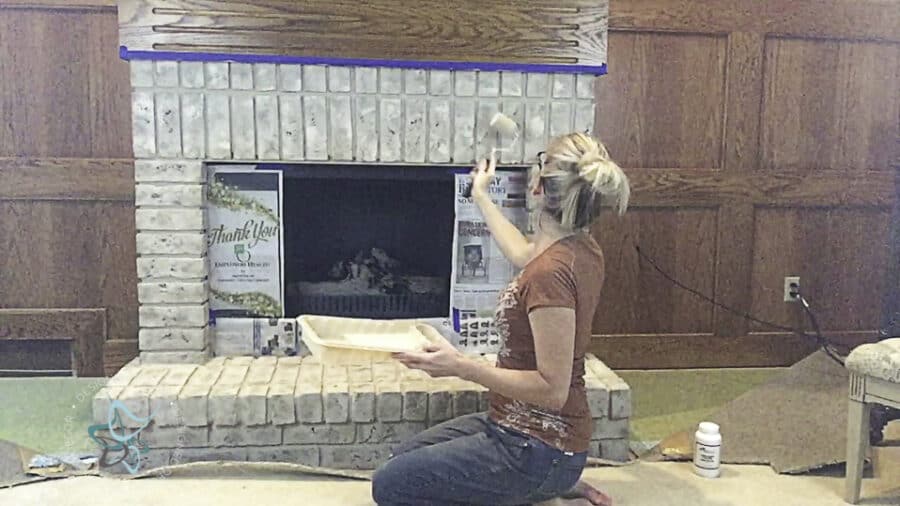
Now we use color #2 with the roller. We are just layering the color #2 paint in a random order to create even more texture.
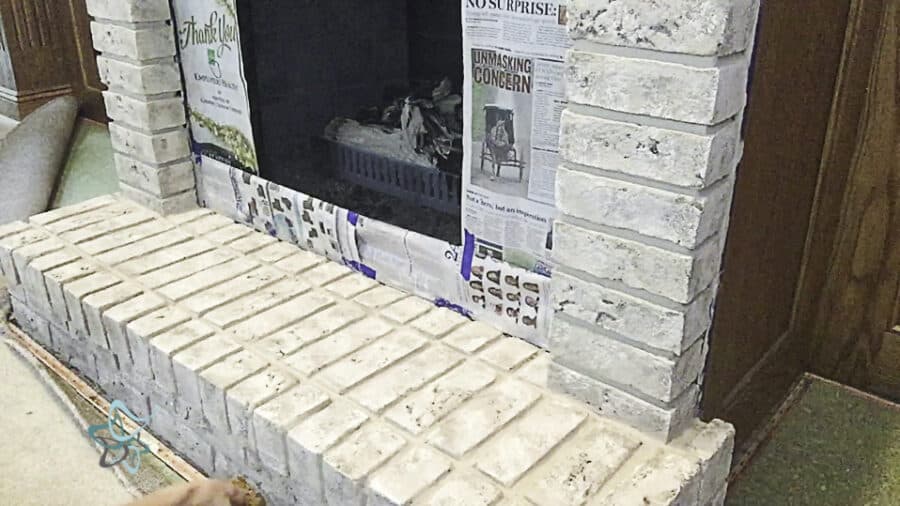
The different colors along with the different strokes and applicators really make the brick look authentic. This whole process was easy, especially after you watch the video tutorial that comes with the kit.
Step 6 – Apply color #3
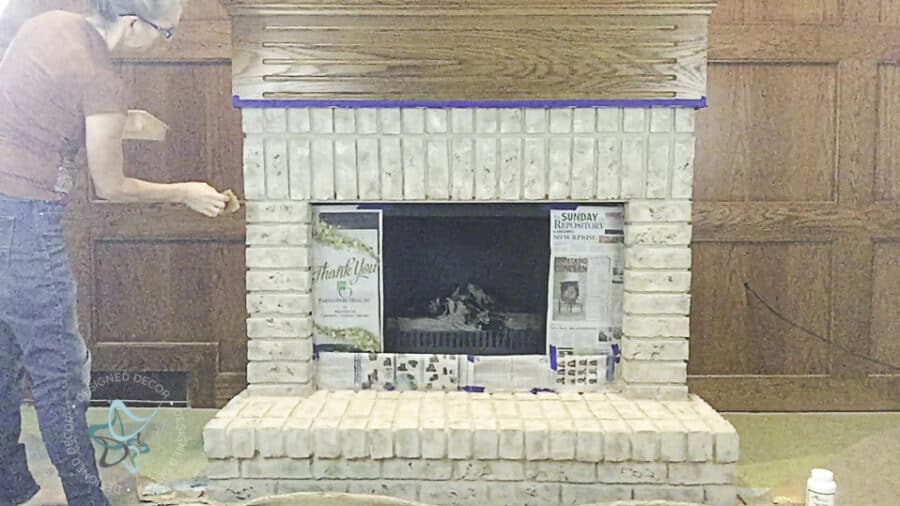
This is the last color being applied. I was able to paint and do steps 3 through 6 all in the same day. Since you are not fully covering the bricks, the drying time is minimal between the steps.
Step 7 – Apply sealer if needed
The instructions state to seal the brick if needed with their clear matte finish. Their sealer is designed for brick and high-temperature areas. Since I have a gas fireplace and would not be placing logs on the hearth, I decided not to seal my brick.
Removing the Gold
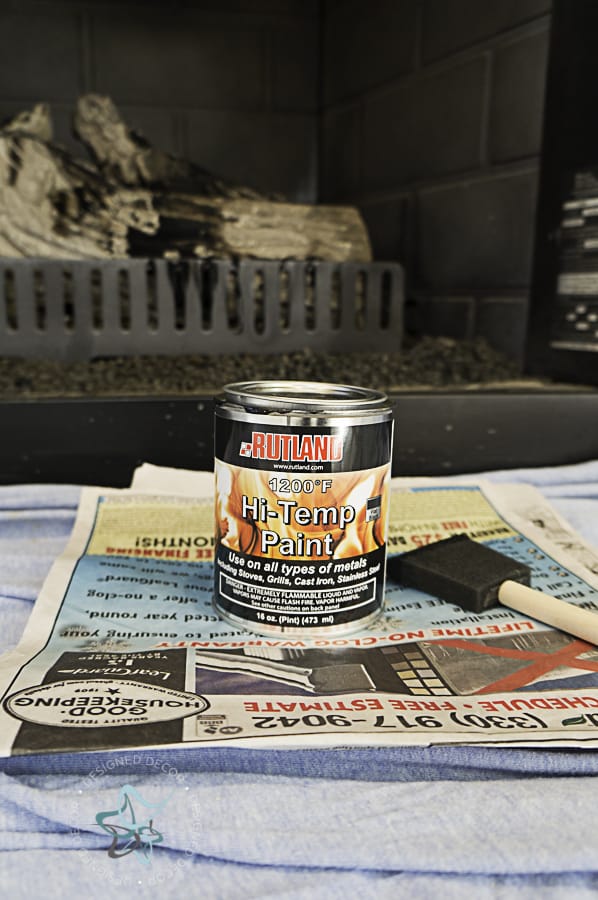
I also used their Hi-Temp Firebox paint to remove the 80’s gold from the frame on the glass insert and the black surrounding the insert. I slightly sanded down the gold and applied the paint using a sponge brush. On the second coat, I had to use a dabbing motion to apply, it seemed to adhere better with the dabbing instead of strokes.
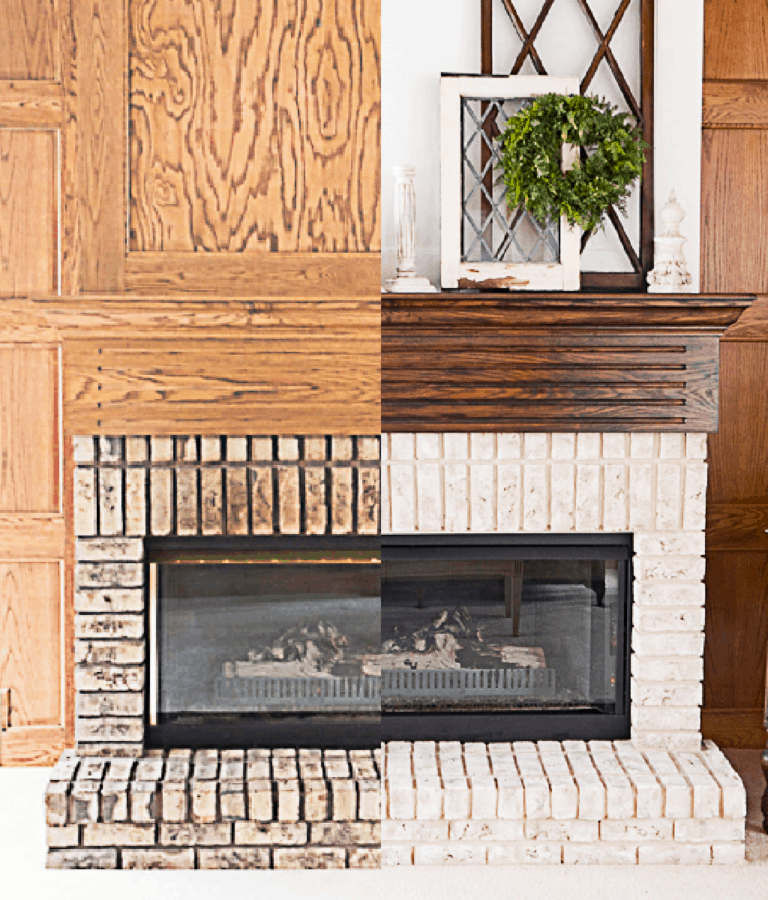
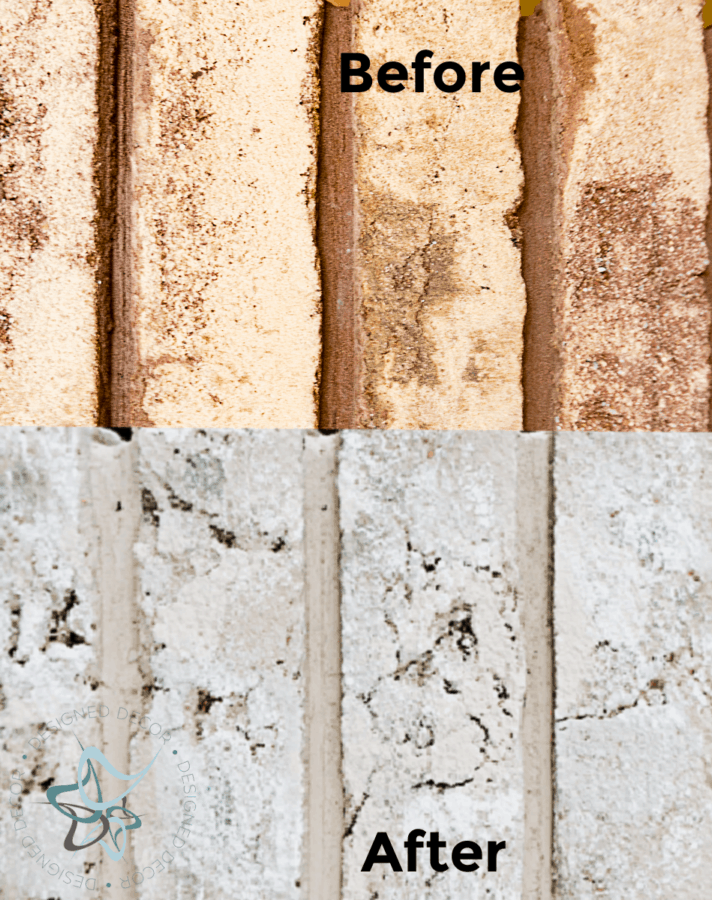
If you hate your brick, I would highly recommend using the Brick Anew painting kit. It was easy and it makes your painted bricks look authentic and not painted.
They also have a stone painting kit for those who might have a stone fireplace. So make sure you check out the Stone Fireplace Paint kit from Brick Anew. It comes in the same great colors as the brick painting kit.
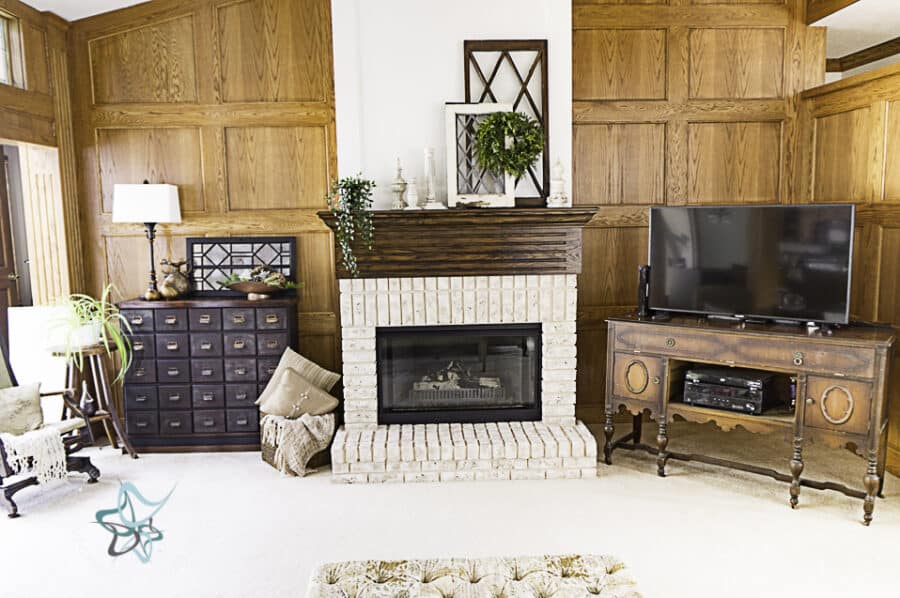
What a difference this fireplace makeover makes in my living room. I am thrilled with how the makeover looks. Stay tuned as I will also be sharing how I painted the oak and I used this favorite process to stain the mantle darker.
Soon, I need to give my media center a makeover and I am trying to convince Mr. DD to let me paint the rest of the oak walls. Some of you are cringing right now about me possibly painting the oak walls. However, I am going to wait to make the decision about painting the oak until I get some other projects done. I don’t like to rush into these big changes like painting oak, because once you start, there is no easy way to fix painting over the oak.




Join the DD Community!

Join the Designed Decor Community and receive weekly free tips on DIY home projects, painted furniture, decorating, and much more.
Leave a Reply