Using Gel stain is the perfect solution for those who have old, outdated wood floors that need an update. It’ll save you time and money by giving them new life without painting or professionally having them resurfaced.
I have been slowly working on my attic stairway area and now I can finally say that the stairway steps and landing areas are complete.
This post contains affiliate links. Click here to see my full disclosure policy.
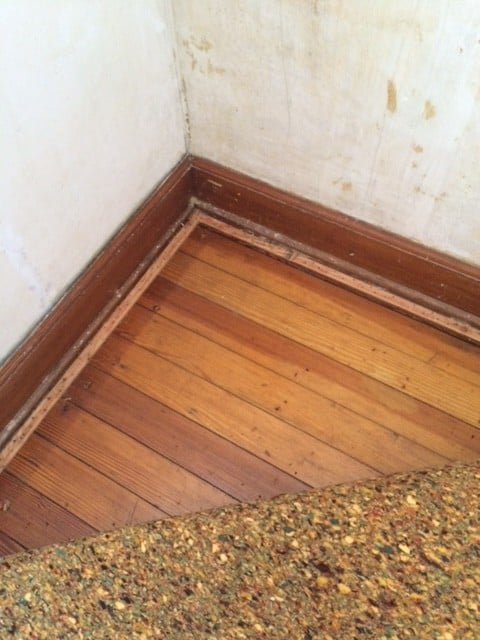
We had stripped all the wallpaper off the walls(what a job that was) and next was to pull up the carpet. I was planning on replacing the carpet until I discovered what was under the carpet.
I felt like Nicole Curtis when I pulled back the carpet and found original hard wood floors. My family came up and asked what all the screaming was about. I was surprised as this area leads up to an attic and just figured they would be subfloor or ugly wood.
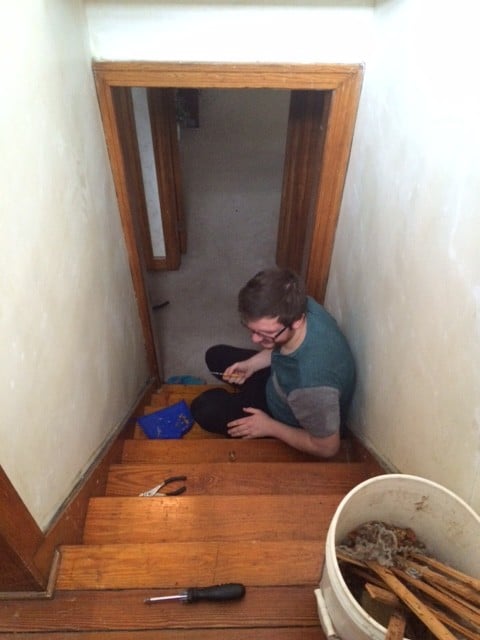
So plan B – remove the carpet and tacks and keep the hardwood floors. My helper, Mr. Mack helping his mama remove the carpet staples. It appeared that from the staple holes that this was the only carpet that was ever down, we were lucky not to have that many holes or staples to remove.
When I first looked at the hardwood steps and landing floors in our old house, they were way too orange. So after thinking about what could be done for a few days, I decided to tone down those colors with a gel stain instead of sanding all the stairs and using a regular wood stain.

Why use gel stain
- Traditional stains sink into wood while a gel stains sits on top of the wood rather than sinking into it.
- Gel stain has an easy-to use application that requires less preparation in advance than traditional stains. Just a little light sanding will do the trick!
- Perfect and easy to use on vertical surfaces.
- A gel stains will mask the underlying color of a previously stained wood, making it difficult for you to tell that anything was done.
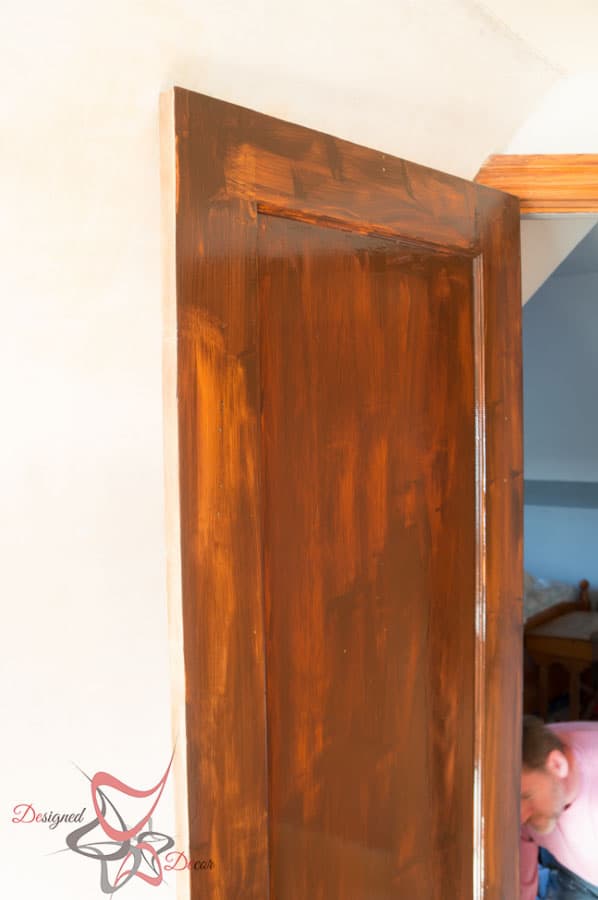
We stained the doors hanging, this made it much easier. We were able to finish both sides without having to wait for the opposite side to dry or take the time to remove the doors.
How to apply gel stain
The first step is to lightly sand down the surface. The sanding is to remove any shiny sealers on the surface. It also helps with cleaning up dirt and grime. The great thing with old hardwood surfaces is much of the sealers are already worn away.
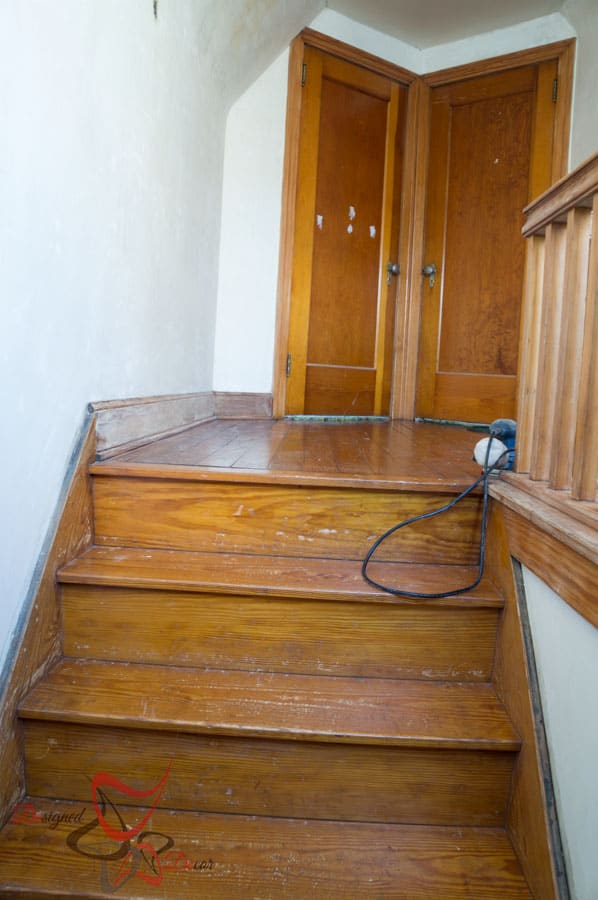
I used my Ryobi Corner Cat finishing sander on the stairs and the landings and did a very light sanding. Make sure to use the sander in the same direction of the wood grain. Do not use a circular sander for this type of prep sanding.
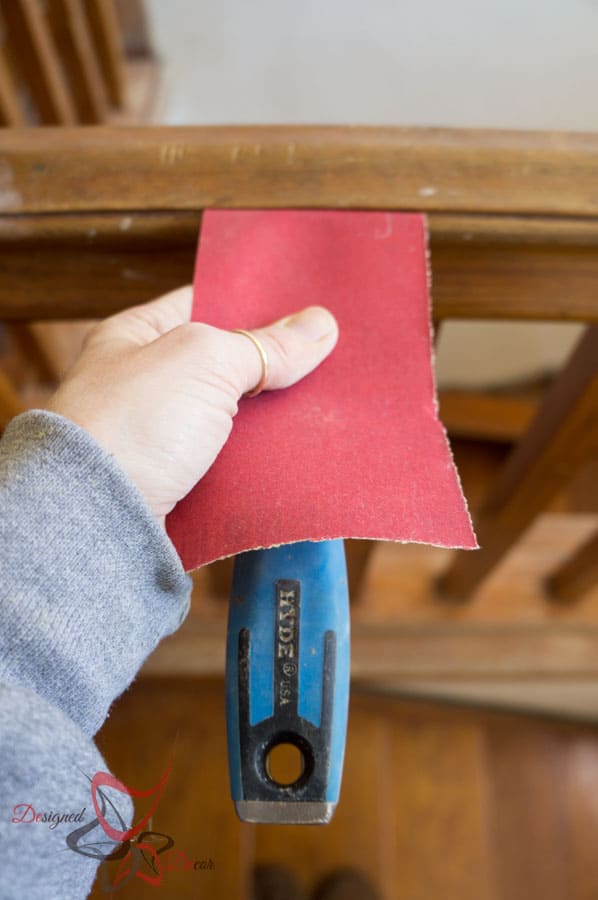
I like to wrap sand paper around my putty knife to get the edges and crevices.
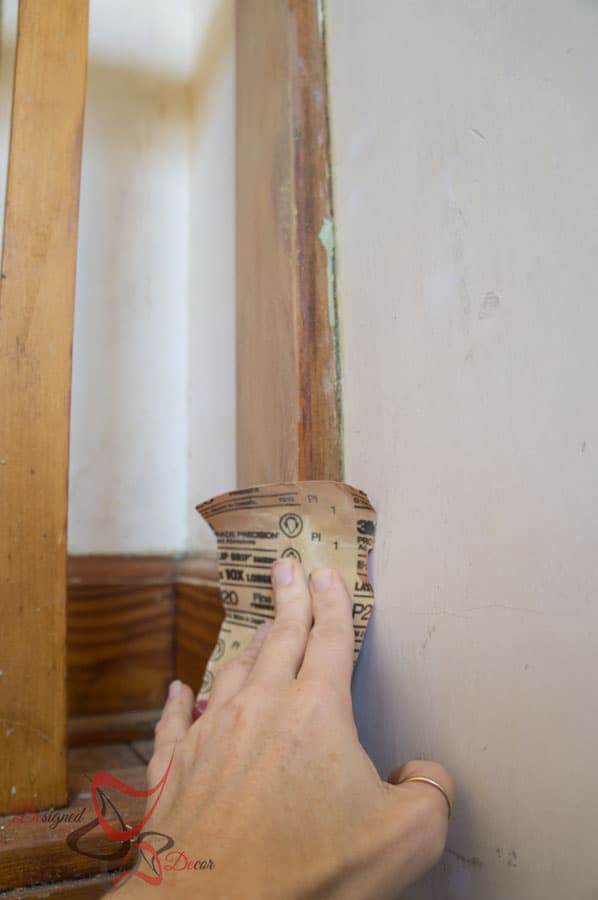
I had a lot of areas that had paint splatter so I had to make sure all the paint was removed in those areas.
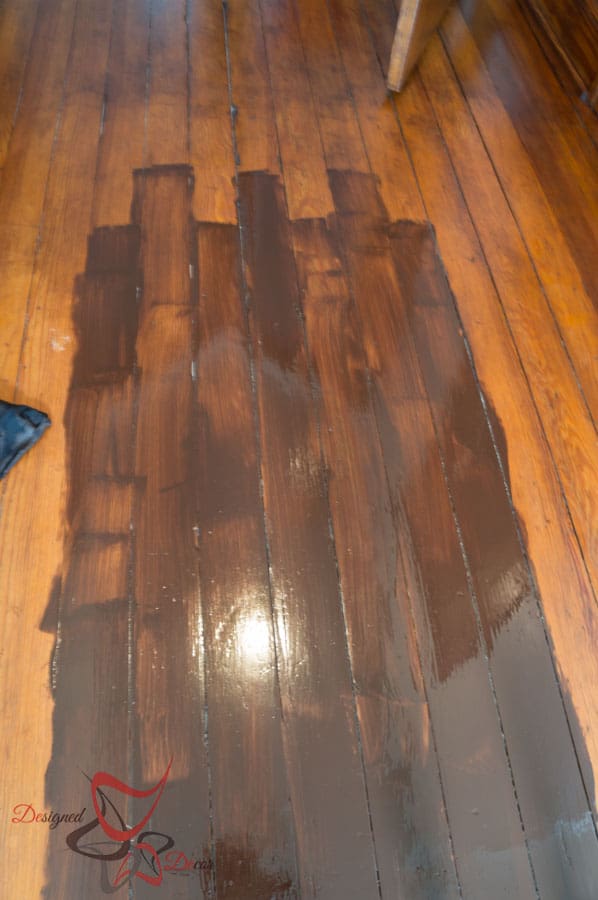
You need to work in small areas. Apply the gel stain, wait about 10 minutes and wipe to remove the extra stain. If you wait too long, it is harder to wipe off.
NOTE: I used Minwax Gel Stain in Walnut
For the floors I applied the stain in staggered areas, that way I would not have a straight line going across the boards, it blended easier with the other areas. If you are able to do the entire length of a few boards, I would recommend applying in that way. My area was an odd shape that leads to the stairs, so I had to do in small sections, like above.
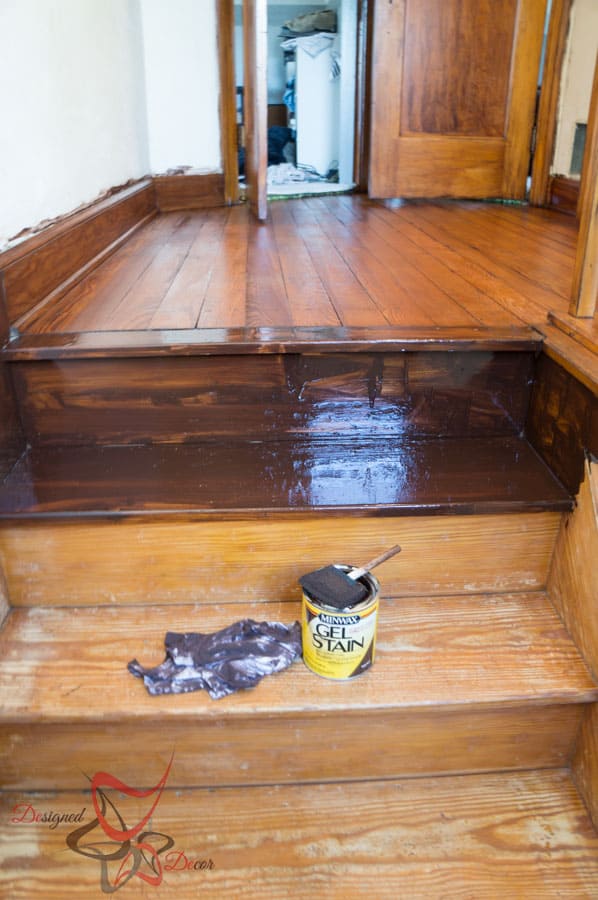
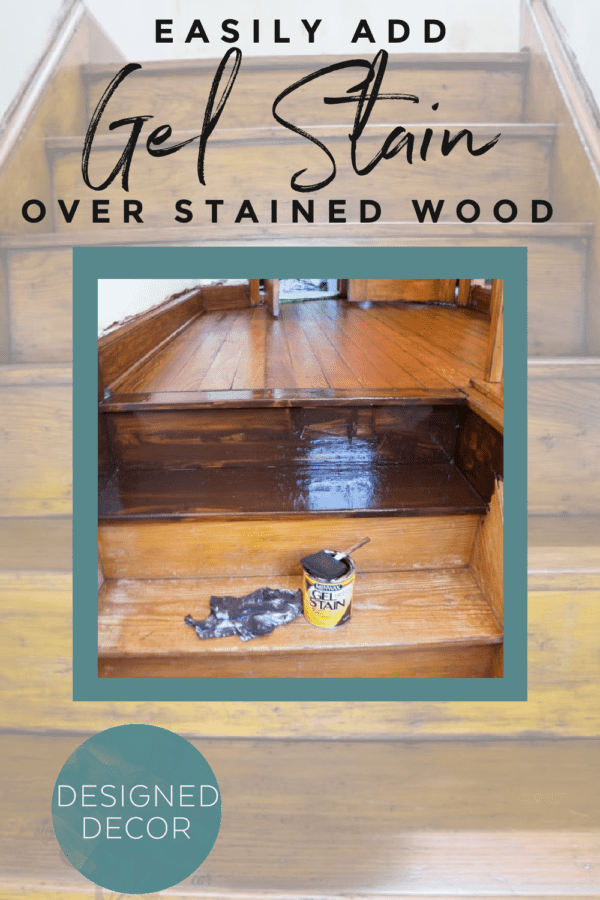
For the steps, I applied gel stain on the step as well as the riser, and applied it to the second step and went back to the first area, and wiped it off. I had a great rhythm going for each step. You can see how much darker the upper floor is compared to the steps. The Walnut color removed some of the orange tones and darkened the hardwood.
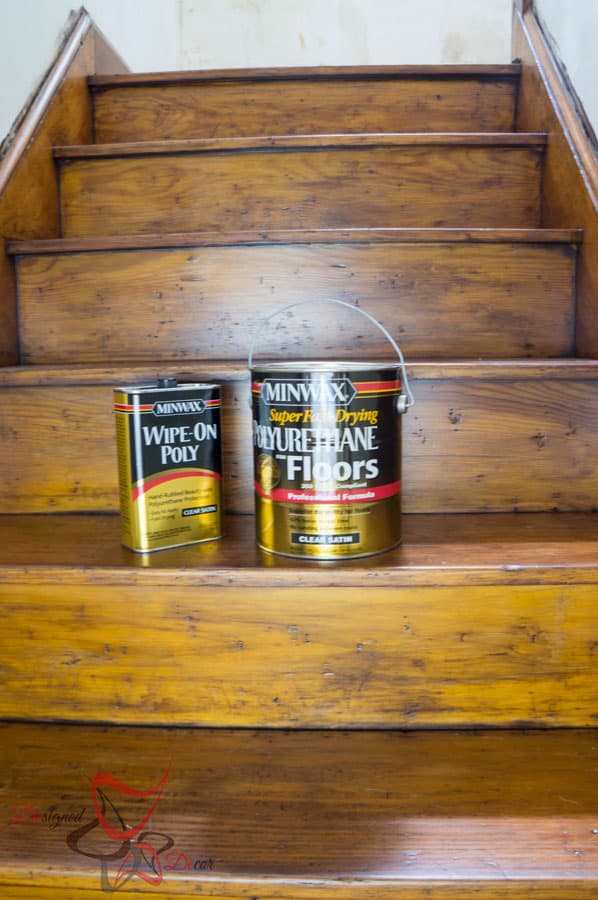
It is extremely important to let the floor dry completely. After a few days of drying, I applied 2 coats of the Wipe-On poly to the rails, doors, and trim. I used the polyurethane floors
for the floors since it will hold up better for the higher traffic area.
Tip: My boys wore their socks when walking on the area until I had the floors sealed. This prevents any thing on their feet from soaking into the unselaed floors. You can also cover up the surface with sheets.
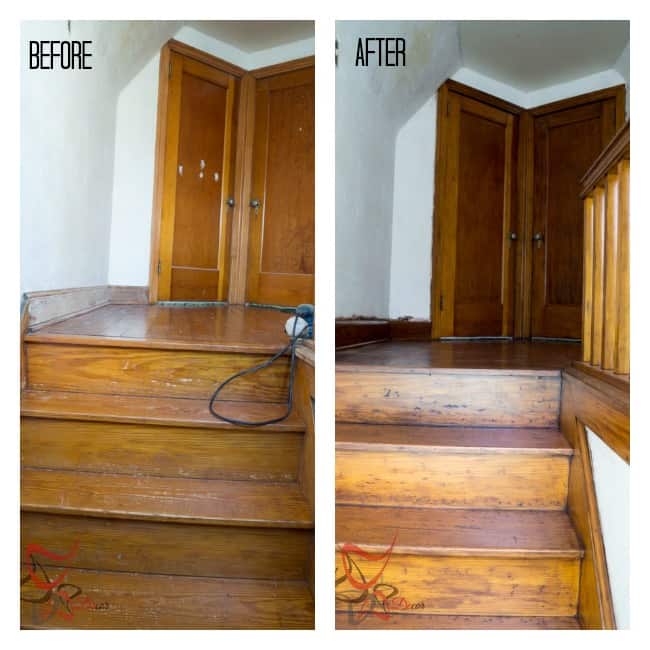
You can see by the before and after that, the wood tone has less of an orange tone and has a dark overtone. The stain process also darkened any of the worn spots and gives the floors an aged and worn look, which adds to the character of the original hardwood floors.
Most asked questions regarding gel stain
- What is the best gel stain to use? Any, I have used both General Finishes and Minwax and I like them both.
- Can I use a cloth to apply it? Yes, you can use a lint free cloth to apply. I typically use a sponge brush or a chip brush when applying.
- How many coats will I need? Typically just one. However, if you wipe it off too soon and it is not dark enough, go ahead and reapply.
The other projects in this stairway makeover is to paint the walls, build a plank ceiling and wall, and make a custom carpet runner for the steps and landings. Click on each of the highlighted text to read the details on how we completed the area.
We love taking on good DIY projects to save money and to turn our house into something we love and enjoy. If you are like us and need some more DIY project inspirations, check out these other projects we have tackled.
- Upholstered Wood Dining Chairs
- Jigsaw Puzzle Table
- Spray Painted Front Exterior Door
- Painting the Fireplace




Join the DD Community!

Join the Designed Decor Community and receive weekly free tips on DIY home projects, painted furniture, decorating, and much more.
Cathy says
You have definitely caught my attention ! For years my wide pine floors have desperately needed to be refinished, don’t want to have to sand, stain and seal all over again. There are well worn areas that are down to bare wood, due to the urethane cracking and chipping off over the years. Do you think gel stain would be a good choice?
Designed Decor says
Hi Cathy – You would need to test it in a small area to see how the stain would absorb. Every floor will absorb differently, it is certainly worth the try.
Allison says
Great post. I’m just wondering how much sanding you did to start with. I have gone through this process…no sanding. And put a seal over it. However, the gel stain has scratched right off and it’s a total mess. Can you help!? Thanks!!
Designed Decor says
Hi Allison, I lightly hand sanded the floors before applying the gel stain. What type of sealer did you use and what condition where the floors before applying the stain. Were the floors shiny or were they dull? If they were shiny, that indicates that your floors have a good sealer on them and the sealer is not worn away and that would need to be removed before you applied the stain. My floors were very dull and I had no problems with a light sanding.
Susie says
Hardly see a difference
Designed Decor says
Hi Susie, sometimes it is hard to get the color difference in the photos. The gel stain did deepen the stain a shade or 2 and made it a bit richer in tone.
Rebecca Cooper says
Did you have to sand the floor to get any varnish off before putting on the gel?
Designed Decor says
Rebecca, I lightly hand sanded the floor and cleaned before applying the gel stain. My floors are old and most of the varnish was already worn away. If you have shiny floors, it may take more than hand sanding.
Jess says
How did the gel stain do covering up left over paint that couldn’t be removed. I have been working on stripping paint off a old door and unfortunately can not remove all the pigment. Looking at different stain options before I throw in the towel and paint.
Designed Decor says
Jess, If it is large amounts of paint, it will not cover. If it is left in the wood grain in small streaks, you will still be able to stain. You will still see some of those paint filled wood grain streaks when looking at it closely. The darker the stain, the more apparent the paint streaks will be.
Riley says
How has the GF gel stain on the stairs held up? Im considering this for my 15 year old red oak floors that only have an oil based clear coat. Very yellowed.
Gloria says
She used Minwax gel, not General Finishes (GF). I would have done a 2nd coat for richness. She hold up pretty well.