Do you have a wall in your home that is less than perfect? We do and we covered it, and the ceiling too! I am sharing how we did it so get ready to read about my DIY Plank Wall and Ceiling. A complete source list will be at the end of my post for those who want to know exactly what materials we used. This post contains some affiliate links. Click here for my full disclosure policy.
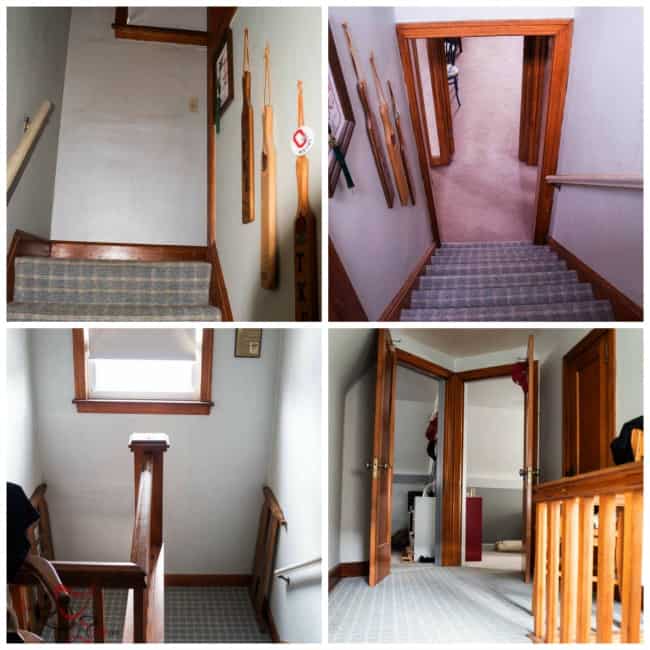
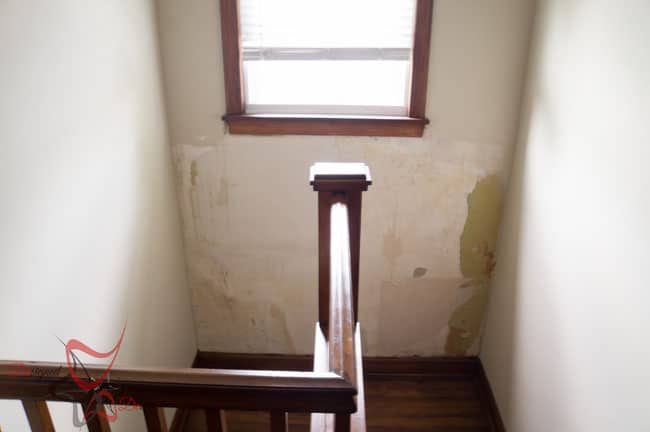
So let me show you how this space looked before I decided to tackle this project.
I(with some help from the family) removed the wallpaper and painted over the wallpaper to get down to the plaster walls. I discovered these beautiful hardwood floors when we removed the carpet. I decided to use gel stain and stain over the existing stain. I am loving the transformation this space is taking.
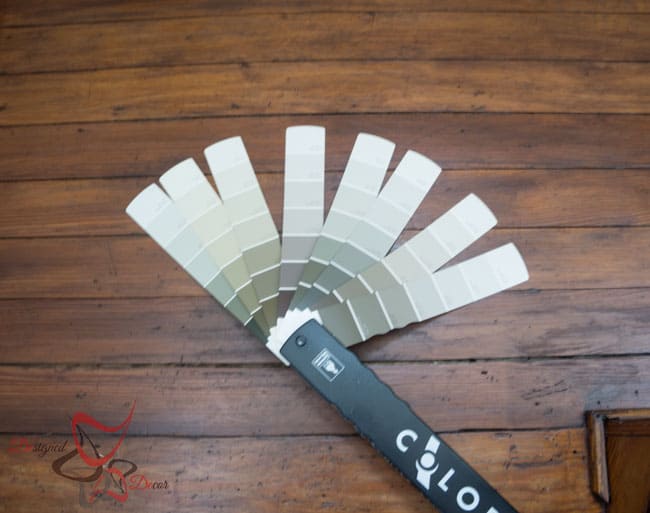
Once the floors were stained with gel stain, I was better able to decide the colors of this area. I used my color swatch deck from Sherwin Williams. I knew I wanted to go with a light wall color since there is so much dark wood in this small space. I chose SW6148 Wool Skein for the walls and SW7004 Snowbound for the plank wall.
I originally thought I would do a board and batten wall treatment. However after seeing the badly damadged walls, I decided to do a plank wall covering. If you are thinking you would like a board and batten wall, cehck out these board and batten FAQ’s before decinging.
You can see by this picture how bad the wall was below the window. Once upon a time, someone cut a hole in the wall to place an air conditioner in the wall. I am not quite sure why they just didn’t use the window. So the wall was in bad shape and that is why I decided to build a plank wall to cover up the damaged plaster.
As for the ceiling; Again, once upon a time, someone decided to wallpaper the ceiling and a few others decided it was easier to paint over the wallpaper instead of removing it. There was no way that I was going to tackle removing the painted-over wallpaper. I know how time-consuming the walls were and working above my head was out of the question.
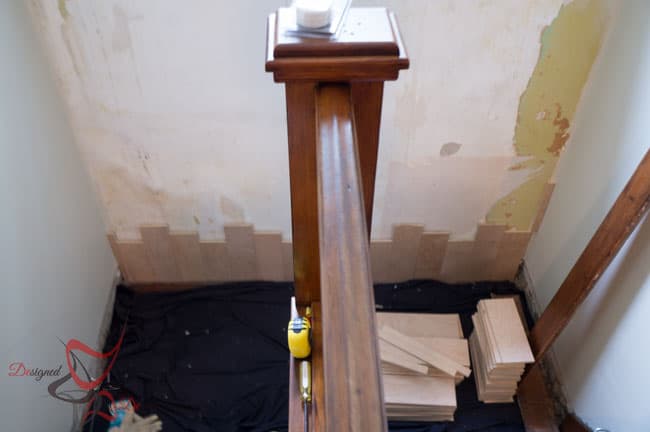
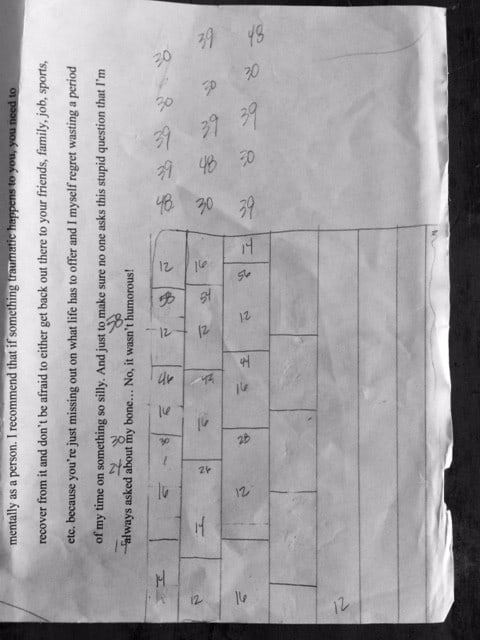
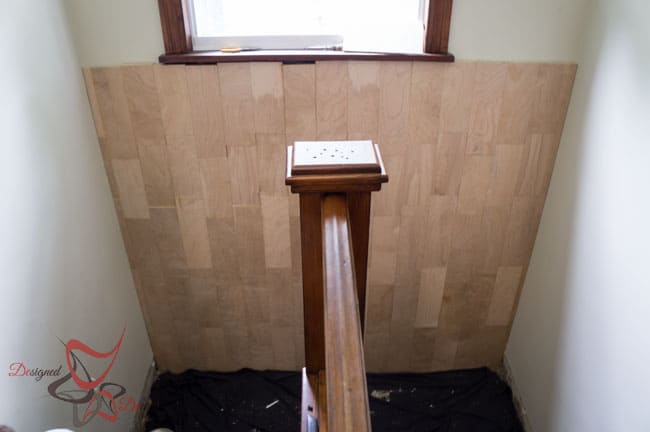
We started the wall by figuring out a pattern, once we had a pattern, we determined the width of each row and the lengths of each piece of wood.
Here’s how technical we get at the DD household. I literally sketched on a scrap paper how I wanted the planks placed and we determined what size would work. The ceiling sizes are on the top of the wall sizes. This sketch came in handy as we were building the wall to keep track of each row and what came next.
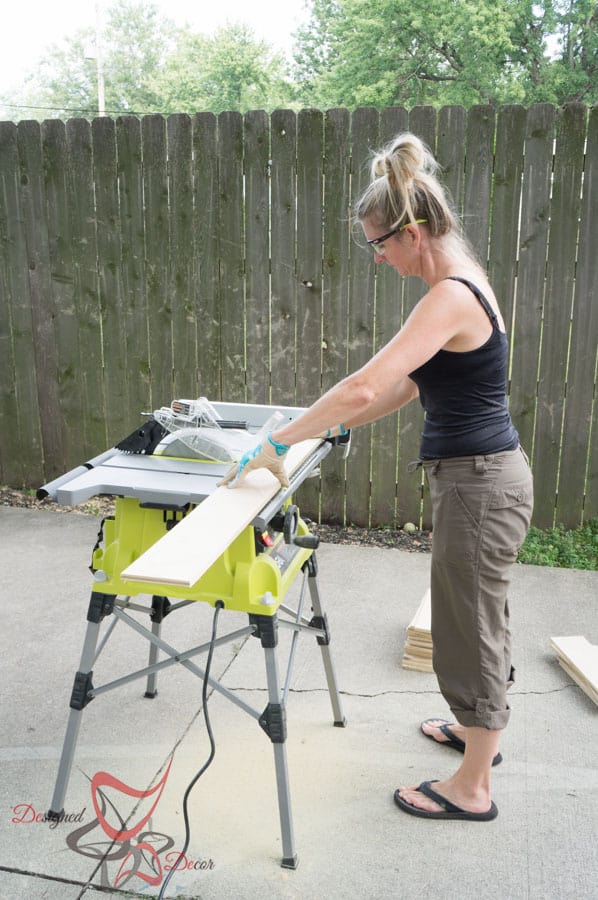
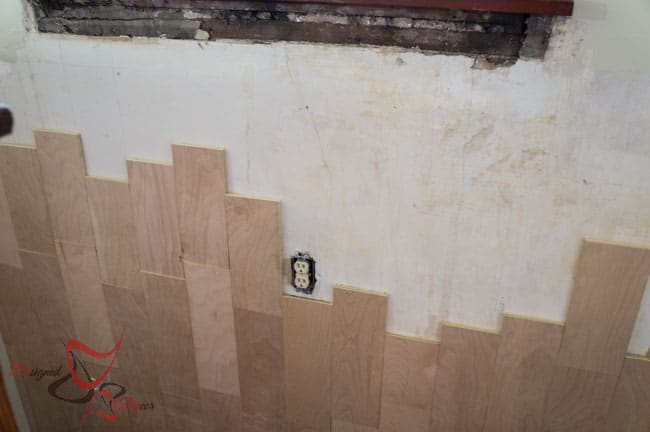
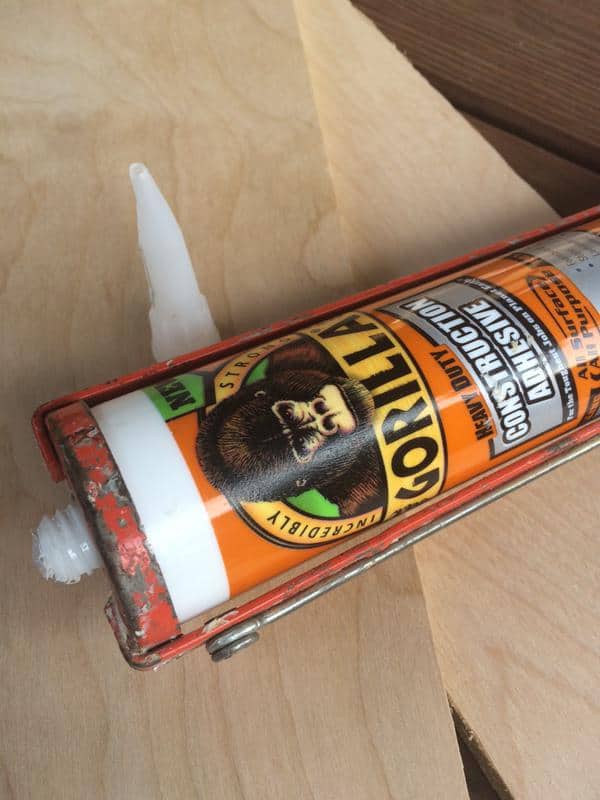
Progress: I did use my Ryobi jigsaw to cut out the space for the outlet. I applied Gorilla construction adhesive on the back of each wood plank and secured using my Ryobi Air Strike Brad Nailer.
I have to give a huge shout-out to Gorilla Glue for the tube design. They are using a screw-off tip. Brilliant! Do you know how many tubes we have partly used and when you go to re-use it, it is dried up no matter how well you think you sealed that tip?
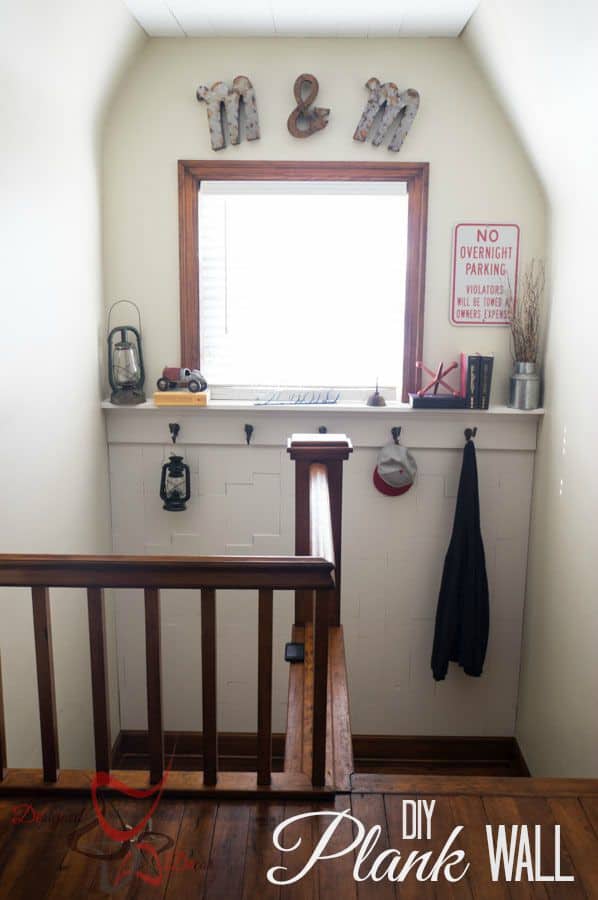
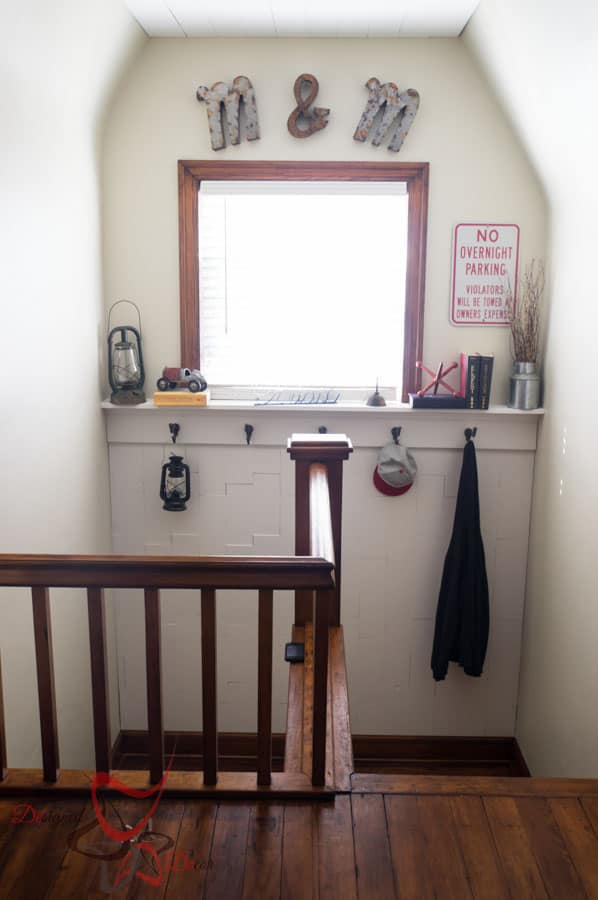
Once the plank wall and ceiling were installed, I decided to paint both for more of a contrast in the room. With the natural hardwood floors, we did not need any more stained wood in the small space.
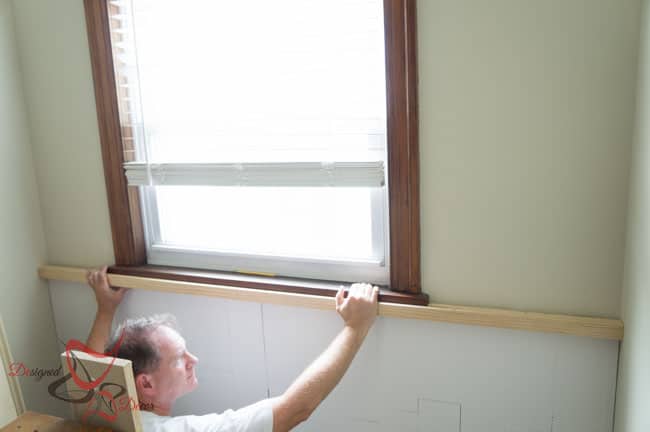
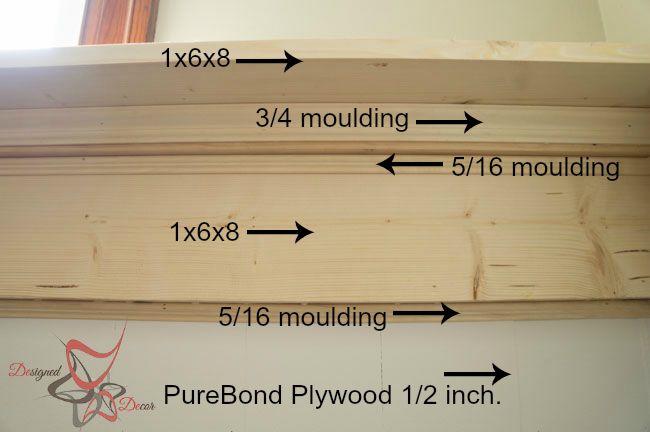
Next was building a shelf. This served as a great transition between the plank wall and the original plaster wall. Mr. DD decided it would work best to notch out the 2 x 2 around the existing window. The 2×2 piece was also the piece we can screw into the wall to hold the shelf above.
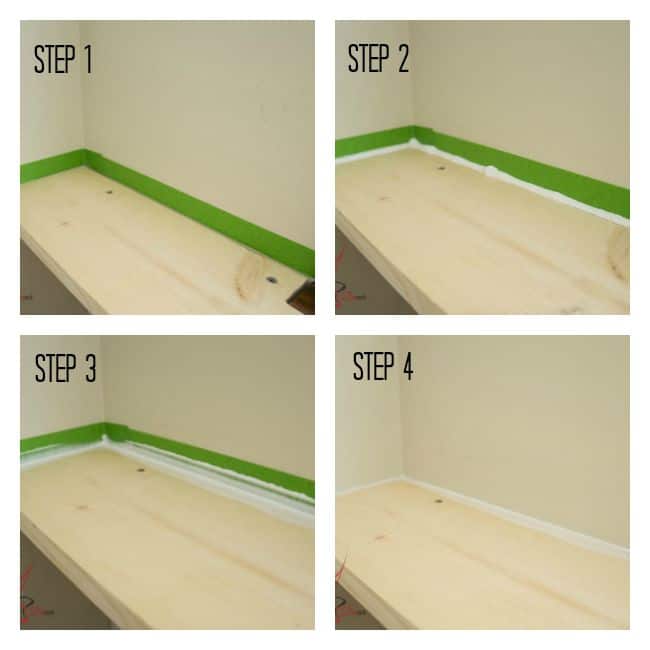
Next was to caulk and paint the shelf.
This is my easy way to caulk an area. You can do this for a tub surround as well. I did not want to mess up my nice new paint, so this is my way to add caulk in a nice clean line.
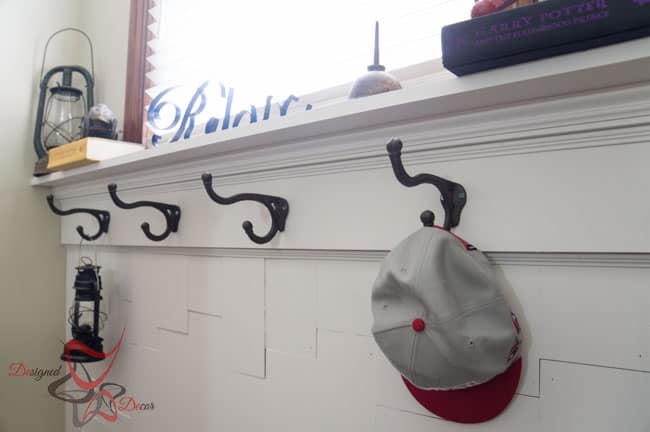
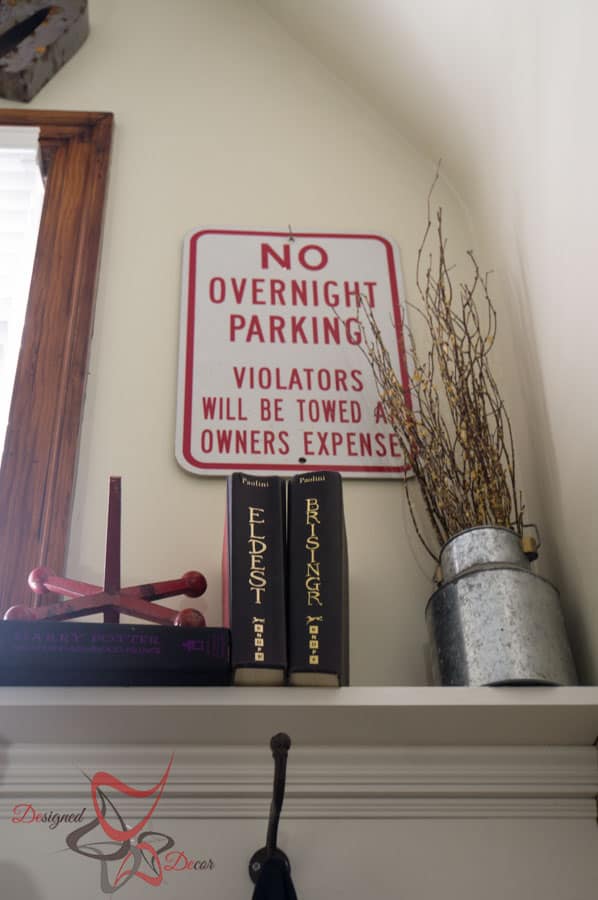
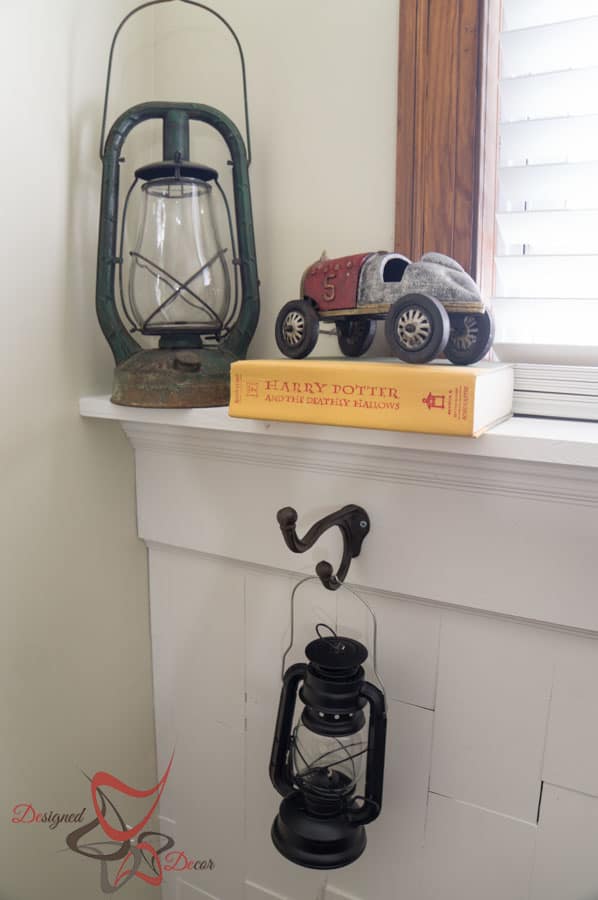
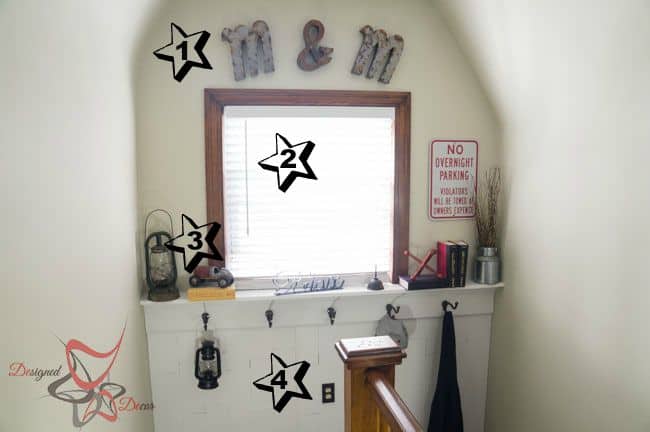
The fun begins by adding hooks and decorative accessories!
We have a few more things to complete in this space: Make a light fixture, runners for the steps, window valance and hang the handrails.
Plank Wall Source List:
PureBond(4)
Sherwin Williams Paint in Snowbound
Gorilla Glue- Construction Adhesive
Decorative Accessories Source List:
Most of these items I have found at thrift stores or flea markets. Good news, I have done the shopping for you, I found similar items for my thrift store finds. Click on the item and you will be directed to a shopping site of a similar item or the exact item I purchased.
- Wall items:
- Window Blind
- Shelf Items
- Metal Car
- Metal Lanterns on Etsy (US)
- Relax metal sign
- Oil can
- Books- My Boys
- Metal Jack
- Metal Bucket
- Wall items
- Hooks
- Outlet Cover – Hobby Lobby
If you would like to follow along to see the progress of this area visit – Removing the Wall Paper, and Staining the Hardwood Stairs. Stayed tuned for the next few changes in this area.
Join the DD Community!

Join the Designed Decor Community and receive weekly free tips on DIY home projects, painted furniture, decorating, and much more.



Lisa says
Love the wall! What a great idea and makes a small space look lovely 🙂