Are you a DIYer looking for a fun and creative way to spruce up your dining room table? Tired of the same dining room table that has been in your house since the 80s? Don’t worry, this blog post is just what you need! With a few simple supplies and lots of elbow grease, I will show you how to do a dining table makeover with paint.
Changing up the look of your dining area can really be as simple as using some paint. It’s amazing how much impact just a few coats of paint can have on your furniture without spending hundreds of dollars in the process.
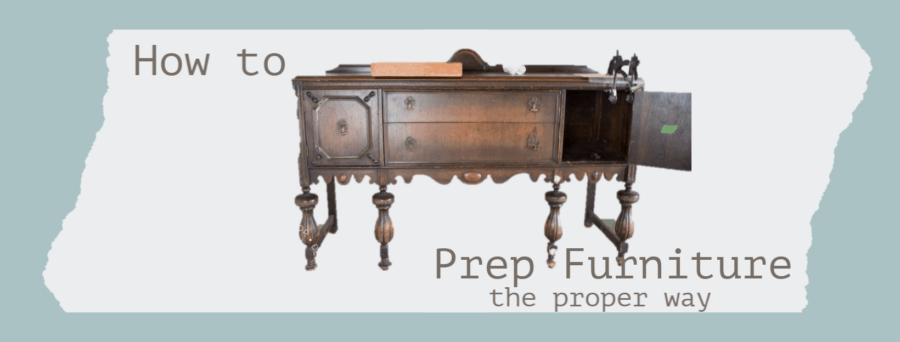
How to properly prep furniture
The most important part of furniture painting is prepping the piece before you paint. I like always to say you would not build a house on a solid foundation, so don’t paint until you create that solid foundation.
A lot of the furniture paints state they are a “no-prep” paint, however, you still need to prep. If you have a solid furniture piece without a lot of damage, the prep will be easy.
Sign up to watch my quick video on how to properly prep furniture. This will save you time and frustration by doing it correctly the first time. You won’t regret taking the 5 minutes to learn instead of rushing into your makeover and discovering you have to sand it all down and start over.
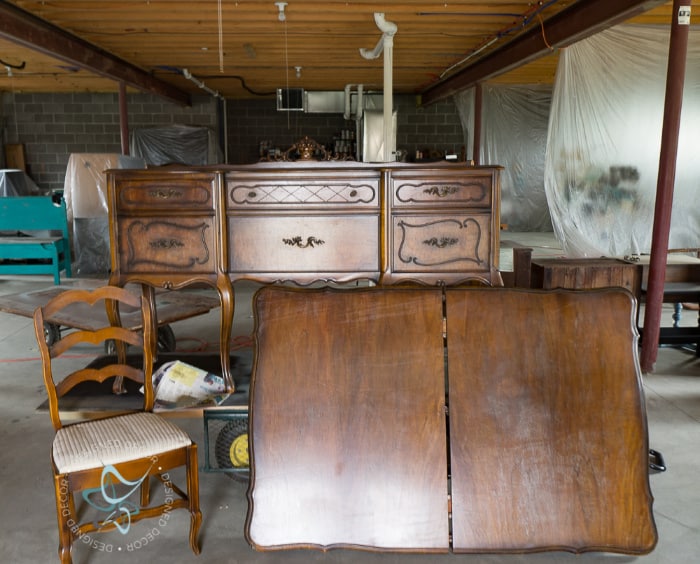
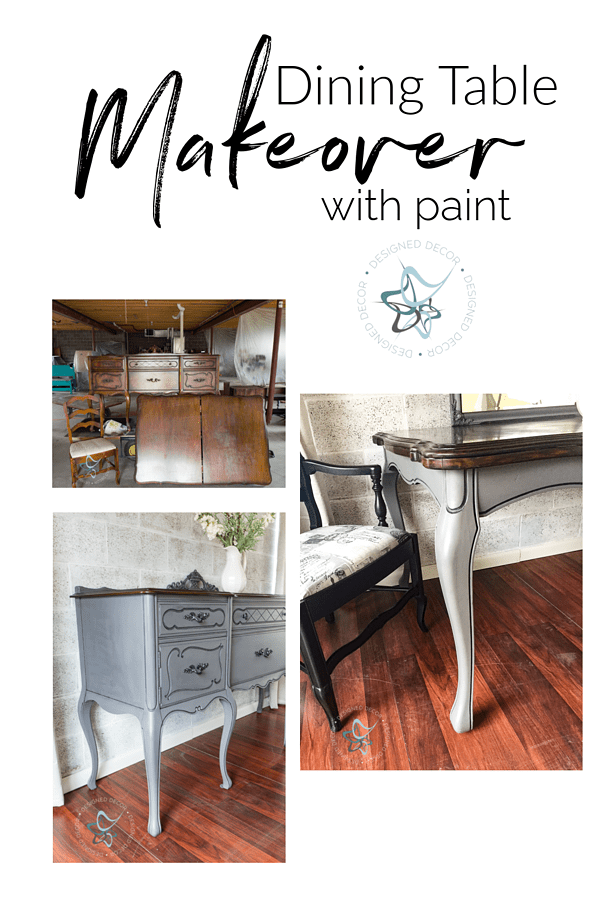
This is a dining room table set and was in great shape, but all the same wood tones are giving the table and buffet an outdated look.
How to update an old dining table
As mentioned above, start with the proper prep and clean very thoroughly after prepping.
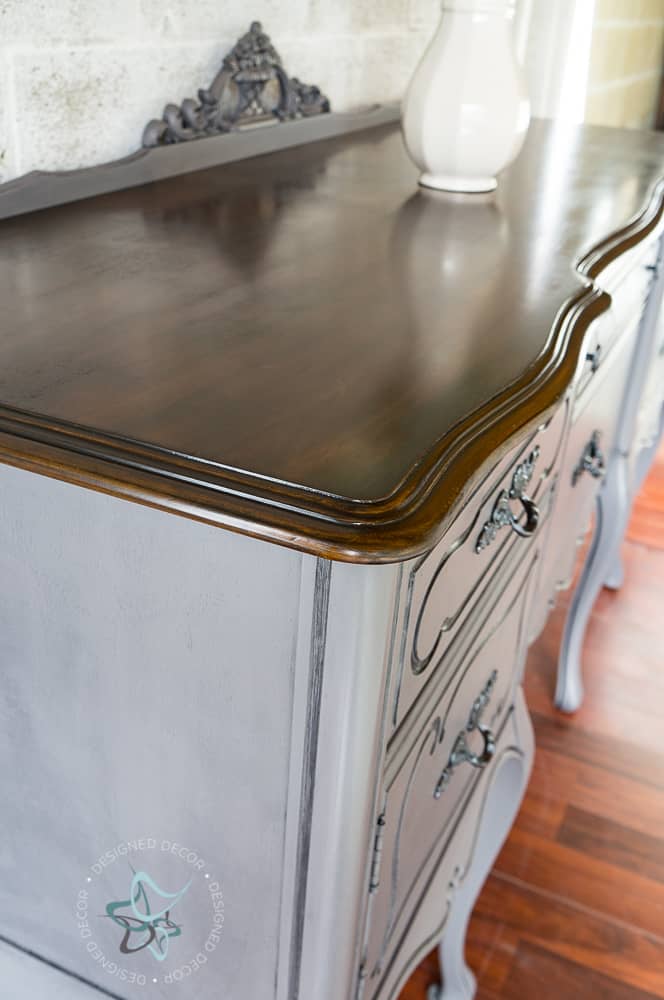
I like to keep natural wood tones on most of my dining tables as a stain finish will last longer than paint. I begin the makeover by using my “no stripping stain method” to stain the tabletop as well as the buffet top.
The buffet top was updated with Java Gel by General Finishes for the top of the buffet as well as the tabletop.
This post contains affiliate links. Click here to see my full disclosure policy.
Once the stain is completely dry, I apply 2 to 3 coats of my favorite wipe-on poly. Making sure to use these lint-free heavy-duty cloths to apply the polyurethane. Again, make sure to discover my tips on tricks for furniture staining in this post on how to use gel stain on furniture without stripping.
Properly tape off the newly stained tops and we are ready to paint. I tape off my tops because I use my favorite paint sprayer for most of my furniture makeovers. If you are painting by hand, you could skip this step.
How to use a paint sprayer for furniture
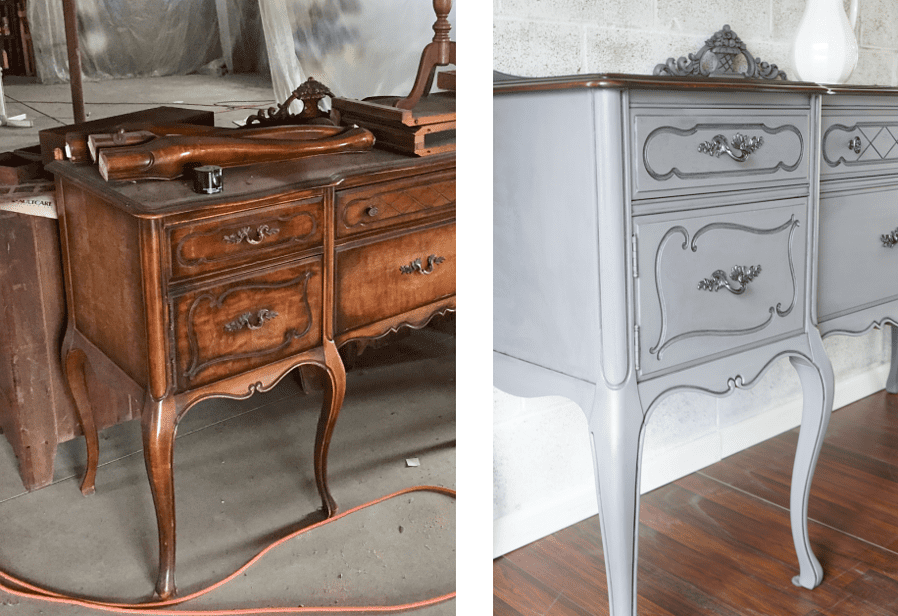
I painted the buffet and the table base in Queenstown Gray by General Finishes and sealed them using High-performance sealer in flat. Followed by applying graphite glaze.
If you would like to learn the tips and tricks to proper glazing, check out my how to glaze workshop. In this workshop, you will learn all the tips and tricks needed to glaze your next furniture makeover. Use this same technique for glazing kitchen or bathroom cabinets.
Discover the best products and tools needed for glazing furniture. See the glazing process from start to finish on a painted piece of furniture.
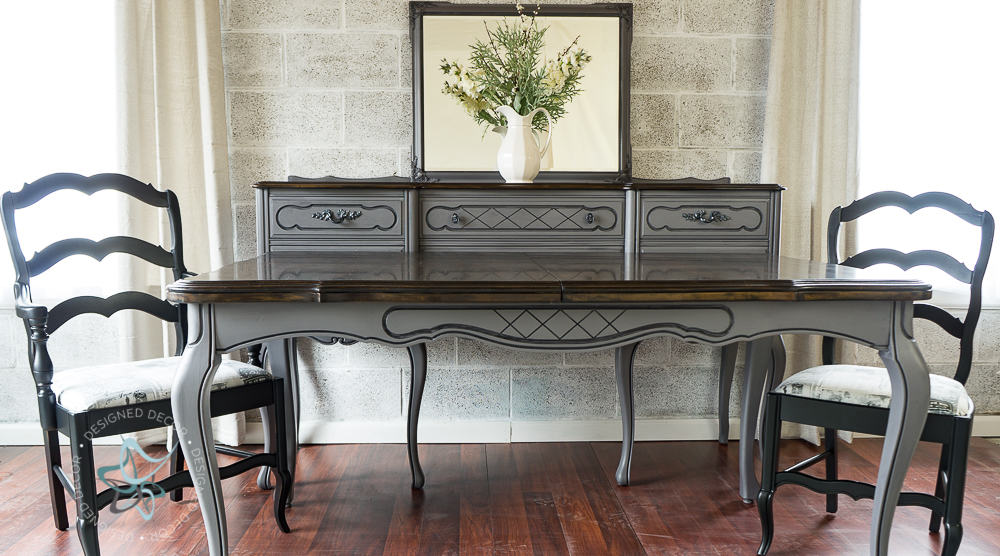
Now, this is a dramatic dining table makeover that makes a bold statement!
How to paint furniture hardware
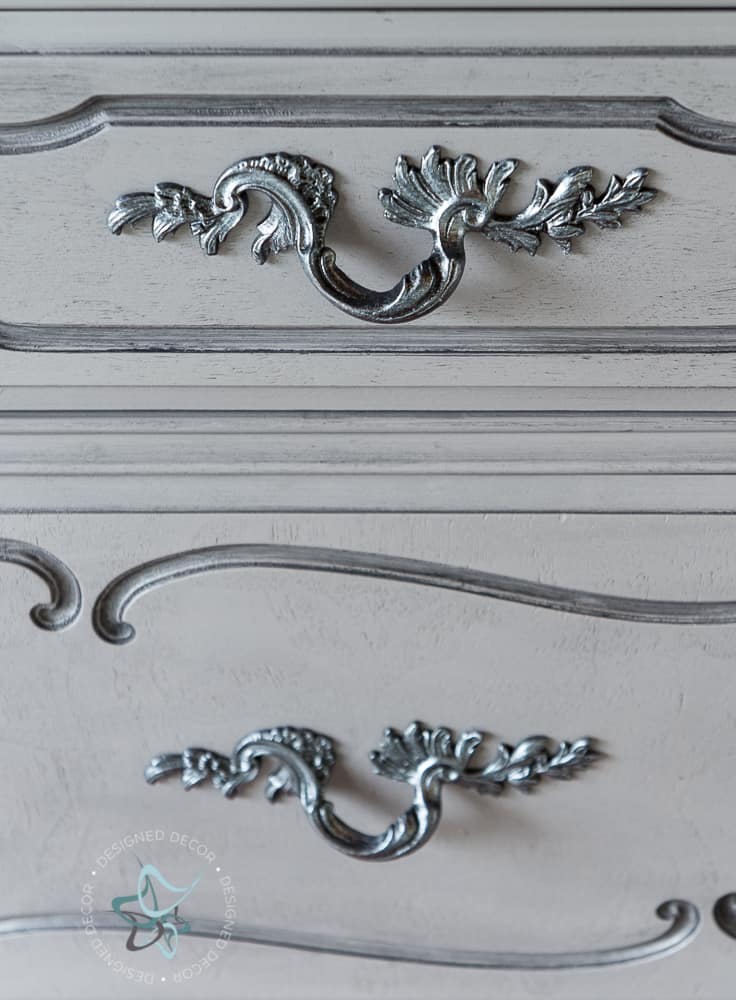
I painted the hardware with my favorite go-to method of metallic over paint. I teach 4 different ways of painting furniture hardware in this painting hardware workshop.
Upholstering dining chair seats
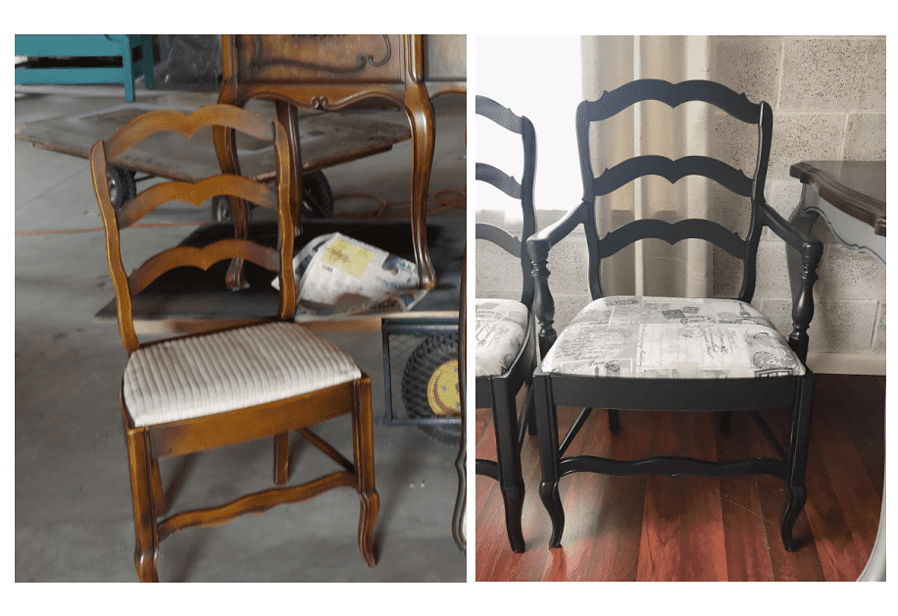
The chair seats were reupholstered with a french fabric (similar fabric) and the chairs were painted in lamp black and sealed with a high-performance flat. I like to paint the chairs in a different color from the table base. It gives the set more interest and the black chairs help accent the black glaze on the table and buffet.
Another option would have been to paint the buffet black. That would give you a different look without having both the table and buffet matching. The black chairs would match the black-painted buffet.
Final Result
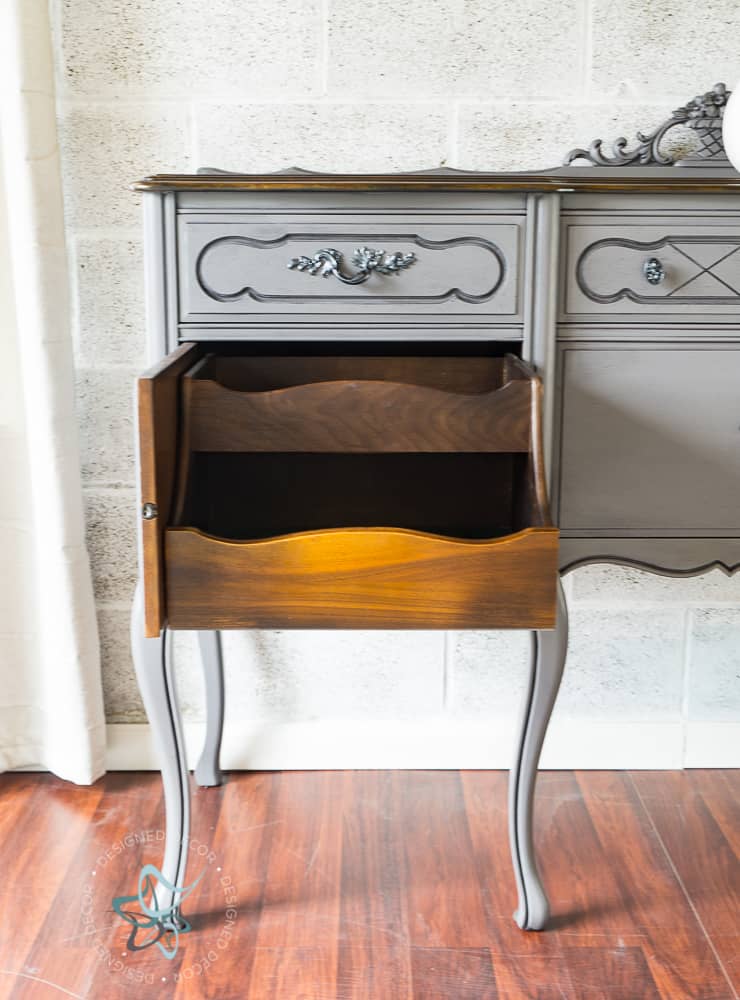
The fun thing about this buffet was the hidden drawer. The bottom of this pull-out shelf lifts up to a secret compartment. I actually found something in it. When I discovered the secret compartment and looked in, there was something wrapped up and I got really excited to discover what was in it. It was a handful of vintage silverware. Not the gem I was hoping for, but a treasure non less. This is how they hid their valuables back in the day, they built furniture with hidden compartments.
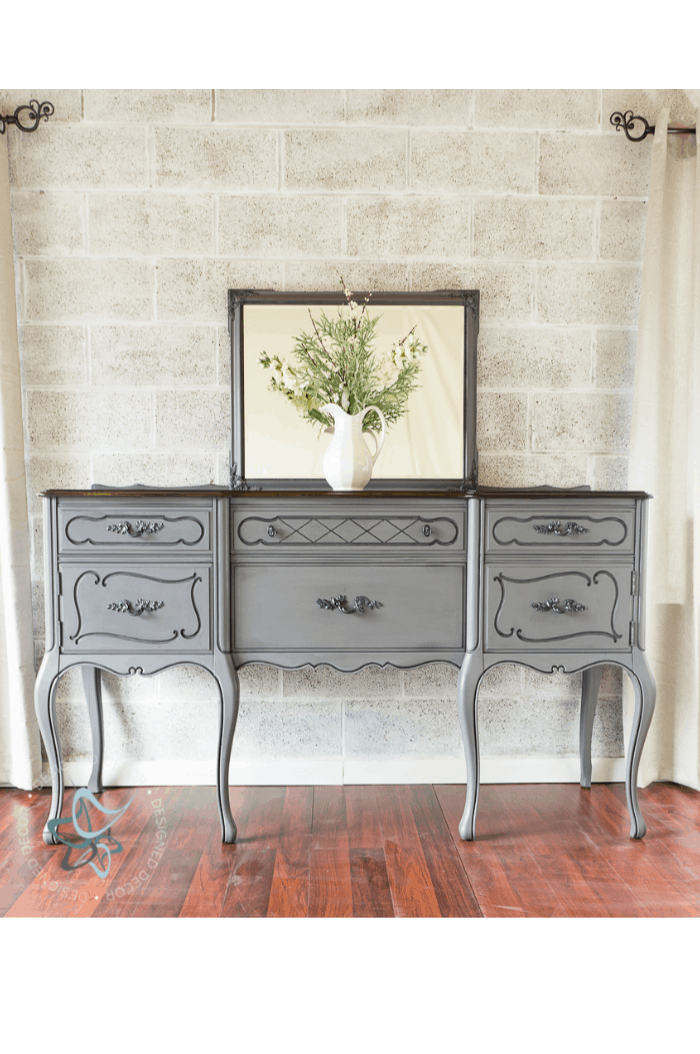
This DIY dining table makeover and buffet found a new home, unfortunately, they went to 2 different locations. I prefer to keep sets together, but not everyone has the space for a large dining room set. They have new life and great homes and we saved some outdated furniture from being tossed aside.
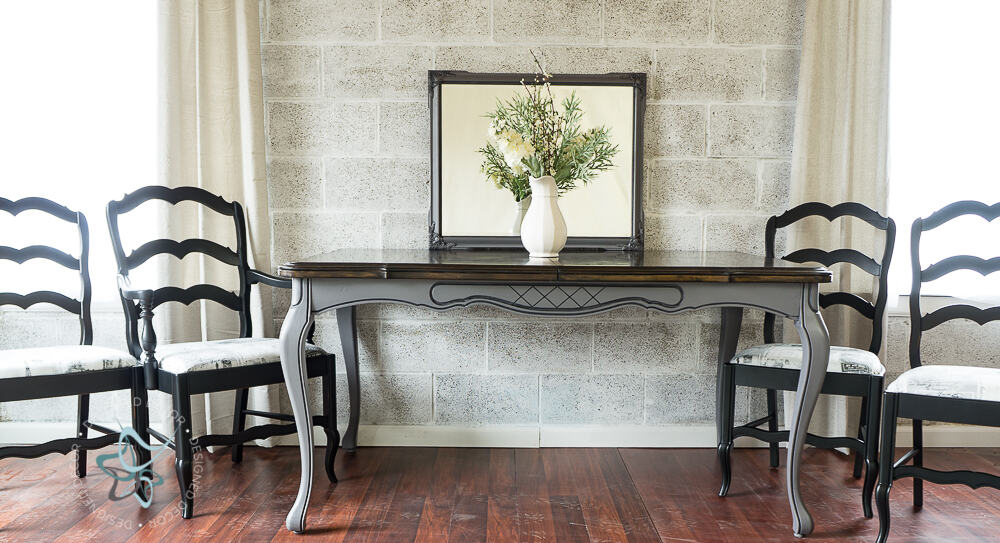
Updating an old dining table is a great way to give your dining room a whole new feel and look. Not only will you save money versus buying something new, but you can also find creative ways to make the table unique and reflect your style. If you’ve had the same dining table for years, now’s the perfect time to freshen it up with no-strip stain, furniture painting, and glazing. With a little bit of elbow grease and patience, you will have an updated dining set that you can enjoy for many years to come! So get out there and find some inspiration. Your perfect updated table awaits.
Check out these other great dining table makeovers
- Slate Dining Table Makeover
- Antique Dining Table Makeover
- Arhaus Trestle Table Makeover
- Farmhouse Dining Room Makeover
- Outside Dining Table
- Whitewashed reclaimed wood dining table
Join the DD Community!

Join the Designed Decor Community and receive weekly free tips on DIY home projects, painted furniture, decorating, and much more.
Leave a Reply