Have you ever had something all figured out and envisioned the end result? This was the case with this antique table makeover that I had all figured out and the vision crumbled as reality set in.

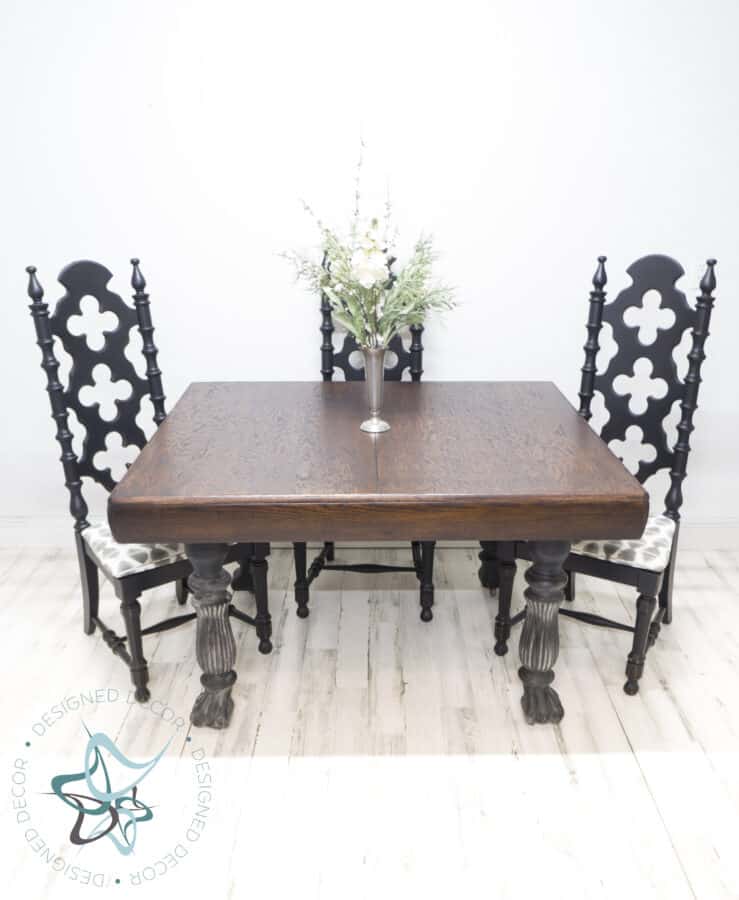
I bought this to be my dining room table, those legs are what sold me on the table.
It sat in my workshop for over a year waiting for my dining room transformation. It was time to get to work and transform this table into my vision.

3 major issues needing correction
- The table was too short, not enough leg room
- When pulled open, it had gaps in the apron of the tabletop
- No edge around the tabletop and apron
The table is designed to have casters on the bottom, and it is too short. I did not want casters on the bottom of those gorgeous chunky claw foot legs. I thought we could add some blocks to the underside of the table and build a new apron around the entire table and add a rounded trim piece to smooth out the tabletop. We planned to leave the table pulled out to its full size of 8 feet.
Many heated discussions later, as I am very hard-headed, I knew I would not be happy with the table and the updates. I wanted my apron to be under the tabletop and not at the edge. So I decided to give the table a makeover and sell it at the shop and look for another dining room table.
Making over the Antique table
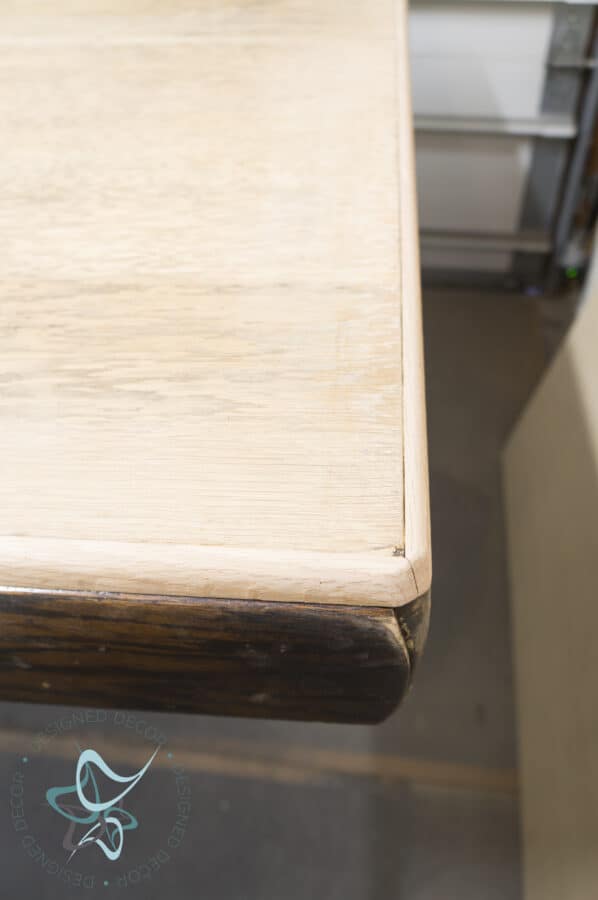
I added oak quarter round to the edges and sanded down the corners to blend with the table apron. Prior to adding the quarter round, I sanded down the entire top before realizing this table was not going to work for my dining room table. What is the stain does not match the original apron sides? If I was flipping this table, I never would have sanded down the top as it was in pretty good shape and I would just gel stain over the original stain to bring it back to life.

This post contains affiliate links. Click here to see my full disclosure policy.
I used Java gel stain and luckily everything matched up, the table apron, the added oak trim, and the sanded down original old oak wood top.
Painting and easily aging the table legs
I painted the table legs in Black using Amy Howard One Step Paint using my Wagner Sprayer.
Let the paint dry completely, apply light antique wax to the legs, and allow to tack for 10 to 15 minutes. Use a chip brush to apply Dust of Ages, making sure to pounce into crevices. Shake off access powder back into the container. Use a lint-free cloth to buff out the legs making sure the dust of ages stays in the crevices.
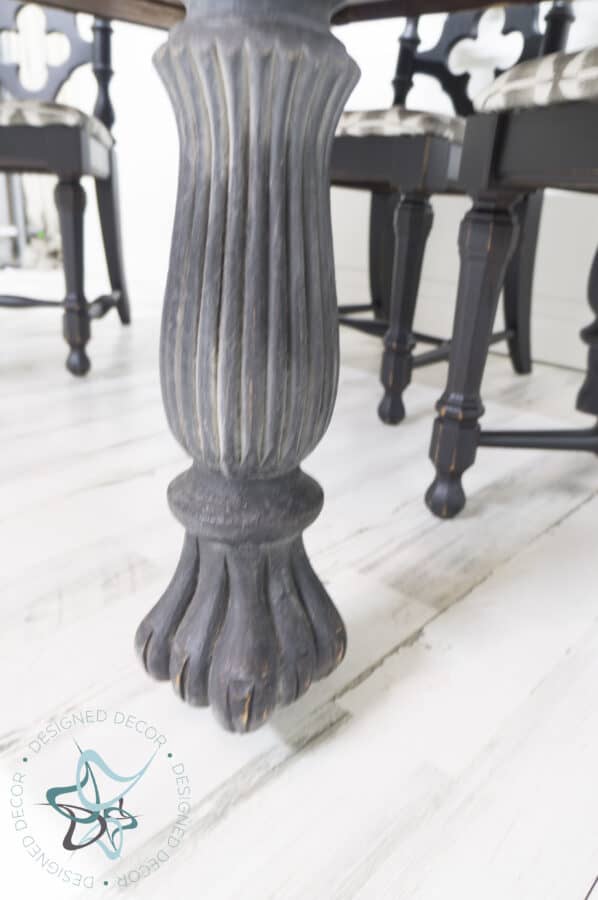
Tip: Do not apply the dust of ages when the wax is wet, it will turn dark and wet and not look like aged dust.
Aren’t those legs just gorgeous! This is why I fell in love with this table.
Chair Makeover
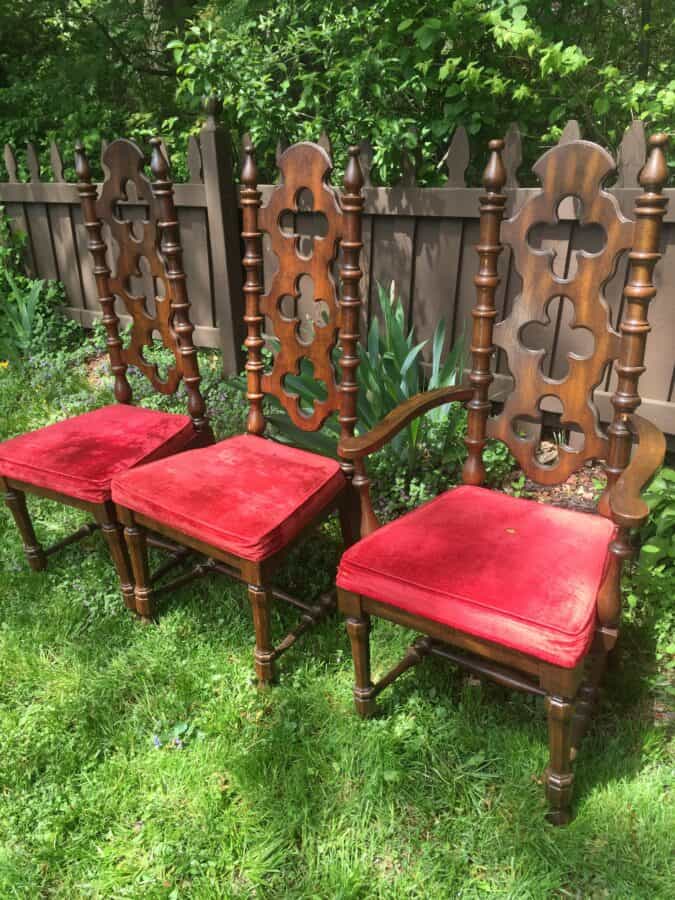
I painted the base of the chairs in black and sealed with General Finishes’ high-performance in flat. Even when using paint, like Amy Howard’s one-step paint that states you do not need to seal as the sealer is already in the paint, I still seal for added protection.
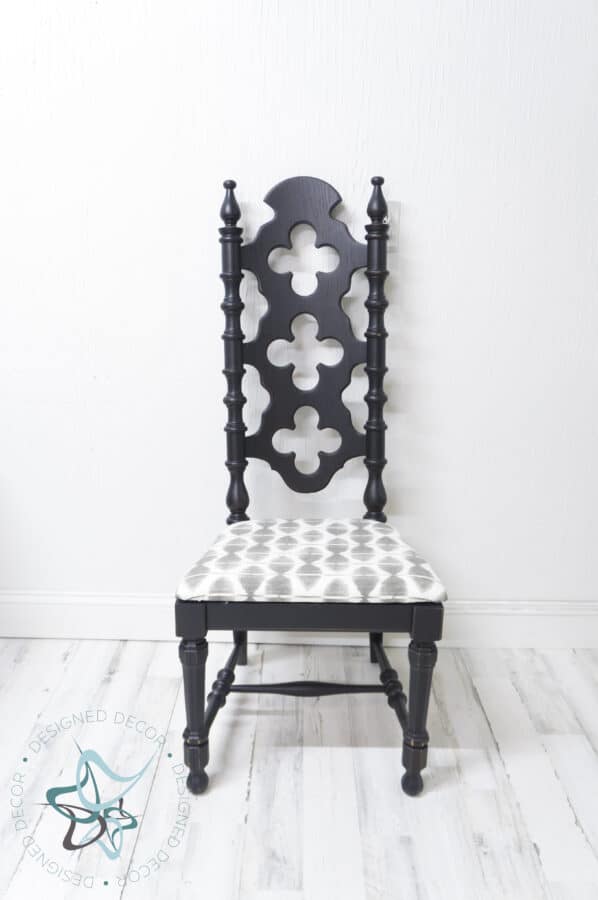
Come over to learn how to upholster chairs.
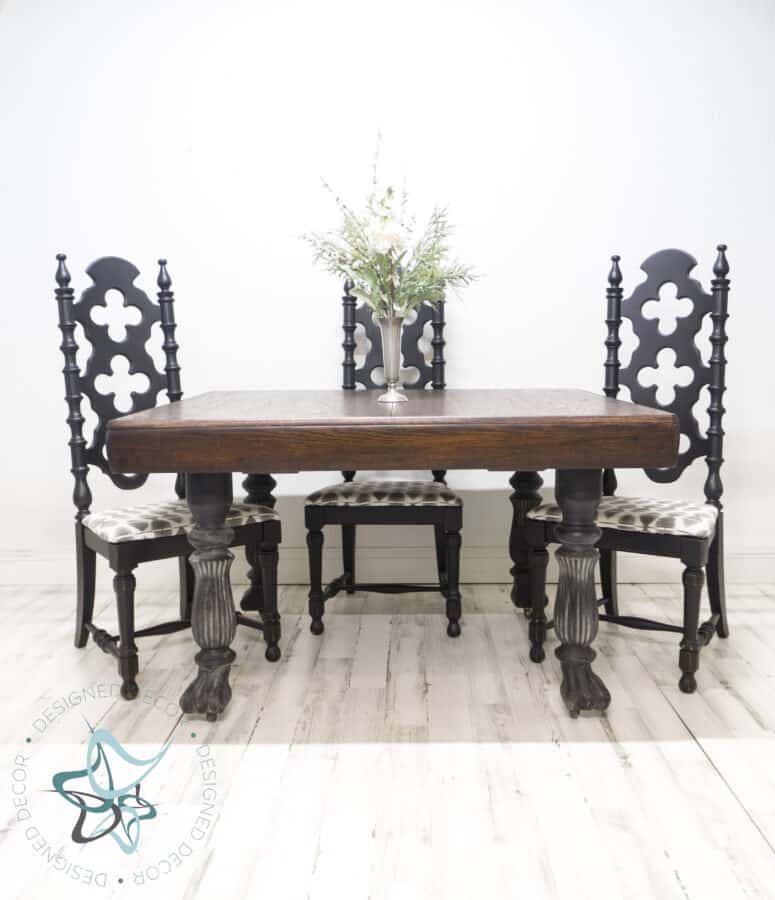
Some of you might recognize those chairs. I ended up keeping them as I had someone who only wanted to purchase the table.
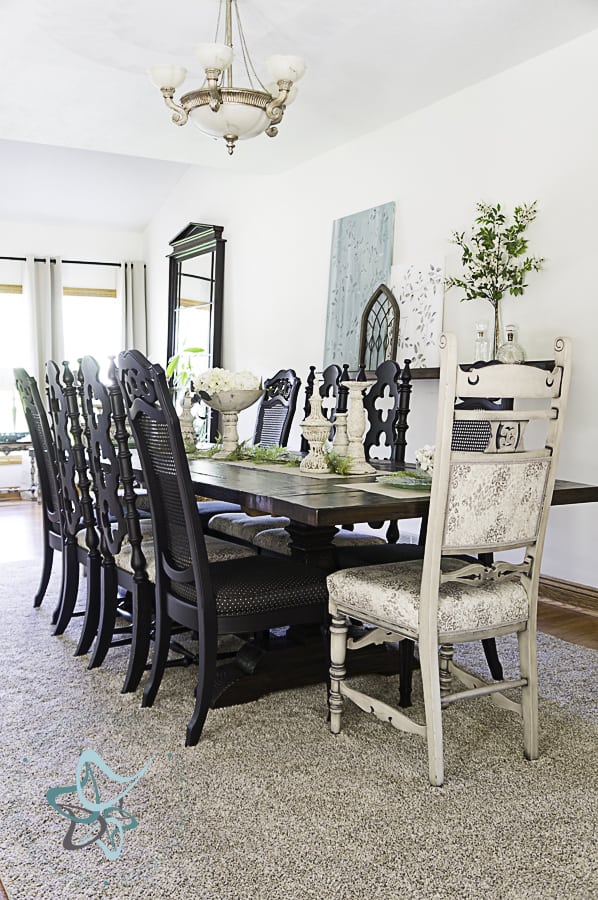
I used those chairs and others for my dining room table. Click over to see the details on the table I found to replace this antique table.

Join the DD Community!

Join the Designed Decor Community and receive weekly free tips on DIY home projects, painted furniture, decorating, and much more.
Derek Lefkowith says
I have the chair in your picture but can’t seem to gather much info about it the tall backed antique chair with 3 clove type designs is there anything you could help me with I sure would appreciate it all my best
Designed Decor says
Hi Derek,
I do not know much about them either. My personal opinion is that they are from the 1970’s. My chairs had a crushed red velvet fabric, which seems appropriate for that time frame. Also when I removed the fabric, the cushion was made of foam. Most really old antique chair cushions were made of a straw like material. I have never seen them anywhere else as well.