Is the interior of your home in desperate need of a good painting? Are you putting off painting your rooms because you know it is a major task and you just can’t find the motivation? Are you one of those people who would rather go watch the grass grow or pick weeds instead of painting? You can easily paint walls and I am here to share how to paint a room.
This post contains affiliate links. Click here to see my full disclosure policy.
How to choose interior wall paint colors
Before you begin to paint a room, you need to select a paint color, and this process can be very overwhelming. I start by testing paint colors on my walls so I can get a better idea of the color and how it will look in my room.
Maybe you are like me and painted swatch samples on your wall and those painted samples are still there a year later! I wish I knew about Samplize before I painted patches of test paints on my wall.
Samplize allows you to order peel & stick paint swatches from the top paint manufacturers. This makes it so much easier as you can move the paint swatch from wall to wall. This allows you to easily see the swatch in different light settings.
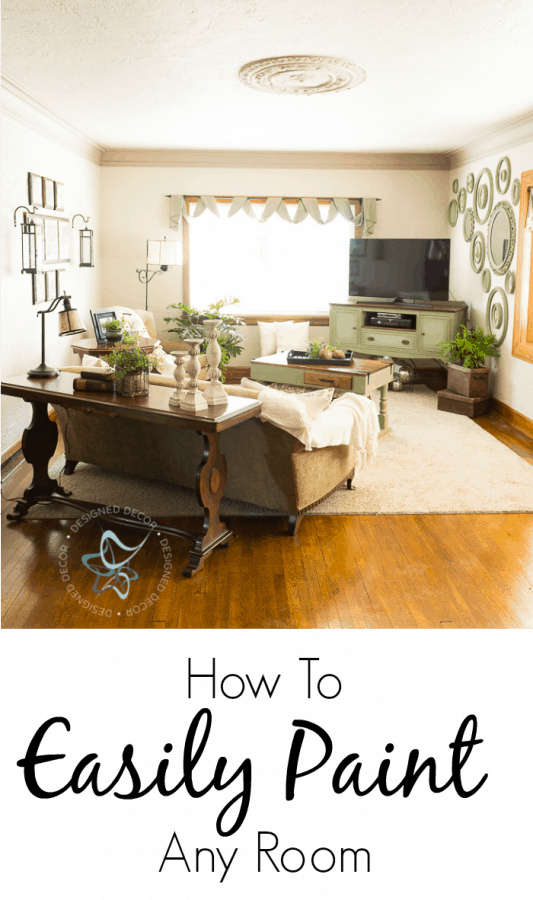
The easiest way to paint a room
I have tried many different ways to paint a room from just brushes, to standard paint rollers, and smart paint rollers. I have first-hand knowledge of all these types of room painting techniques and I am going to share my “NEW FAVORITE” way to paint any room.
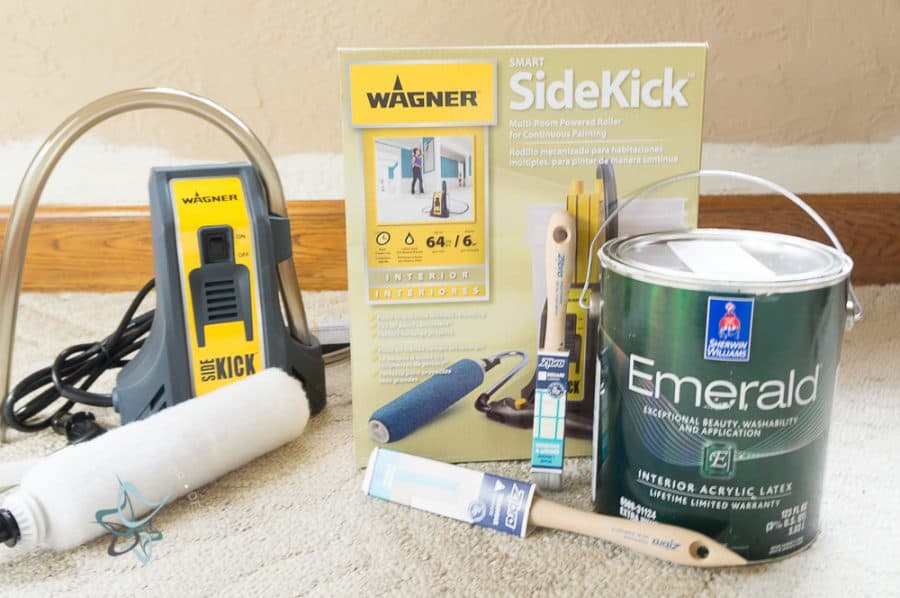
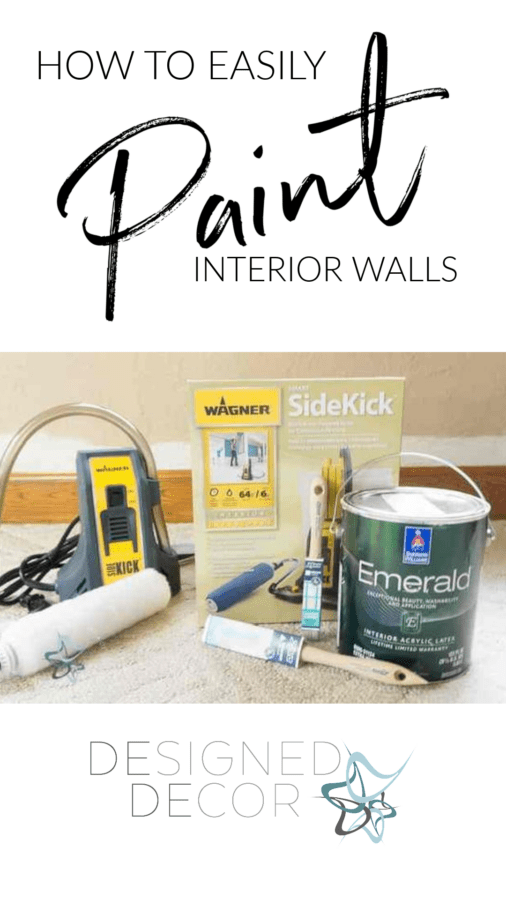
Hands down I will always be using a Wagner SideKick.
I painted my entire living room(including the ceiling) by myself in a day. I removed all the decor items, pushed the big pieces of furniture to the middle of the room, and covered them with drop cloths. The painting was so easy that I even had time to rip up the carpet and put all the furniture back in its place. By the end of the day, I was able to sit down and have a glass of wine.
Now that is progress!
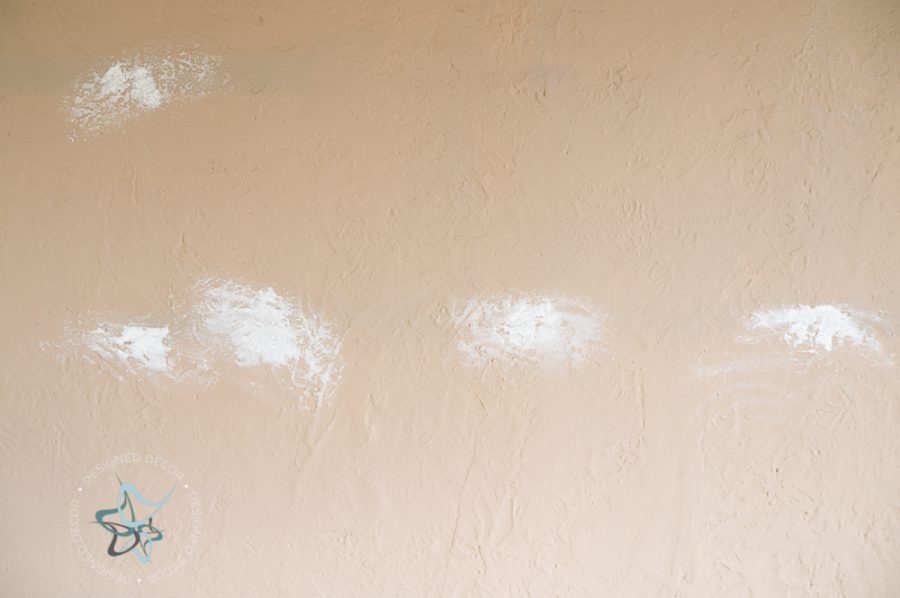
I patched all the holes in the wall with drywall mud. I have textured walls in my 1927 home, they are a blessing and a curse. They are a blessing when you are patching because you don’t have to have a completely smooth finish on the hole repairs and the curse is when you paint. Textured walls are bumpy and the rollers sometimes miss those deeply textured areas even with the proper nap roller.
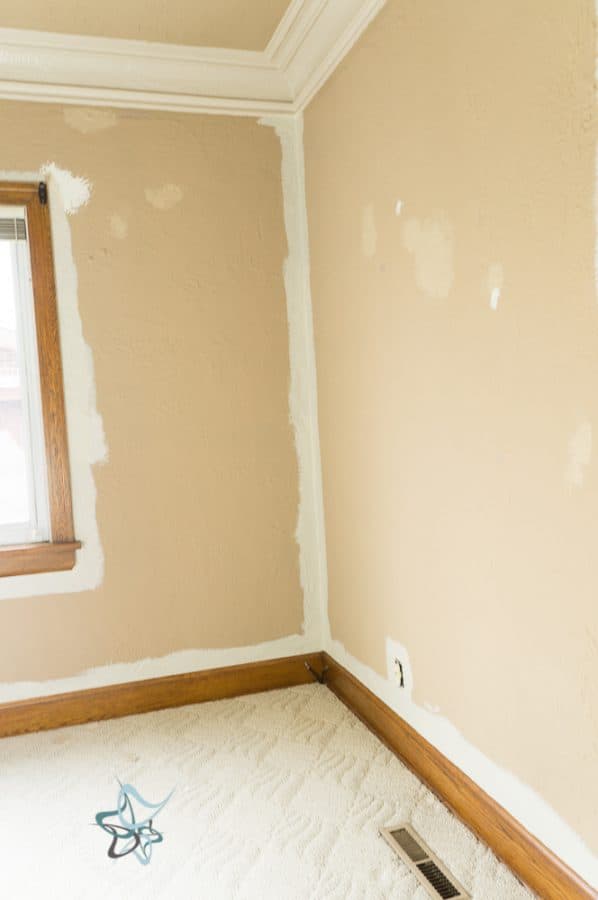
I hand cut in around all the baseboard and ceiling trim and also the corners where the roller can not reach. Do you want to see how I cut in around the trim without wasting my precious time using tape? Let me show you how it is done – – – > No Tape Trim Painting
The fastest way to paint walls
Make sure to read the instructions before beginning. The directions explain how to set up the Wagner Sidekick correctly.
Power it on and let the paint run up the tube into the paint roller. Once the paint reaches the roller head, begin to roll the brush on the wall. It will take a few times rolling before the paint comes out evenly on the roller.
The best part: no stopping to fill the paint roller in a paint tray and drip all over.
Make sure to follow me on YouTube to see more home decorating videos. See if you can count the times that Miss Cinnamon makes an appearance in the video, it is funny to watch!

I pretty much had complete 1-time coverage in most areas, even with my textured walls. The places that I had to go back over were where I didn’t press hard enough(mostly the ceiling) or let the paint get too dry on the roller.

The cleanup on the tube was just as easy as the painting. The Wagner SideKick is so convenient and a big “time” saver.
Are you wanting to learn how to paint furniture and just can’t find the time in your busy schedule to go to a local workshop?
Frustrated with all the conflicting tutorials on “how–to” or “what products”?
Are you eager to learn a new paint technique and afraid you will mess it up?
Learn many different furniture painting techniques with video training from beginner to advanced.
Online Furniture Painting Workshops for every skill level
Insider Furniture Painting Tips and Tricks
Wall painting tips
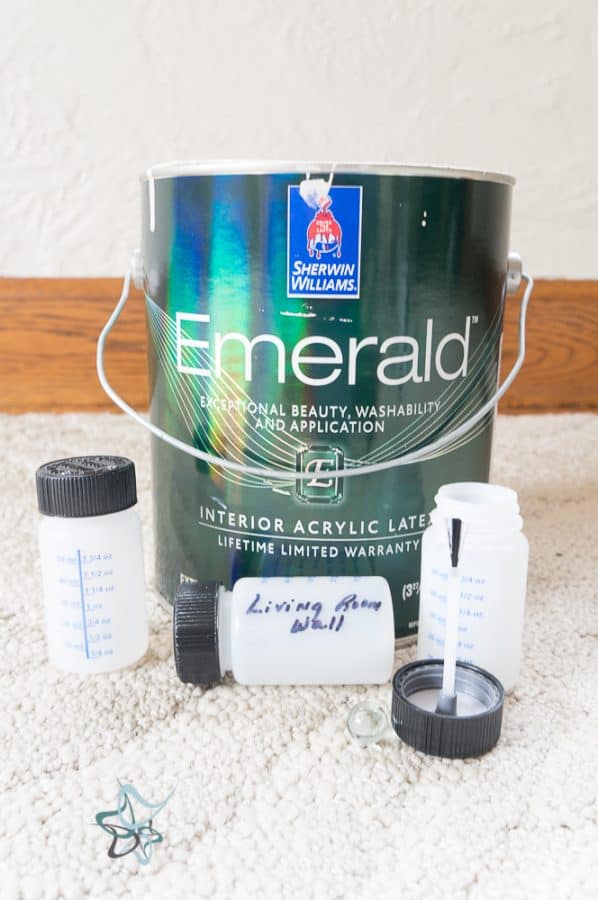
- Use touch-up paint bottles. After I paint a room, I fill a small amount of paint into these touch-up paint bottles and label them. I keep them handy so when I find a spot that was missed I can easily touch it up instead of having to open a gallon of paint every time I find a spot. This is a MUST when you are painting textured walls. You will always find a low spot that did not get enough paint.
- Paint the outlet covers and wall switches to match the wall color. This allows them to blend into the wall and not be as noticeable.
- If using painter’s tape, remove the tape while the paint is still wet. This allows you to correct any leaks and prevents pulling off dried-on paint.
- Wrap the wet paint brushes you used for cutting in the trim with plastic wrap and place them in the refrigerator until the painting is complete. This keeps the paintbrush moist in case you need to touch it up around the trim areas.
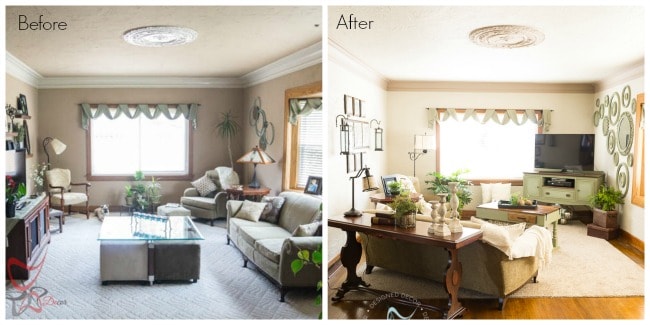
I switched the wall and trim colors. Paint Colors used in the before photo: Walls- Sands of Time (SW6101) Trim- Realist Beige (SW 6078)
Paint Colors in the after photo: Walls- Accessible Beige (SW7036) and Trim- Temperate Taupe (SW6037)
My main reason for going lighter on the walls was that I was exposing the original hardwood floors and needed a light wall color to offset all the wood tones to make the space brighter.
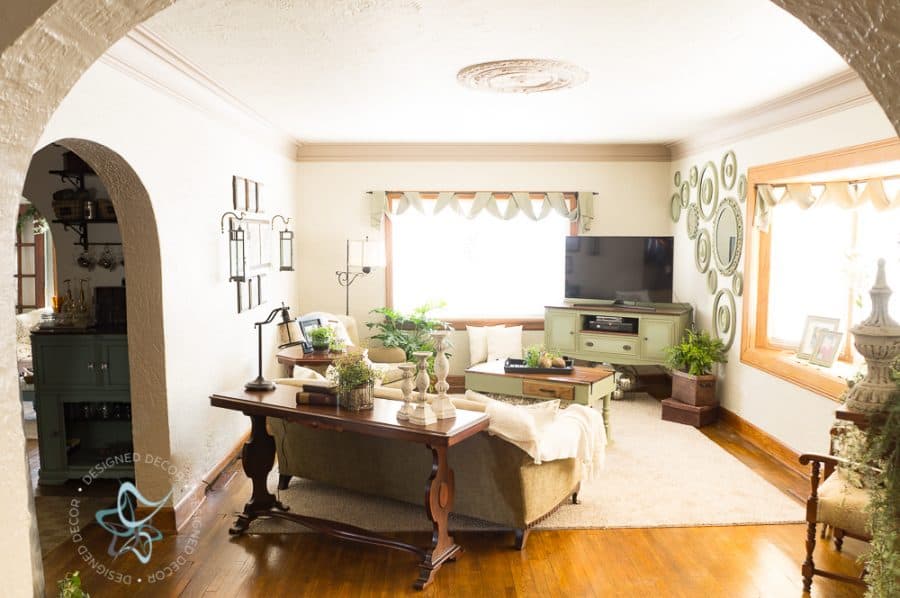
I received the best compliment ever from Mr. DD who complains about the changes that I continually make to the house. He said he is really liking the way the house looks and he was glad he finally let me rip out the carpet. Wait, what? This is the same man that fought me tooth and nail that I was not ripping out the carpet. Now, we are both happy in this space!
Other Interior Painting Articles
- How to properly paint oak
- Painting Bricks to look real
- How to choose interior paint colors
- How long does it take to paint a room
- Easy “no tape” trim painting
- A simple way to remove wallpaper
- How to use a paint sprayer for walls
- Painting a ceiling
- Helpful Paint Sheen Guide

Join the DD Community!

Join the Designed Decor Community and receive weekly free tips on DIY home projects, painted furniture, decorating, and much more.
Leave a Reply