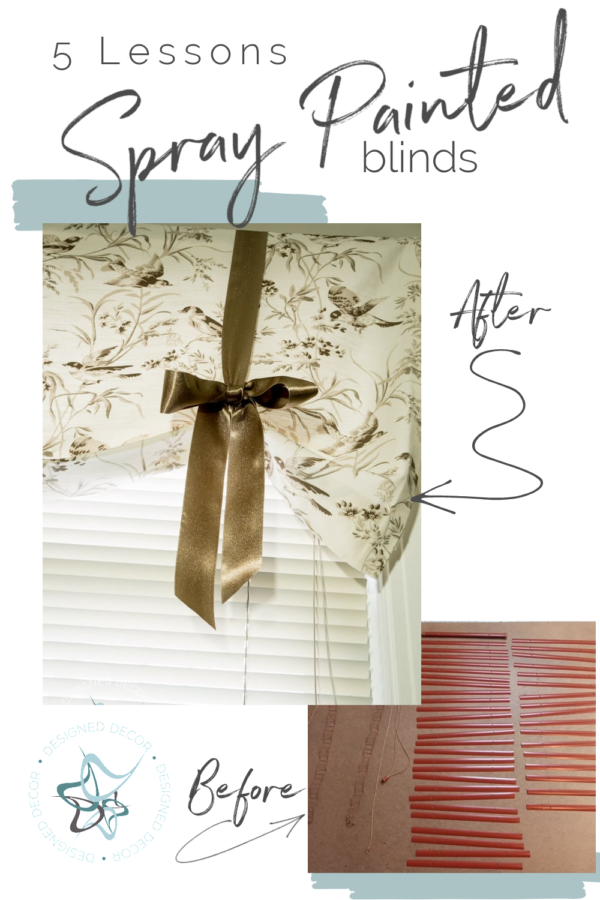
Sometimes being a do-it-yourself kind of gal is a huge blessing and sometimes a curse. Most of the time, it is a HUGE blessing as it has saved me a ton of money on my home projects. Not to mention the feeling you get when you stand back and say, I did that! I am going to share the 5 important lessons learned from these Spray Painted Blinds.
A few months back, I completed my closet makeover and needed to change out the burnt orange blinds. The blinds were a good quality metal and were a custom-made size. The DIY’er in me said “save money and spray paint them,” so that is what I did.
Lesson #1: Clean Blinds thoroughly!
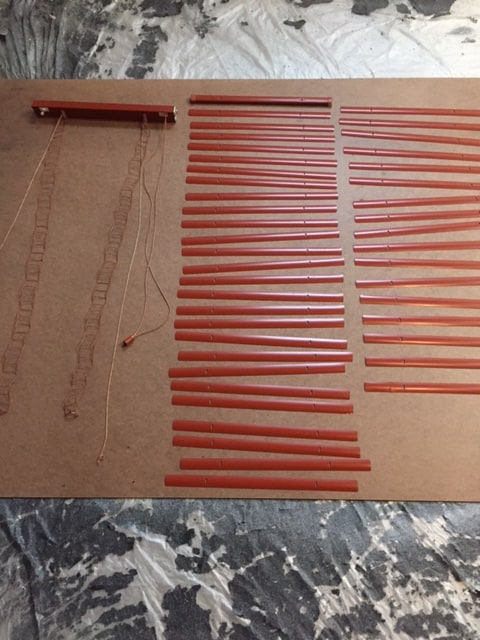
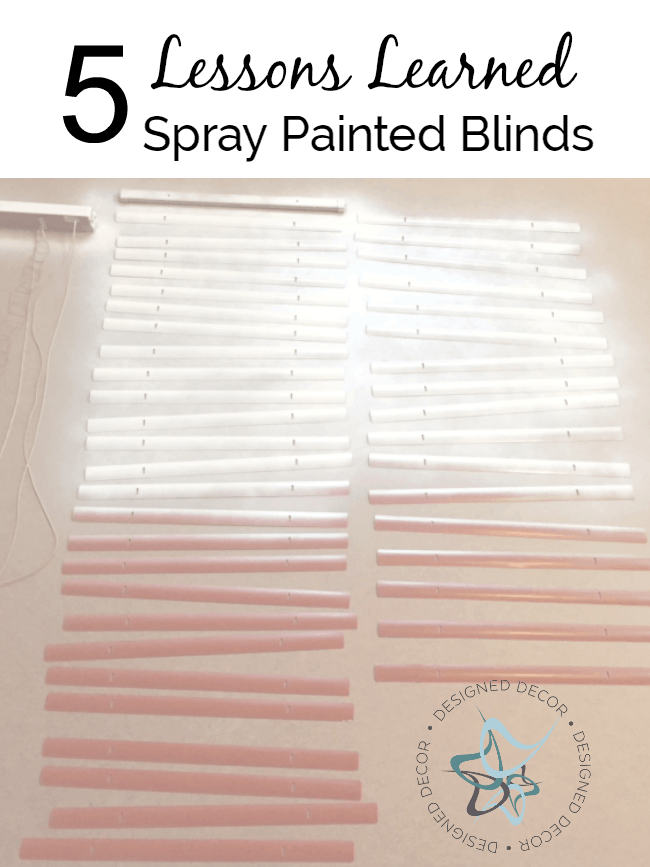
In order to properly clean the mini-blinds, I would need to soak the blinds to get the dust build-up off of the blind. I decided it would be easier to remove the slats and soak the slats since the headrail should not get wet. After I soaked and scrubbed the blinds in my bathtub, I laid them flat on towels to dry.
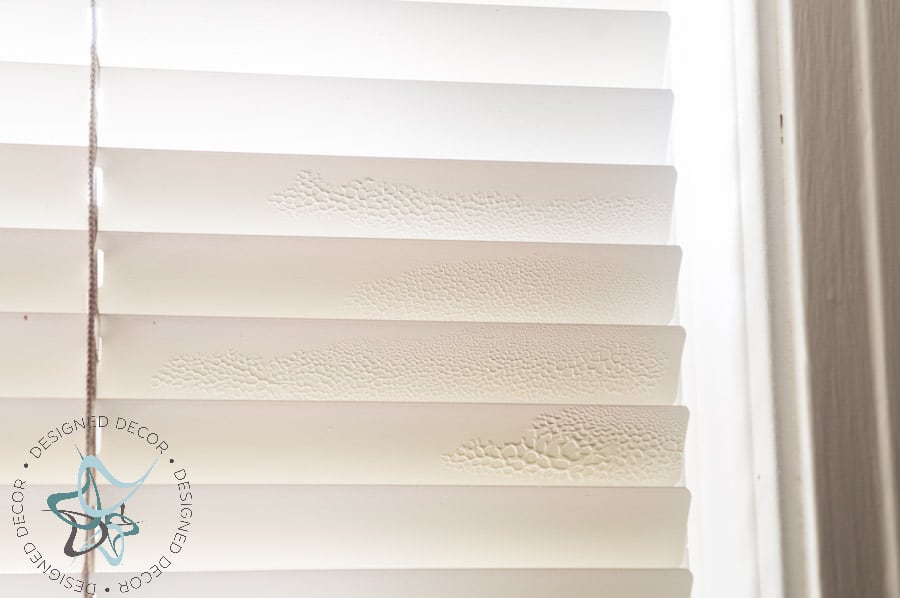
Hindsight- I should have also used a degreaser on the slats as well. I thought the soap and water would be enough. Once I sprayed the blinds, a few of the slats crackled due to build-up on them that I did not get removed. So again, thoroughly clean, clean again, and clean again.
Lesson #2: Don’t underestimate the amount of spray paint needed.
I was thinking I could easily use 2 cans of spray paint on these 2 smaller blinds. WRONG! I used 3 full cans and could have used a small amount from a 4th can. I underestimated the amount that would be wasted on trying to spray the strings to get proper coverage.
If I decided to spray paint window blinds again I would use Rit dye and dye the strings instead of spray paint. The spray paint also made the strings stiff, so that does affect how easily the blinds raise and lower.
If you are deciding on painting blinds instead of buying new ones, you must calculate the cost of supplies and your time to determine if the cost savings of spray-painted blinds outweigh the expense of new blinds.
Lesson #3: How to re-stringing blinds!
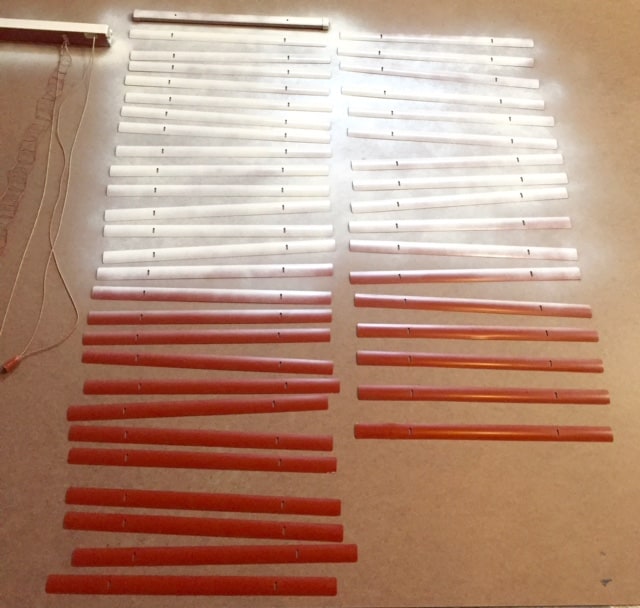
Pay attention to how the blinds are strung before you quickly take them apart. Since I did not do this step, I discovered it the hard way. After I put my blinds back together and held them up to see how they looked, all the slats began to fall out.
I just quickly put the string down the center not thinking that I needed to crisscross the center string around the ladder cord. Once I googled how to restring blinds and read a tutorial, it still took me 3 times before I got it right.
After the first side was done, the rest were much easier and faster to restring.

Lesson #4: Don’t be cheap!
When deciding on a mini blind, I prefer to have metal blinds over a vinyl blind. Metal blinds look nicer and last longer. I usually do a custom blind so I can have a proper fitting inside mount. The big hardware stores now have blinds that can be cut to width and they are nice quality blinds. I used one of the cut-to-width blinds for my attic stairway, and love how it looks and the price compared to a custom-made blind.
When I priced out what 2 aluminum blinds would be for this space and the cost would be $52. I spent $12 on spray paint and used a lot of my time in cleaning, spraying, and re-stringing the blinds. You have to make the decision is your time worth the extra money or is having a nice new product better?
Lesson #5: DIY isn’t always best!
This is where being an avid DIY’er is sometimes a curse. Just because it can be done as a DIY does not always mean it should be done. I did not think that spray painting 2 small blinds would have taken up so much of my time. In the long run, I think this would have been easier to spend the extra money on the new blinds, which would have saved me a lot of time. But then again, you need me to do these things so I can let you all know not to waste your time!
My blinds are done and here to stay. As for the next time, I might consider buying new ones! However, if the cost savings is over $100, I would spray paint my blinds again.
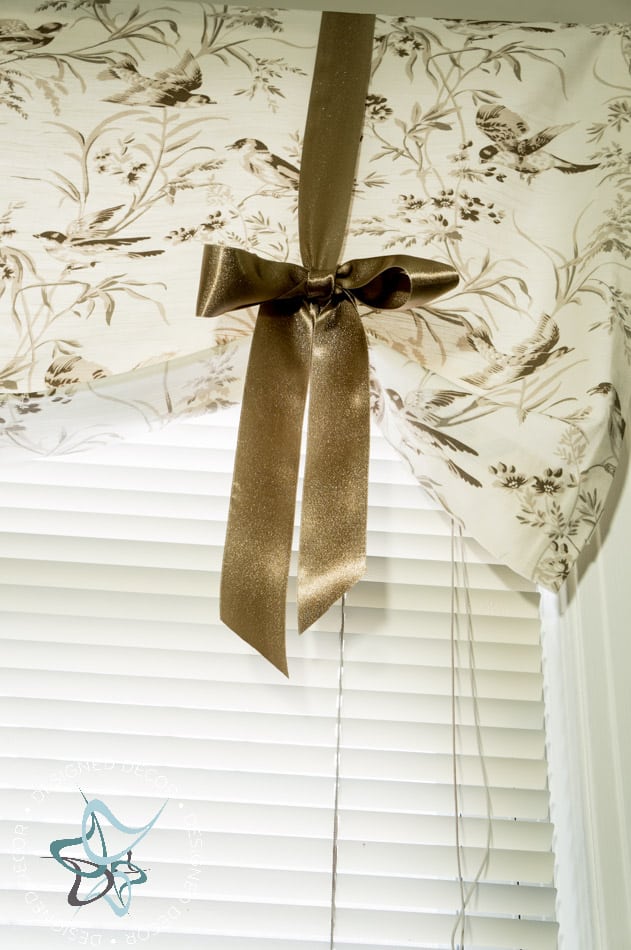
If you love my valance, you can read how I made it on this post: no-sew tie valance.
Questions on how to paint blinds
- What paint is best for spray painting blinds? I recommend using a primer and paint in one(< this is my favorite). This will save you time from having to prime and paint separately.
- Do I need to seal it after painting the blinds? Yes, you need to seal the blinds after painting. This adds protection for a longer-lasting finish. I like this clear matte sealer.
- Can you spray paint other materials besides metal blinds? Yes, you can spray paint plastic as well as wood using the same products mentioned above.
- Do I have to remove the string before painting? If you want a nice paint finish, the answer is yes. Removing the string gives you a better finish which will make the blind look like it was custom-made. It is also easier than trying to paint around the string.
Don’t be afraid to try your hand at DIY projects that seem hard. Check out some of these other DIY projects that I was afraid to take on.



Join the DD Community!

Join the Designed Decor Community and receive weekly free tips on DIY home projects, painted furniture, decorating, and much more.
Greg Sonata says
Spray-painted blinds look like a great idea, and I am glad you’ve discussed this idea here. If you continue to share more pictures like this, I’d be extremely thankful.
Sc says
Thank you, thank you, thank you……from sc in Washington
Elisha Aurangzaib says
Hi please could you tell me how this project went for you? Thinking of doing the exact same things. Any tips?
Mary Dillon says
About 21 years ago I spray-primed and spray-painted ordinary vinyl miniblinds to get a custom color that I couldn’t find anywhere. I used new CHEAP blinds. I didn’t take them apart or think to dye the cords separately. The result was very satisfactory (to me!) and I continued to use them until on this last round of window cleaning the cords stuck and they fell down and broke. These poor things were never made to last! And I must admit in the past few years they had begun to sag in the middle.
I fully appreciate what you’re saying about how much time it takes to do some of these DIY projects that appear simple enough at the outset. This week accordingly I caved and put up new white blinds. I don’t think anybody will fault them but I don’t like their appearance anywhere near as much as I liked the old ones. If I had known 20 yrs ago what I know now, I would have bought better quality before doing all that work.But then I think, these things get so dirty anyway and cleaning them is such as task, it’s better to be able to replace them when they get beyond cleaning.
But guess what? Before taking the old ones out to the trash, I cut a swatch or two off for future paint matching, and I notice they are nowhere NEAR as dirty as some of the other unpainted white ones that have been here for say, 6 years.
Wonder if the spray paint somehow repelled dirt better than the original finish? If so, that wd be worth knowing, and worth the extra work. Because guess what else? I DO NOT CLEAN BLINDS!!!! Ever!
Is there some other product that we can apply to repel dirt? I’d make the extra effort in a heartbeat!
Designed Decor says
Hi Mary, I love this story! I am amazed that those cheap blinds lasted that long! If I needed too, I would spray paint my blinds again. I think you might be able to use a fabric protector like Scotch guard to repel some of the dust. I have also read that static guard works. I am not one that cleans blinds either because they never come that clean so why bother. I have read that some of the newer custom blinds are made to repel dust. I love blinds in my house and when I start to work on areas of my new home I will definitely be looking into dust repelling blinds. #noblindcleaningzone
Selin says
Thank you for this post! I’m about to embark on this exact project, going from dark wood to white. Any thoughts on how to get the strings lighter? I’m assuming RIT dye only works to darken.
Designed Decor says
Selin, I would try bleaching them. I believe the Rit dye only comes in colors, no white. Let me know if the bleaching works.
Laura says
Very smart post!!! Dyi is not always best!! Something to consider for sure before I paint!!
Denyse says
That is something I would so do and I’m glad you did it first. 😉
Linda says
Interested in knowing where you got the valance or the material to make it. Thanks.
Designed Decor says
Linda, you can read how I made the valance on this post. http://wp.me/p30WfZ-3Hq The fabric is from Joann Fabrics.
Linda says
Thanks for the tips of what not to do!! Love the valance material – where did you get that??