As much as we all want those luxury walk-in closets, they come with a big price tag. I would much rather spend that money for other makeovers in my house instead of a closet only me and Mr. DD will be using and seeing. Well, except for all of you visiting, you get to see our practical DIY walk-in closet makeover.
Before – Walk-in Closet
Let me start by saying that our walk-in closet was not all that bad. It had plenty of shelving and hanging for most of our clothes.
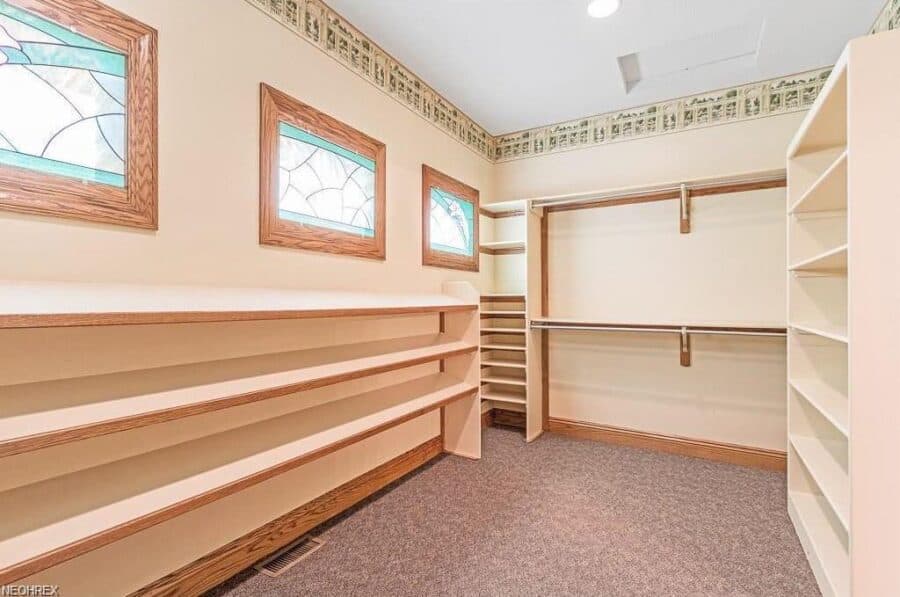
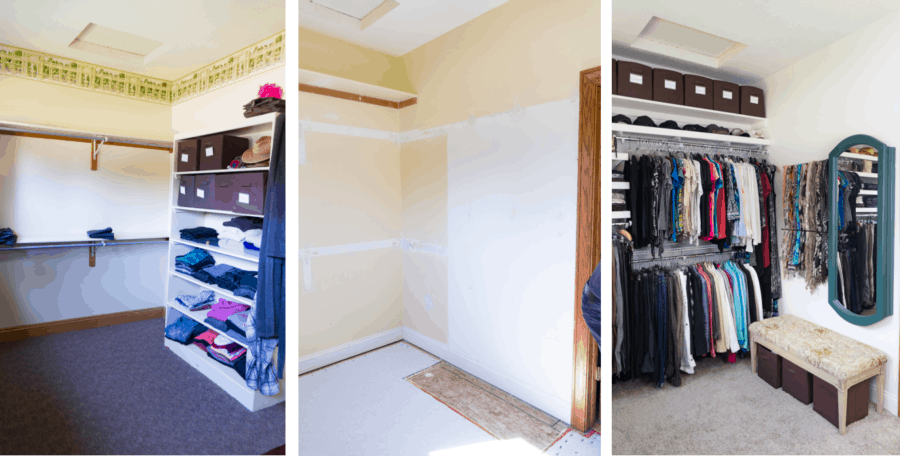
This is the master closet before we moved in. It looks spacious and roomy.
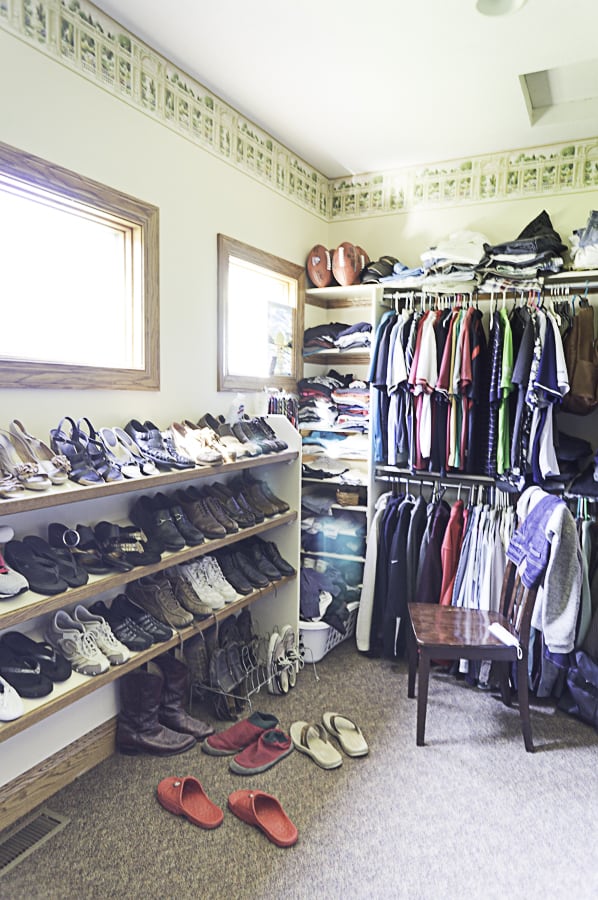
However, once we moved in and lived with it for 2 years, we began to note all the things we needed to change to make it more efficient.
We felt that the wall of shoes was a waste of space. We could better utilize that wall with other storage.
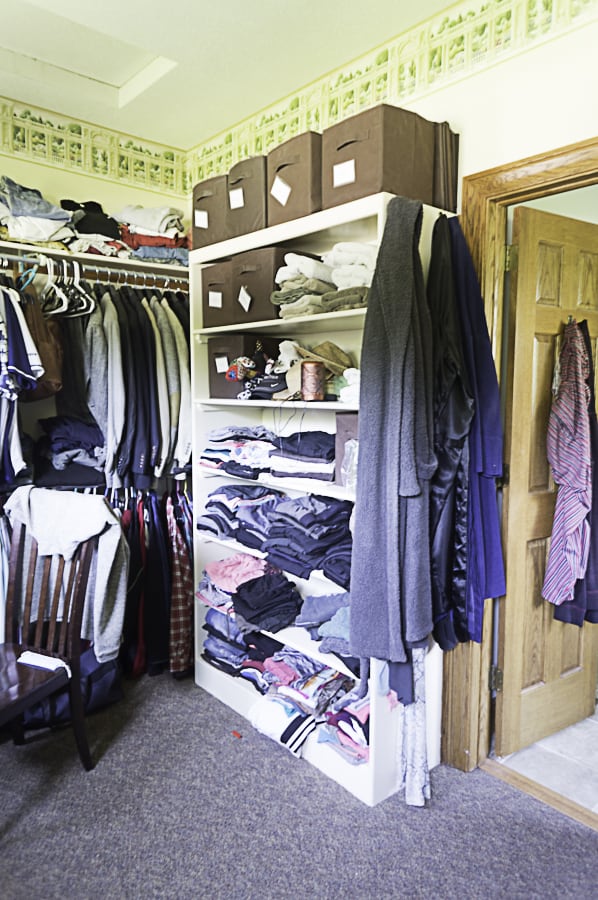
The neat freak in me was hating the clutter of clothes with the open shelving.
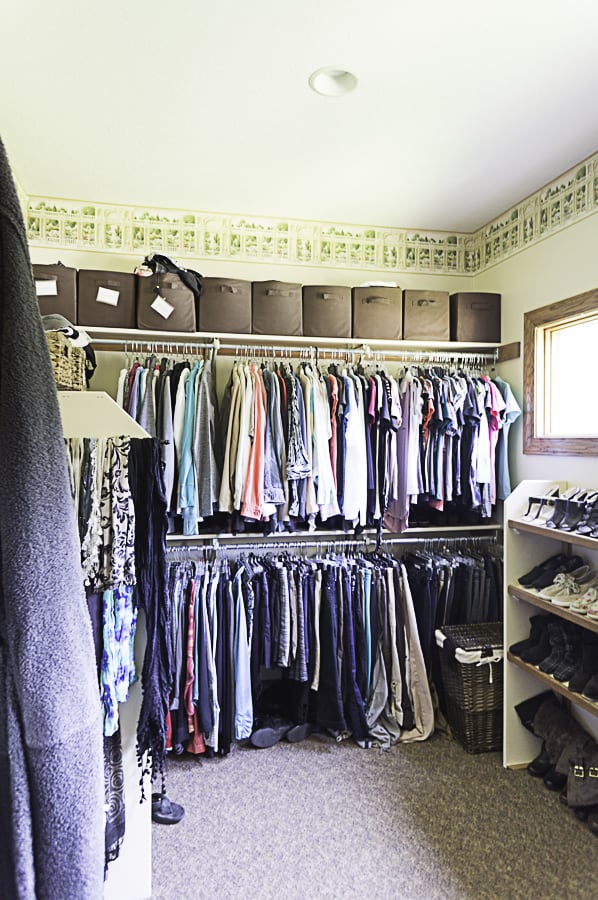
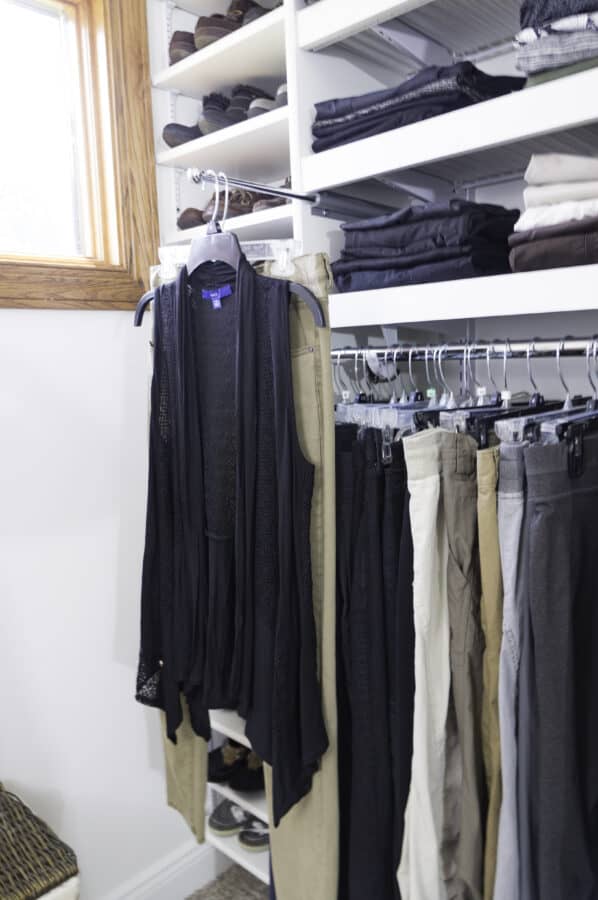
My pants were clumped on the ground, as the hanging racks were too low. Both myself and Mr. DD like our pants hung from the top and not folded over the hanger, as that makes creases in your pants.

Walk-in Closet Design Plan
Our DIY walk-in closet makeover design plan needed to be practical and include thrift ideas by using what we had and that we could buy inexpensively. So here is the list of things we wanted to add to the design.
- adjustable closet hanging system
- dressers to hold and hide the folded clothes
- shoe holders to take up less space
- mirror jewlery cabinet combination
- storage bins for seasonal items
- laundry baskets
- storage for hats and scarfs
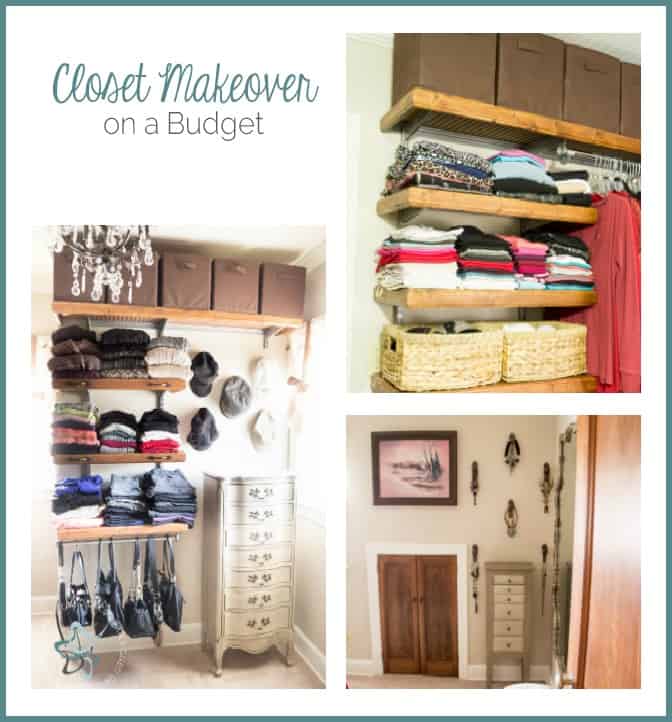
All of these design ideas came from my closet makeover on a budget. I turned a tiny bedroom in our old house into a budget-friendly walk-in closet.
Walk-in Closet Tear out
Originally we were going to use the existing hanging bars and just raise the shelving and the bars higher so we had enough hanging room for our pants. Once we began the closet tear-out, we decided it would be easier to adjustable hanging sections so we can easily change the heights as needed.
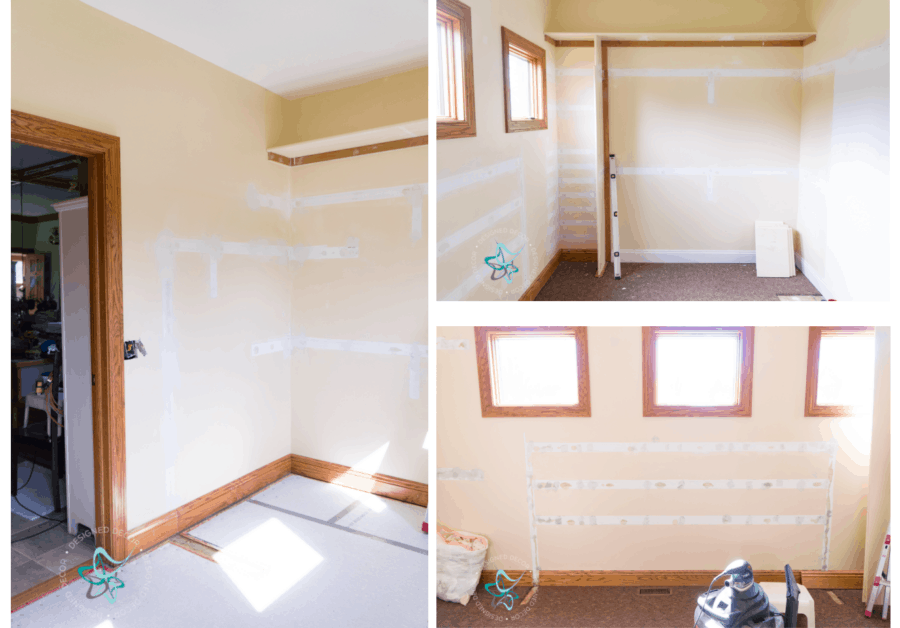
We did reuse the top shelving board that ran the length of the closet. You can see from the pictures above that we raised the top shelf about 16 inches above the original height. We also kept the cubby that was on the one side and this would be our new location for the shoes.
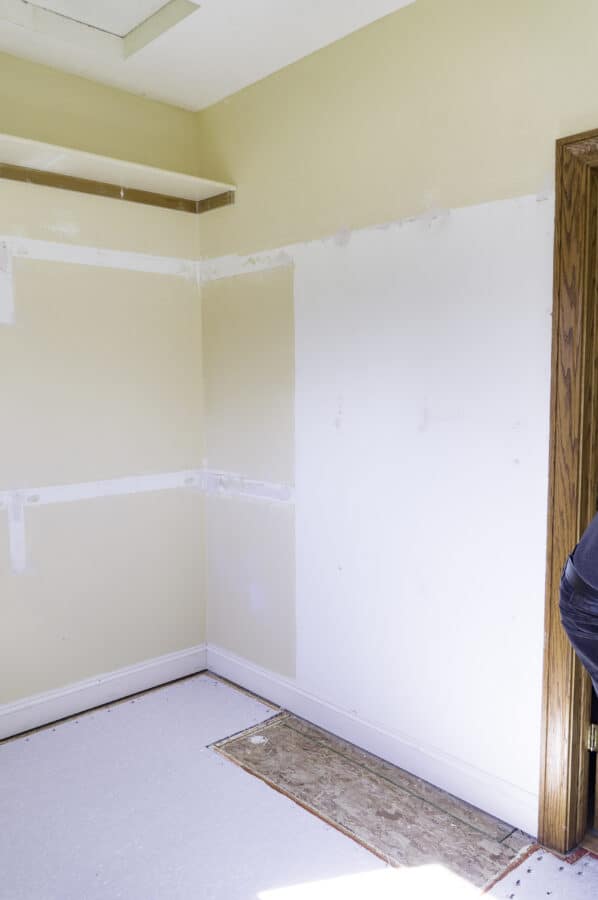
After we removed all the original shelves, we were left with areas with no carpeting. The original closets were carpeted after they built the permanent shelves.
Our future plan is to have the same flooring in the primary closet when we give the primary bathroom a makeover. In the meantime, we decided to buy an inexpensive carpet remnant and have it cut to size and installed.
We were also needing carpet padding to fill in the open spots, however, we did not want to have to buy an entire roll for such a small area. Our fix was to go to our local wholesale carpet center and find some discarded carpet padding in the dumpster. We found enough pieces to fill in the gaps. Yep, Mr. DD was dumpster diving again!
Walk-in Closet DIY Makeover
Watch this video to see the entire process from start to finish on this practical DIY master closet makeover on a budget.
After – DIY closet makeover
Let me share all the ways we saved money on this thrift closet makeover.
This post contains affiliate links. Click here to see my full disclosure policy.
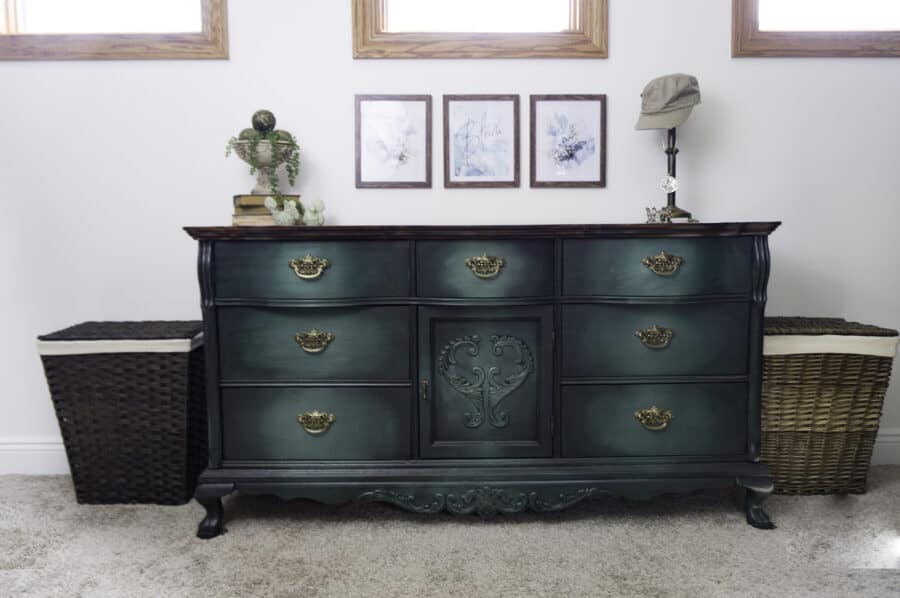
The first major savings was finding used dressers and painting them with this mesh painting technique. I purchased a 5 piece oak dresser set for $200 from Facebook Marketplace. I painted the mirror that went with this dresser and sold it at my local store for $250. Yep, I sold the mirror for more than I paid for the entire set. I used my existing clothes basket and found a new laundry hamper that was very similar.
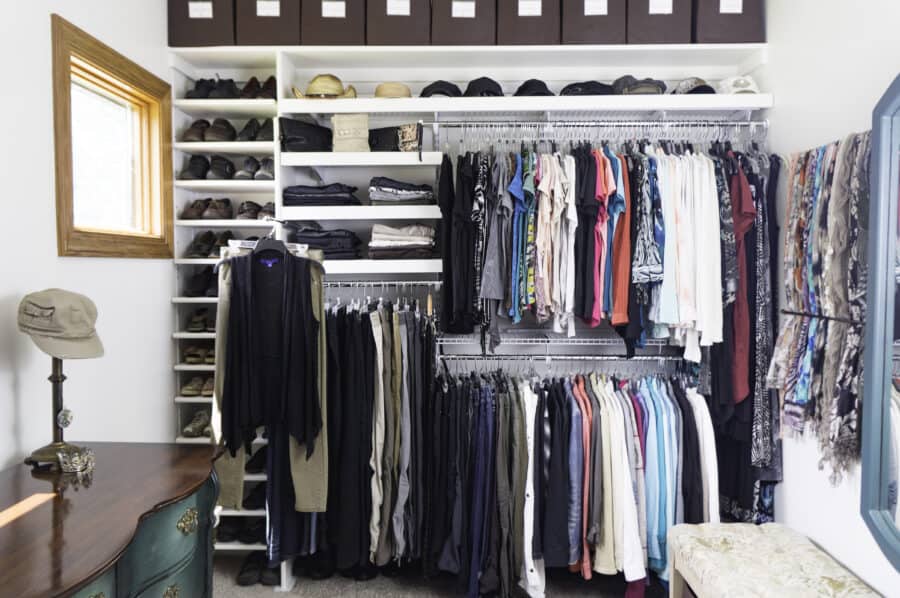
The second savings was building this sliding mirror jewelry cabinet. I also used the same cafe rods to organize the scarfs from this budget-friendly closet makeover, and I used this DIY tufted coffee table bench that I did not sell at my local store.
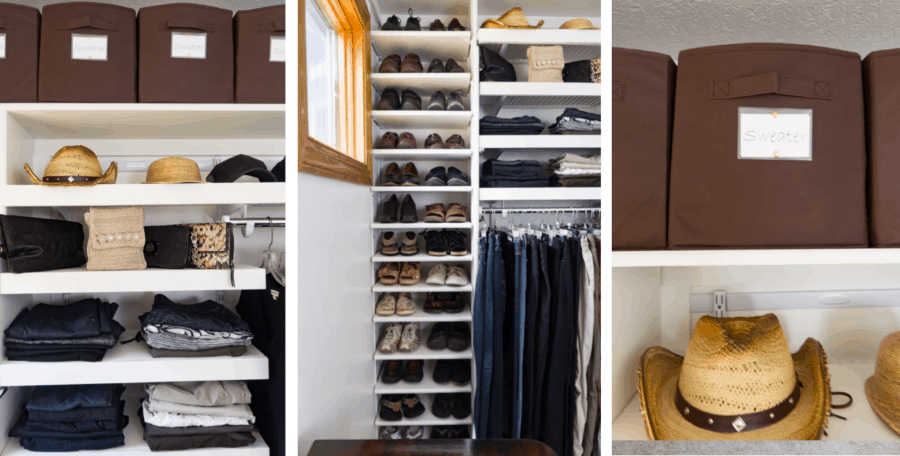
Another cost savings idea was to reuse most of the shelving that we tore out from the original closet. We resued the long top shelf and cut the other boards down to use for the shoe shelving.
I also made my own wood shelf caps to cover up the wire shelving. I hate to have wire marks on my folded clothes, so building these wood caps is easy and the perfect way to cover up the cheap-looking wire shelves.
As I mentioned before, I can’t stand to have clutter and see stacks of clothing so I reused these brown fabric storage cubes to store the off-season clothing on the top shelves. I also made my own labels using these plastic name badge sleeves. I printed out the labels and used a hole punch to attach the plastic sleeves with gold metal brads.
Her side of the closet makeover
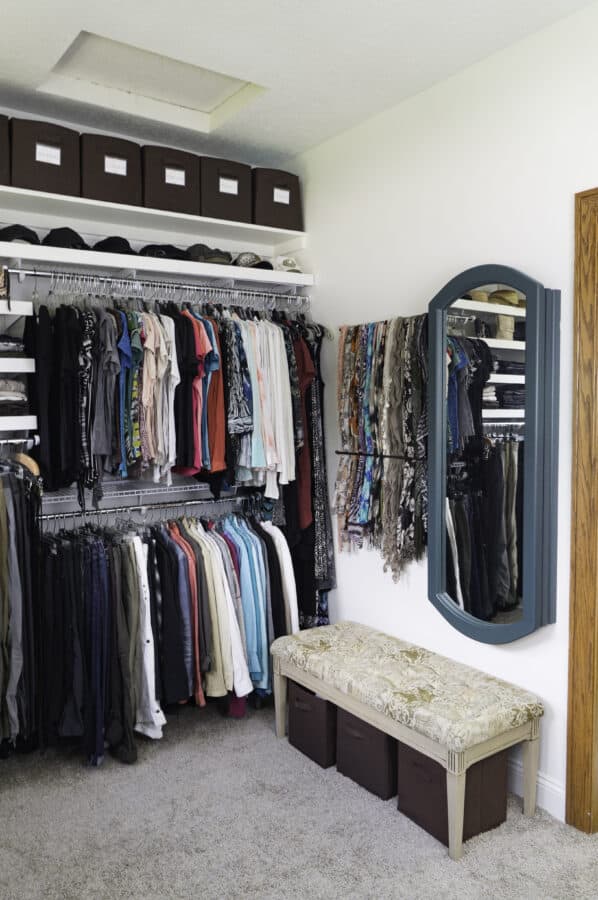
His side of the closet makeover
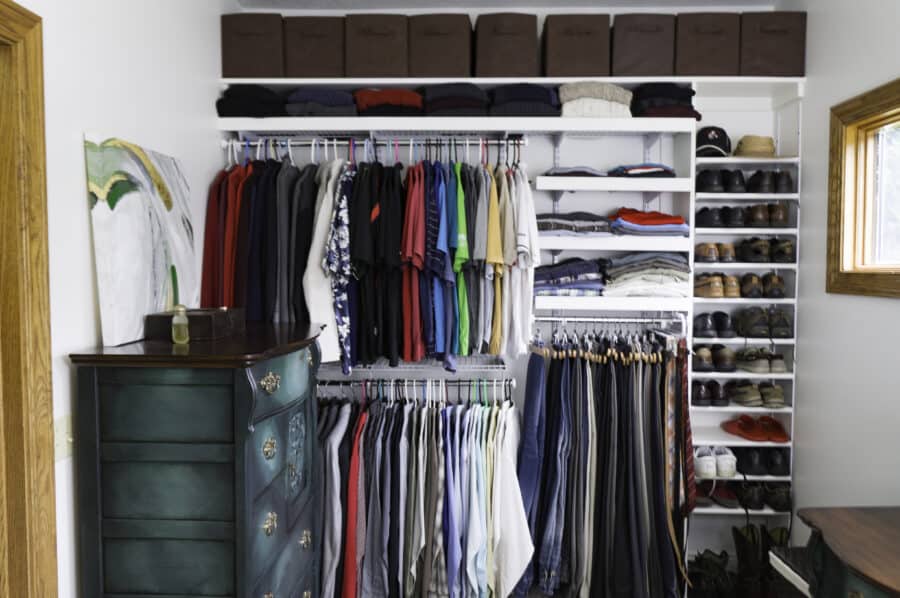
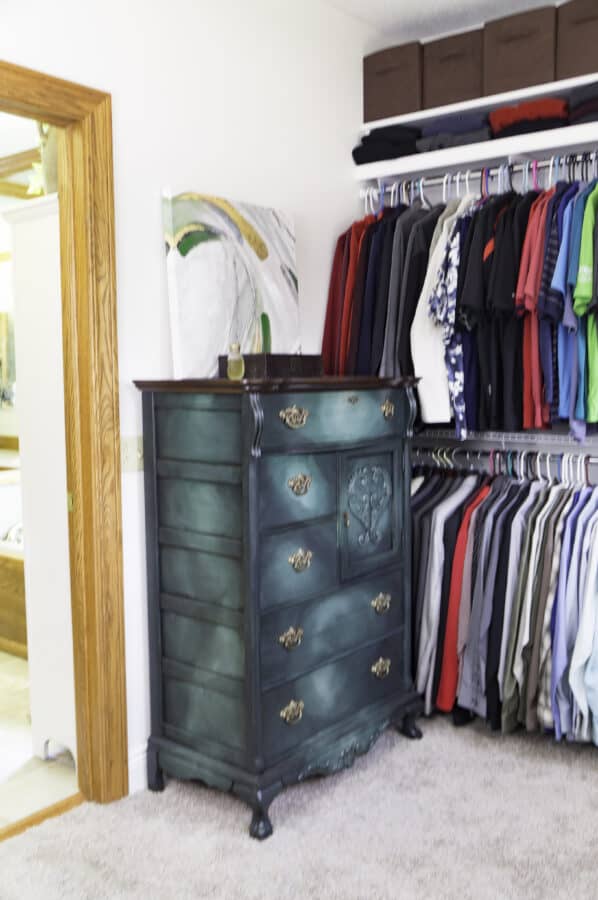
We now finally have all our clothes and accessories in our master closet. It is nice to be able to walk into the closet and find everything you need to get dressed instead of grabbing items from a few different locations in order to get dressed.
Join the DD Community!

Join the Designed Decor Community and receive weekly free tips on DIY home projects, painted furniture, decorating, and much more.

Leave a Reply