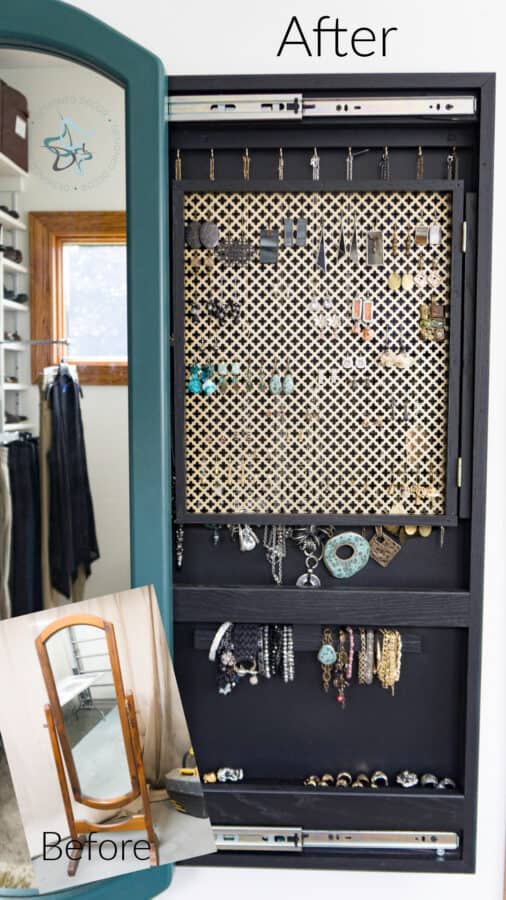
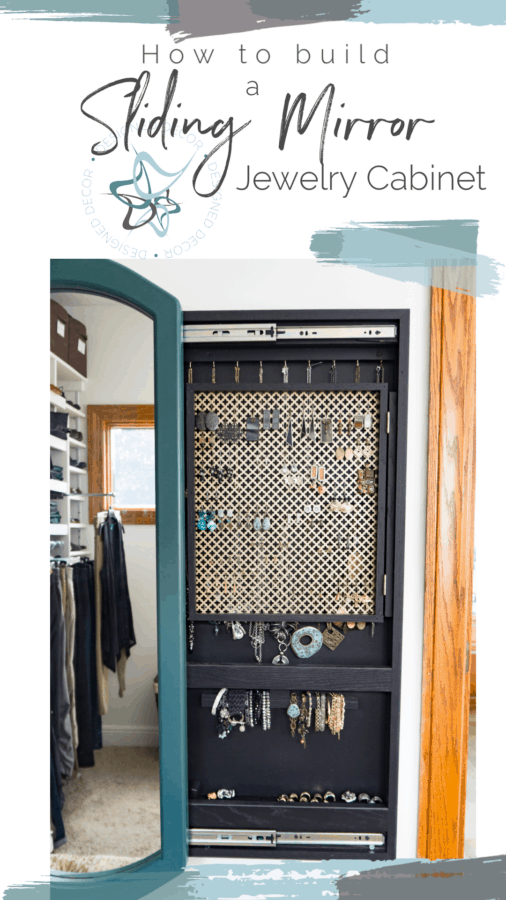
The best way to maximize a small bedroom or closet space is by building a sliding mirror jewelry cabinet. Since this design combines a jewelry armoire, a full-length mirror, and placing it on the wall, it is triple saving on space.
When I first saw the idea for a sliding mirror jewelry cabinet a few years ago, I just did this budget closet makeover in our old home and did not need to worry about space. Now that we have moved, and I am now sharing a closet with Mr. DD, my needs have changed.
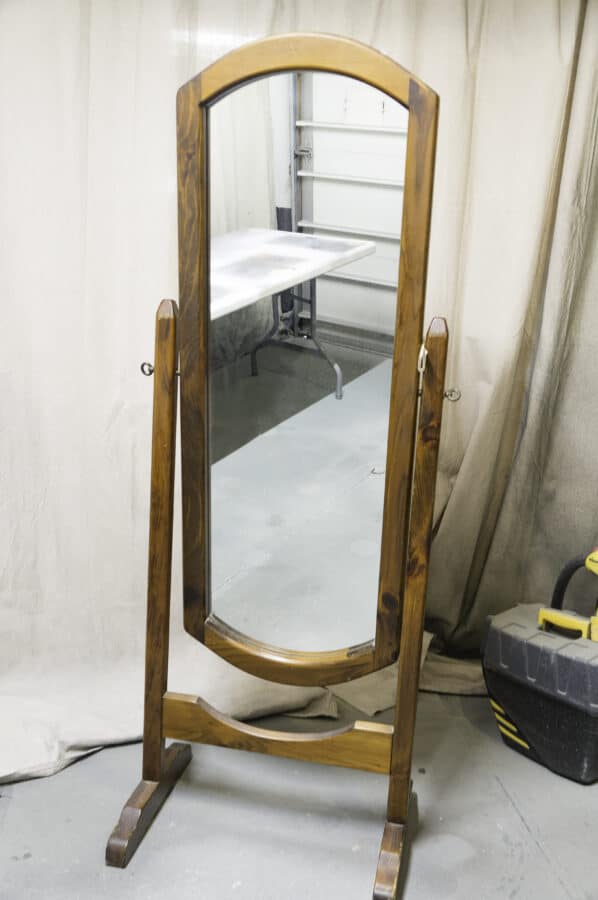
After our move, I was using this standing floor mirror and my standing jewelry cabinet, and both were in the bedroom since we had no room for them in our master closet with the 2 of us sharing the closet.
The idea came back to me about building a DIY mirror jewelry armoire when we were discussing the layout of the walk-in closet makeover(post coming soon). I hand sketched the basic layout that I needed for the jewelry storage design. This design included space for hanging necklaces, ring holders, earrings, and bracelet holders.
Building the jewelry cabinet frame
The first step is building a frame that fits the size of your mirror. Measure your mirror to determine the size needed for the frame. I purchased the standing swivel floor mirror from a local thrift shop for $40. Always check your local shops or Facebook Marketplace to find a mirror to repurpose for this DIY full-length mirror jewelry cabinet project.
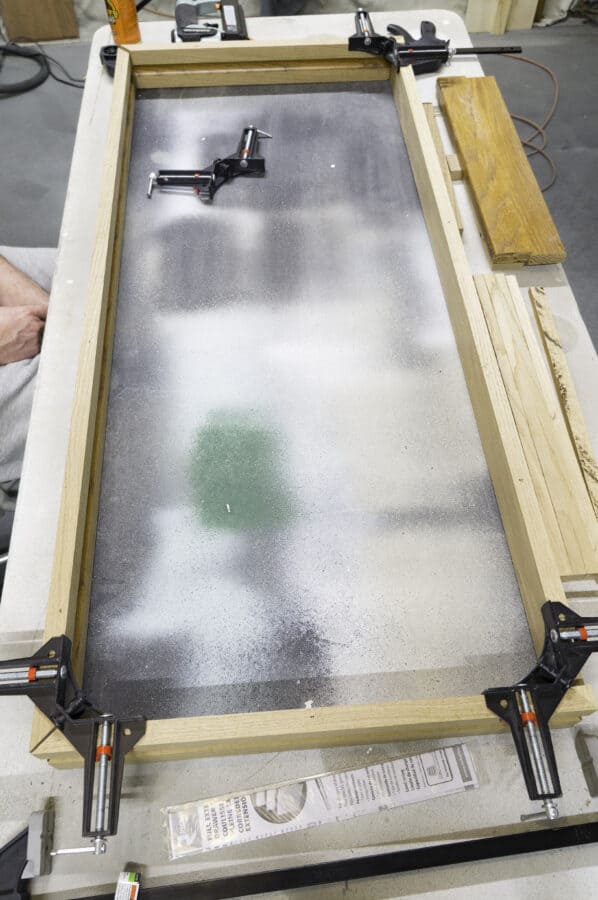
- Cut all the wood pieces for the outside frame and layout the frame.
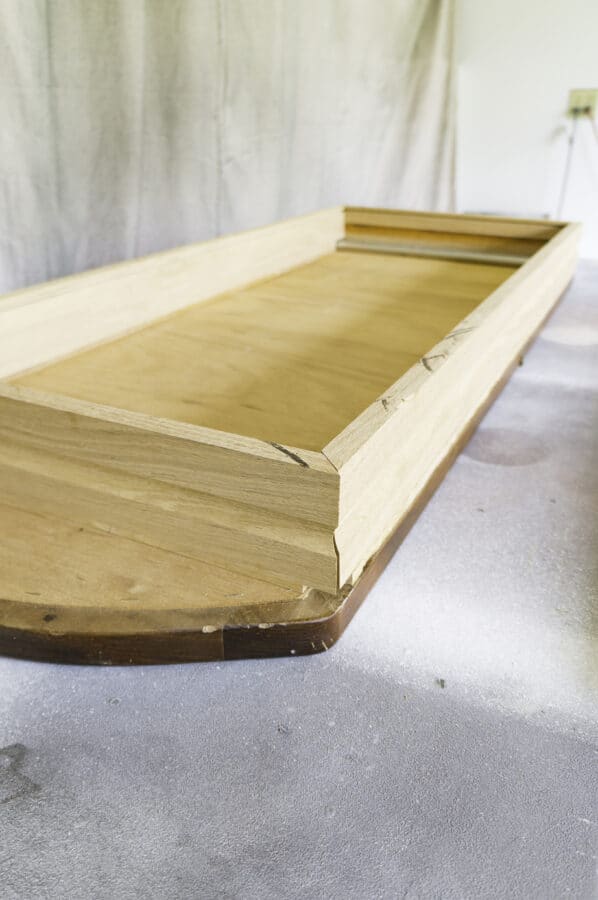
There are a couple of options you can use for building the frame. Either use a square cut or 45-degree angle cuts. I find it much easier to build a square frame. However, Mr. DD likes to use 45-degree cuts. Since he was building the box, that is his decision. You can also decide on the depth of your frame box. The frame size is 45h x 20w x 3.25d.
The frame depth was determined by the scarf hanger that I have hanging next to the sliding mirror. My mirror needed to clear the scarves when opening.
The other option is to insert your jewelry storage cabinet inside the wall.
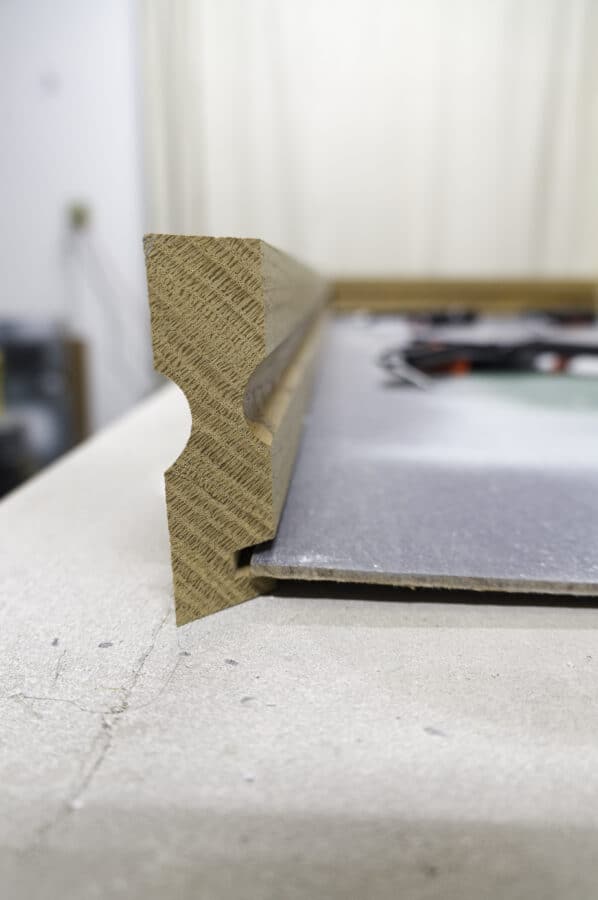
2. Optional step of routering the frame to hold the backing. The backing can be placed on with 2 different options. Option #1 is routering the frame so the backing can be placed within the frame. Option #2, the easier option, is to place the backing on the back of the frame and stapling onto the frame.
We are using repurposed wood from our dining room wall and columns that we removed. The wood pieces have fluting on them so that is what you see in the picture, otherwise, your wood would be smooth.
Videos from Designed Decor
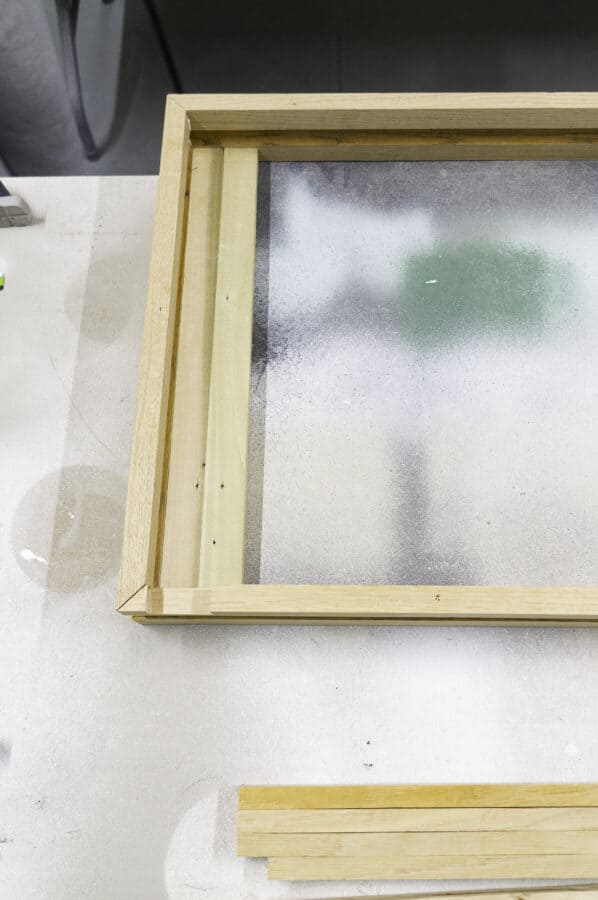
3. Cut the crossbars to fit inside of the frame and notch out the frame at the top and the bottom of one side for the sliding hardware.
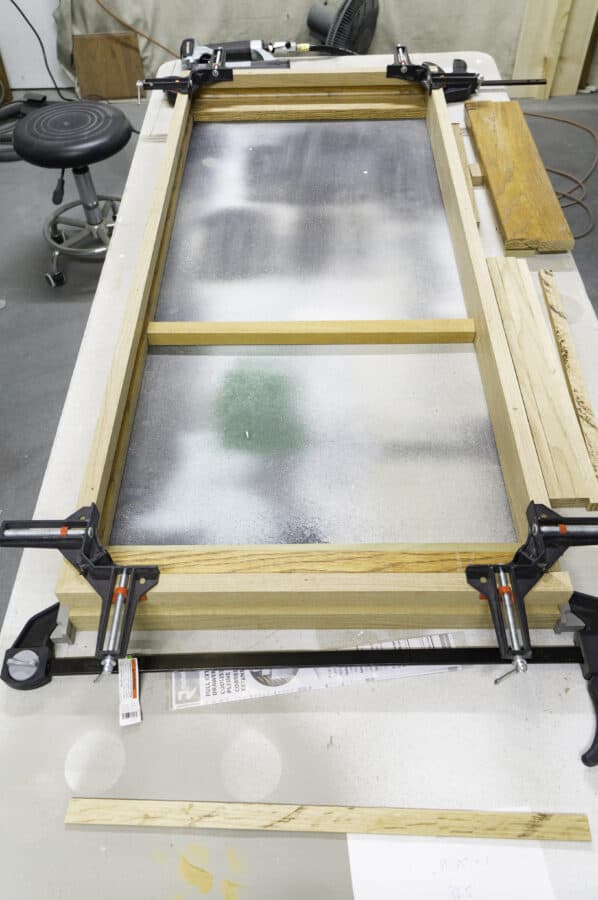
We have a crossbar 3/4 from the top to make a shelf for accessories and to screw in the bracelet holder. We made the bracelet holder out of wood pieces and attached using a screw from the top of the crossbar.
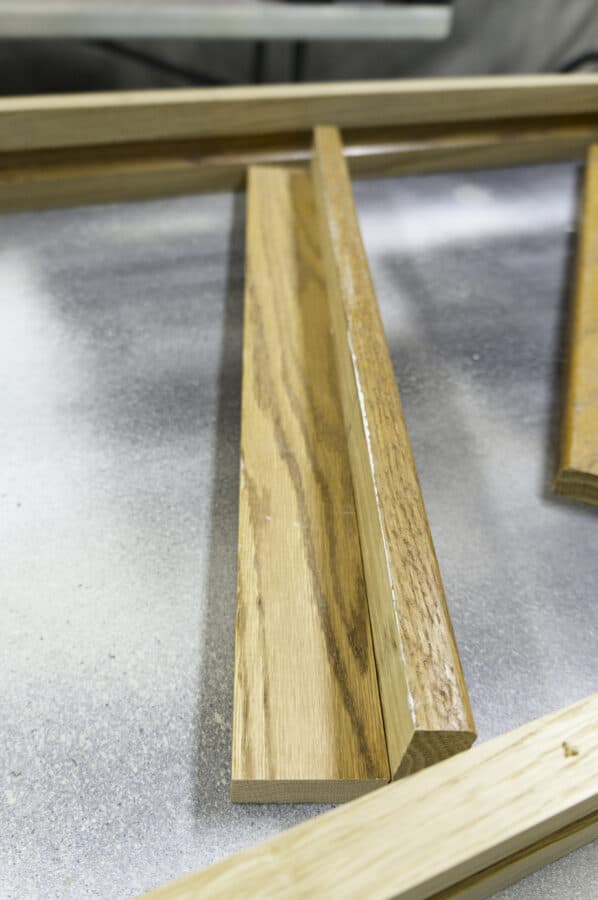
Add a piece of wood to the 2 crossbars at the bottom. This creates a shelf for rings and accessories.
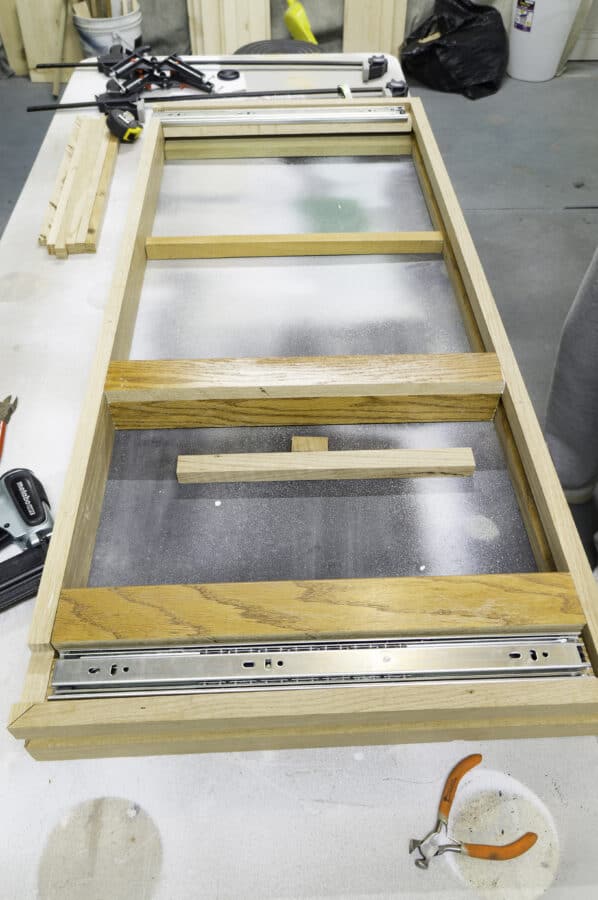
4. Assemble the frame and inside crossbars using wood glue and an air nailer. Our back piece was part of the assembly since we used the router line instead of placing it on the back.
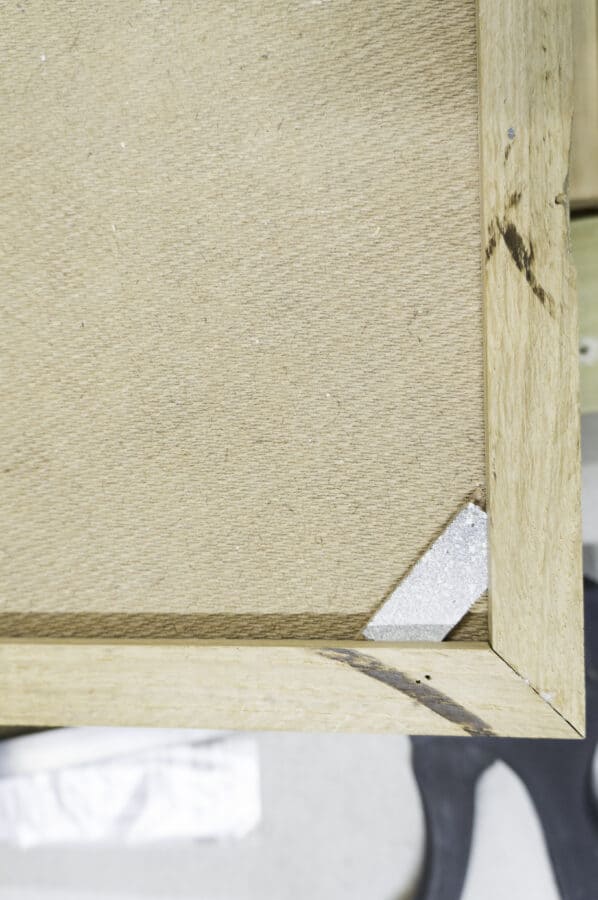
We needed to add these corner support bars to the backing of the frame to make the back fit snuggly. This will not be needed if you are stapling on the back.
Placing the slider hardware
This post contains affiliate links. Click here to see my full disclosure policy.
Make sure to use a fully extending drawer slide, so you get the full opening of the mirror. The length of your drawer glides depends on the opening of your frame.
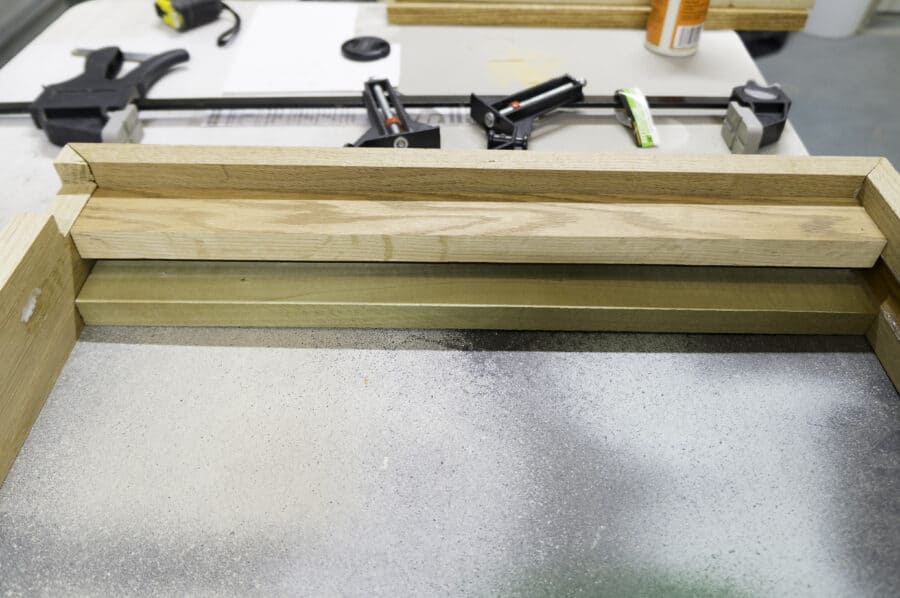
The above photo shows how we used another piece of wood to place the drawer slides on. The drawer slides need to be recessed below the top of the frame, so the mirror sits directly on the jewelry storage frame.
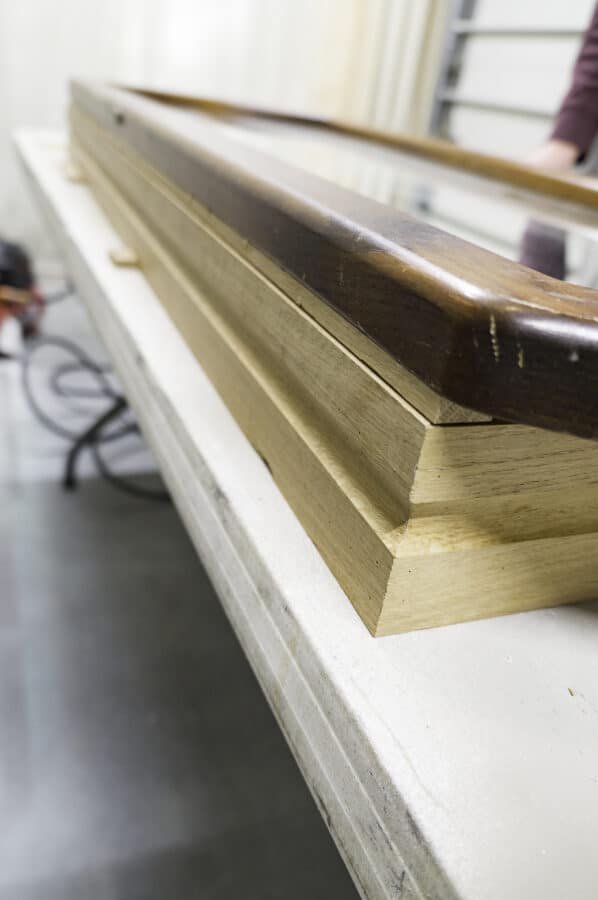
Each mirror is different and you may need to add strips of wood to the back of the mirror to support the sliding hardware. The back of the mirror only had a very thin piece of wood, which was not enough to screw into. We added these thin strips of wood using wood glue and short nails with the air nailer.
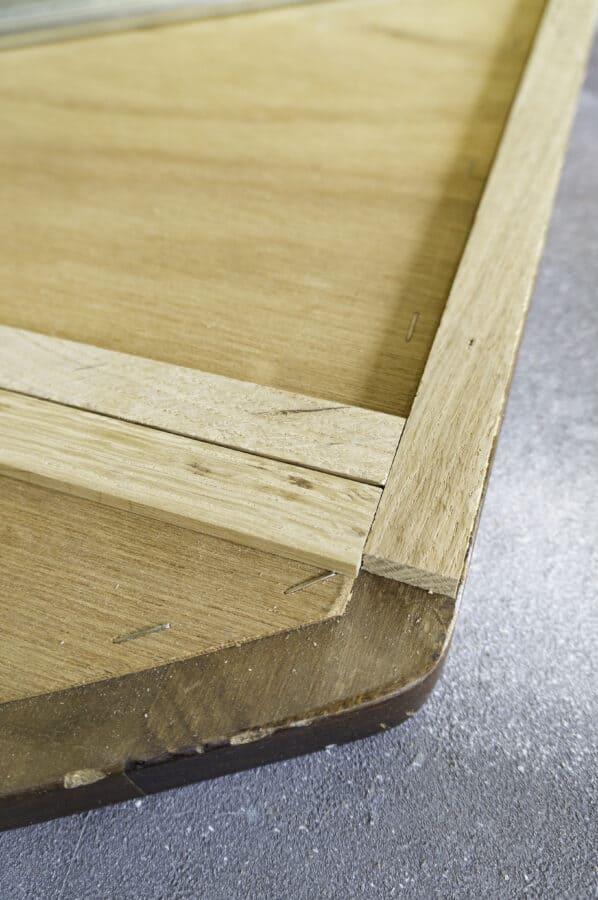
*** Be very careful on the nail depth, you do not want a long one cracking the back of the mirror. Remove the backing to the mirror to check the depth before attaching the wood strips.
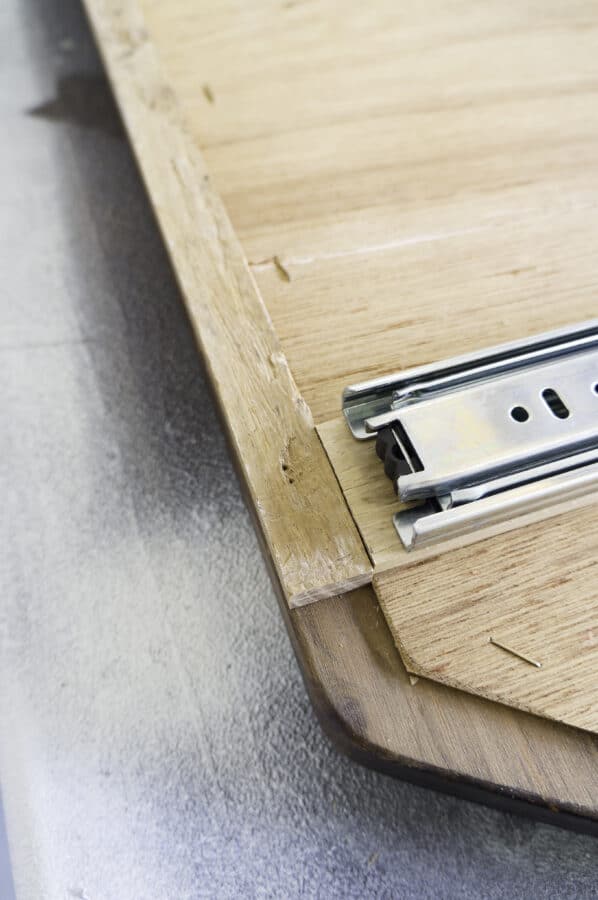
Attach the hardware to the back of the mirror.
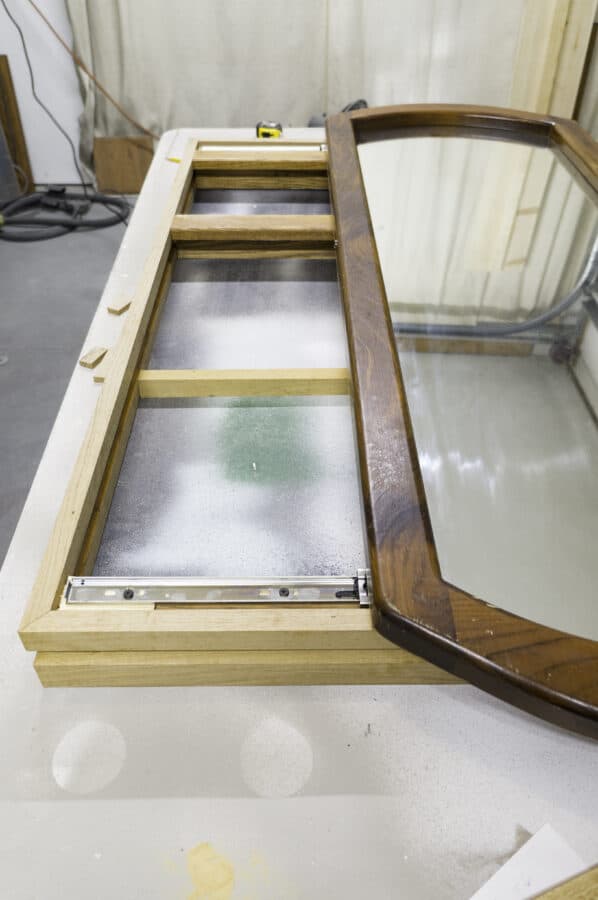
Building the pivioting framed earring holder
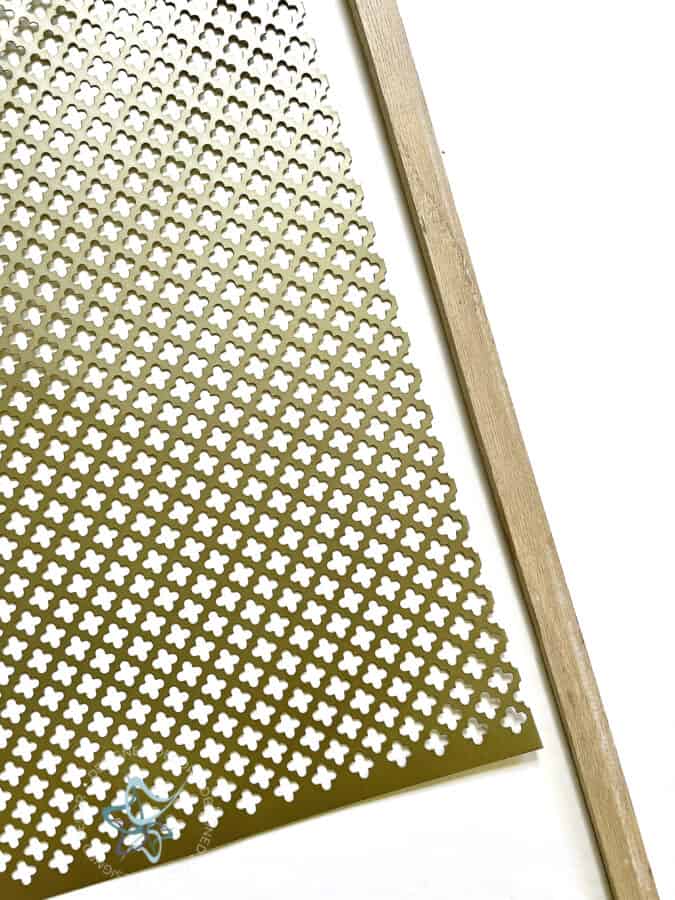
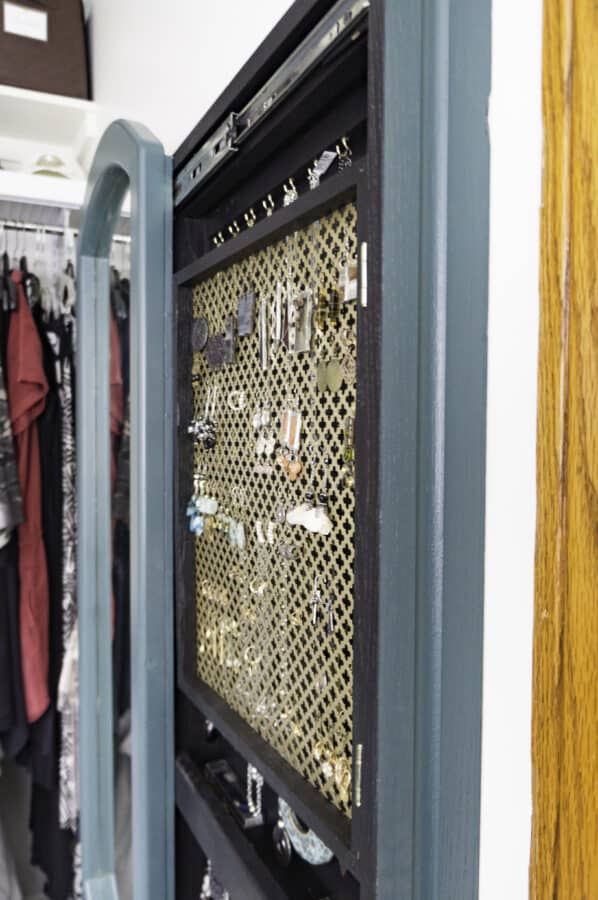
Build a simple square frame using 1/2 x 1 piece of wood. Make sure that the frame is 1 inch smaller than the width of the jewelry box frame. Attach the wood using wood glue and an air nailer. Cut the decorative metal sheet to the exact size of the wood frame. Use metal tin snips or a metal saw blade to cut the decorative metal piece.
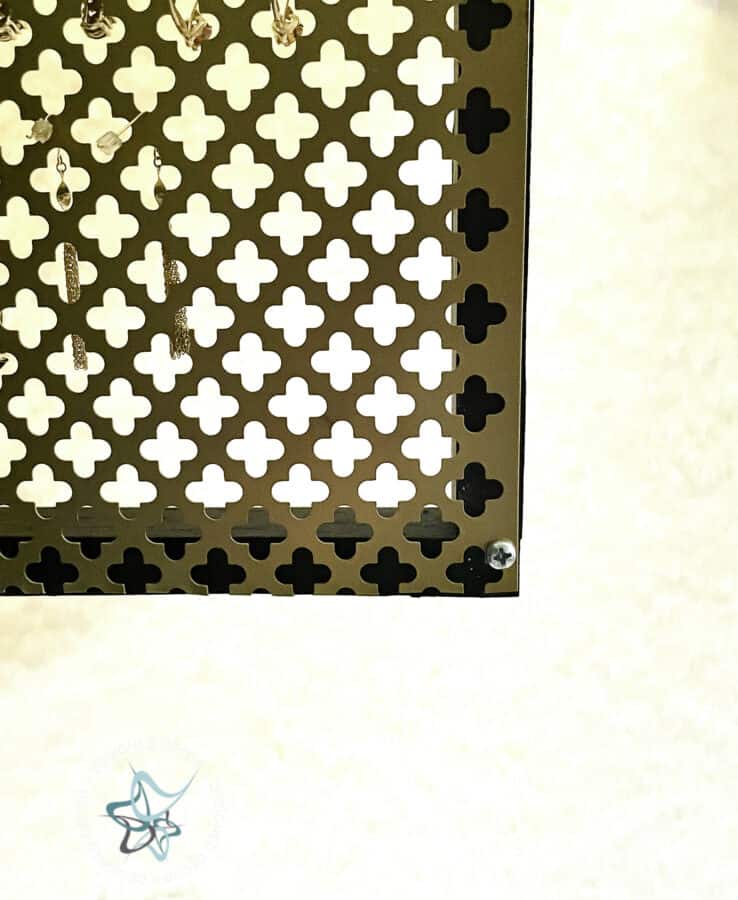
Paint the frame before attaching the decorative metal screen to the wood frame with screws.
Painting the wall mount mirror jewelry cabinet
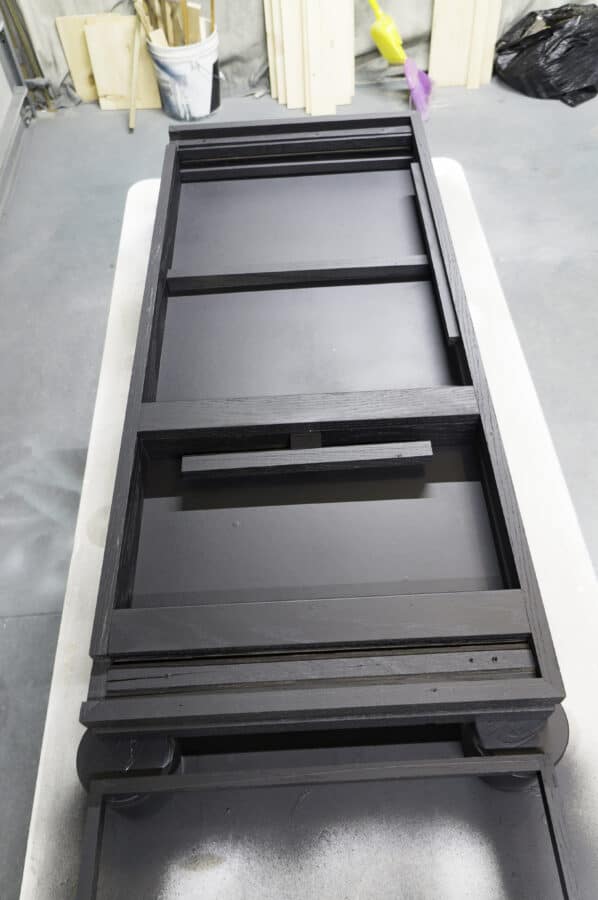
Remove the sliding hardware from the jewelry storage box and paint. I used the Wagner Flexio 5000 to spray paint the inside.
Are you wanting to learn how to paint furniture and just can’t find the time in your busy schedule to go to a local workshop?
Frustrated with all the conflicting tutorials on “how–to” or “what products”?
Are you eager to learn a new paint technique and afraid you will mess it up?
Learn many different furniture painting techniques with video training from beginner to advanced.
Online Furniture Painting Workshops for every skill level
Insider Furniture Painting Tips and Tricks
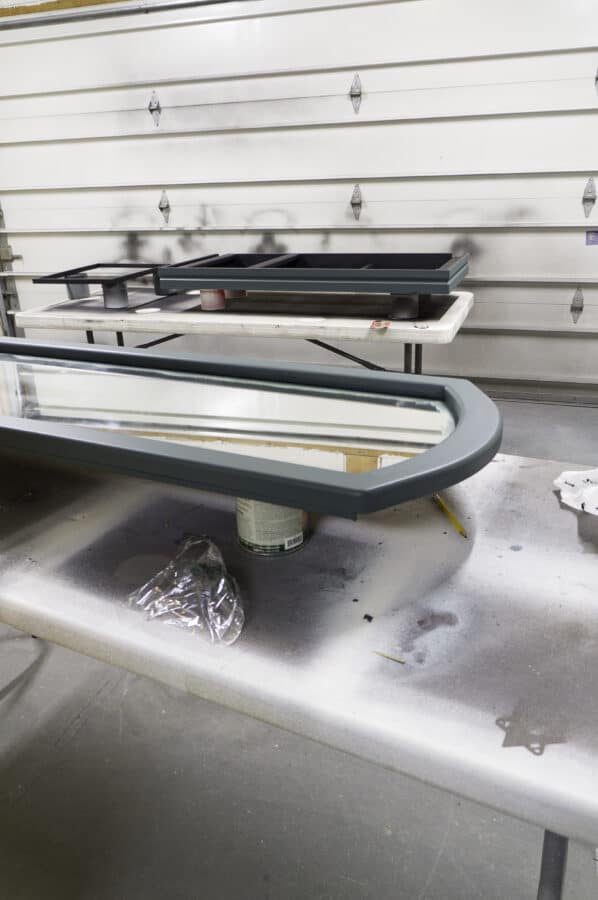
Using General Finishes milk paint, I hand-painted the mirror frame and the outside of the jewelry cabinet. I custom-made a color using Westminster and black. I sealed the entire cabinet inside and out using a high-performance flat from GF.
Finishing the Inside
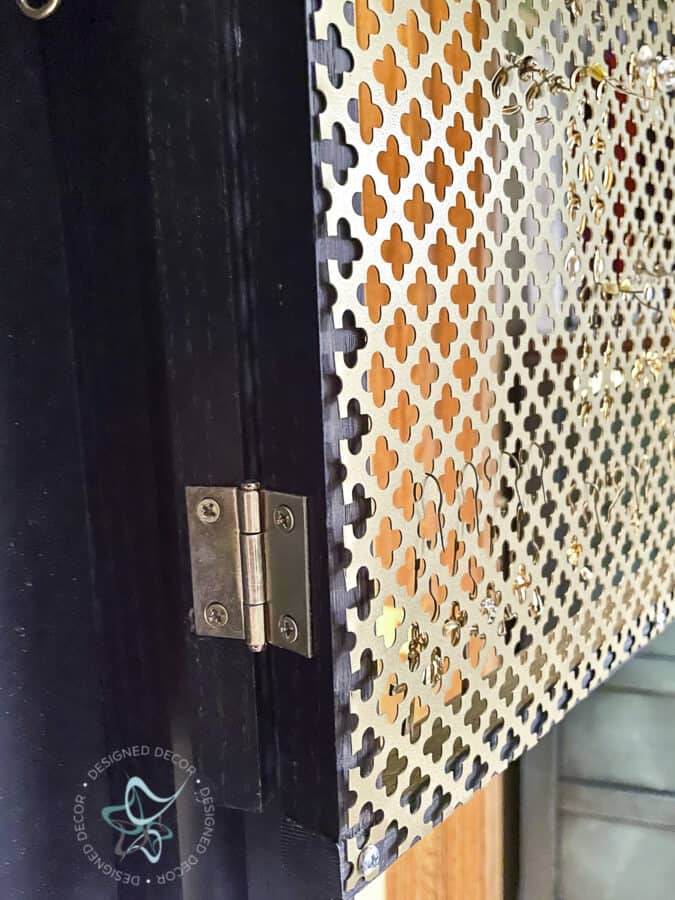
Attach the earring holder to the inside of the jewelry storage cabinet using small cabinet door hinges.
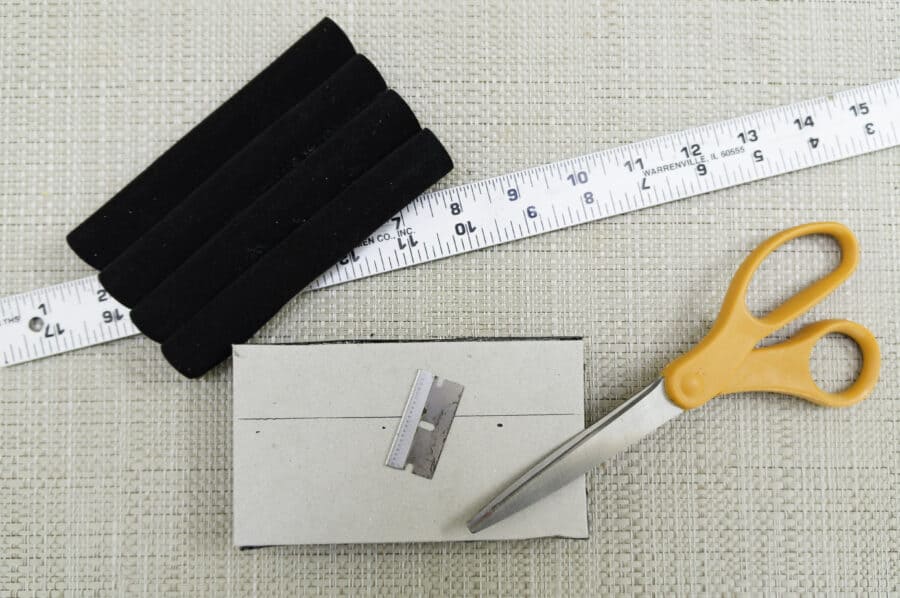
Cut the velvet foam ring holders to the size of the shelf. Measure and cut the cardboard back with the straight edge blade and cut the foam with fabric scissors.
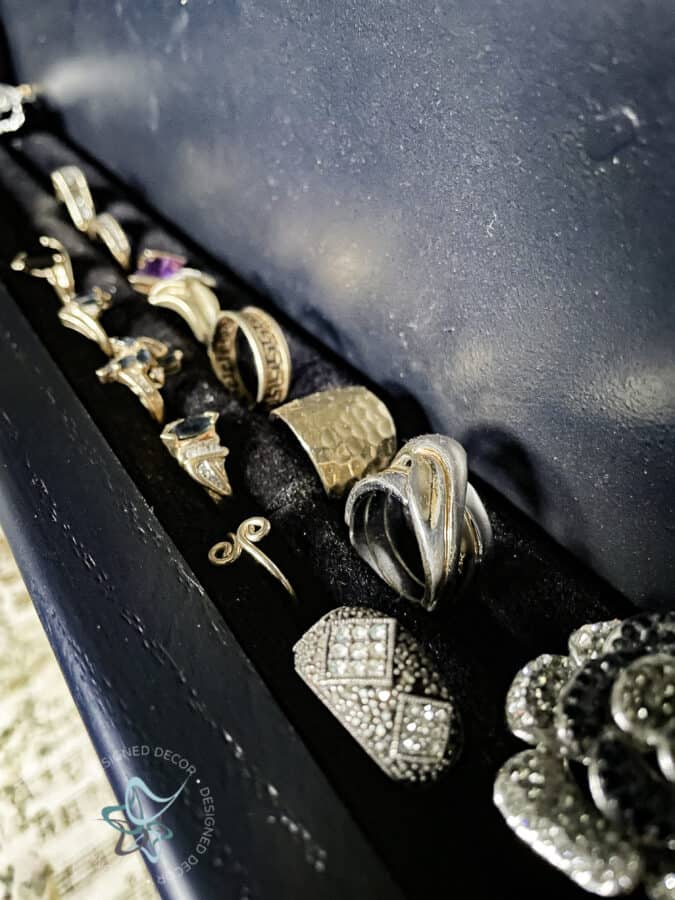
I placed 3 of the cut ring holders side by side to make one long row for my rings.
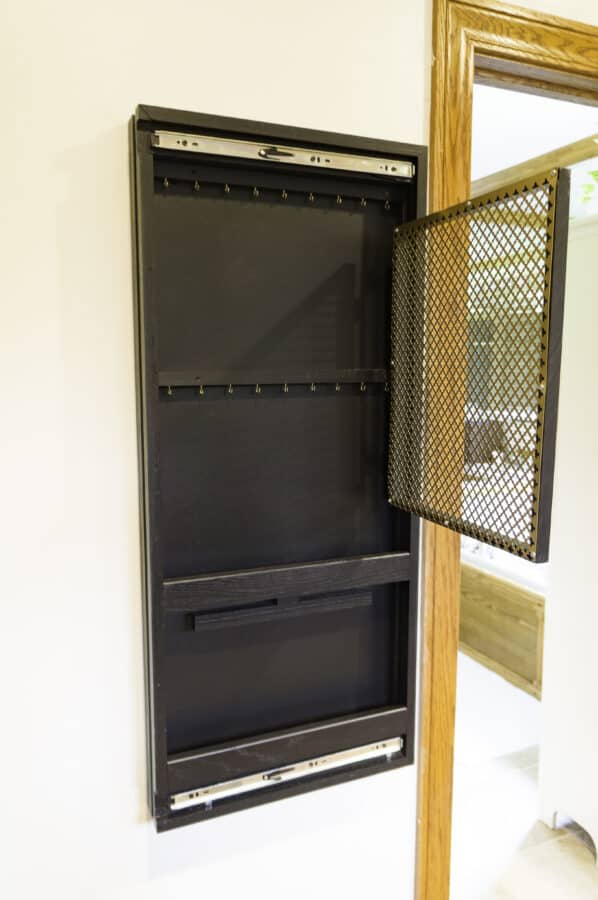
Make sure to pre-drill the holes when adding the gold hooks.
Hanging the full length mirror with hidden storage
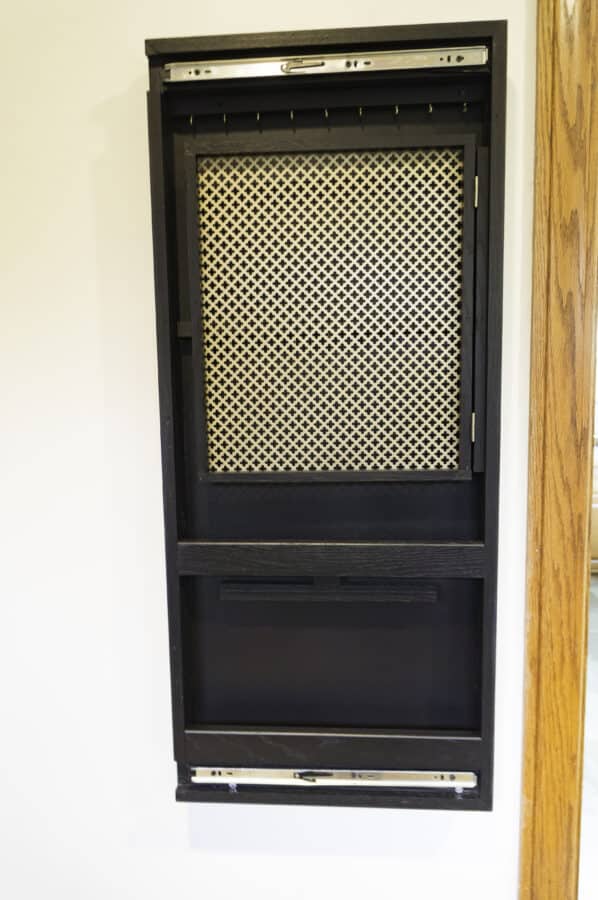
Find and mark the studs on the wall. Thankfully I had studs in the perfect place where I needed to hang the sliding mirror jewelry cabinet. Ultimately, this is a very heavy cabinet, so you want to make sure you use the studs to hang.
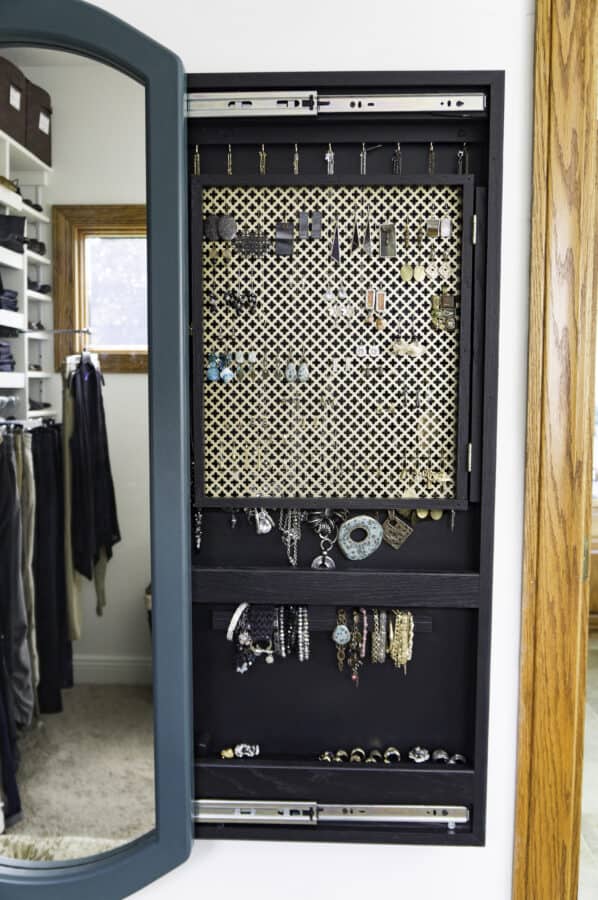
Attach the mirror and add in your jewelry.
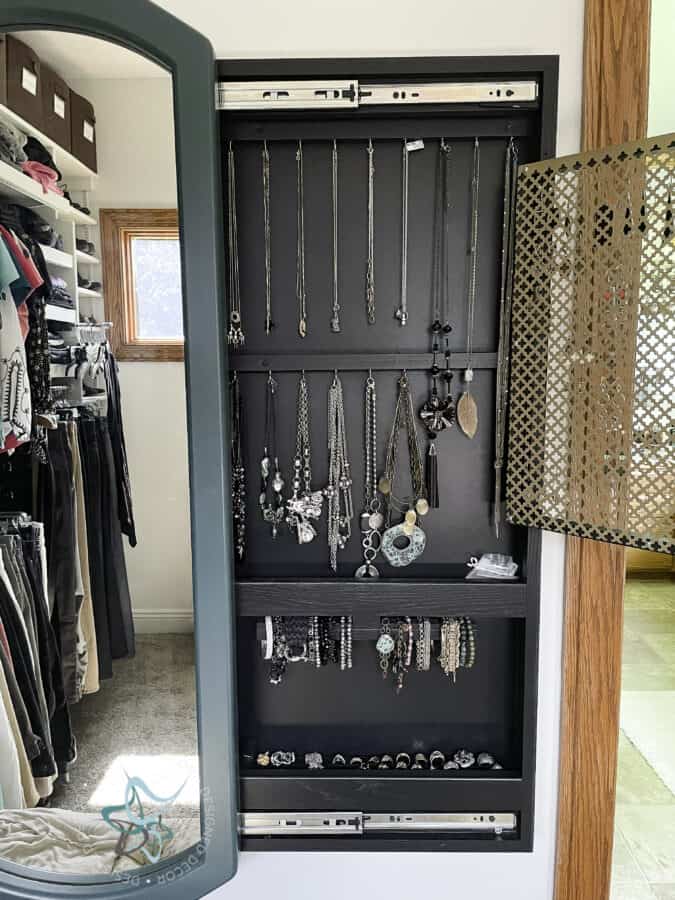
I prefer the sliding mirror over one that opens with hinges. Since a sliding mirror allows you to try on your jewelry while looking in the mirror without having to shut the door to get to the mirror. The sliding mirror is more convenient to use in a small space.
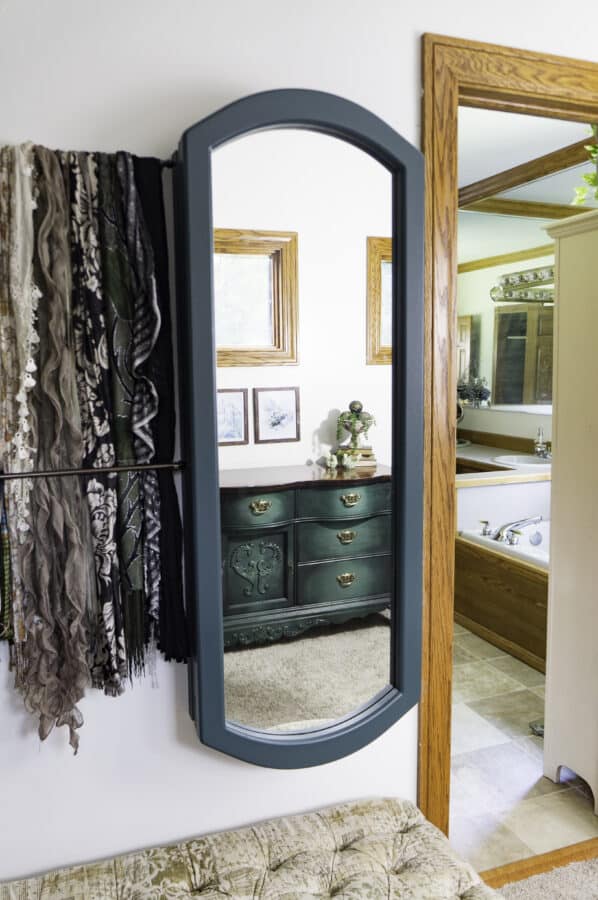
Supply List
- ______ wood
- Full length mirror (new or used)
- backing board
- drawer sliders
- hinges and hooks
- foam ring holder
- decorative metal
- Paint and sealer
- wood glue, screws and air nailer




Join the DD Community!

Join the Designed Decor Community and receive weekly free tips on DIY home projects, painted furniture, decorating, and much more.
Leave a Reply