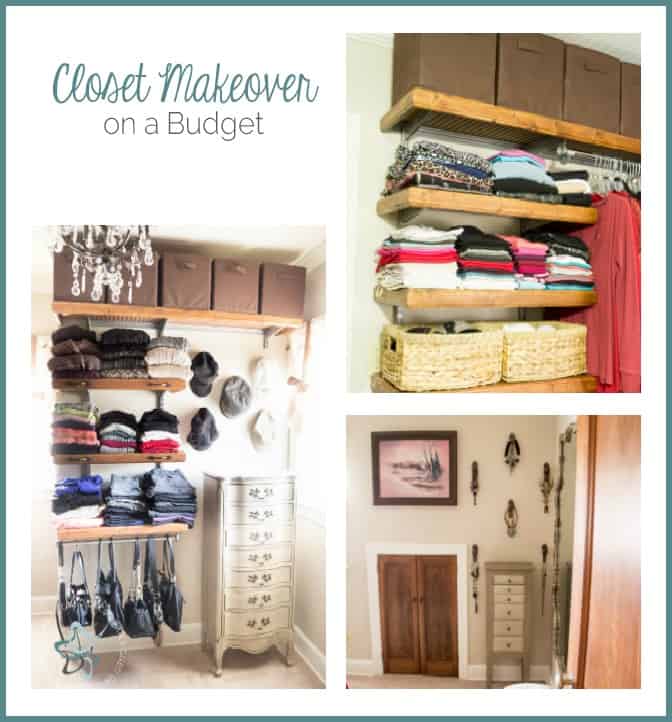
I have been sharing my closet makeover these past few weeks. It’s done and I am so excited to share my Closet Makeover on a Budget. I have been wanting to give my closet a makeover and make it a little more inviting. Years ago we turned a very small bedroom into my closet, and the space was less than appealing.
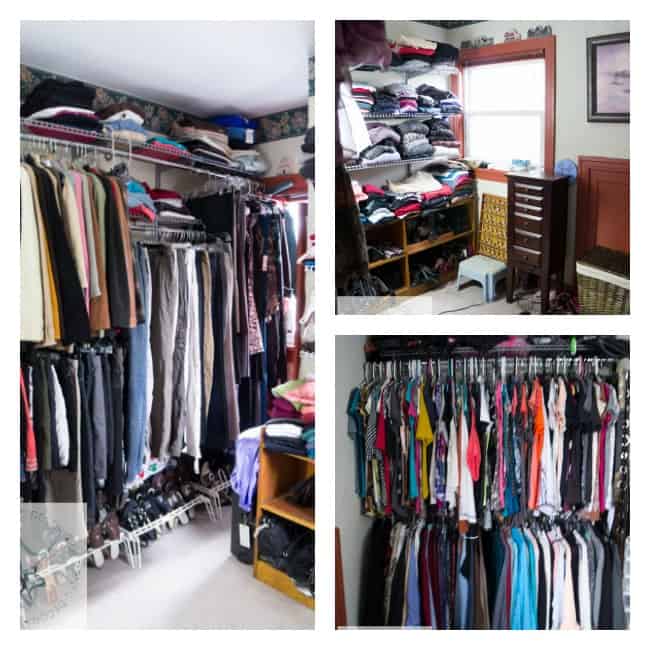
I can’t believe that I am sharing these before pictures, but all is well because it doesn’t look like this anymore. Yes, I have a lot of clothes. I worked for JCPenney for 22 years and was presented with bargains every day. A girl can not pass up bargains. Since I no longer work in the corporate world, my clothing needs have changed to paint clothes and yoga pants and I have slowly been purging my closet every year and getting rid of clothes I have not worn. Now my bargain hunting is for old discarded furniture and things I can repurpose.
This post contains some affiliate links. Click here for my full disclosure policy.
I went from 3 full walls of clothes down to 1 1/4 walls. This allowed me to properly display my accessories, have a full-length mirror and make the entire space more inviting.
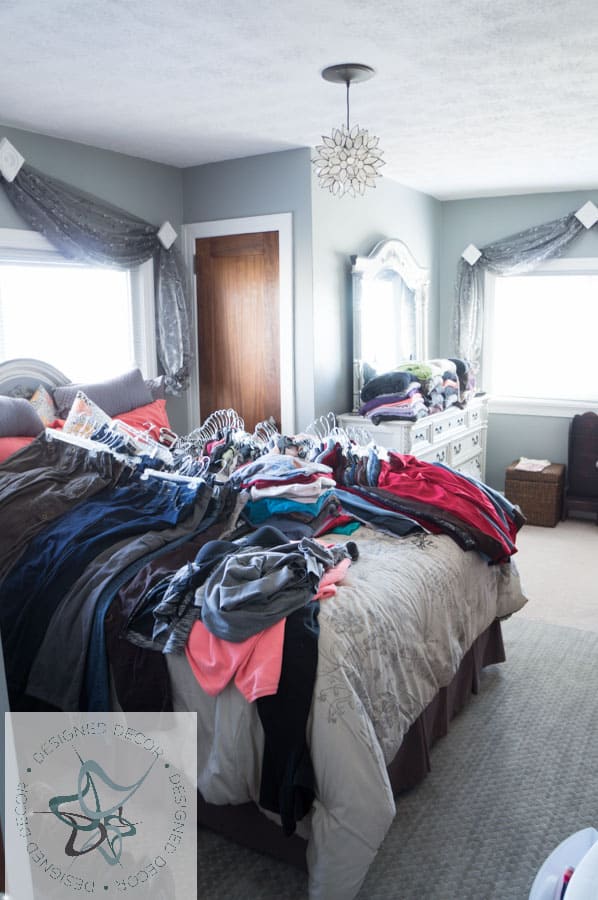
Typically my house projects have taken 9 months and I told Mr. DD that this one under no circumstances can take that long. I could not live with the clutter. This is what my guest bedroom looked like while we were making over the closet, and we had things in our master bedroom as well. Guess what, the closet makeover only took us 5 weeks.
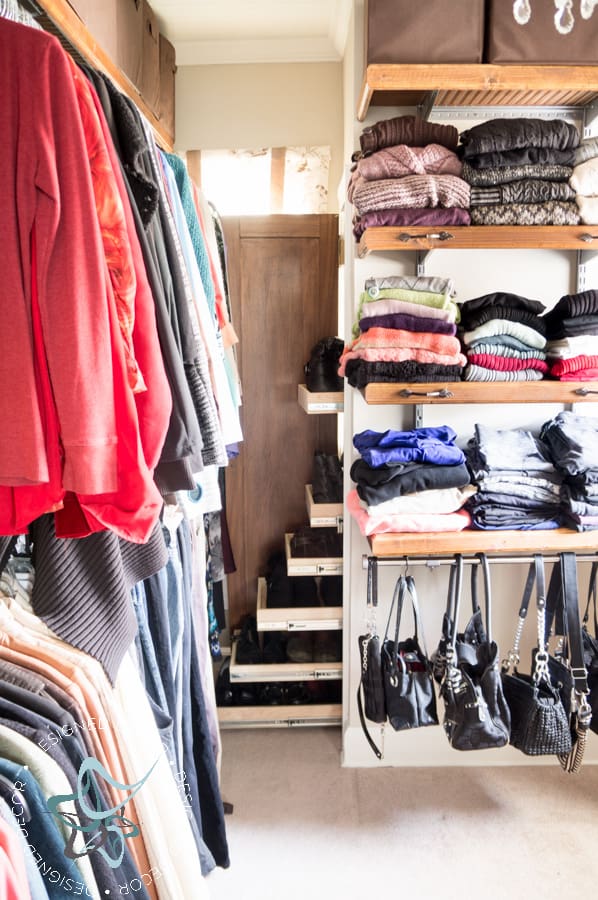
See that shoe closet, that was Mr. DD’s idea and it turned out great. You can read all about how we built the shoe closet by clicking the “shoe closet” link. The shoe closet idea, allowed me to get rid of the plastic shoe holders that sat under all the hanging clothes. I had to get on my hands and knees to see what shoes I needed. Confession, this only holds my seasonal shoes, I still have to change out my shoes for the season. I have 2 plastic bins full of off-season shoes in the other little closet.
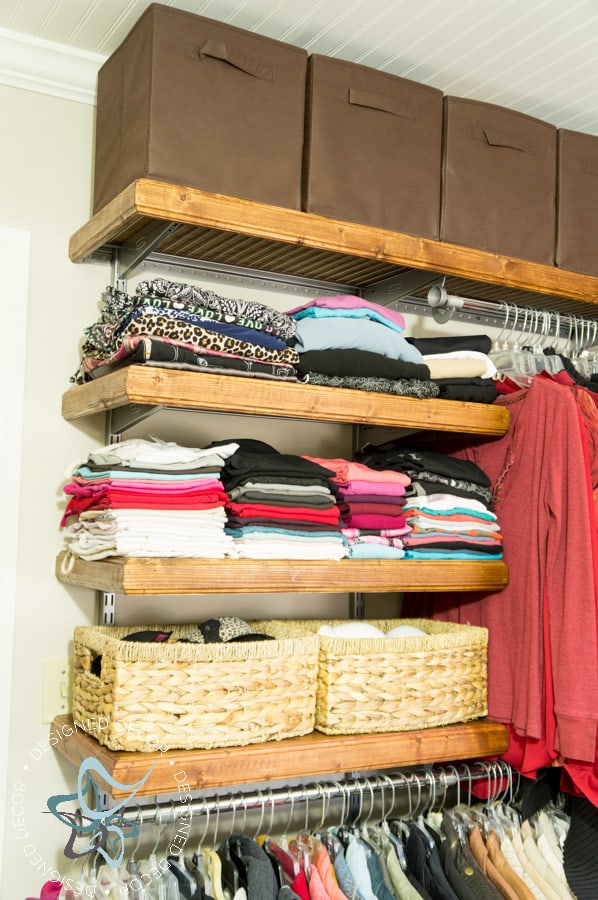
I love these wood shelf caps that Mr. DD built. They provide a flat surface to place my folded items. It would drive me crazy with the wire shelves, the bottom clothing piece would poke through, have wire marks imprinted on it, or get snagged. The wood cap shelves provide a purpose of function and they look great and add warmth to the space. See how we built the wood caps shelves. The brown fabric bins on the top shelves hold my off-season clothing. This was much needed to provide some organization to the space without having piles of unsightly clothes falling over.
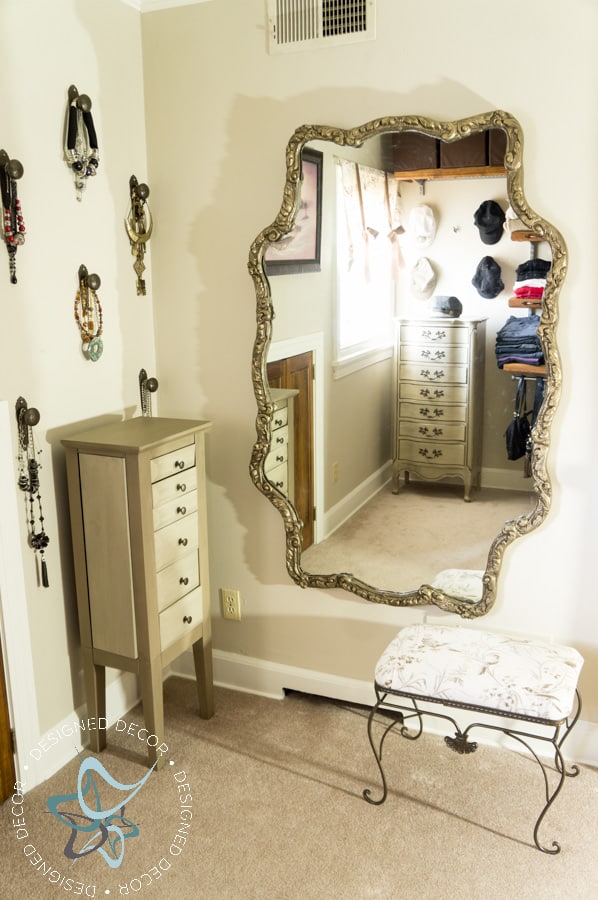
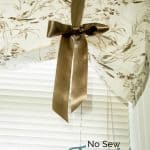
I painted my jewelry armoire in a 2-tone finish that matches the bird fabric. The bird fabric that is on the stool and my no-sew window valances are the inspiration for the entire space. I painted the large mirror(garage sale find) and took it from a brass gold to an oil-rubbed bronze finish. You can watch this video on how I painted the mirror. Make sure you follow me on youtube as I am now making more videos and you won’t want to miss any new DIY videos.
I also painted the lingerie chest that was a craigslist find. I mounted old doorknobs above the jewelry armoire to hang the long necklaces instead of being tangled in the armoire. I also used furniture knobs above the lingerie chest to hang my hats.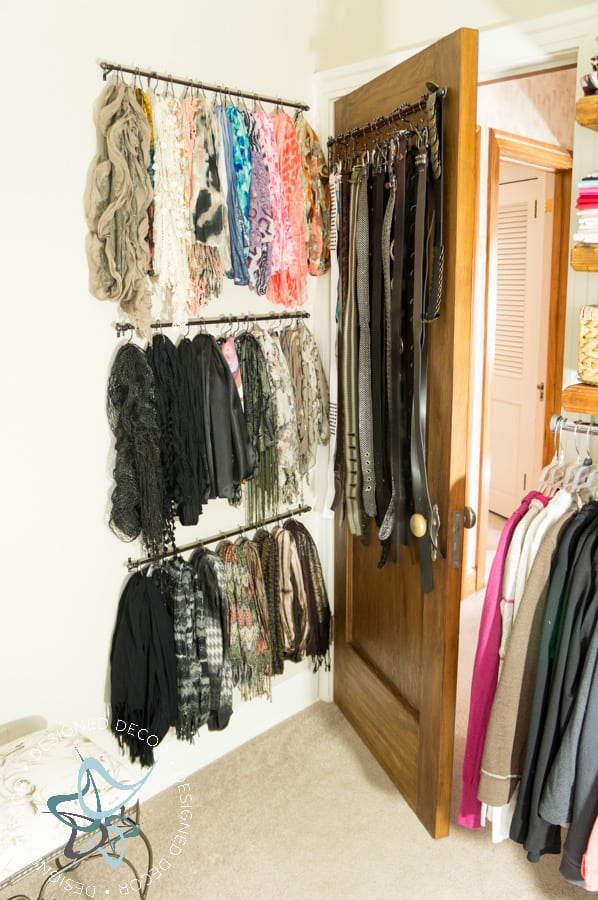
I love the little nook of accessories behind the door. I used cafe curtain rods and bathroom shower hooks to hang my scarfs and belts. This was an inexpensive way to add some much-needed organization to my accessories.
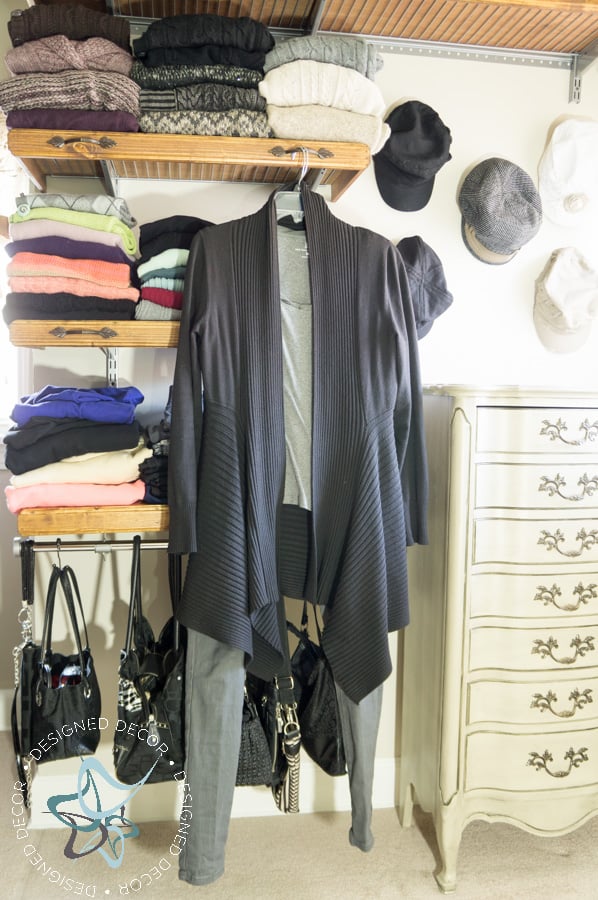
I added some furniture pulls to the front of the wood cap shelves to hold a few outfits. I like to layout my clothing the night before and this is the perfect way to pull out an outfit and have it hanging and ready. I added a bar under the bottom shelf to hold my purses. I know, how many black purses can one girl have!
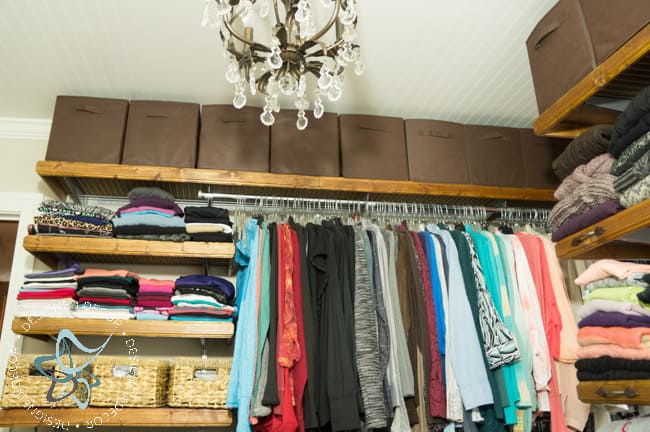
The finishing touches are what complete the entire space. I came up with creative ways to hang and display all my accessories, which were buried in the old closet. I think my favorite 2 finishing touches is the chandelier and the no sew window valances. My total cost on this closet makeover on a budget was $499.
Source List: Affiliate Links – See my full disclosure policy
Rubber Maid Closet Shelving $o (Had prior to makeover)
Mirror $40 (Garage Sale Find)
Door Knobs $30 (Thrift Store Find)
Cafe Rods & Shower Hooks $40 (Wal-Mart)
Brown Fabric Bins $70 (Dollar General)
Lingerie Baskets $30 (Michaels)
Lingerie Chest $30 (Craigslist Find)
Furniture Knobs & pulls $27 (Hartville Hardware)
Bird Fabric & Ribbon $25 (JoAnn Fabrics)
Spray Paint $12 (Home Depot)
Chandelier $30 (Thrift Store Find)
Wood & Drawer Slides $165
Want to see all the details on this closet makeover? Visit these links to see more:
I love how the closet turned out, now I am thinking of what house project will be next.

Follow along with the Closet Makeover Posts:
Join the DD Community!

Join the Designed Decor Community and receive weekly free tips on DIY home projects, painted furniture, decorating, and much more.
Karen@somewhatquirkydesign says
I can’t believe I missed this! I’m so proud of you! You probably clothed an entire woman’s shelter with what you got rid of. Hope you’re enjoying your glamour closet.
Designed Decor says
Karen, LOL – I still have a lot that I can get rid of. Since I am almost finished with the art of tidying book you recommended I know I have more to go!