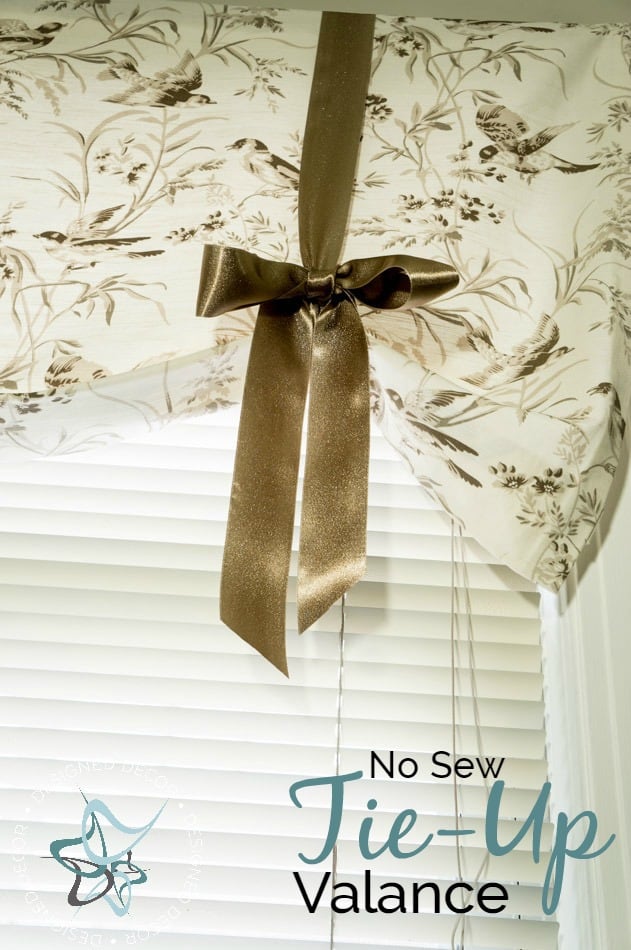
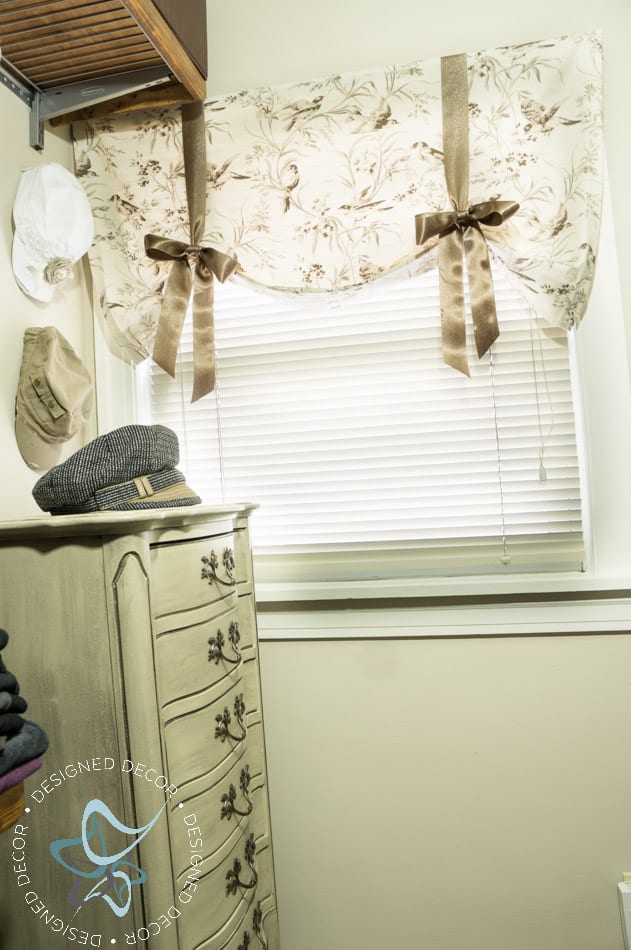
I think the favorite thing in my closet makeover is the No Sew Tie Valance. The reason for this is the fabric was the inspiration behind my closet makeover.
This post contains some affiliate links. Click here for my full disclosure policy.
I also used the same fabric on a bench as well, but you will have to wait until next week when I reveal all the details in my closet. The fabric is from Joann Fabrics. It is a home decor fabric that is displayed on the big round bolts in the back of the fabric department. I used a 50% off coupon and purchased 2 yards.
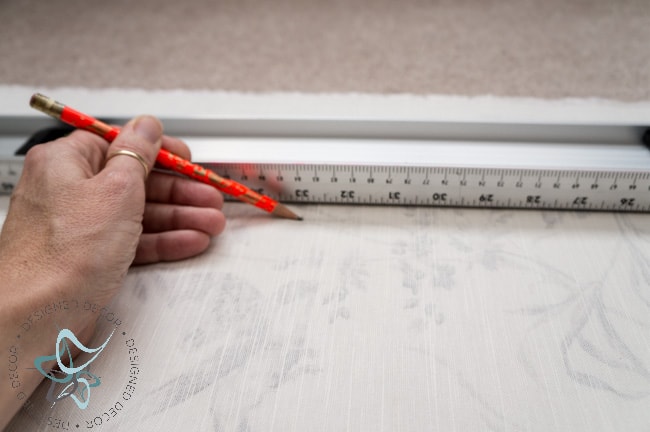
I start by measuring and marking pencil or chalk lines on the fabric. Once I have a few lines marked, I use this 48-inch bar level to make a straight line. I love this tool as it makes it very easy to make and cut a straight line on my fabric. I made 2 no sew tie valances for my closet makeover. You fabric cuts need to be 4 to 6 inches wider on the width of your window sill and 6 to 8 inches longer than the bottom of the final valance. Here are the measurements for my window. The first window is 45.5 wide x 42.5 long. My fabric cut for this window is 49.5 wide x 32 long. My finished valance is 45.5 wide x 24 long.
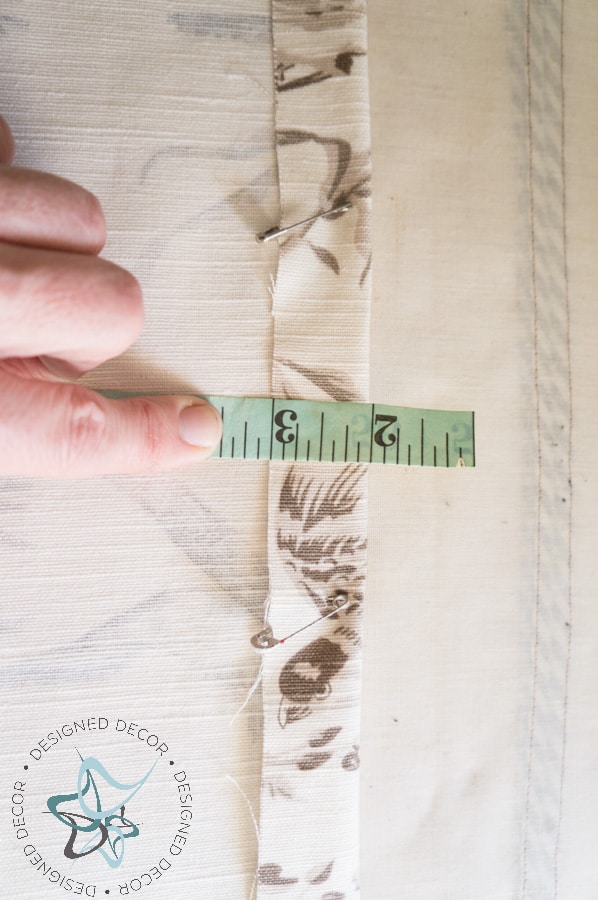
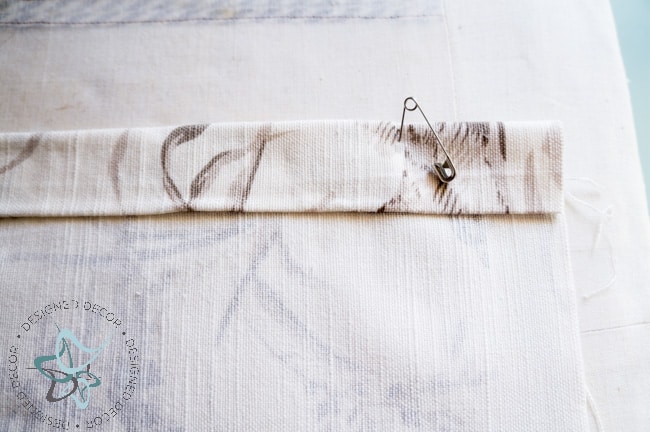
I start by folding the right side fabric in by 1 inch. I pin and iron the 1-inch fold. Ironing the fold makes it easier to use the no-sew adhesive, by allowing for crisp fold lines.
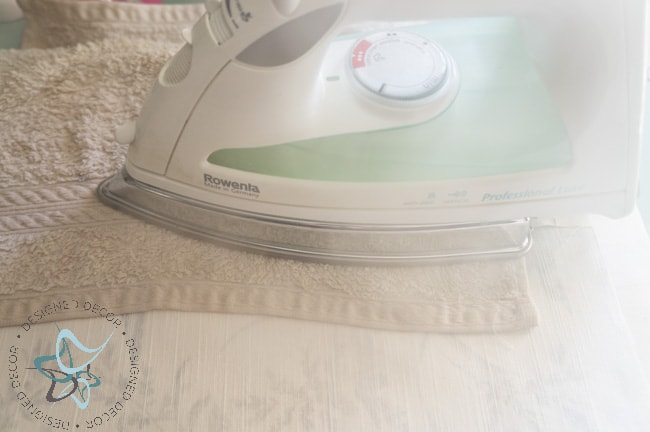
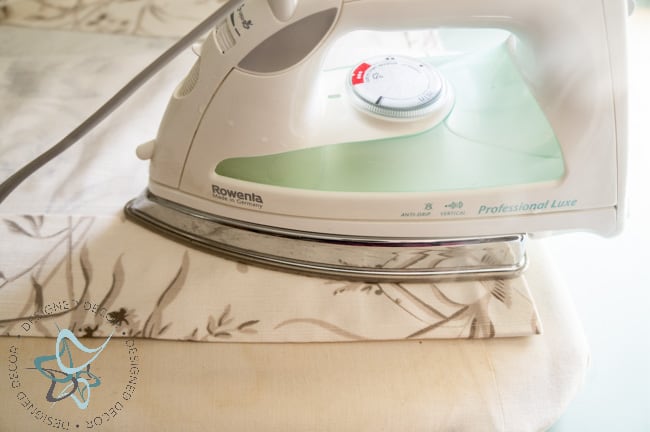
I place the Heat Bond inside the 1-inch fold. I also make sure to leave 2 inches at the top of the valance un-bonded, this is where you will place the wood strip to hang. I place a damp towel over my fabric and iron
along the seam. I use a moist towel as I find it creates more steam and it allows the heat bond to work quicker.
I fold over another 1-inch and use the heat adhesive the same as the first step above. Repeat this process on the left side of the fabric.
Use the same process on the bottom of the valance, except make your folds 3 inches.
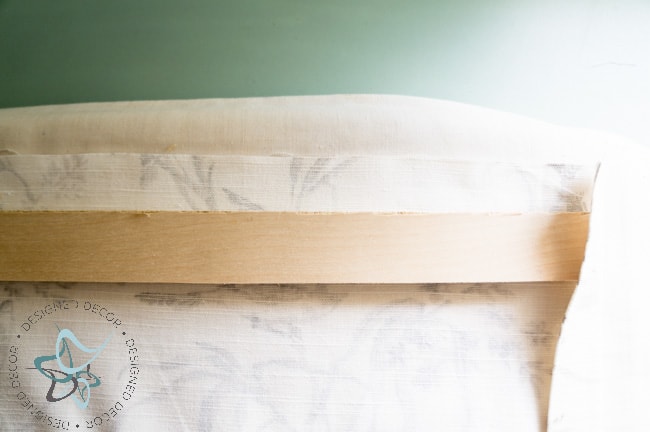
Place your cut wood strip about 1/2 inch down from the top fabric and place inside the folded side fabric.
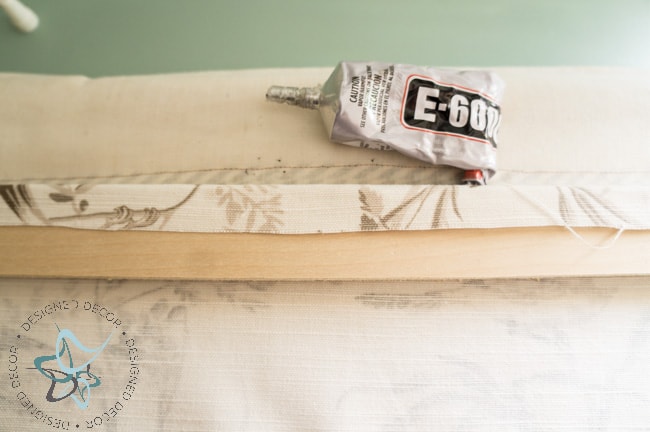
I choose to use E-6000 to glue the fabric to the wood strip. Make sure your ends and tucked and glued in. You will flip the wood headboard over 1 time when installing to the window frame.
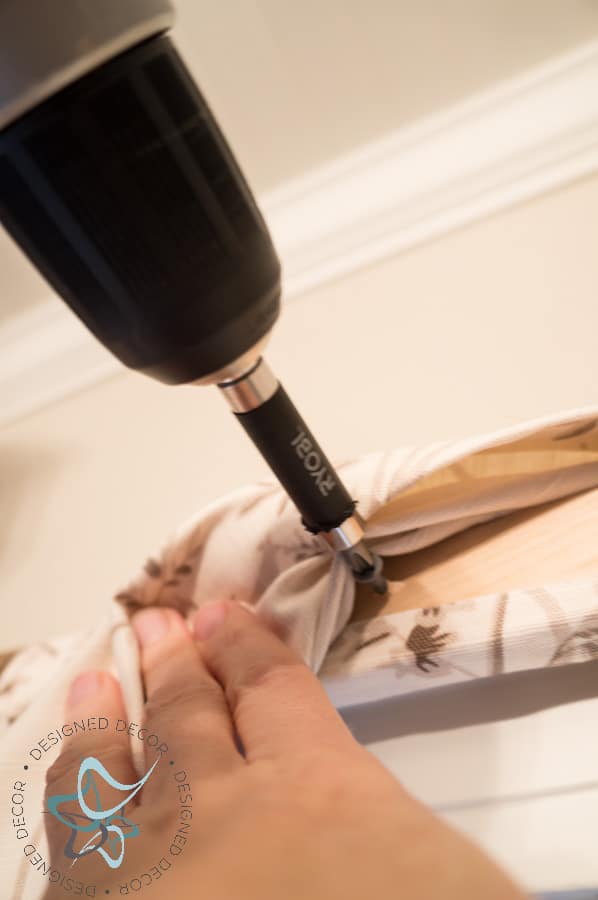
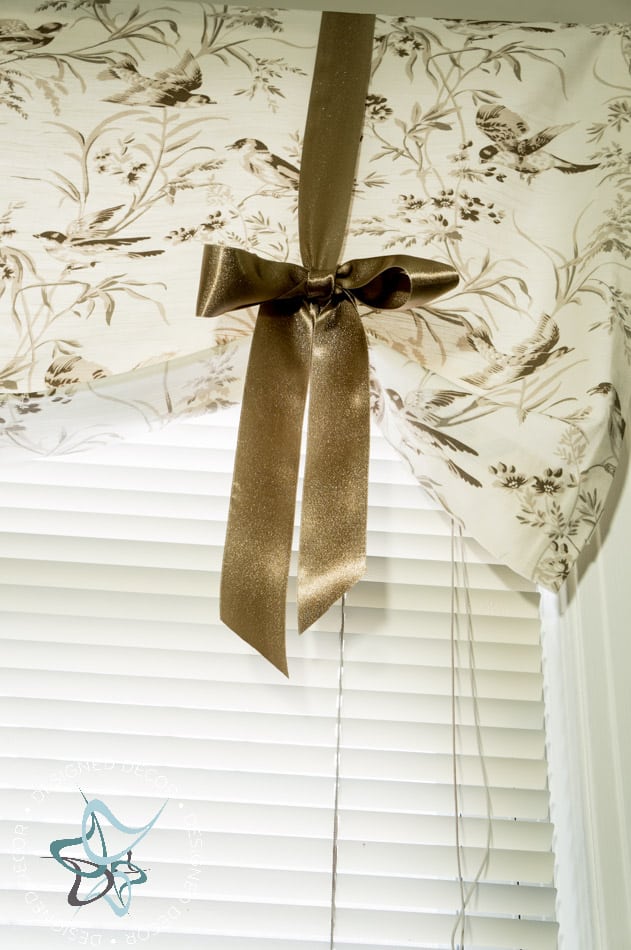
Place your ribbon on the valance and screw the wood valance into your window frame. Since you folded over the wood piece, you will need to lift your fabric to screw the wood valance in place. This allows your valance to hang over and cover up the screws. Don’t tighten the screws until you have your ribbon hanging in the proper location and screw tight.
I used 54-inch ribbon and cut off the extra once I knew how high I was tying the bow.
Follow along with the Closet Makeover Posts:
Join the DD Community!

Join the Designed Decor Community and receive weekly free tips on DIY home projects, painted furniture, decorating, and much more.


Leave a Reply