Christmas Decorating on a Budget – Part 6
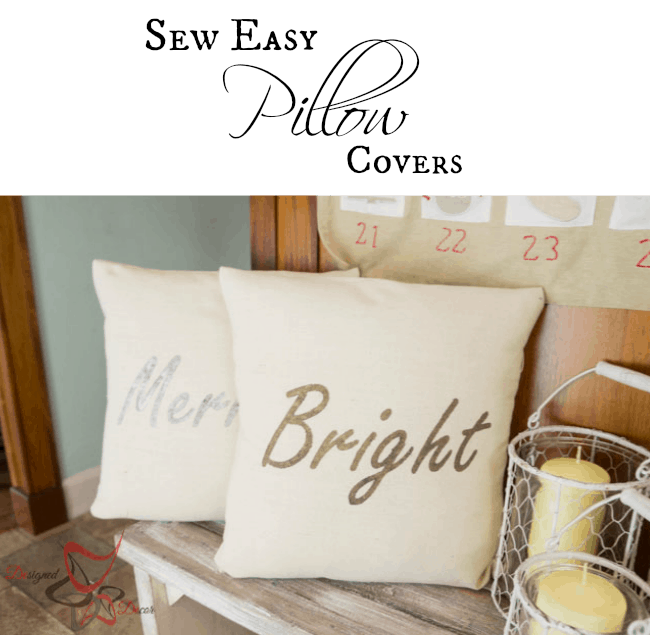
I would have never thought that making a pillow cover could be “Sew” easy. If only I knew this sooner. Now I must share with you how to make these easy pillow covers.
Make sure you stick around through this post as I have joined with the Silhouette Challenge team to share our Christmas Inspirations. Now for the sew easy pillow cover tutorial.
I am giving you the measurements to make a pillow cover for a 16 by 16 pillow form.
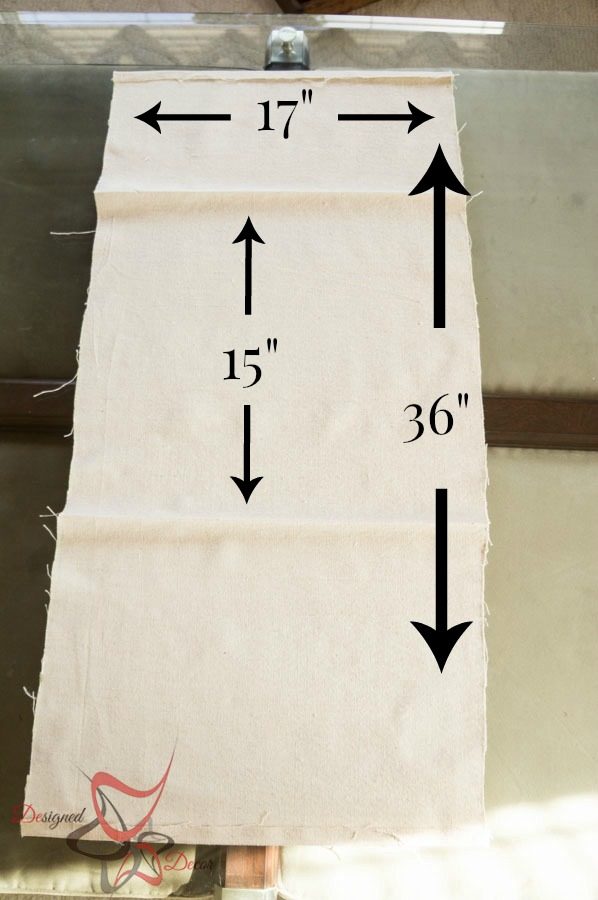
Step 1: Cut fabric 36 inches long by 17 inches wide.
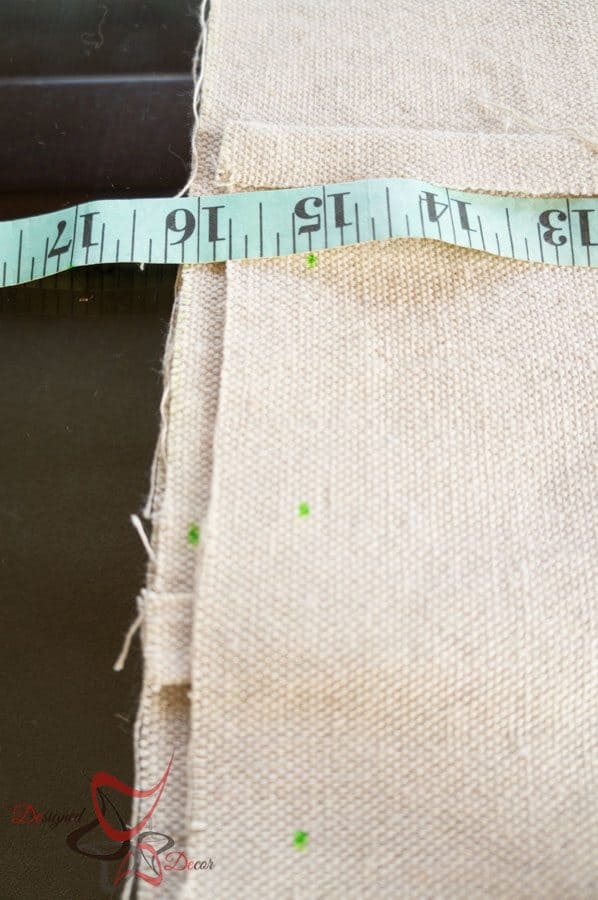
Step 2: Iron fabric to smooth out all wrinkles. Fold over the fabric on the ends using a 1-inch fold, iron to make a crease. Next, measure a 15-inch section and fold over fabric and iron to make a crease. Keep fabric folded with the wrong side facing out.
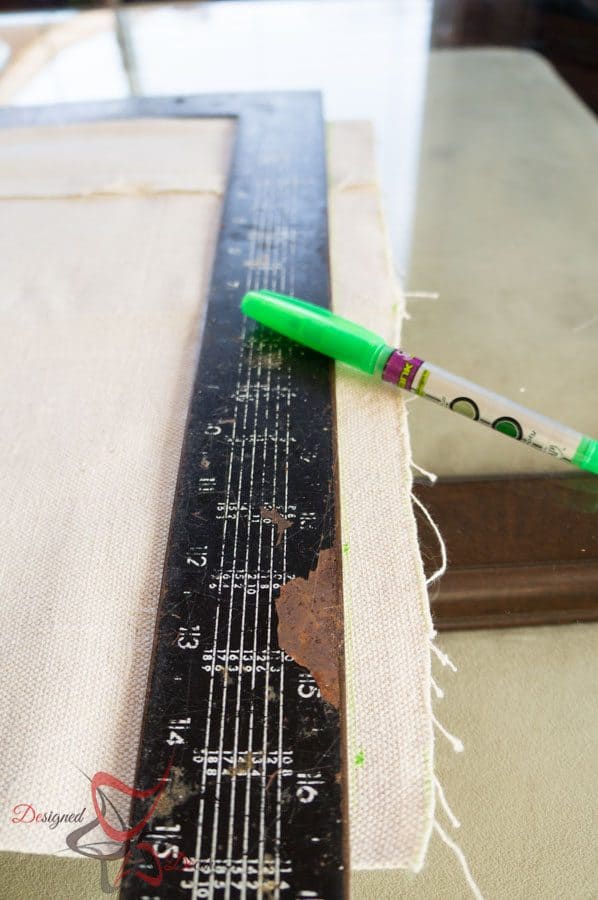
Step 3: Mark a 1-inch line from the cut edge(17-inch width) Repeat on opposite side.
I measure 1-inch from the edge and make a dot and do this along the entire edge. I then use a straight edge to make a sewing line. This makes it easier for me to follow the line when sewing.
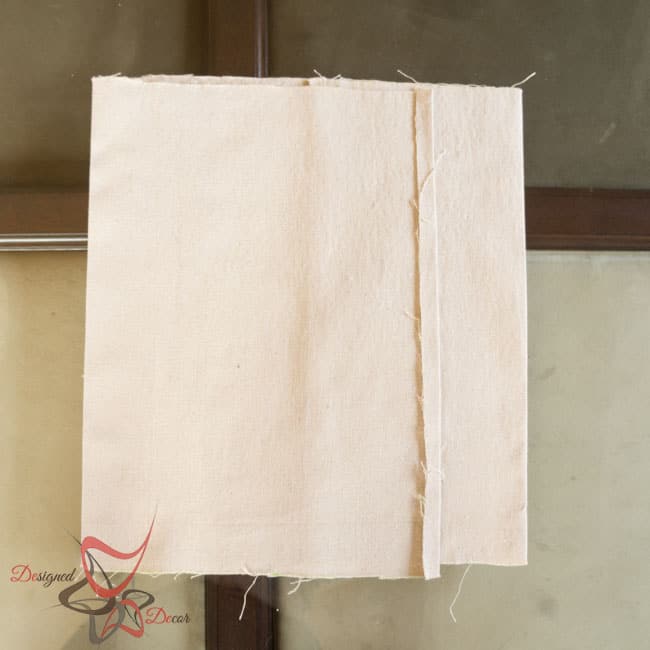
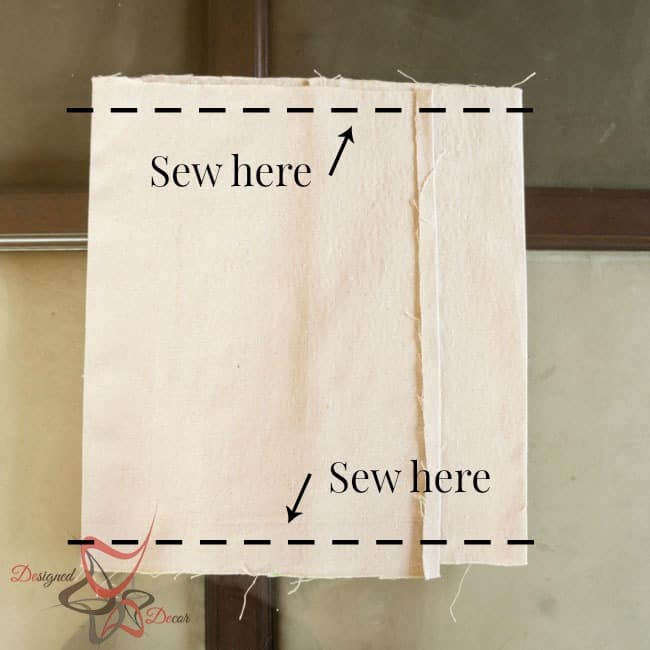
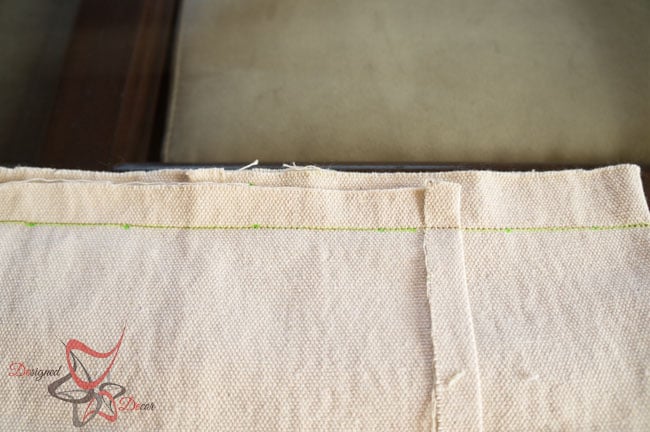
Step 4: Sew 2 straight lines 1 inch from the edges. This is why this is a “SEW” easy pillow cover. You do not need to sew the ends as they will be stitched along with the sides.
Step 5: Once both sides are sewn, turn the pillow cover inside out. Fill with pillow forms and your pillow covers are done. How simple is that!
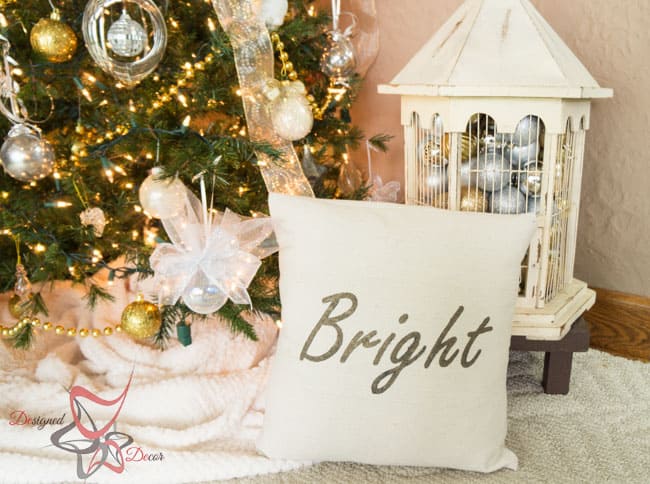
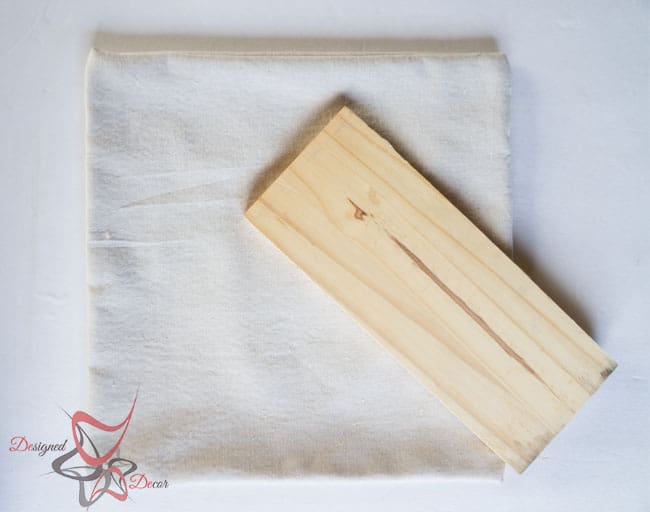
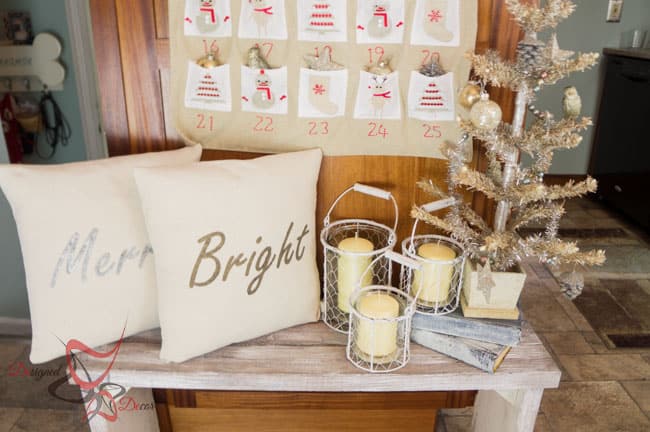
I wanted these pillow covers to be used for Christmas, so I added some Christmas bling with stencils. I placed a wood board in the pillow cover to protect the fabric for any paint bleed through.
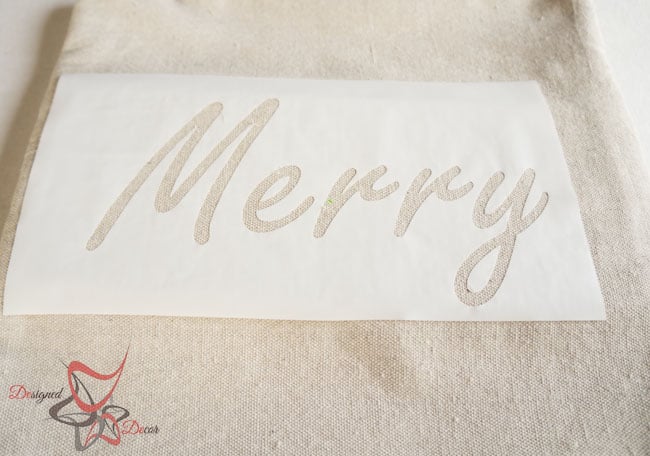
I made a custom stencil using “Cameron,” my silhouette cameo.
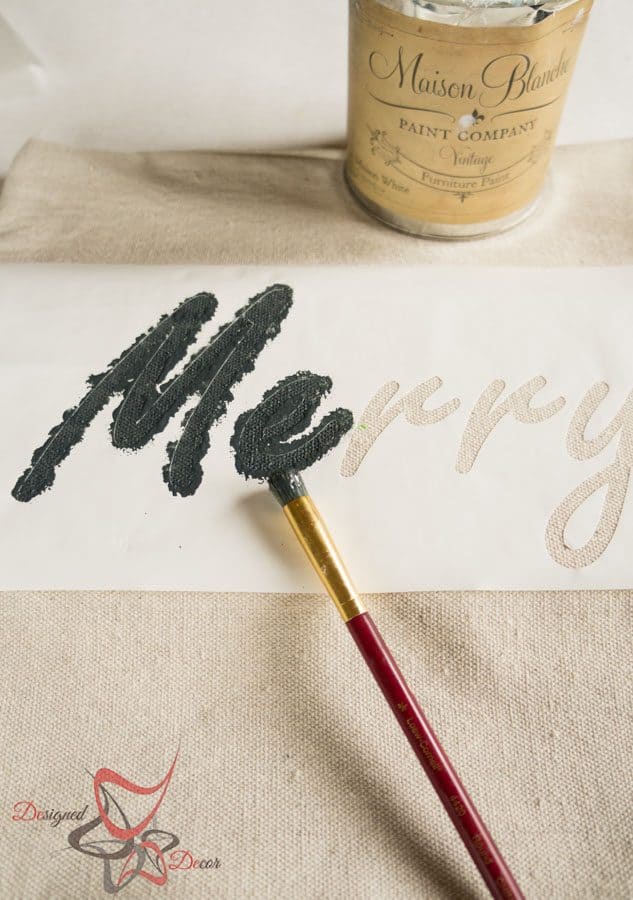
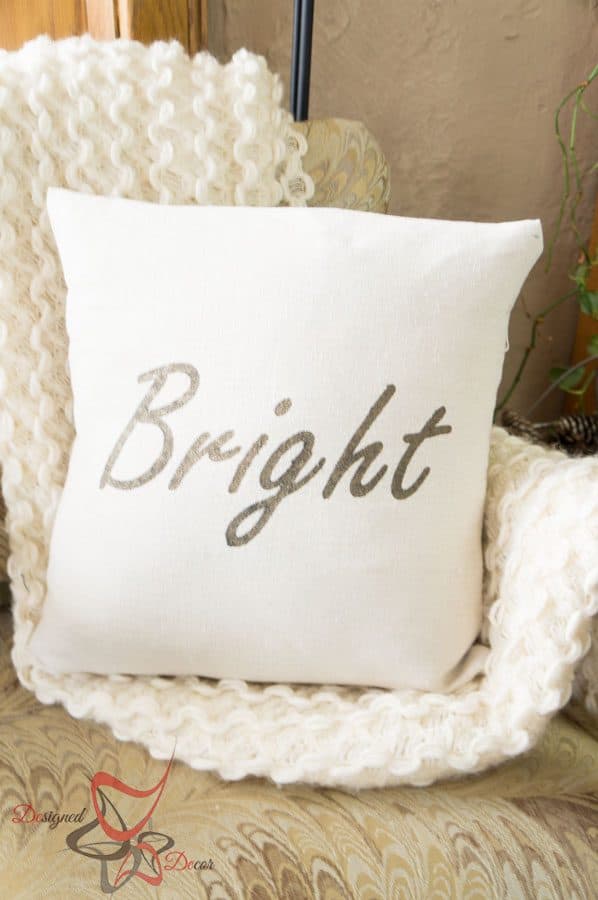
I used black chalk paint as my base for the stencil.
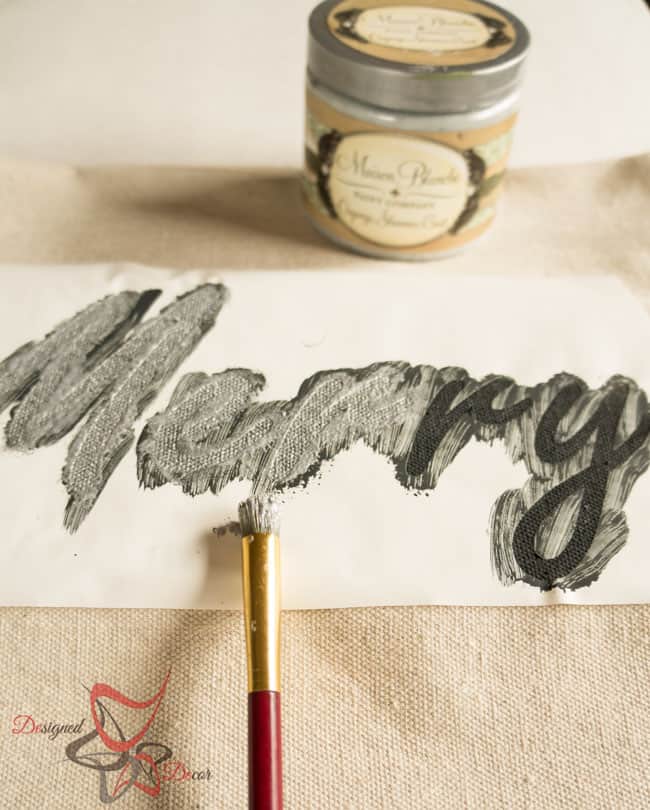
Once the black chalk paint was dry, I applied a coat of Organza in silver by Maison Blanche. This gives the stencil a shimmer.
The other pillow was stenciled using brown chalk paint as the base and adding Organza in oil rubbed bronze.
I will be making more of these “Sew” easy pillow covers. I will be changing out my pillow covers seasonally, now that I know how easy it is to make my own pillow covers.
My Silhouette Challenge buddies and I are all sharing projects on our blogs today, so peruse the projects below for a wealth of Silhouette inspiration!
1. Beauty in the Mess // 2. JustTyra // 3. Dream a Little Bigger // 4. Simply Kelly Designs // 5. The Stamp Doc // 6. TheKimSixFix // 8. unOriginal Mom // 9. HaberdasheryFun // 10. Tastefully Frugal // 11. Sisters, What! // 12. Small Stuff Counts // 13. Where The Smiles Have Been // 14. Whatcha Workin’ On? // 15. Designed Decor // 16. Architecture of a Mom // 17. Decor Adventures // 18. Create & Babble // 19. Tori Grant Designs // 20. Tried & True // 21. The Thinking Closet // 23. Get Silvered // 25. Cutesy Crafts // 26. Ginger Snap Crafts // 27. My Favorite Finds // 28. Cupcakes&Crowbars // 29. Pineapples & Pinecones // 30. The Crafting Nook // 31. It Happens in a Blink // 32. Alayna’s Creations
You can also visit my other posts on Christmas Decorating on a Budget: Part 1, Part 2, Part 3, Part 4, Part 5
Join the DD Community!

Join the Designed Decor Community and receive weekly free tips on DIY home projects, painted furniture, decorating, and much more.

Helen Gullett says
Fantastic pillows! I love the simplicity yet merry 🙂
Pam - GetSilvered says
Lovely cushions and great step by step – Thank you.
I love the final display to – looks fabulous!
Designed Decor says
Thanks Pam! They were so easy!
Marni @ HaberdasheryFun says
Wow1! Love what you used for paint.. I’ve never thought of that and it looooooks so good. -Marni
Designed Decor says
Marni, you can pretty much use any type of paint you have on hand!