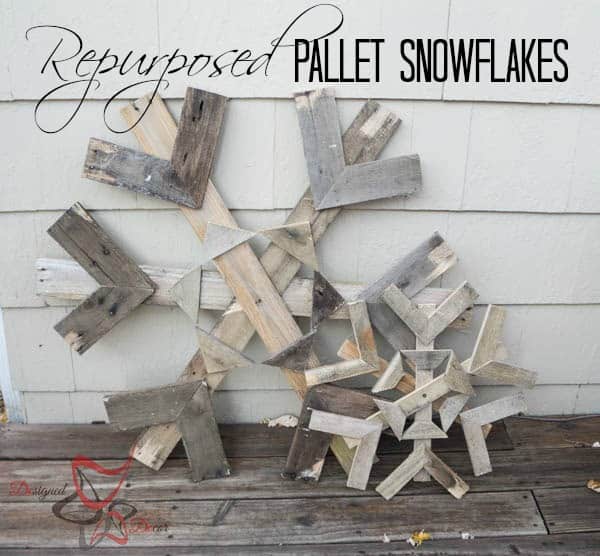
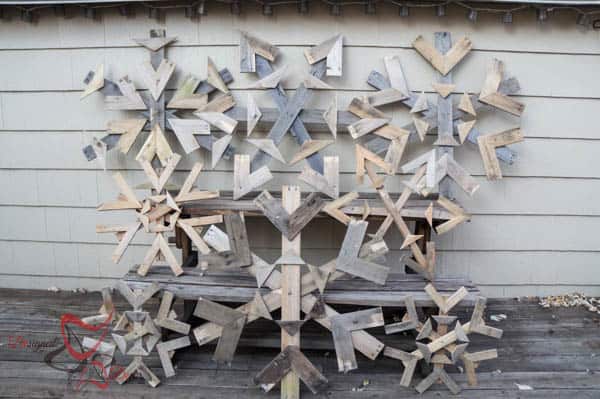
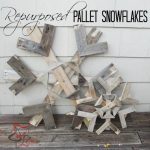
These repurposed Pallet Snowflakes are a BIG hit at my shop. Mr. DD and I made 8 of them, 4 large and 4 small. 5 of them sold within 2 days of me taking them to the shop.
I love making things out of free stuff and I especially love to repurpose things into something useful. I found this idea on Pinterest from “My Altered State” Her post did not give any measurements since she “eyeballed” it. I am a measure and cut kind of gal, so I needed Mr. DD. to give me exacts so I can share those with you if you are like me and need step by steps.
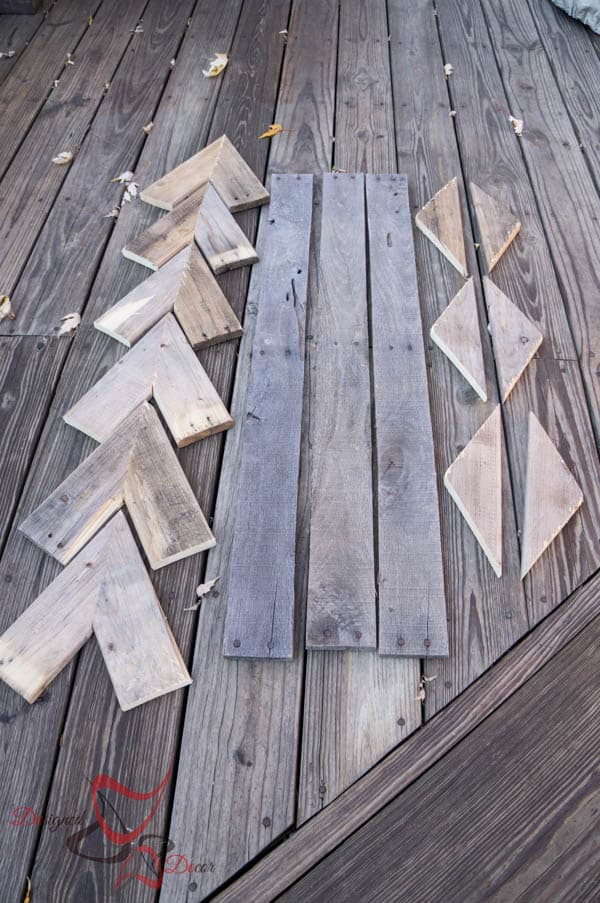
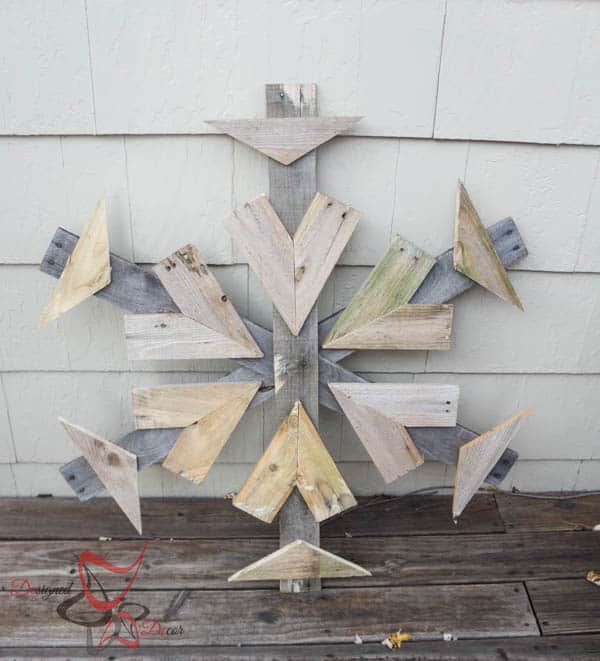
One large snowflake is “6” 44 inch pallet boards. 3 of the 44 inch boards are for the base and the other 3 are used for the arrows and triangles.
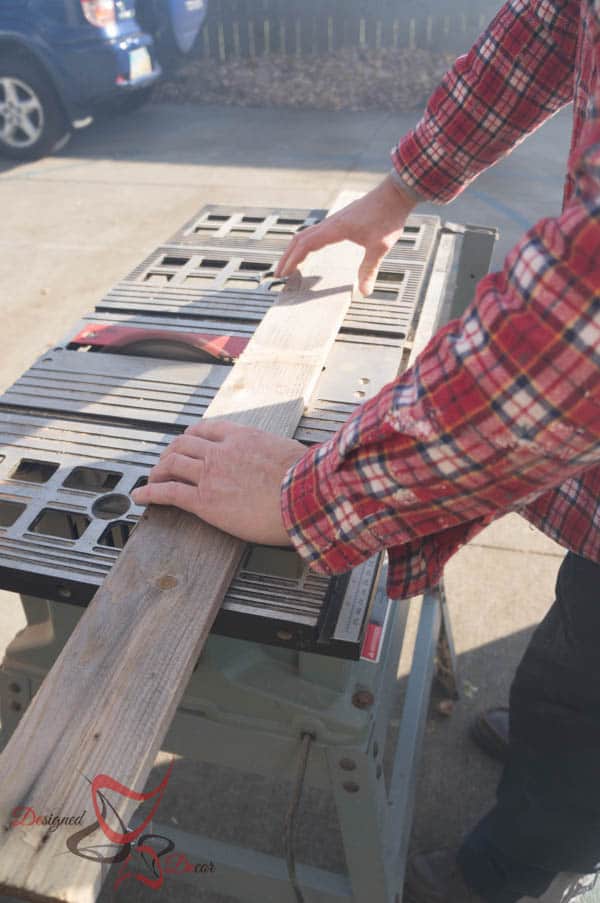
Cut 44 inch board in half.
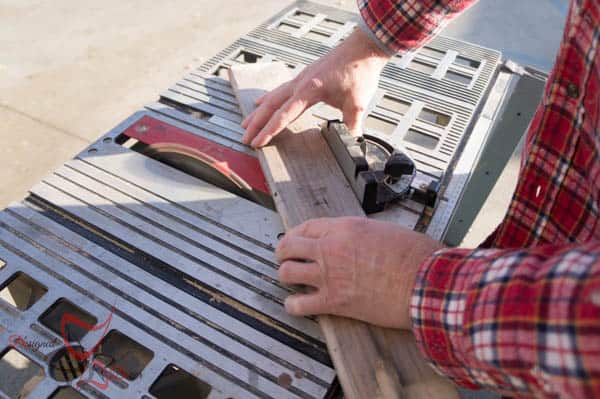
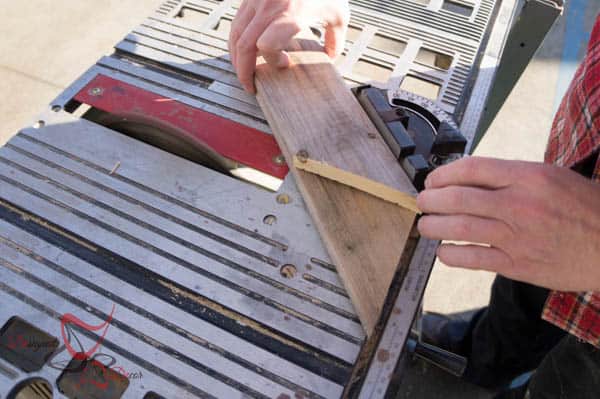
Measure down the 22 inch board and mark at the 11 inch spot(half), this will be the peak for your triangles. Cut these board at a 45 degree angle.
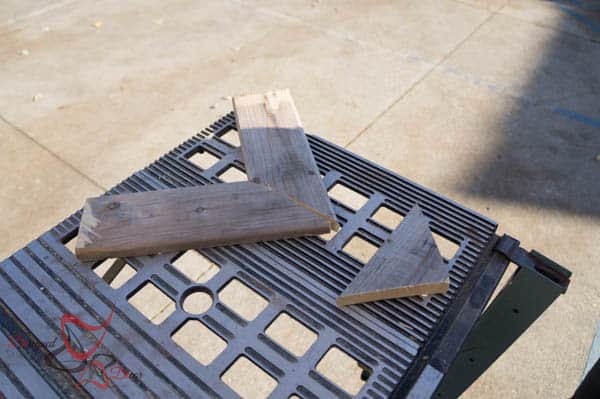
You can see from the above photo that Mr. DD flipped over the first cut, and used that as his guide for the second cut. And you can see that you will be left with one triangle.
The cuts above were from “1” 22 inch pallet board that was cut in half from a full 44 inch board.
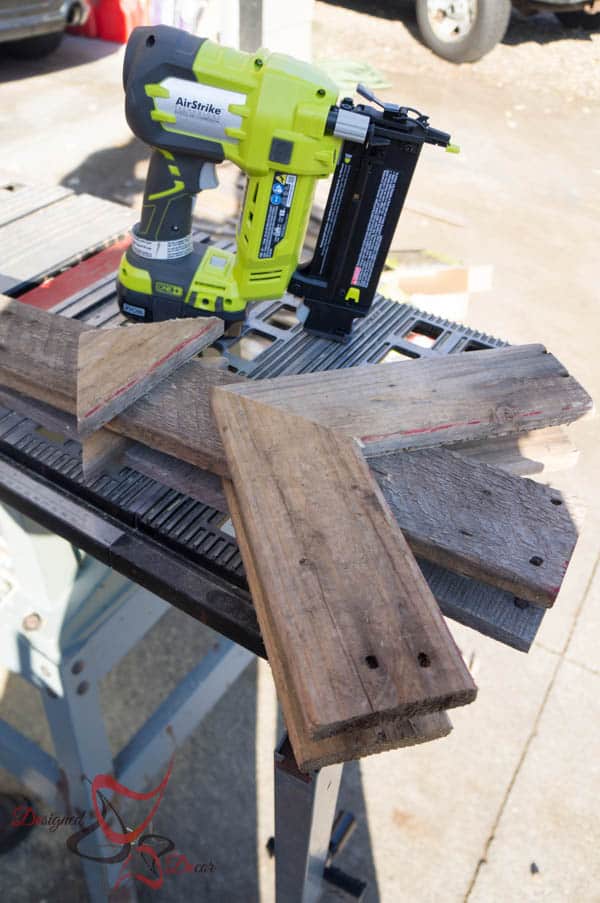
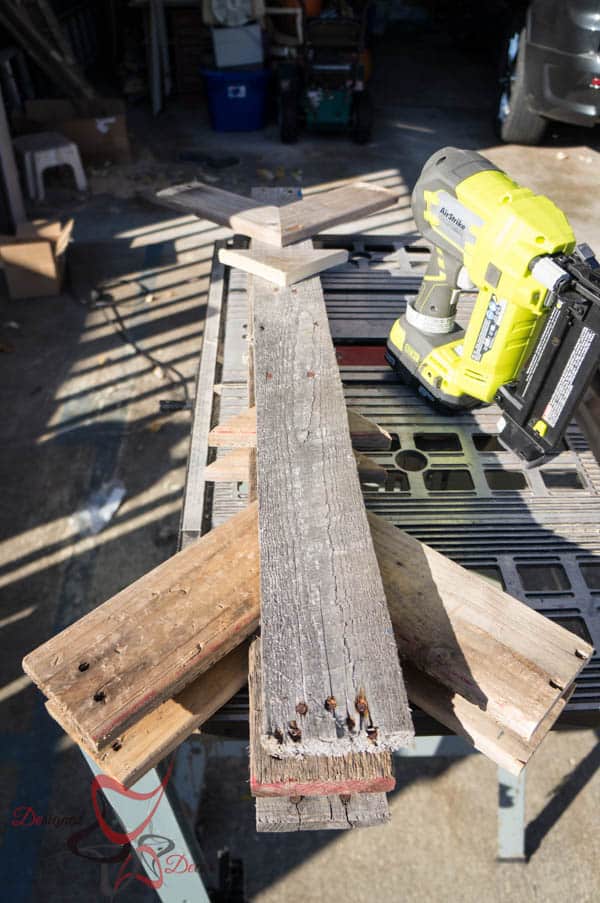
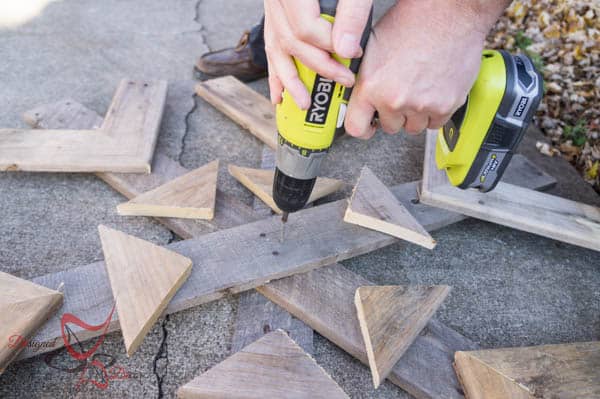
Using my favorite power tool, the Ryobi Airstrike, I assembled the cut pallet boards onto the base boards. This part, I did just eyeball the placement of the cut boards, and used the first assembled board as my base to assemble the remaining boards.
Once you have 1 side assembled, flip it over to measure against the completed board to assemble the other side.
Once all 3 boards were complete, we screwed them together for added reinforcements. I placed a screw on the front and also the back of each snowflake.
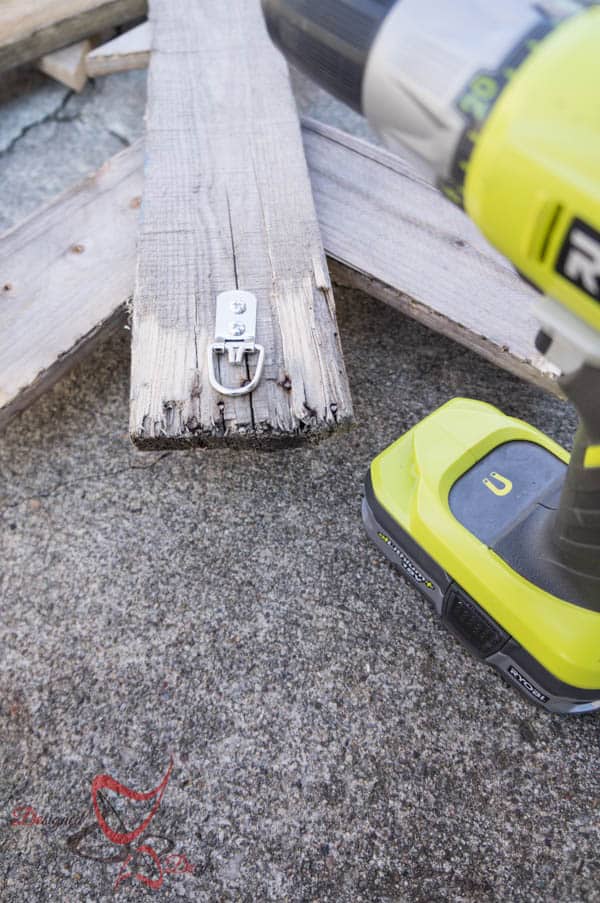
I added a “D” ring to the back of each snowflake to make it easier to hang your snowflakes.
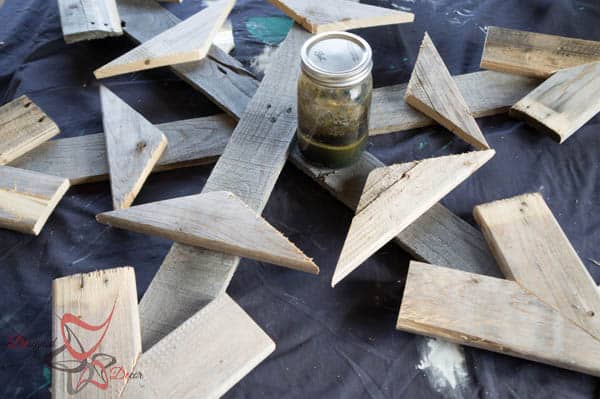
For a few pieces of the wood, I stained them using my homemade stain. You make the stain using a steel wool pad and white vinegar. Place the steel wool in a glass jar and cover completely with vinegar. Mine has been sitting for months waiting for the perfect project to try it out on. It gives your wood a perfect aged look with out making it too dark. Once the stain was dry, I dry brushed on white paints to give the snowflakes and washed look.
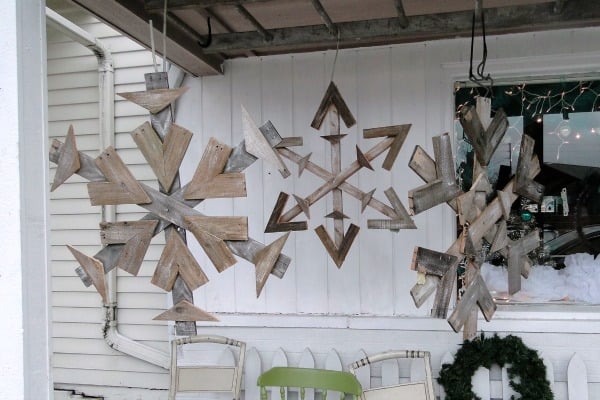
Here are a few of the pallet snowflakes hanging outside my shop. This picture actually has the homemade stain and dry brush white paint on them, all the other photos were taken before I did the final stages.
Mr. DD and I also made some with a 30 degree angle. So using a 42 inch board, cut in half and at the 10.5 inch mark cut there using a 30 degree angle. assemble using all the steps above.
We also made small snowflakes and you can make those by using the measurements above, but cutting everything in half. We also cut the boards down the center before starting. This allows the boards to be skinner for the smaller flakes. I love how they look with the variegated wood tones.
Here are a few other Pallet Projects I have completed.
Join the DD Community!

Join the Designed Decor Community and receive weekly free tips on DIY home projects, painted furniture, decorating, and much more.


Ramona Mills says
I was looking through some of your blog posts on this site and I think this site is real instructive! Continue posting .
Linda Raedel says
Just came across your site.we live back from the road , so we need large decorations. Love these. We are big into reusing. I have a small business making jewelry out of recycled aluminun.
Designed Decor says
Hi Linda! I know you can easily make these for your yard! I love that you make jewelry out of aluminum. I love to reuse as much as we can!
Lambmama says
I love these – can’t wait to get my daughter on them!!!
Designed Decor says
They are fun to make! Have a Merry Christmas!
Bliss says
Stopping in to pin… I love them!
Designed Decor says
Thanks so much for pinning! Merry Christmas!
My Altered State (@tagirlpauline) says
These are so cool! You did a great job. (and thanks for the shout-out.) The reclaimed wood snowflakes are fun because there are so many possibilities with colors and textures. (Size kind of depends on what old wood I’ve got to work with.) You and your husband make a great team! 🙂
Designed Decor says
Pauline, You are a great inspiration! I love your blog since discovering it! I love all your reclaimed wood projects! Have a Merry Christmas!