Happy Black Friday! Yesterday I shared about the Black Friday Sale for Silhouette and I want to share the tutorial on how I used this repurposed window for some Christmas Decorating. (This post contains affiliate links)
The great thing about this window is it can be used year around my removing the double sided adhesive and glitter. I would highly recommend that you do that outside or you will have glitter everywhere in your home! You can change out this window seasonally and also use it for your favorite inspirational quotes.
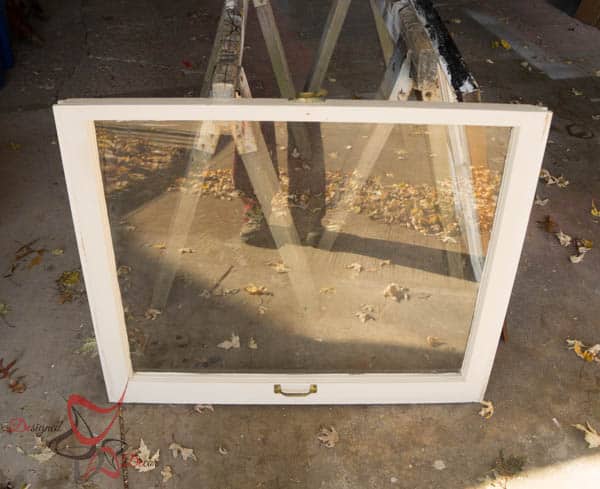
I started with this plain old wood window. I used Rustoleum’s Rippled Effect on the back of the window, to give it a muted effect on the glass.
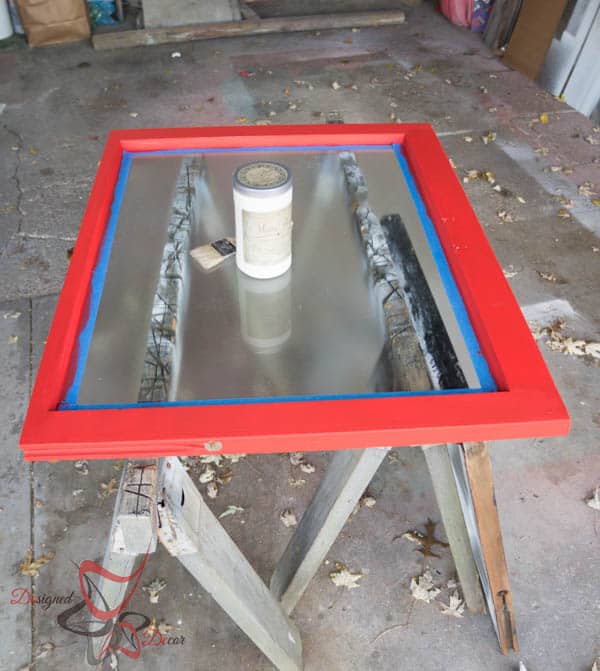
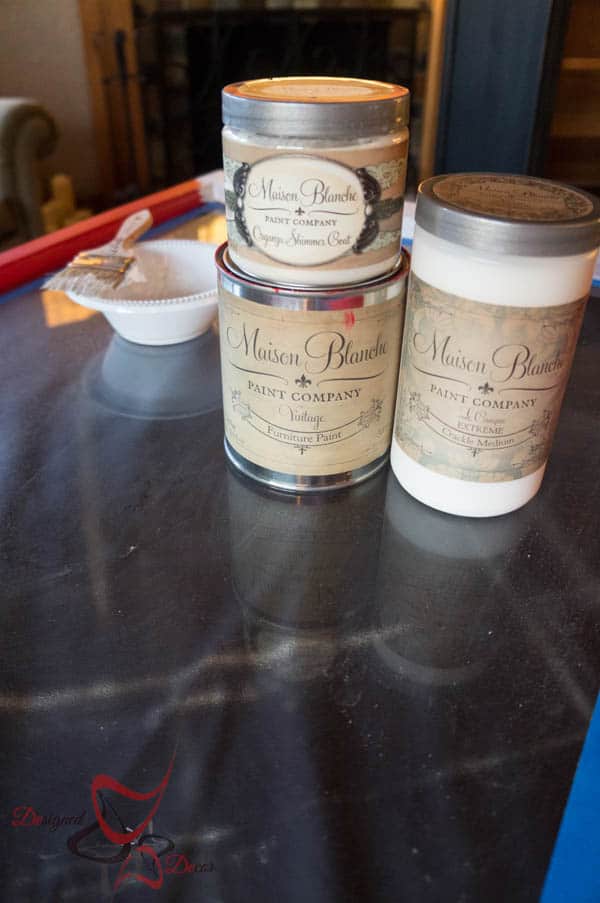
I started with 2 coats of Maison Blanche Vintage Paint in the color Cerise. Applied a heavy coat of Maison Blanche “Le Craque” extreme. TIP: make sure to apply the crackling cream with a chip brush and work quickly and do not go back over areas once the Le Craque has been applied. One coat and done, this allows for heavier crackling. I also apply the topcoat of paint with a chip brush, which allows more cracks.
I mixed a 50/50 ration of Pearl Gold Organza with Maison White Vintage paint for the top coat. A sealed with gold Glitterati varnish. Now we are ready for some glitter.
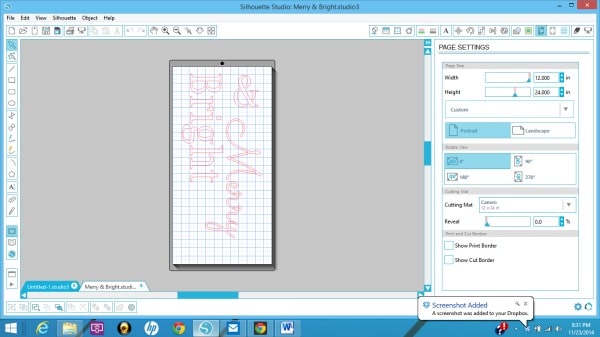
Here is a screenshot for my Silhouette and how I placed my words to get maximum cutting exposure. I hate to waste material, so I always space things to get the most out of my materials.
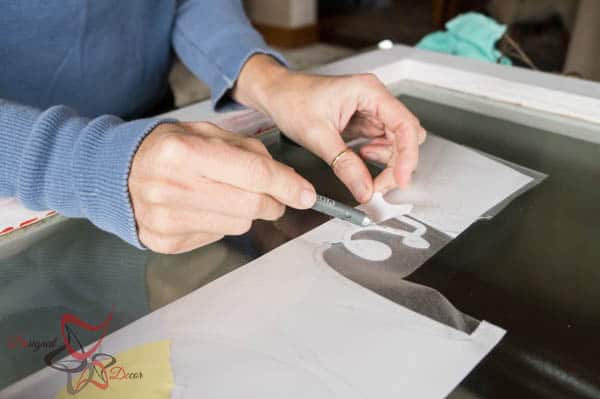
Once everything was cut, I placed my clear contact paper over the cut double stick adhesive. I use clear contact paper as my transfer medium, I find it to be cheaper than the brand names. I began to remove the back of the double sided adhesive. This was very tricky and time consuming. You must work very slowly or you will peal off the double stick with the protection layer. TIP: Don’t use very intricate designs and cuts, I found them to be too hard to remove the protection sheet without lifting up the sticky layer.
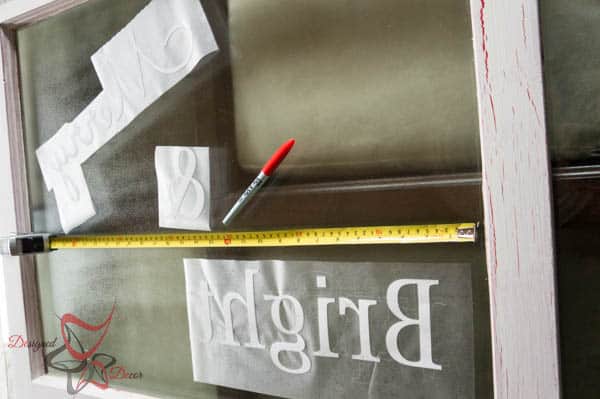
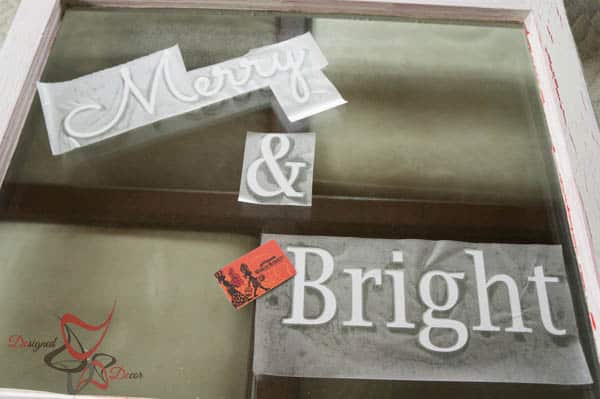
I spaced out my lettering upside down to make sure I had proper alignment.
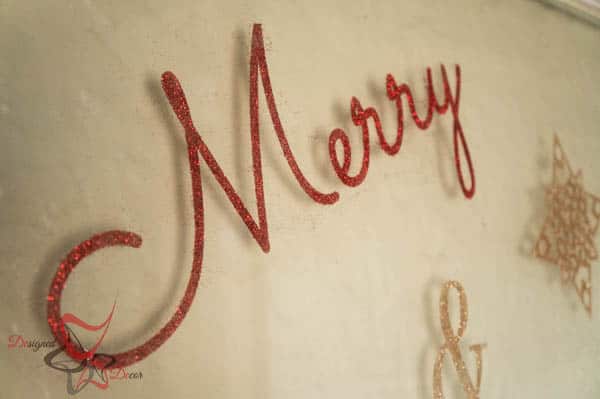
I flipped the Merry & Bright over and used a gift card to rub over all the lettering. I did the same technique for the snowflakes.
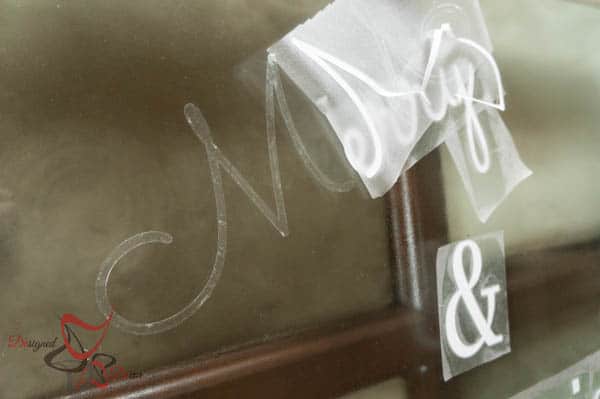
I slowly removed the clear contact paper and the top layer on the adhesive. TIP: Make sure to remove one word at a time of you are using different glitter colors. I did the Merry & Bright first and cleaned up the red glitter before removing the “&” and snowflakes.
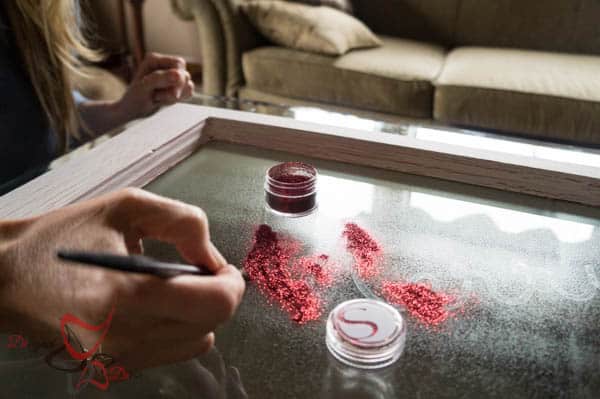
Now the glitter! I poured a small amount of glitter onto my work space and used a dry paintbrush to spread the glitter. Once I was done with the red glitter, I brush it onto a piece of paper and poured in back into the container. Remember, I hate to waste my supplies.
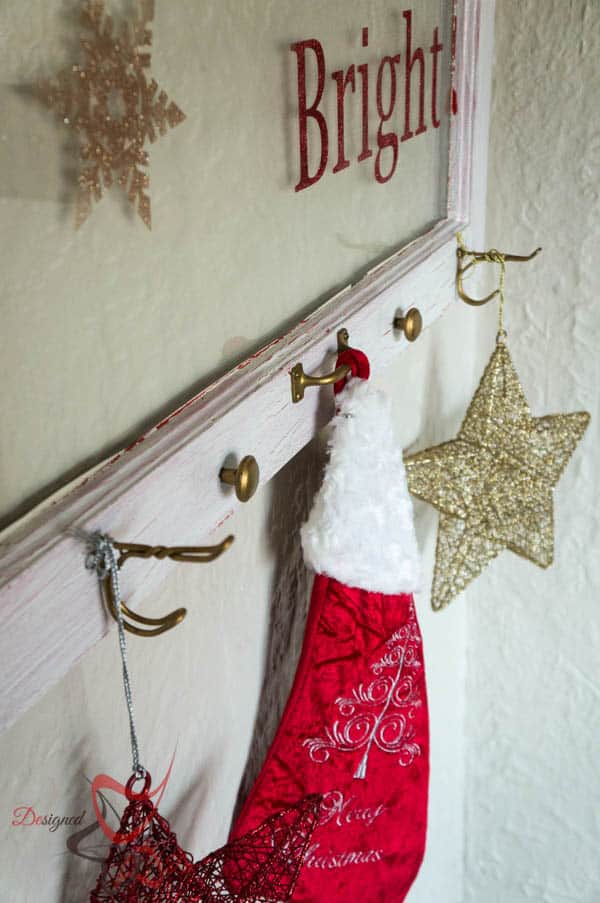
I used Antique Gold Rub n Buff on the window handle and also on the knobs and hooks. Add a few details and you are ready to begin your Christmas decorating. You can also add some garland and lights to swag over the top.
What do you think a quick change out and it could read “Happy New Year” or “Let it Snow”! A simple way to add seasonal decor to your home.
Check out these other Christmas Decorating ideas:
Join the DD Community!

Join the Designed Decor Community and receive weekly free tips on DIY home projects, painted furniture, decorating, and much more.





Susan says
Lo-ove your repurposed window, DeDe! I so have to get a Silhoutte soon.
Designed Decor says
I love it! It is soooo worth the investment!