Finding perfect holiday gifts for friends or loved ones can be hard enough. Why should wrapping it up and making it presentable add even more stress to the holiday season? Creative gift wrapping doesn’t have to break the bank; with just a few affordable ideas, you can easily dress up any special occasion without breaking your budget.
Here you’ll find easy and affordable ideas for wrapping that are sure to impress. From plain kraft paper to a DIY gift topper, these tips will make your gifts look decor-worthy. With just a little imagination, you can put a unique spin on your gift presentation that truly expresses your thoughtfulness towards each special recipient.
So get ready – it’s time to unlock the secrets of these favorite gift wrapping ideas so everyone enjoys both the outside as much as what’s inside!
Use Gift Wrapping Supplies You Already Have
Before you spend a ton of money buying up rolls of expensive gift wrap, take a look around your house at what you already have on hand. With a little creativity, you can reuse old newspapers, magazines, sheet music, brown paper bags, or even gift wraps from previous years to give your presents a unique and personalized touch.
Not only will this save you money, but it’s also an environmentally friendly option for wrapping your gifts. So why not take a moment to think outside the box and see what you can come up with? Your friends and family are sure to appreciate the creative ways and effort put into their beautifully wrapped gift.
Check this post on how to repurpose vintage fabric from the Boondocks Blog.
Creative Gift Wrapping Ideas with Paper
Gifts are always made more special when they come with unique and creative wrapping that perfectly matches the personality of the recipient. One way to make that happen is to use different types of paper, such as old maps, scrapbook paper, old book pages, brown craft paper, and construction paper. By choosing the right material, you can give your gifts a personal touch that will show your loved ones how much you care.
Here are a few gift wrap ideas:
- Easy Gift Wrapping Idea With A Pocket
- 4 Easy gift wrap ideas
- Ways to wrap using favorite photos
- Make a bag with wrapping paper
Use Natural Elements to wrap gifts
Another way to have some fun with your wrapping is to incorporate natural elements. Twigs, pine cones, berries, cinnamon sticks, and dried flowers can bring a little bit of the outdoors into your wrapping, creating an organic look that’s both beautiful and unforgettable. With these simple yet effective tricks, you can easily elevate your gift-giving game and bring a smile to anyone’s face.
Get Colorful with gift wrapping
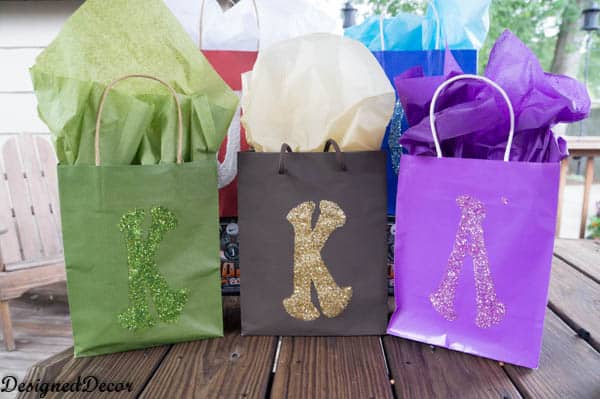
Make your gifts stand out with a burst of color using colorful ribbon, tissue paper, washi tape, candy canes, or yarn. Not only will it add a touch of vibrancy, but it will also show the receiver that you put effort into every part of the gift-giving process. Choose a bright hue to compliment the wrapping paper, or go for a complementary shade to create a striking contrast. Your colorful gift will be sure to capture the attention of your loved ones and bring a smile to their faces.
DIY Bows & Gift Tags
Looking for a way to add some extra charm to your gifts? Look no further than DIY bows and toppers! Whether you’re a seasoned crafter or a gift-giver looking to add a personal touch, creating your own bows and gift tags is a fun and creative way to give your presents that special something. With just a few simple materials like ribbon, baker’s twine, yarn, or fabric scraps, you can create custom bows in any color or style you like. And when you top it off with a personalized gift tag, your recipient will know just how much thought and care went into their perfect gift. So why not give it a try and add a little DIY magic to your next present?
Check out these great DIY bow and gift tag ideas:
Make It Meaningful
Gift wrapping may seem like a simple task, but it’s an art. A gift is a perfect blank canvas, ready for you to show your creative ideas. To make it even more meaningful, try adding a personalized note on the inside of the gift. Whether it’s a heartfelt message or simply wishing them a happy occasion, this thoughtful touch shows you went the extra mile and it adds a special touch to the gift.
Another idea is to tie charms to the ribbon that reflects the receiver’s interests. If they love flowers, for example, add a small floral charm to the bow. You can even use fresh flowers or faux greenery under the ribbon for adding layering. These small details show the receiver that you took the time to make their gift experience truly special and tailored to them.
Creative Gift Wrapping Package Tutorial
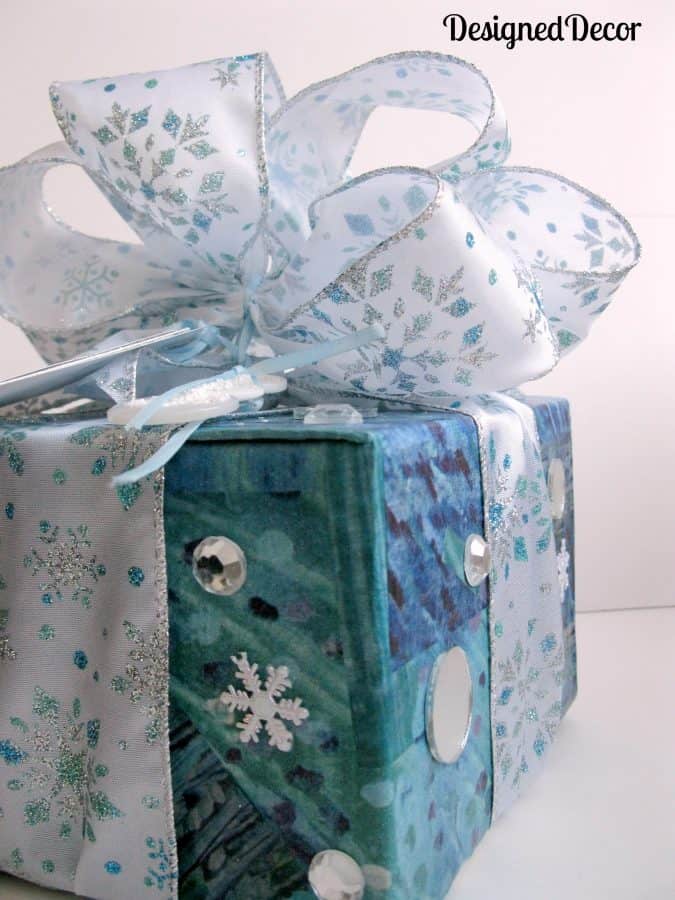
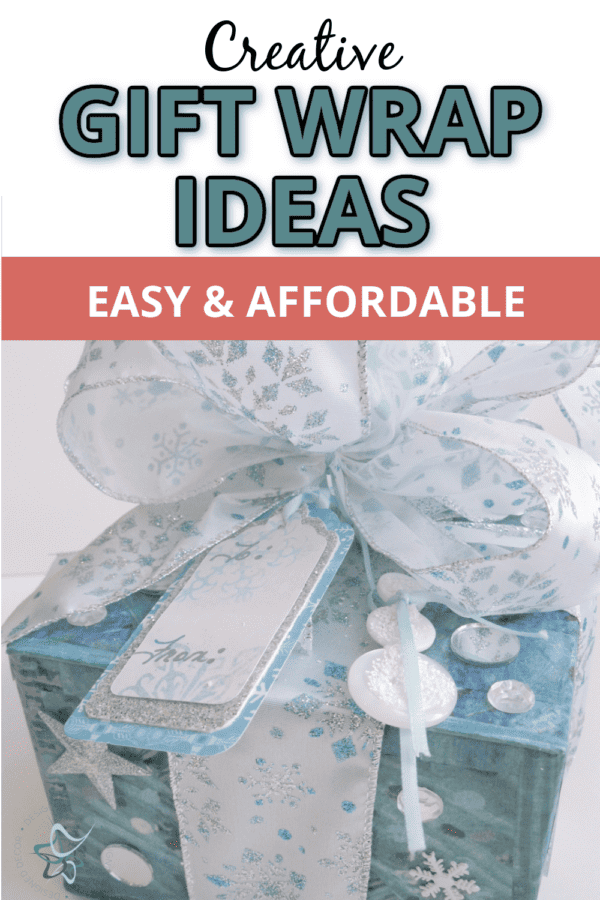
The great thing about this creative gift-wrapping package is everything used to gift wrap this present, I had on hand.

This post contains affiliate links. Click here to see my full disclosure policy.
Supplies used:
- Collage paper
- Scrapbook paper
- Mod Podge
- Buttons
- Glitter
- Ribbon
- Used gift boxes

I started with collage paper from one of my stepson’s old crafts books. Let’s just say it is about time that this paper is used because the stepboys are now 23 and 22 years young. After finding the paper that coordinated in colors, I randomly cut and added paper to the box, sealing it with Mod Podge.
Making snowman buttons
While the box was drying I used Mod Podge on the buttons and then sprinkled them with white glitter. Sorry, I forgot to take a picture of the buttons while I was assembling them.
Using white wire to assemble the buttons, I ran a wire through the button holes of each button and then twisted them in the back to keep the buttons in place. I then used more Mod Podge and glitter to cover up some of the wire. I tied a light blue ribbon around the top and middle button for the snowman’s scarf.
Making handmade gift tags
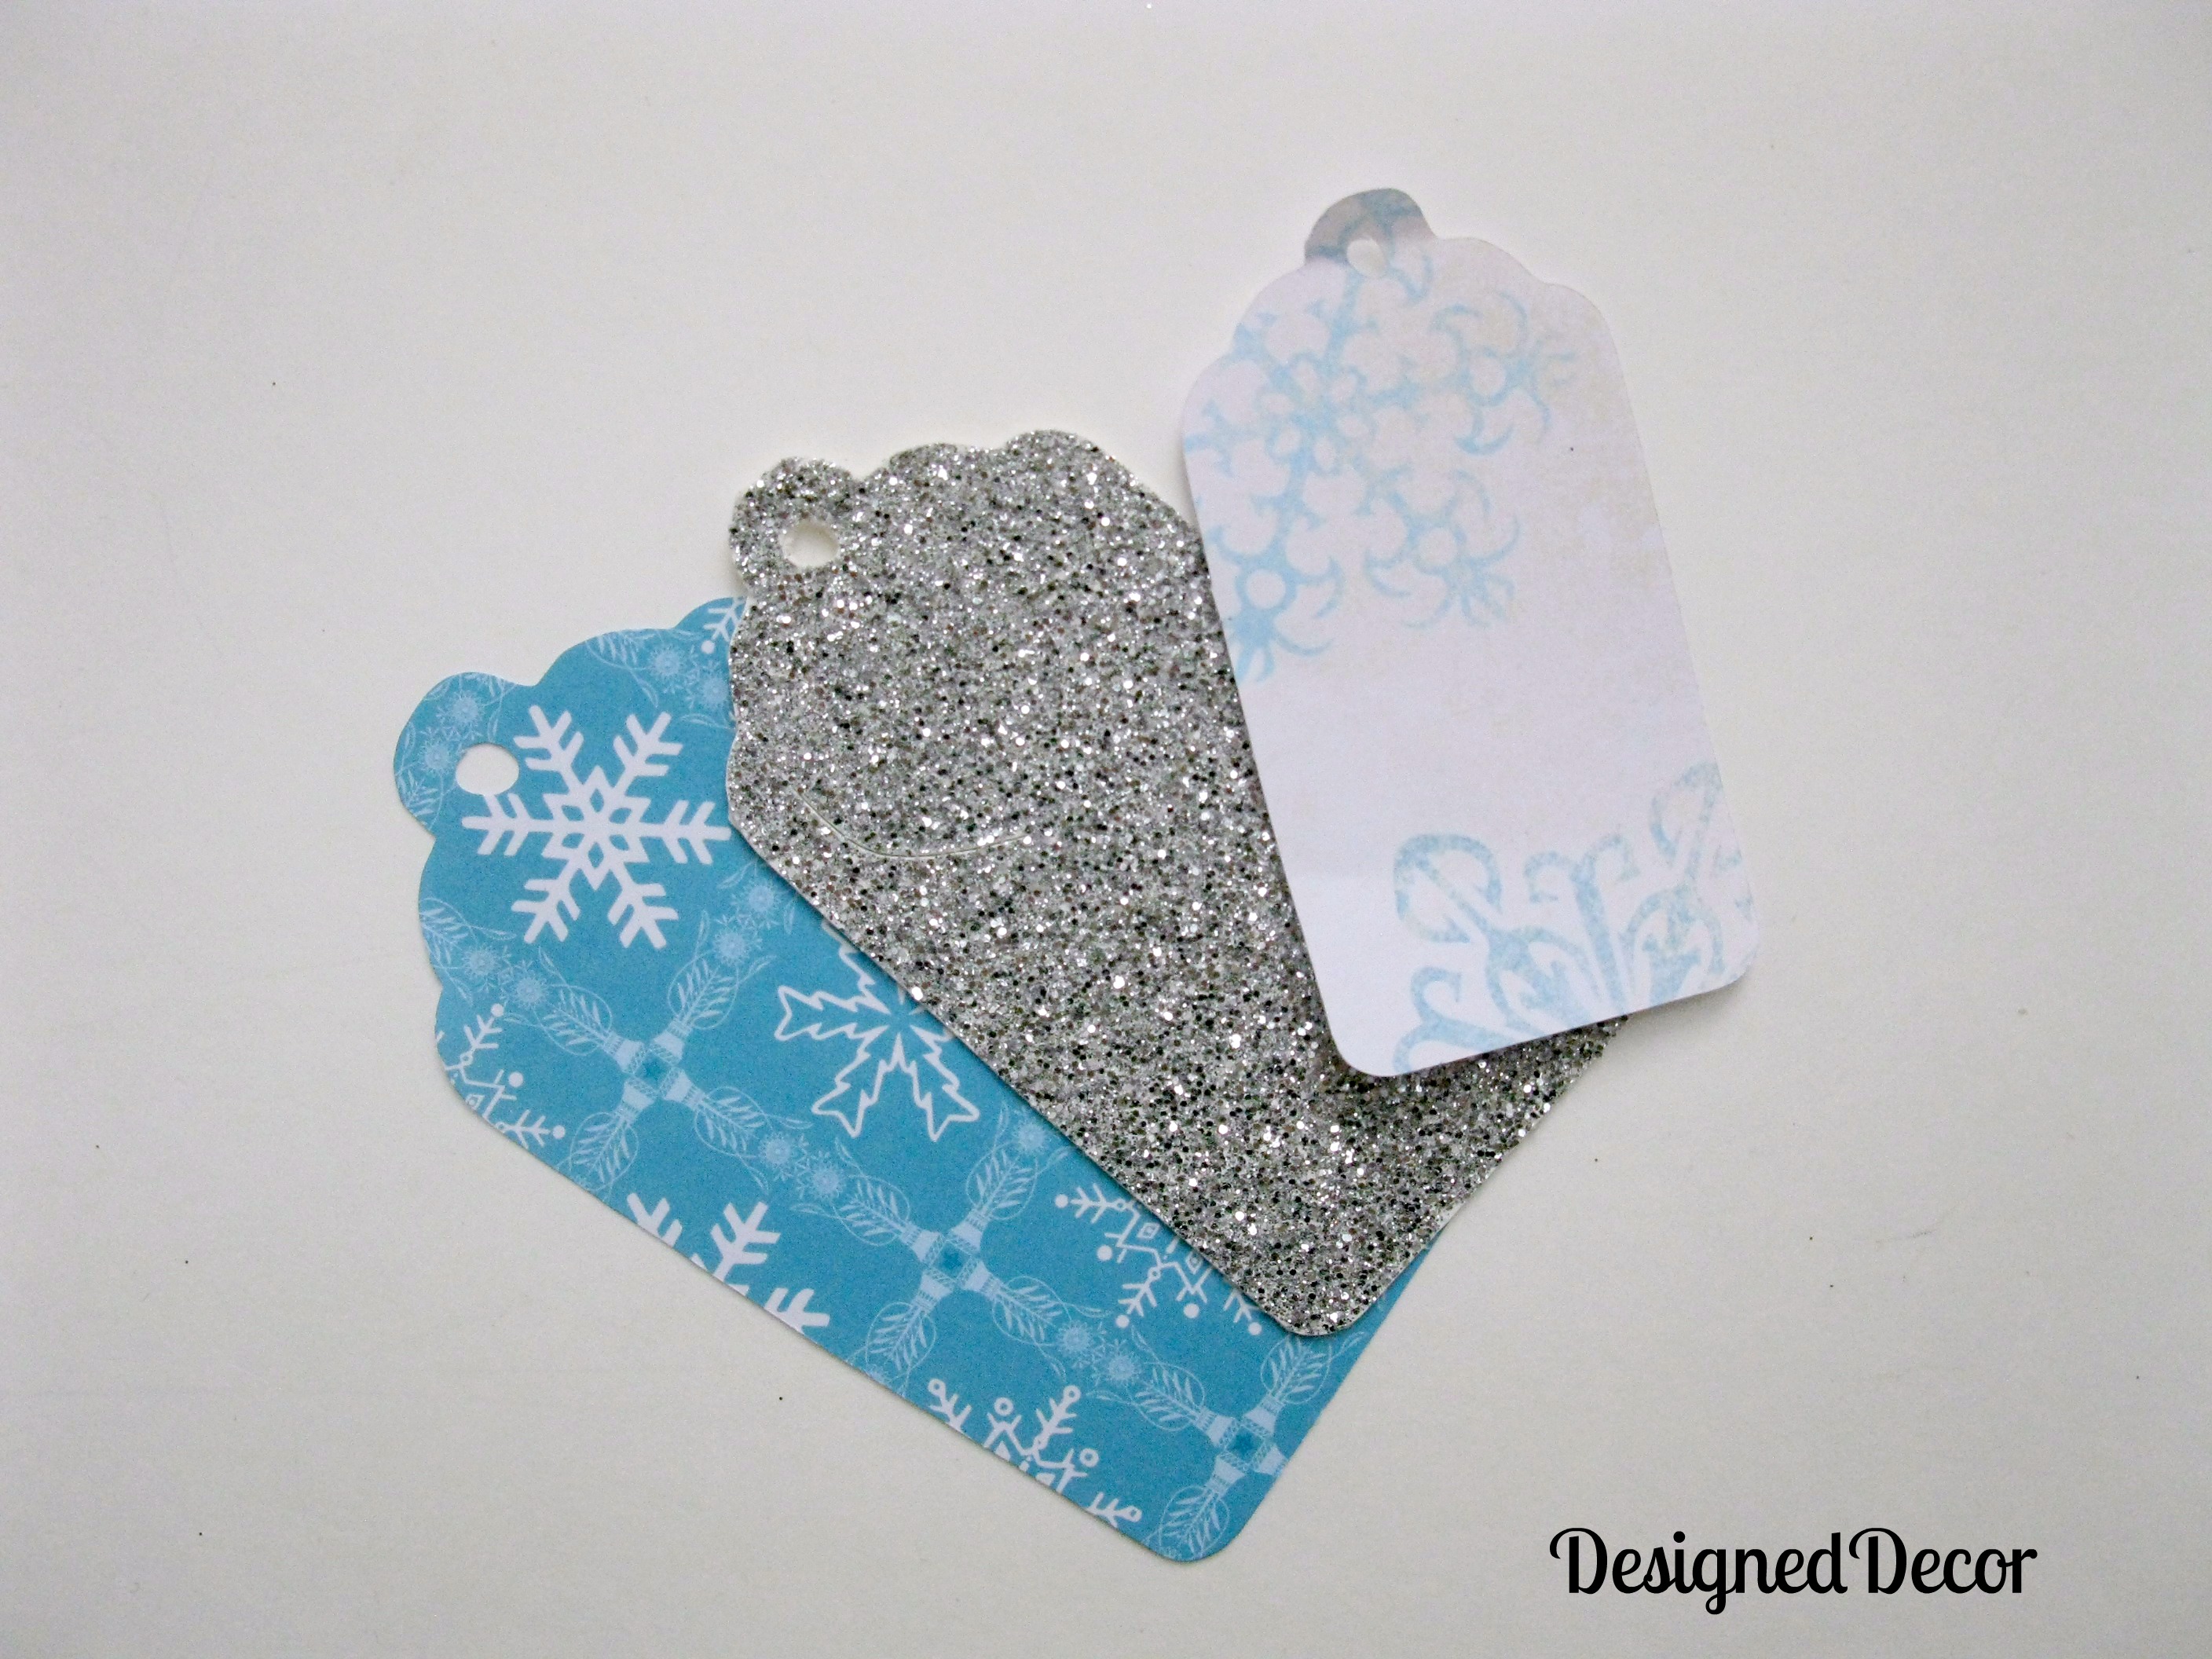
Begin by crafting the gift tag out of scrapbook paper. I used my Cricut cutter to cut out the gift tags, using “George and basics” cartridge. Cutting the tags to 4 inches, 3 1/2 inches, and 3 inches. I adhered to each tag on top of the other and hand-wrote the “To” & “From.”
You can also use these gift tag punches or hand-cut out each tag.

Finally, after all is dry, the fun part begins by assembling the creative gift package.
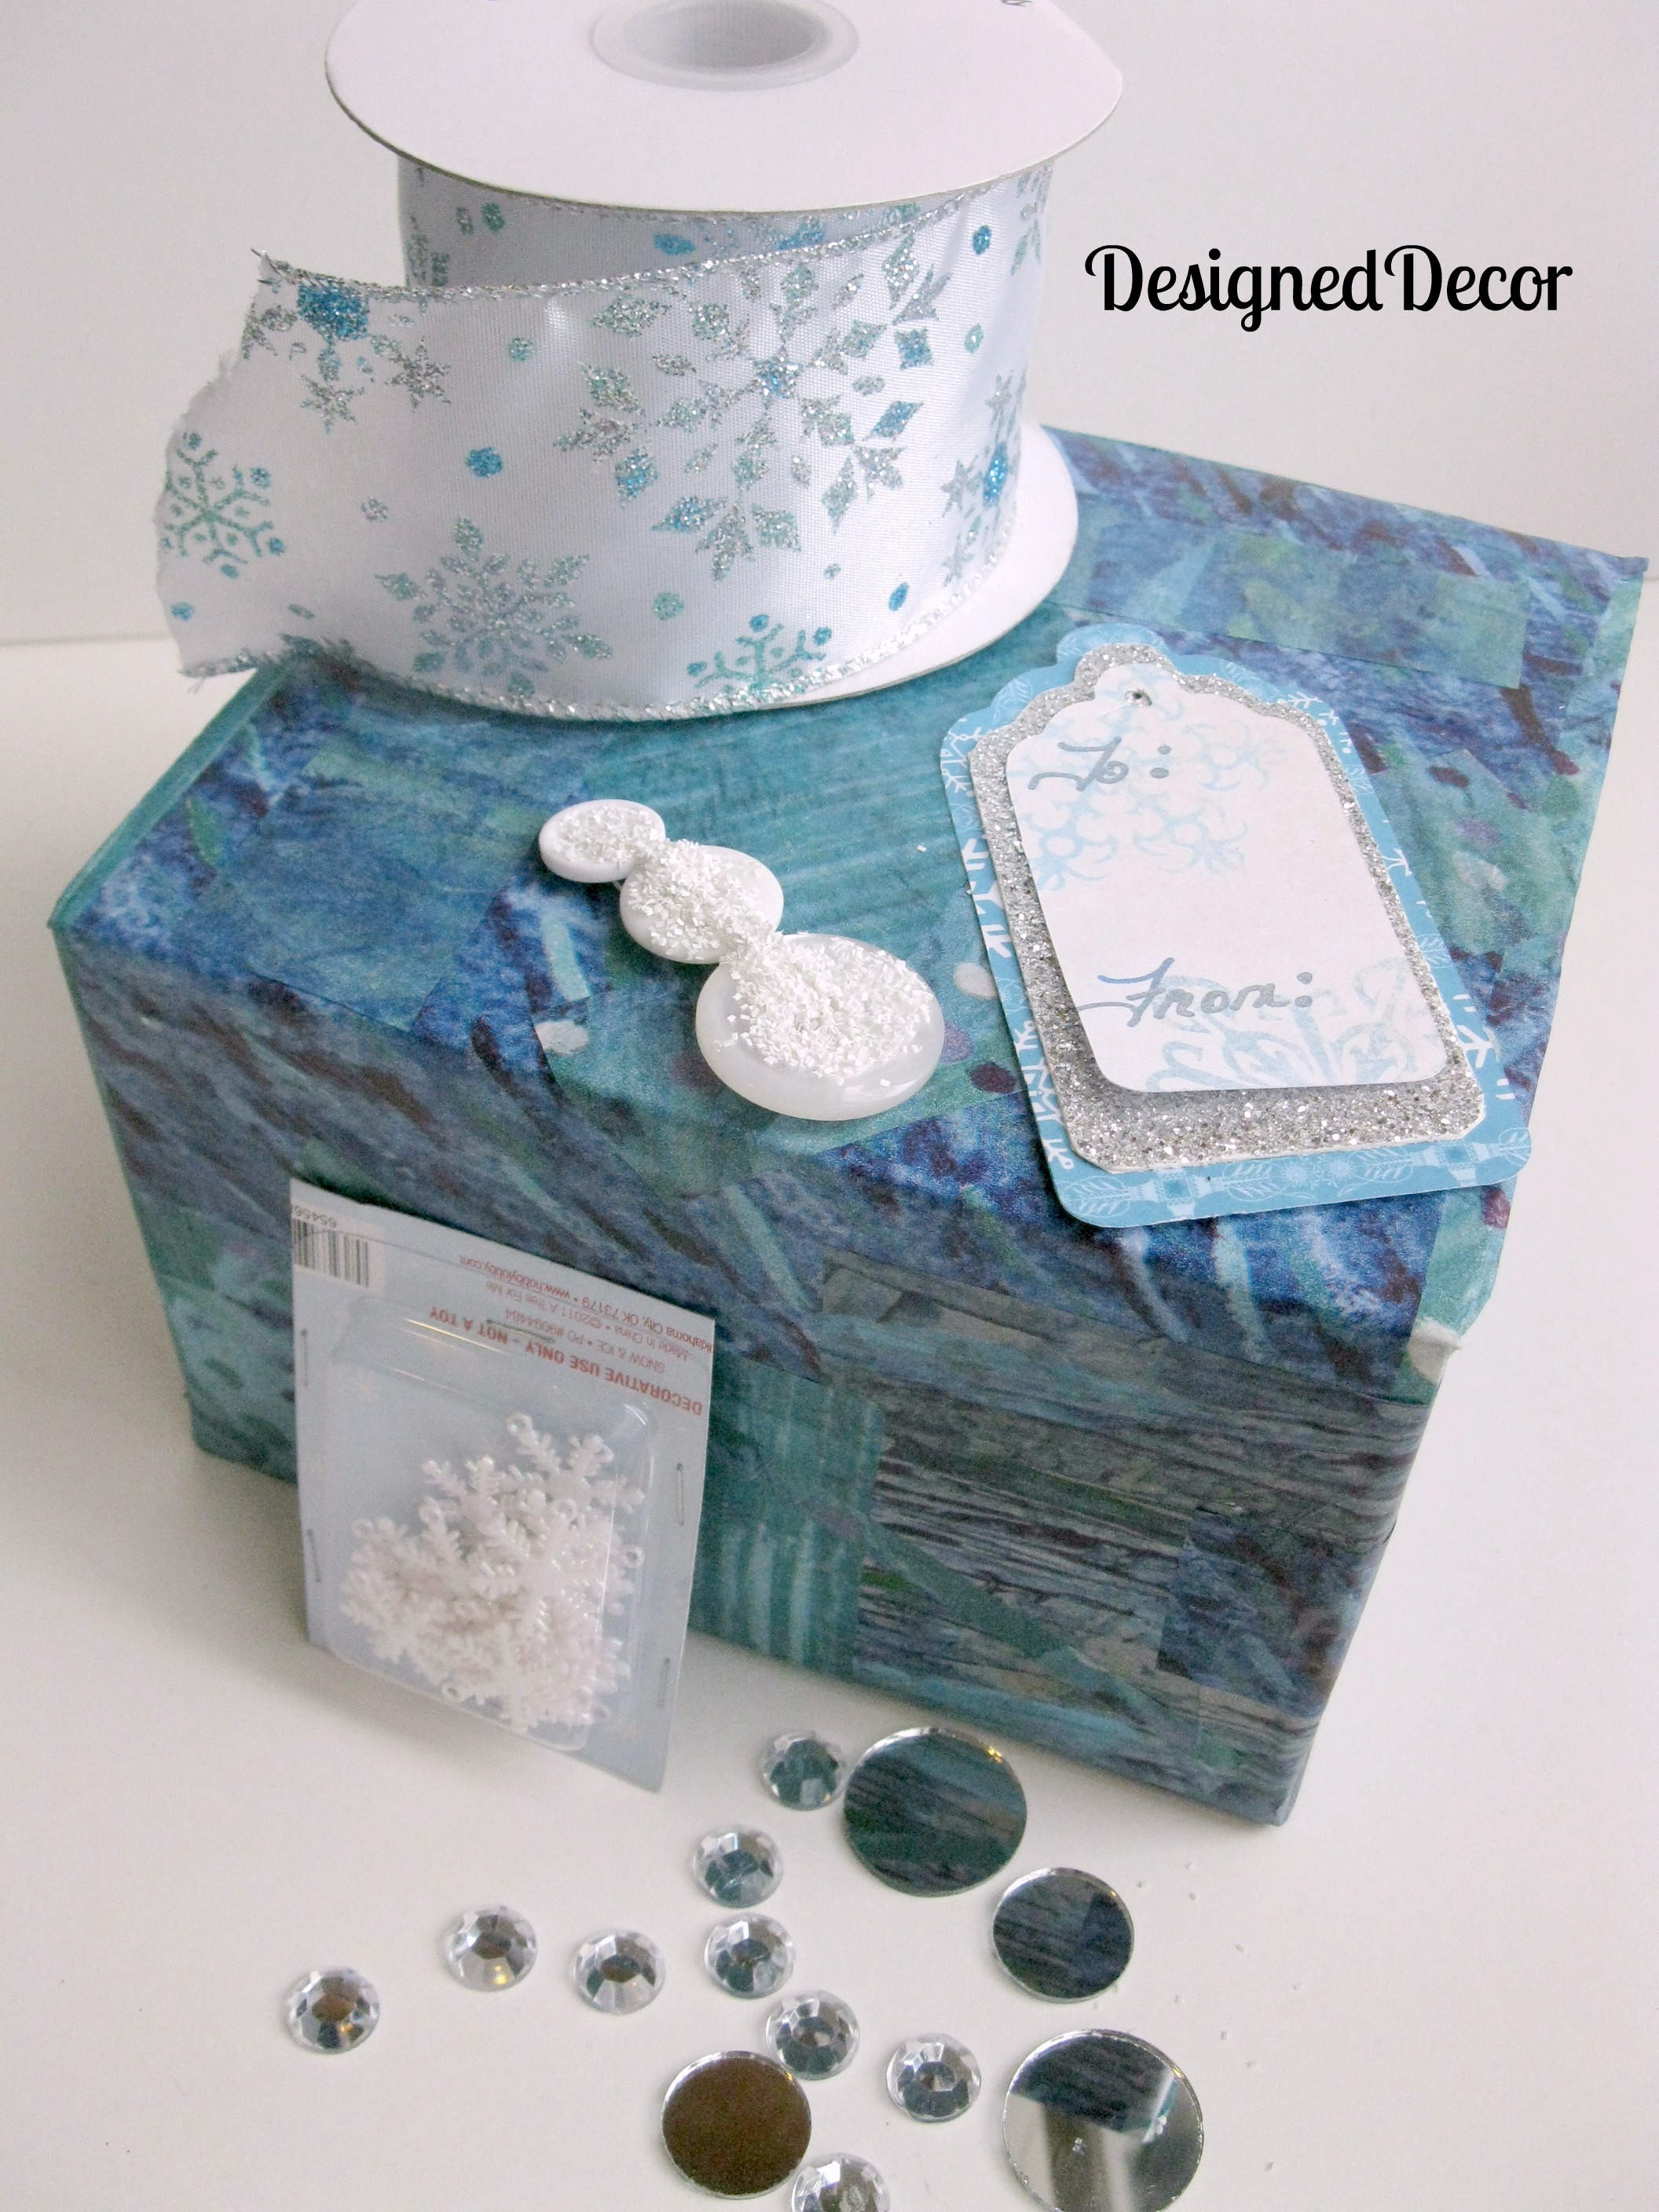
I tied the box with ribbon and made a pretty bow, and decided that was not enough. So I began to add decorative trinkets to the present. I used glitter stars, shimmer snowflakes, circle mirrors, and stick-on gemstones. Now it is complete!
Wrapping presents is an integral part of the holiday season and can really make a simple gift extra special. So why not use these easy and affordable tips to get creative with your holiday gift wrap? Whether you re-use old items you already have use traditional wrapping paper. Get creative in wrapping gifts, or go for natural elements to brighten up your packages, there is something for everyone!
Experiment with bright colors of paper as a bold statement on its own paired with a simple bow or give your presents the perfect finishing touch with handmade bows and toppers – either way, you’ll impress all of your friends and family! Making your gift wrapping meaningful this year doesn’t have to be expensive because it’s not about spending more money; it’s about taking the time to put thought into what may become a keepsake item.
So what’s your favorite way to get creative in gift wrapping? The possibilities are endless.
DeDe Bailey
DeDe Bailey is the artistic mastermind behind Designed Décor and The Puzzle Table. With a rich background in home décor retail, she has transformed her website into a platform driven by a profound passion for helping individuals craft spaces they adore. As a self-taught furniture painting artist and thrift decorator, she loves sharing her knowledge and empowering others to beautify their homes through furniture painting and thrifting. When she isn’t sharing her wisdom on the Designed Décor blog, DeDe is occupied with showcasing her ingenious jigsaw puzzle table design and expanding her short-term rental located in NE Ohio.
Get your FREE ELIMINATE BRUSH MARKS GUIDE => How to Eliminate paint brush marks

Join the DD Community!

Join the Designed Decor Community and receive weekly free tips on DIY home projects, painted furniture, decorating, and much more.

danandmariel says
So pretty! I’d love for you to share this or any of your great ideas at the link party going on now (and every Saturday – Tuesday) at ‘Or so she says …’ Hope to see you there! http://www.oneshetwoshe.com
Judy says
Absolutely beautiful. I am going to be featuring it tomorrow night at my Winter Blues Wednesday party (Fall into Fall). The party will be opening Wednesday at 12:01am instead of Tuesday night at 8pm EST because I am participating in the blogger day of silence tomorrow. Please stop by and pick up an I’ve Been Featured button. Thanks.
Erin says
That’s beautiful!
Bj says
DeDe,
I am honored that you are following along! The nook is getting there! I am working on a post right now showing the progress 🙂 Love the gift wrapping! I was looking around your blog and see that you have an Etsy shop! Fun stuff. Love the snowmen 🙂
Hugs
DesignedDecor says
BJ! OH, thank you so much, you are very kind! Looking forward to your progress!
Merry Christmas!
Amanda Cunningham says
This is so frosty and beautiful!! This would be great for a birthday gift in January too. Lovely job!
DesignedDecor says
Amanda, Thanks so much! You are right about using it for a winter birthday gift, great idea!
ebodker says
New follower here from Aloha Friday, would love for you to come by and join my holiday blog hop and follow back?
Erica
http://www.ericastartwalking.com/2012/12/sparkle-and-shine-blog-hop.html
DesignedDecor says
on my way!
coleybelles says
Popped over from The CSI Project – that is one beautifully wrapped gift!
DesignedDecor says
Thanks Coley! Thanks for stopping by my blog!
Merry Christmas!
PJ says
This is fantastic! Stopping by from Liz Marie. If wrapping is something you love doing I would invite you to stop by my blog http://mylifeinpencil.blogspot.com… some blog friends and I are starting a monthly link up in January focused on wrapping! We’d love to have you!
DesignedDecor says
I am stopping over now! Thanks for the invite!
Suki says
LOVE the layered gift tag idea!! So cute! And very resourceful!
DesignedDecor says
Suki, Thanks for stopping by!