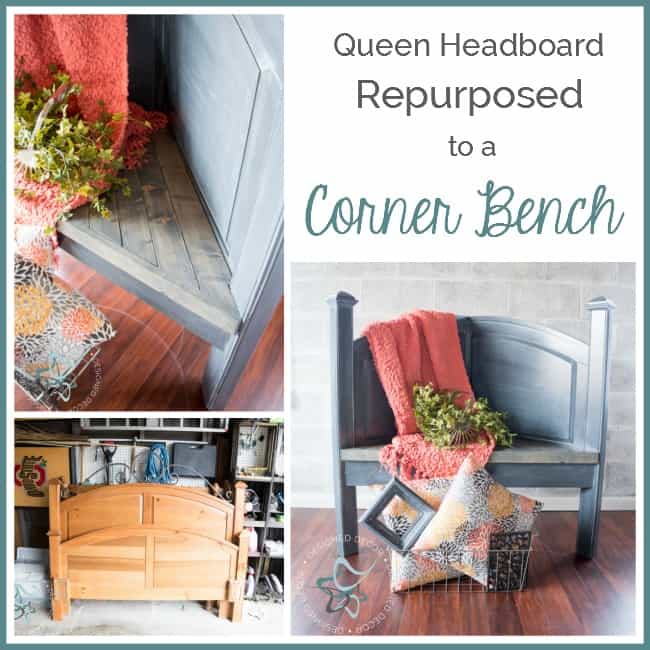
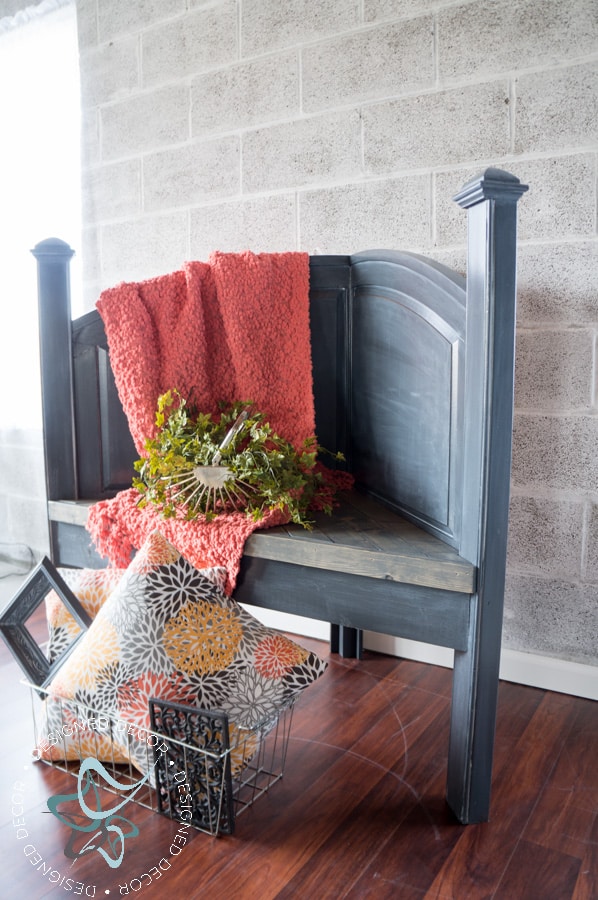
I am excited that the weather is getting warmer so I can get outside and build another repurposed headboard corner bench. We had a 2-day event at the shop and this one sold right away. I am also having a few people request that I make a few more. Today I am going to share how this corner bench was built using a queen headboard and what products I used to get the gorgeous finish.
This headboard was a roadside rescue, and I brake hard for headboards.
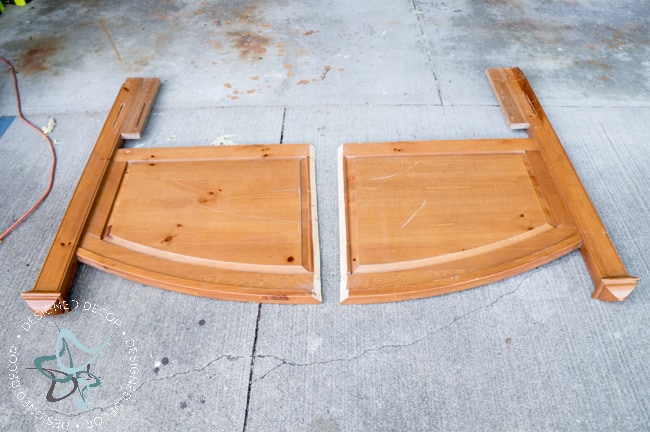
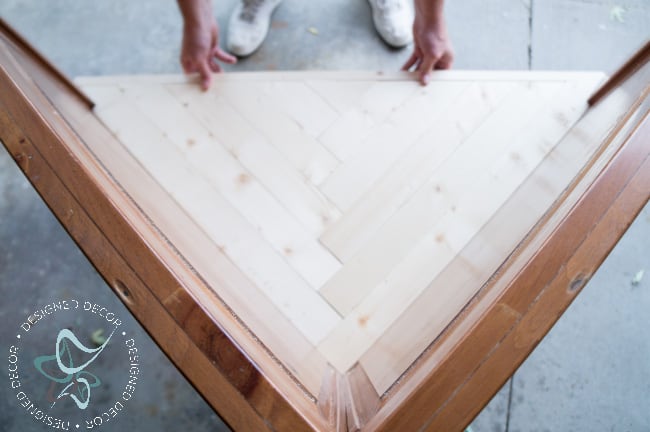
We started by removing the metal decor piece from the top and cutting the headboard down the center. You can use a circular saw or a table saw to get this job done. After the initial cut down the center, we made a 45 degree cut on each piece, to miter the corners together.
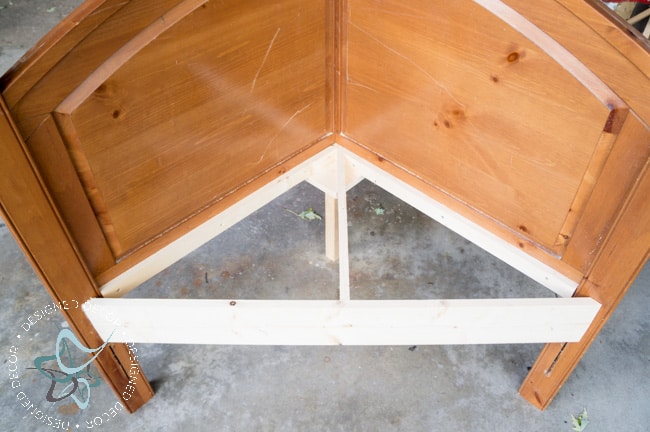
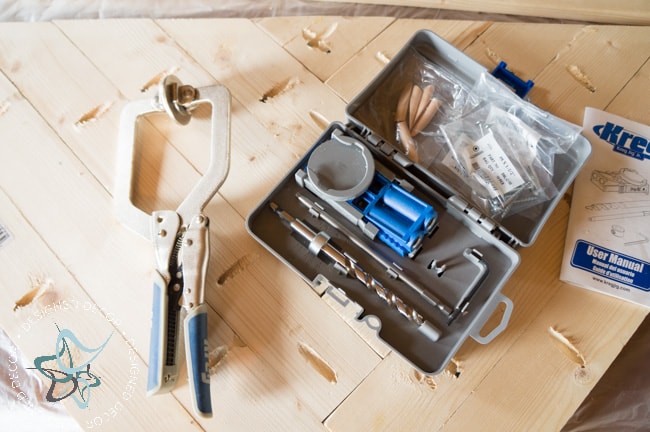
We added a back support leg, seat supports on both sides and attached them using Gorilla Wood glue and a drill. The front support panel we attached using a Kreg Jig since I did not want to see the screws on the front side.
We also used the Kreg Jig to attach the seat together.
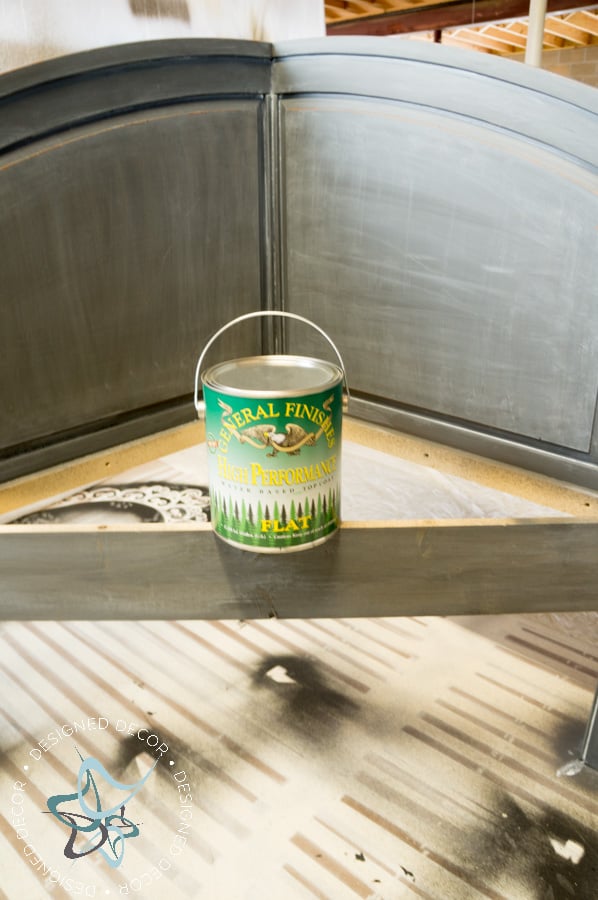
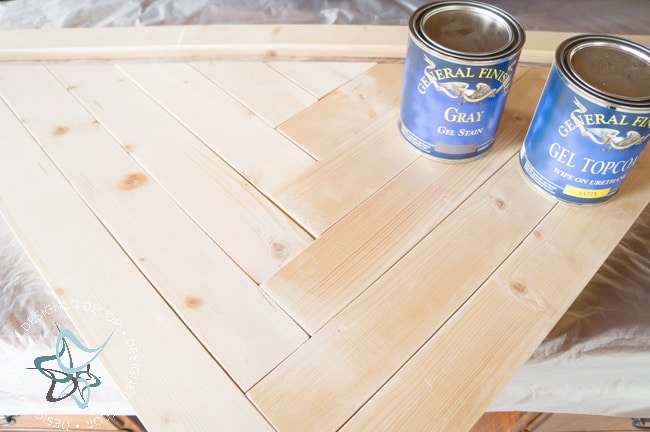
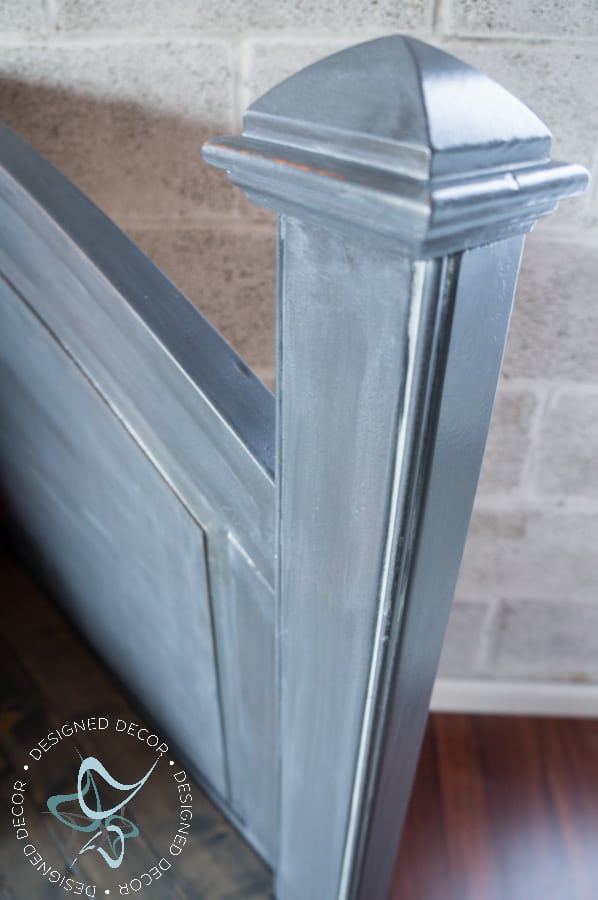
Now the pretty begins! I used General Finishes Gel Stain in Gray and sealed with Gel Topcoat. This was the second time using the gel top coat and the verdict is; definitely making it a staple in my refinishing products.
More great repurposed headboard makeovers.
I am off to build a few more headboard benches, stay tuned for more.
Join the DD Community!

Join the Designed Decor Community and receive weekly free tips on DIY home projects, painted furniture, decorating, and much more.


Gayle Schultz says
How did you manage the cuts on the headboard? If I have a small work bench and a circular saw, and being it’s heavy, how do you keep it straight? So excited to get started!
Designed Decor says
Gayle, We did use a table saw and it took 2 of us to do the cut. I held it and guided it and Mr. DD did the cutting.