Have you wanted to spruce up an old side table without spending a fortune? Or maybe you’re looking for an easy and affordable way to add functional style to your space. Well look no further – with just paint and tile and a weekend afternoon, you can transform an ordinary folding tray table into a charming multipurpose serving tray accent table that will brighten up any room.
Following some simple painting and decorative techniques, along with a creative upcycle approach, you’ll be amazed at how a run-of-the-mill serving tray becomes a versatile and lively side table.
In this post, I’ll share my step-by-step process of giving new life to an unwanted tray and turning it into a stunning serving tray table that can easily pull double duty in your home. You can also use this same technique on TV trays.
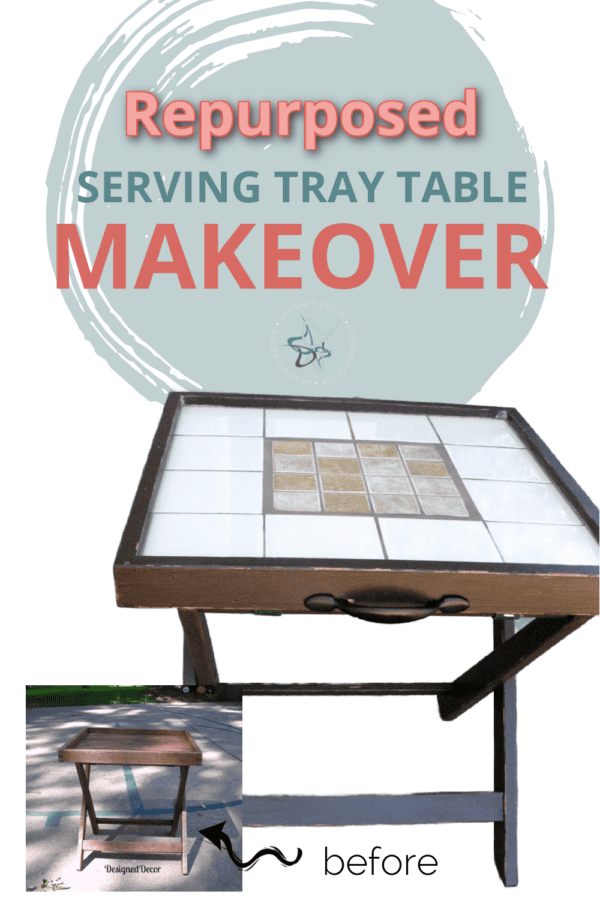
This is one of the most useful finds I have come across from shopping in thrift stores. I purchased this multipurpose accent table for $2. This accent table folds flat for easy storage and it can be used as an accent table, a serving tray, or a luggage rack. Take a look at this gem of a find.
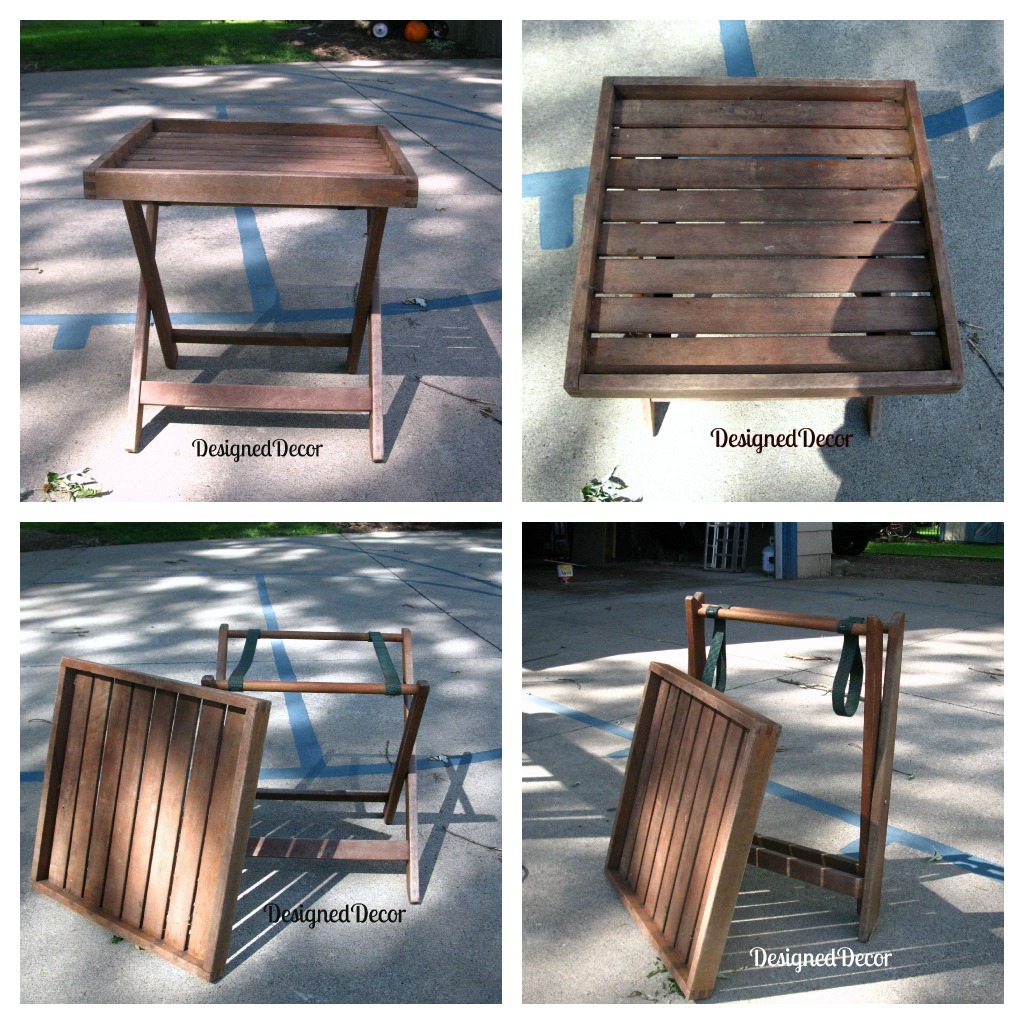
You can also do this same type of makeover on TV tray tables.
How to paint and tile an accent side table
Properly prep the accent table
This post contains affiliate links. Click here to see my full disclosure policy.
Start by repairing the table. Your table might need to be sanded down to smooth out an old paint finish. It may also need wood glue or wood filler.
This table was in great shape and did not need any repairs. I began by removing the nylon straps from the leg supports. And decided that the serving tray part could be used as a reversible tray. I wanted the one side to have a tile top and leave the other side as the original slates.
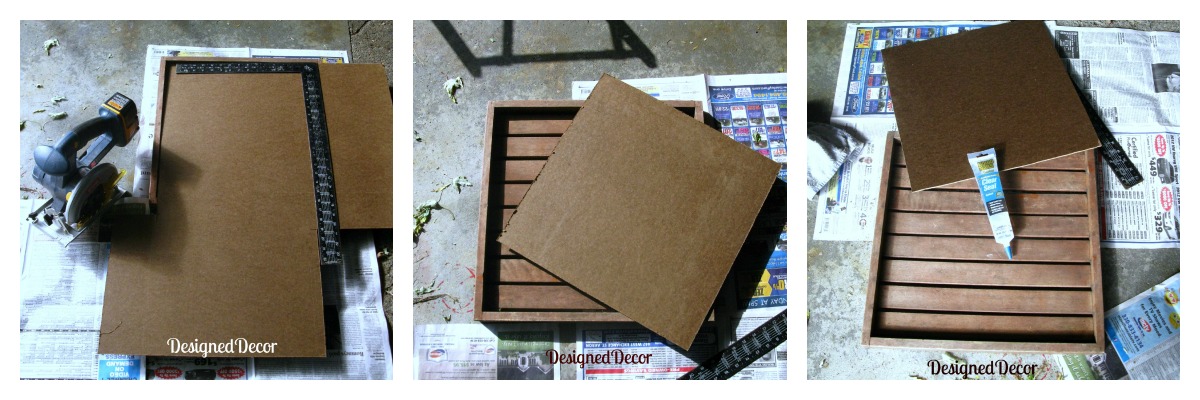
If your foldable tray table does not have edges like mine, you can still use tile on the top. I would recommend adding shoe molding around the edges. This molding will give it a finished edge and will hold in the tile and grout.
Measure and cut a pressed brown backing board to fit inside the tray. You can omit this step if you are using a solid wood TV tray. I needed to add the backing board so the grout would not seep to the other side of the tray. I glued the backing board in place with liquid nails.

Painting the side table

Let the painting begin!
I made my chalk paint in brown, you can read about how to make chalk paint recipe. This recipe is perfect to use for leftover latex paint that you do not want to go to waste. Most furniture makeovers will need a second coat of paint, making sure to use light grit sandpaper to smooth out the finish in between the coats.
After painting the accent table I decided to lightly sand the edges to give it a perfect worn distressed finish. I sealed the table using my favorite poly-acrylic sealer. You can also use my favorite furniture wax sealer if you prefer to seal with wax. Many times on a small accent table like this, I like to use a wax sealer.
If you need help painting furniture, check out my online furniture painting workshops or this FREE furniture painting guide.

Tiling the accent table
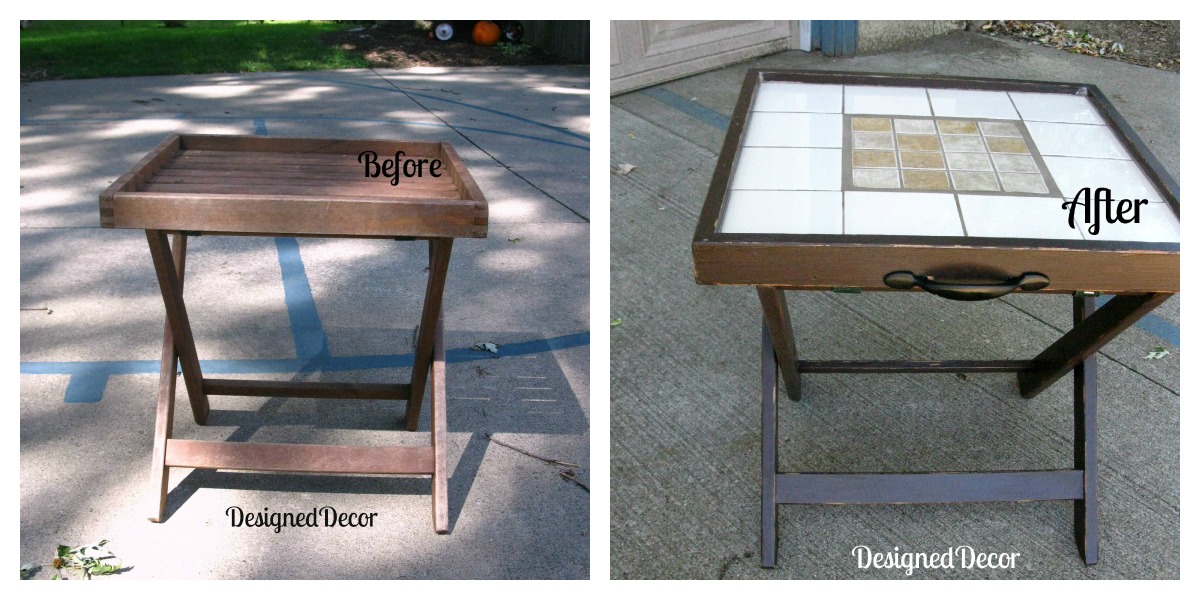
I began to tile the brown backer board side side of the tray table top. I purchased the cream tiles for .20 cents each and had the small center tiles left over from my basement shower project. So now I am in the project for $4.40.
I glued the tiles with Welbond adhesive and then grouted the tiles the next day. I used the leftover grout that I had from my basement bathroom project.
Make sure when mixing the grout that you have the consistency of a thick pancake batter. If you need help on how to grout, make sure to read this “Repurposing a plant stand” post. I used broken glass for the top of the stand.

My tiles were the perfect size, so I did not need to cut the tiles to fit. If yours do not fit perfectly and you do not own a tile cutter. Consider doing a mosaic pattern in the middle and this only requires broken tile pieces.
Once the grout was dry I used a tile sealer to help protect the tile and the grout lines from any future stains. I purchased the cabinet handles from Habitat Restore for $1 each. So now the project is costing $6.40.
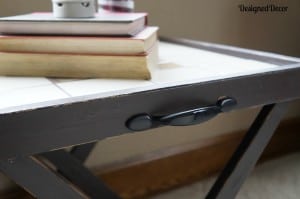
I spray-painted the handles black using my favorite 2-in-1 spray paint and mounted them on the sides of the tray table top.

TV Tray Makeovers
Check out these other serving tray makeovers along with a few TV tray tables. You can also easily use the legs from a TV tray and attach them to a serving tray to make your own stylish multipurpose serving tray accent table.
- Repurposed Desk Serving Tray
- Cabinet Door Serving Tray
- Serving Tray Table Makeover
- Modern Serving Tray Side Table
- TV Tray Makeover(Farmhouse Style)
In conclusion, transforming an old tray into a stylish and functional accent table is not only easy but also budget-friendly. Following the steps outlined in this post, you can turn an ordinary serving tray into a unique piece that will add personality to your living space. Plus, with the added benefit of upcycling, you’ll be reducing waste and contributing to a more sustainable lifestyle. Whether you use your new serving tray table for holding drinks and snacks while entertaining guests, or as a unique nightstand next to your bed, the possibilities are endless. So why not give it a try? Unleash your creativity, grab those craft supplies and paintbrushes, and see how something as simple as a serving tray can become a statement home decor piece in your home. Trust me, you won’t be disappointed with the transformation and the finished table! Happy upcycling!

DeDe Bailey
DeDe Bailey is the artistic mastermind behind Designed Décor and The Puzzle Table. With a rich background in home décor retail, she has transformed her website into a platform driven by a profound passion for helping individuals craft spaces they adore. As a self-taught furniture painting artist and thrift decorator, she loves sharing her knowledge and empowering others to beautify their homes through furniture painting and thrifting. When she isn’t sharing her wisdom on the Designed Décor blog, DeDe is occupied with showcasing her ingenious jigsaw puzzle table design and expanding her short-term rental located in NE Ohio.
Get your FREE ELIMINATE BRUSH MARKS GUIDE => How to Eliminate paint brush marks
Join the DD Community!

Join the Designed Decor Community and receive weekly free tips on DIY home projects, painted furniture, decorating, and much more.
g.somerville says
Love what you’re doing!
Pamela says
DeDe what a great project. Thanx for sharing it at THT!
Meredith @ Wait Til Your Father Gets Home says
Oh wow, what a transformation! I can’t believe it’s the same table!! Thanks for partying with us @ Keep Calm & Link Up! Have an awesome week 🙂
xo, Meredith @ http://www.waittilyourfathergetshome.com
DesignedDecor says
Thanks Meredith! It was a fun one to transform!
Hello, I'm Leslie! says
Great transformation!
DesignedDecor says
Thanks Leslie!