This French Provincial Table Makeover was one of the best makeovers I have completed. My biggest concern was being able to reupholster the chairs and as you can see, it turned out better than I anticipated.

Ok, you can see by the items in the background that I completed the set in October and I am just now getting around to posting. Note to self, make sure I have a more neutral background when photograhing furniture.
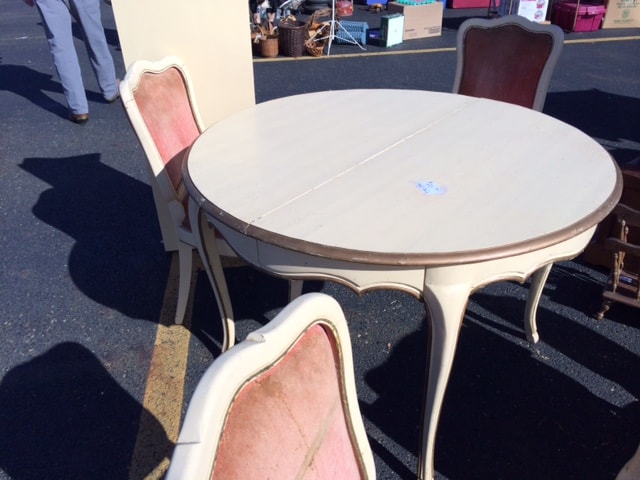
This was the picture I snapped of the table and chairs before I purchased it at the flea market. This set sat in my garage for a year before I got around to doing it. It was one of those pieces that I was putting off becuase I was dreading reupholstering the chairs. Plus they needed to air out from the INTENSE cat urine smell.

Instead of just painting the entire table, Iwanted to find out what kind of wood was under the factory paint. I prefer to have dining tables with a stained top, I think they hold up better with the daily wear and tear. You can read my post about “How to Strip Painted Furniture,” if you would like to know how I did it and what products I used.

I mixed 2 differnet paints together to make a custom color, this is what I do when I don’t have enough of one color to complete the job. This also allows me to use up some paint instead of having to purchase new supplies. I did spray these using the[affilaite link] HomeRight Finish Max Pro ![]() . I love this thing and it has saved me a lot of time painting. Do you know how long it takes to hand paint 2 coats and a clear varnish on 4 chairs and a table base? So much easier to spray it on!
. I love this thing and it has saved me a lot of time painting. Do you know how long it takes to hand paint 2 coats and a clear varnish on 4 chairs and a table base? So much easier to spray it on!

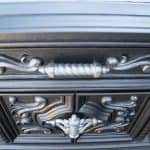
After the table was stained, painted and glazed, I decided it needed a little more, so I decoupaged some french paper on the sides of the table. You can read all about my tips, tricks and How to Decoupage Furnitre.

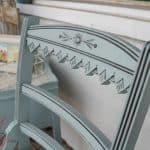
I used drop cloth on the chairs and stenciled my own pattern on the back of each chair. I will be sharing my tips and tricks on both of these in the near future. I loved how this French Provincial Table and chairs turned out and it sold right away at the shop, so all my extra efforts on this one paid off.
You may also like these great posts:
Ornate Side Tables
Vintage Accent Chair

Leather Accent Chairs

sinea says
Exquisite! Pinned it.
I host a party on Wednesdays on Ducks ‘n a Row.
Will you stop by and share this??? ♥
Terry Moore says
Amazing transformation. This not only good fantastic…it looks expensive!
Marianne says
This is stunning DeDe. You inspire me! Thank you
Karen McDaniel says
How did you make the insert to the back of the chairs?
Designed Decor says
Karen, I stripped the upholstry off the charis and used the original wood insert. I only had to replace the padding and fabric. I hope this answered your question, if not let me know!
MaryRenee says
Hi. I have country french ladder back chairs that I want to upholster. Guess I will need to make a pattern since there is no wood insert. Any ideas on what type of support/wood/plyboard I should use? Thanks for your time.
Designed Decor says
MaryRenee, I would use any type of wood or plywood that is at least 1/2 an inch think. This will give you enough support.
Sue@CountryDesignHome says
Just lovely, Dede! The entire set is so pretty- I love the stenciled and decoupaged touches. How do you like the sprayer? I am thinking that will be my next purchase!
Designed Decor says
Sue, I really like my sprayer. It is easy to use and very easy to clean up. I am now using it for all my big pieces of furniture because it makes things go quicker when spraying.