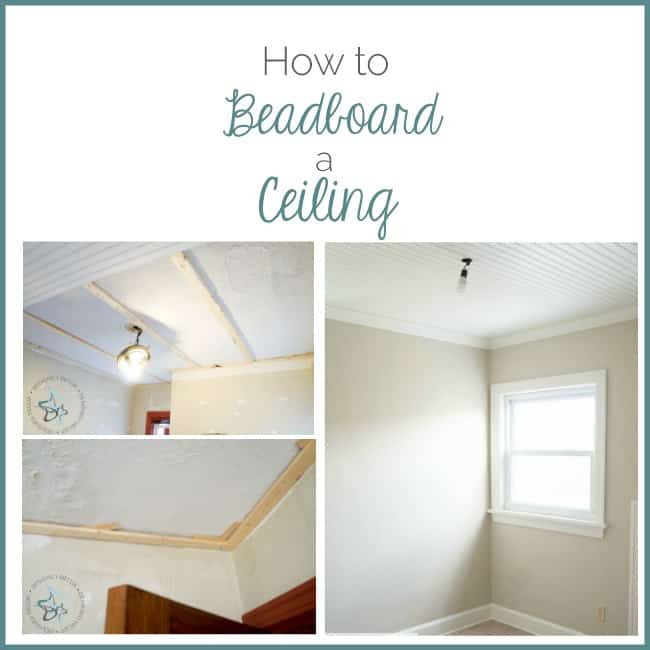
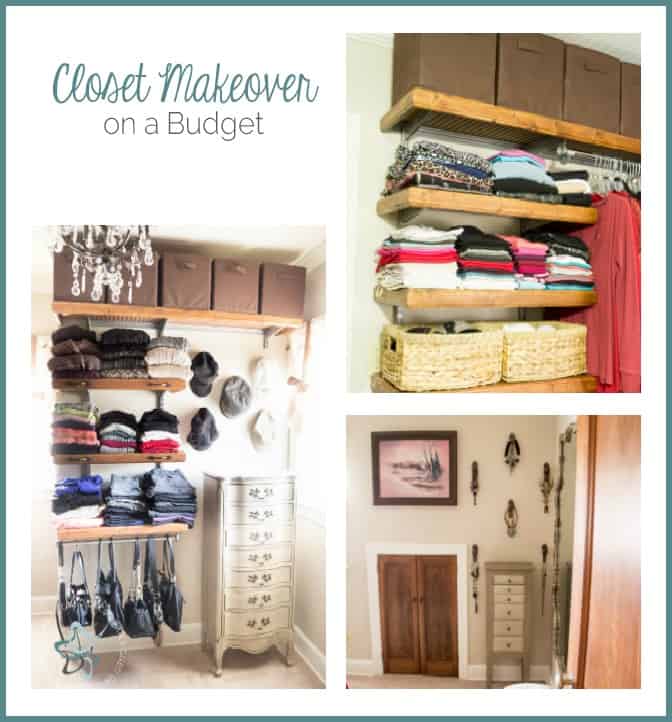
I am sharing the not so glamorous start to our closet makeover on a budget. In the next few weeks I will be sharing all the projects we did to complete this makeover and first up is the DIY Beadboard ceiling and crown molding on the cheap!
This post contains some affiliate links. Click here for my full disclosure policy.
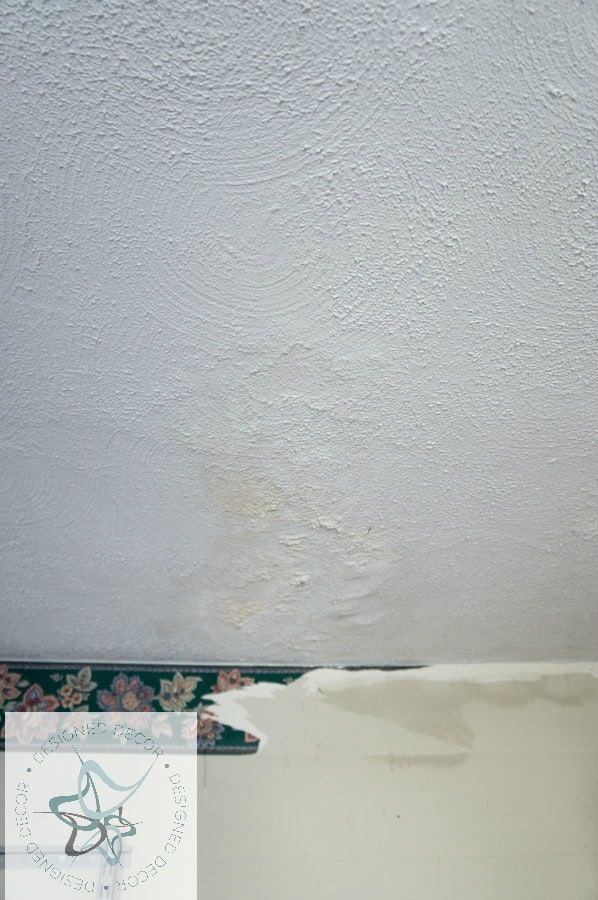
One of the main reasons to do my closet makeover was to fix the water damage that was caused by an old roof leak. The roof was replaced, but we never repaired the ceiling or the wall in this area. The main reason: Mr. DD didn’t want to do this repair was because the ceiling and the walls are plaster. Repairing damage to plaster is much harder than drywall. We decided that we would rather install the beadboard ceiling instead of replacing a section of the plaster ceiling.
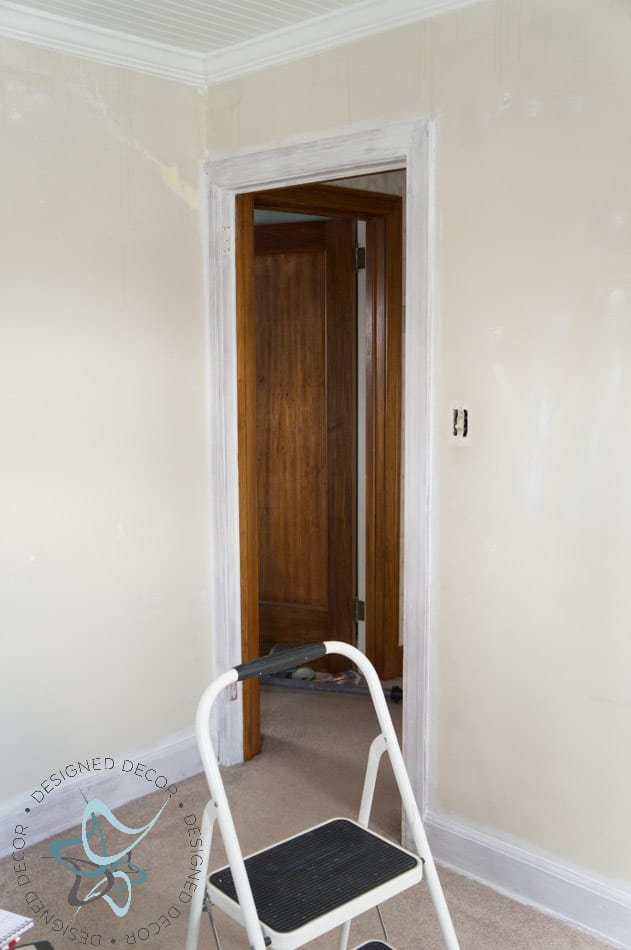
I started by clearing everything out of the closet. I tore down the wall border and began to repair the walls.
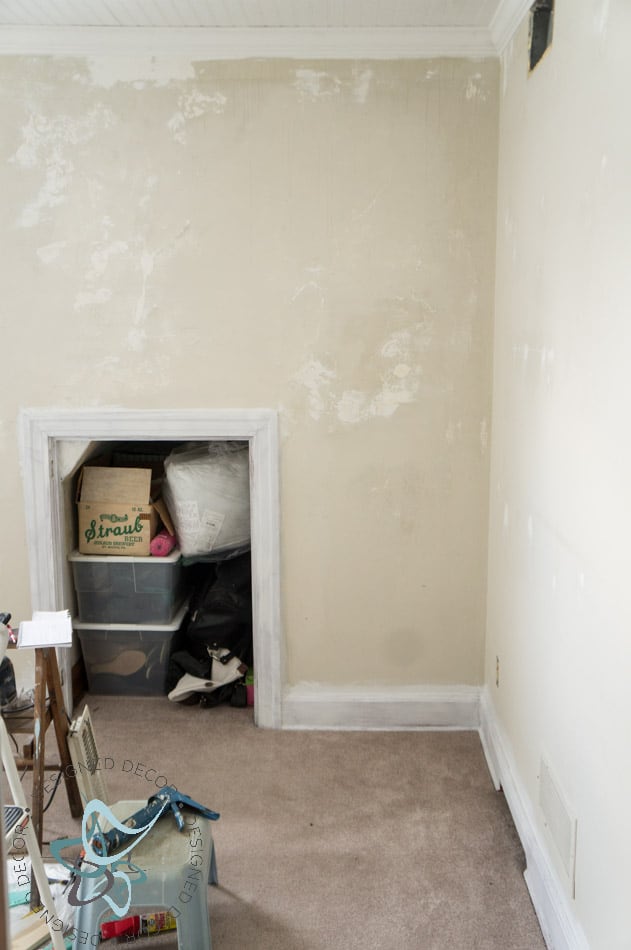
This is a picture of how not to find a stud in the wall. Yes, they make stud finders, but most of those are for drywall, remember, we have plaster. We did use this plaster wall stud finder, on the other walls and it works pretty well. It detects the metal in the lath, and most nails are in the same spot on the lath. When we originally installed the Rubbermaid Closet system (years ago) we were trying to find a stud in the wall to attach the support bar. We have since discovered that this particular wall is FAR from being studded like a normal build of 12 or 16 inches apart. This wall has 2 metal ducts built into the wall and they studded it out the best way they could.
I was patching all the drill holes we had made in the past and fixing all the other repairs since the wire closet system was being reconfigured from the first time we hung it. We also decided that I would patch and sand the side wall that had the water damage instead of removing a section and filling with drywall. I sealed off the room, vented to the window and sanded away. Yes, it was messy, but not near as messy of a job if we had to remove a section to drywall.
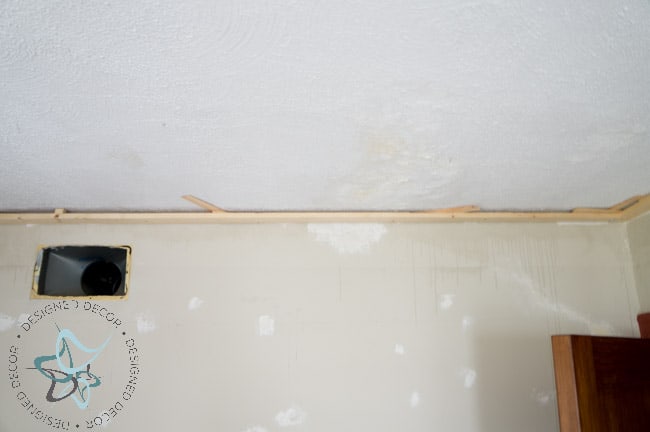
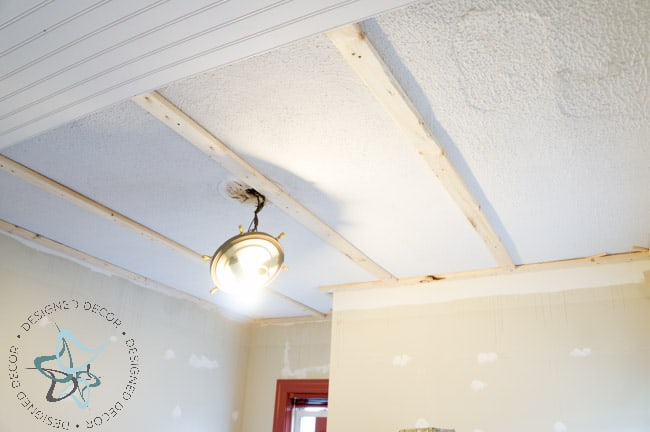
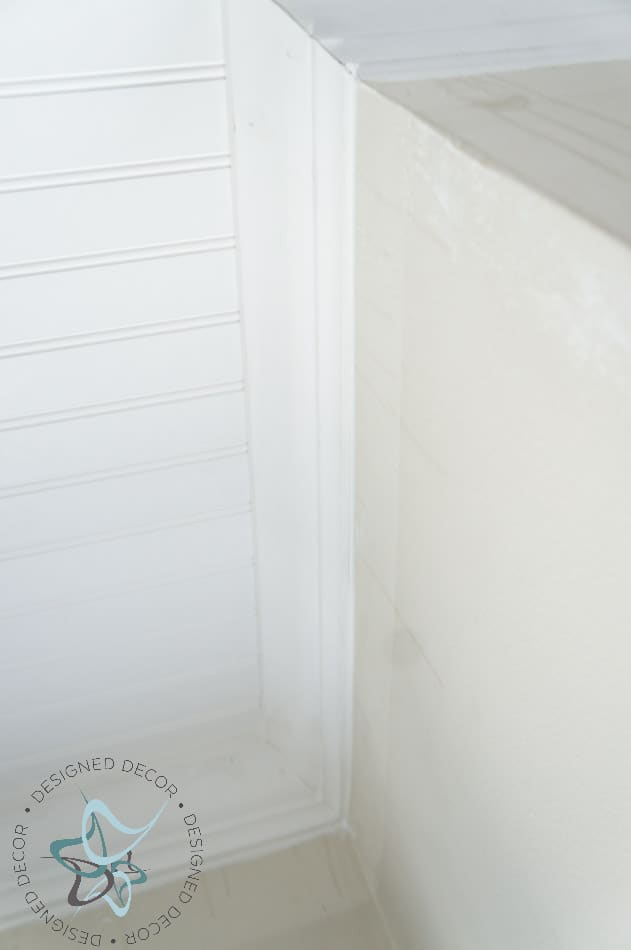
We started by framing out the ceiling with a 1 x 3’s and a lot of wood shims. We discovered that the ceiling had a 2-inch difference from one end to the other. Old home = crooked walls and ceilings!
Our lesson learned on this project would be to run your framing boards in the same direction that you are running your beadboard. This is why we are here, to show you our mistakes and to teach you how to do it right. You also need to know where the seam is going to be from one beadboard panel to the next so you can have a frame right on the seam to attach the beadboard to eliminate sagging between the boards. We had to cut and run one in the other direction where the beadboard seems met. Thankfully, this was a small room and we only had 2 seams.
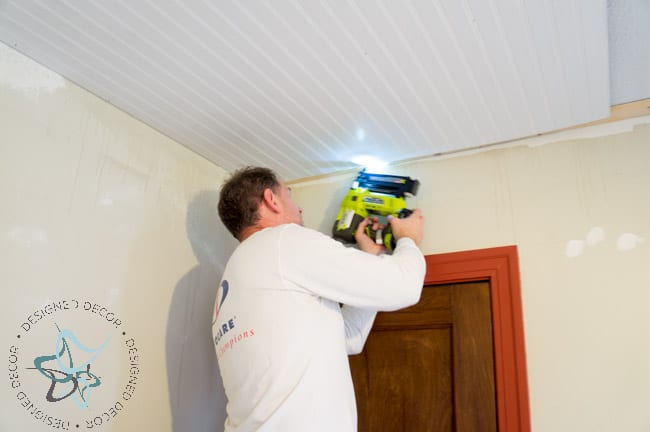
This job was made so much easier with the Ryobi Brad nailer. (my favorite tool) All of our projects are made easier with this tool.
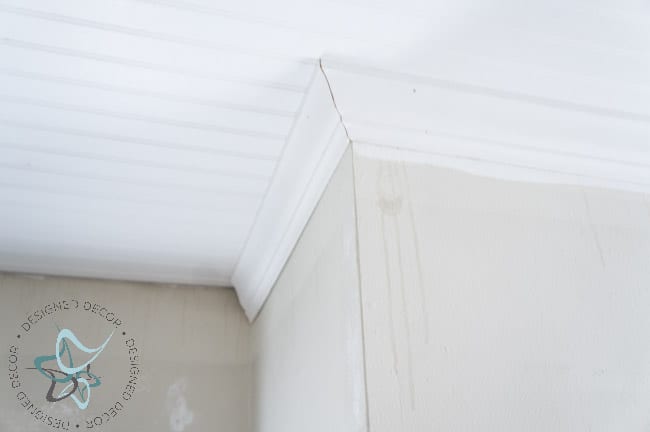
Next came the Crown Molding! Mr. DD consulted with our good friend Kevin (he is the one who custom built our kitchen cabinets) on how to cut crown molding. Mr. DD was ever so grateful for this lesson as most DIY’ers mess up when cutting crown molding and end up wasting an entire board before they get it right. The main tip that Kevin gave us is to treat the back edge of the saw as your wall and cut a normal 45-degree angle. So that means your crown molding is placed upside down in the compound saw.
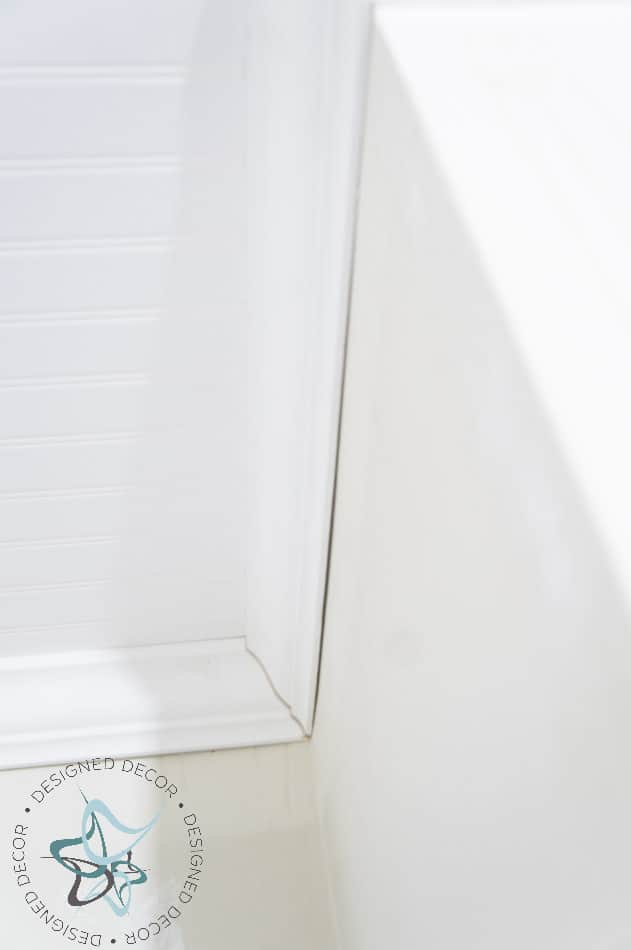
As you can see, it is very hard to get a perfect match with uneven walls. We had many gaps in the walls as well as against the cut crown molding.
As Mr. DD likes to say, “Putty and Paint make you the carpenter you ain’t.” Fill in all the gaps with paintable caulk and you will have a perfect seam before painting.
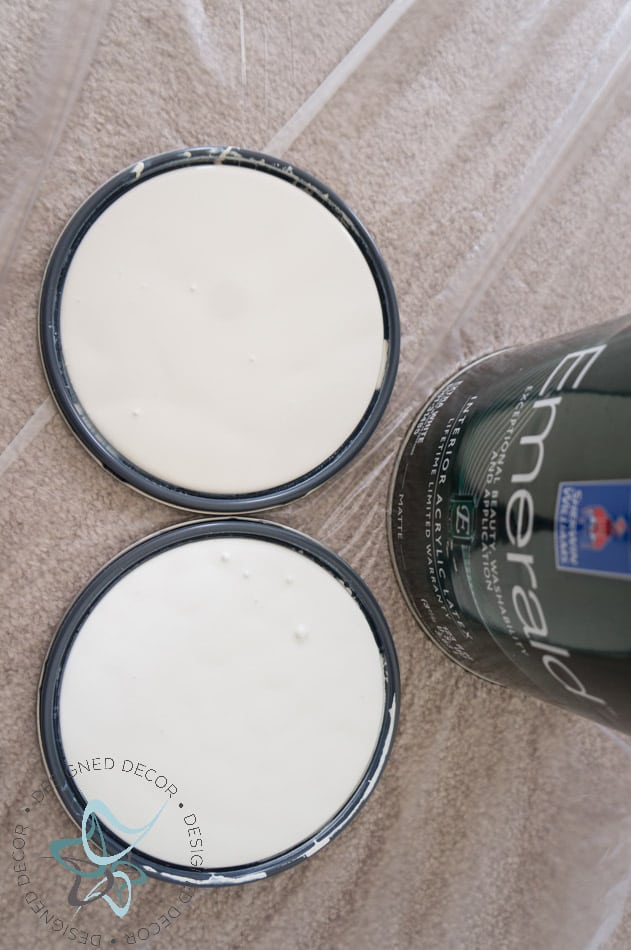
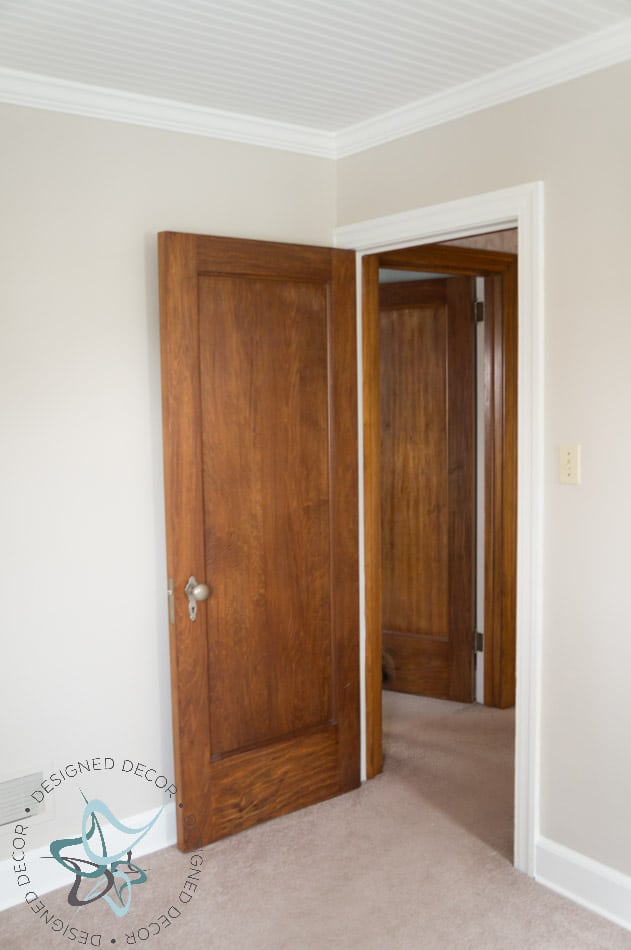
Now that the building and repairing is done, it is time to transform the space by painting the walls and the ceiling. I chose #SW7008 Alabaster (SW color of the year) for the trim and #SW7036 Accessible beige for the walls. I am thrilled at the color choice and it turned out light and airy just like I imagined.
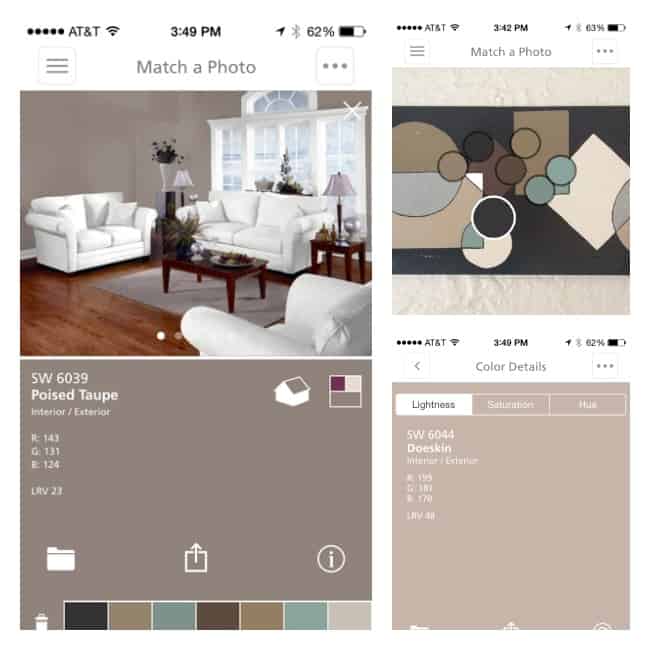
Do you know about the “Color Snap” app from Sherwin Williams? I have, use it and love it. It lets me save all my paint colors, find inspiration and upload any photo to color match and it will convert it to an SW color.
Even though I was using Sherwin Williams “Emerald” paint which is a primer and paint in one, I decided to prime the trim since is was a dark burnt orange. I painted the ceilings using the HomeRight EZ-Twist Paintstick, which makes painting a ceiling so much easier since you have fewer trips to the paint pan.
Doesn’t the finished paint look great against these warm wood grain doors? I removed the 2 small closet doors in this space and stripped the paint and stained them to match the door that was done a few years back. I love the look and feel of some natural wood in a space.
I will be sharing more posts on the projects we completed for my closet makeover. If you would like to follow along with the progress of my closet makeover, please make sure you subscribe to my email list.
Follow along with the Closet Makeover Posts:
Join the DD Community!

Join the Designed Decor Community and receive weekly free tips on DIY home projects, painted furniture, decorating, and much more.





Debby W says
A girl after my own heart…..love beadboard:)
Designed Decor says
Debby, I now I want beadboard everywhere!