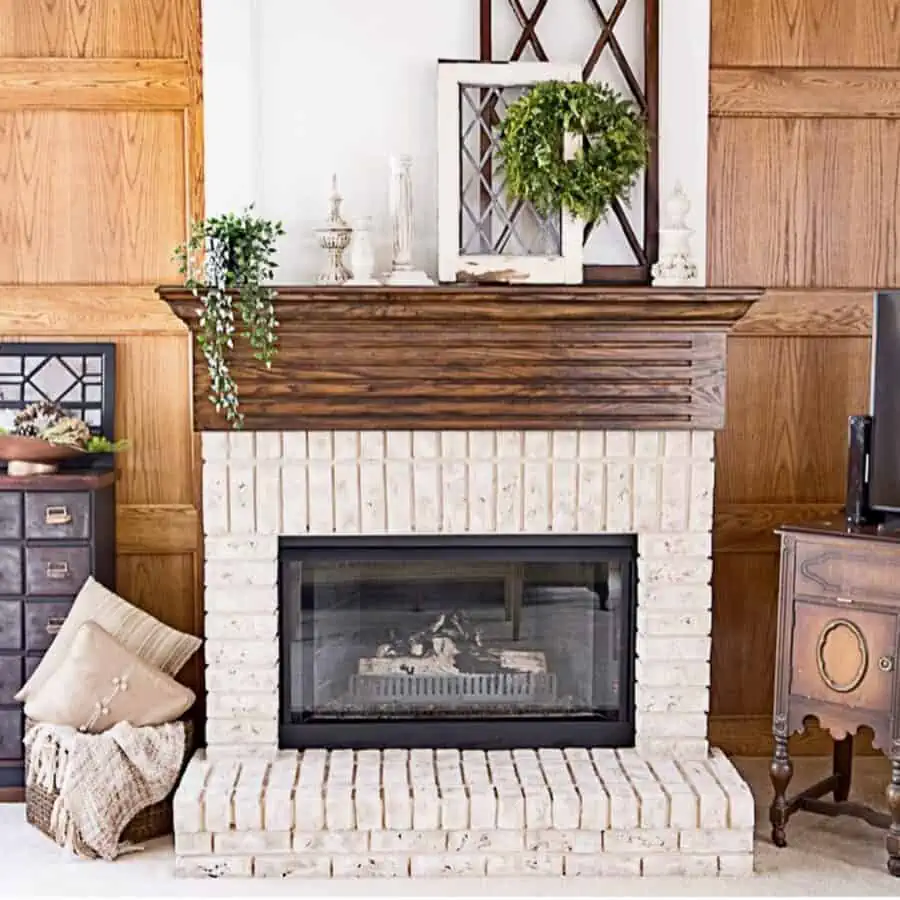
If you want to give your home decor an antique layered paint finish without spending a lot of money on expensive antique furniture, then try creating this beautiful aged layered paint technique yourself! This is a great way to bring character and depth to any piece of furniture, decor accessories, or wall art quickly and easily. This old-world texture is perfect for weekend DIYers who want to add character and depth to your home decor.

With just a few supplies like paintbrushes, sandpaper, and a few different painting products — you’ll be well on your way to giving that old dresser or candlesticks a new life with this easy layering paint technique!
How to layer paint on furniture or accessories
I am showing you how I created this antique layered paint finish on some thrift store candlesticks. I love finding aged layered painted items like doors, windows, and other small treasures. However, you can’t find the pieces you want so you have to create that aged, layered painted look.
I have been collecting candlesticks from thrift stores and garage sales and I finally have enough to make the collection I have been wanting to use in my home decorating. I have been searching for a collection of candlesticks for a while now and every one of these was purchased for under $5 and some of them were $1.

This post contains some affiliate links. Click here for my full disclosure policy.
Step 1: Repair and Clean
One of the black candlesticks broke before I got it home and I glued it back together using E6000 . I have 2 favorite types of glue that I use for all of my home decor projects the other one is Gorilla Super Glue
 .
.
I prefer to use natural cleaners so I recommend using a 50/50 mix of water and vinegar making sure to use a brush to really clean any dust from the crevices.
Check out how I made a repurposed table leg candlestick holder out of a table leg. Make sure you click on that link to see how easy it really is!
Here is a video on the aged layered paint technique that I used on a repurposed chair shelf.
Step 2: Paint – Apply base paint
I used Amy Howard’s One Step Paint in Selznick Gray. Apply one coat and let dry. I applied a good first coat and that is all I needed to get complete coverage. In some cases, you may need a light second coat.
Step 3: Apply Gesso
This gesso layer is what gives your item the extra texture to make it look like layers of paint build up. I used Amy Howard’s Cracked Gesso. I mixed according to the package directions going easy on the water until I had the consistency that I wanted. The consistency was like pancake batter. I applied a generous amount of the Gesso on the gray paint layer and let it dry.

Step 4: Apply Milk Paint
Applying the milk paint is what will give you depth in achieving the aged paint look. I used Amy Howard’s Toscana White Milk Paint in Stroudsburg White for the next layer. Mixing milk paint can be difficult in order to get all the grit from the mix. I recommend using warm water and a cheap submersion blender to achieve a smooth paint mix.
Furniture Painting Guide
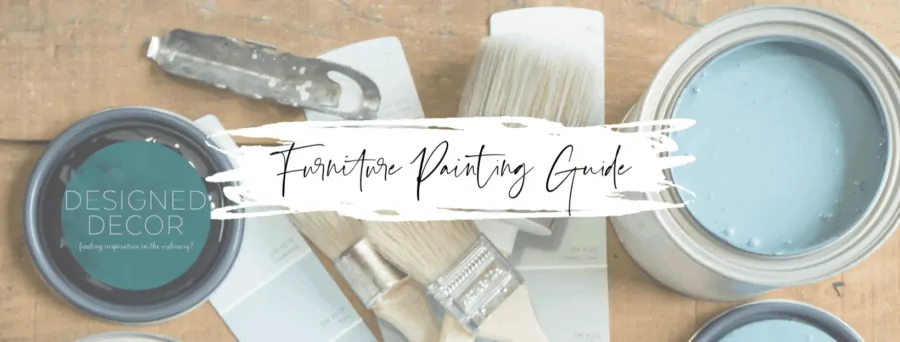
- Learn the basics and more about how to paint furniture
- Discover how to find furniture and inspiration
- Tips for painting, sealing, and glazing
- Learn steps to get started along with my favorite products and tools
I think I will be doing a video soon on how to mix milk paint to get the best results. Stay tuned or subscribe to my YouTube channel so you don’t miss it.

Step 5: Sanding/Distressing
Lightly sand the top layer of milk paint using a light-grit sanding block. I prefer to use a sanding block over paper as it is easier to hold onto. For larger pieces of furniture consider using a finishing sander as doing this all by hand takes some work and can be hard on your hands.
Once you have the surface distressed to your liking, clean the surface with a lint-free cloth like an old t-shirt, lint-free towels, or a chip brush to remove all the dust and grit.

Step 6: Apply Antiquing Glaze
Using an antiquing glaze adds another layer to the layered antiquing finish. The glaze I used is now discontinued, however, I would recommend using this Country Chic glaze or General Finishes Glaze effects. Apply the glaze with a chip brush or sponge making sure to get in the cracks of your piece and wipe off with a clean lint-free towel.
What type of paint is used for the antique paint finish?
Feel free to explore different products from the ones I recommended earlier. Any brand of chalk paint, milk paint, or mineral paint will work just fine. I suggest avoiding latex paint as it requires a primer and may not distress well.
However, if you’re interested in using latex paint, you can actually make your own chalk paint with it. Make sure to check out my post on how to create your own DIY chalk paint recipe.
What surfaces can I paint using an antique layered paint technique?
You can pretty much paint any type of surface with this layering paint technique from furniture, glass, wood, and even metal. Of course, each surface will be different from painting these wood candlesticks. You will need to prime the glass and metal surfaces before you begin to follow the steps in this tutorial.
For using this paint finish on glass and metal, you will need to prime the surface first by using a spray primer. My favorite primer is Rustoleum 2x primer.

I took the photo above just so you can see how many accessories I painted using this paint technique.
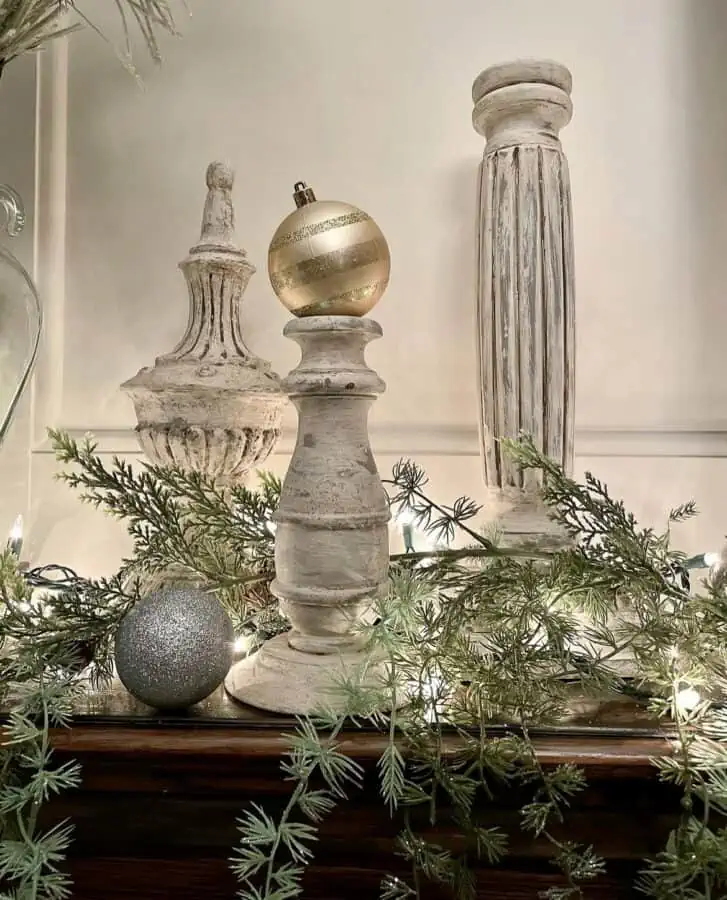
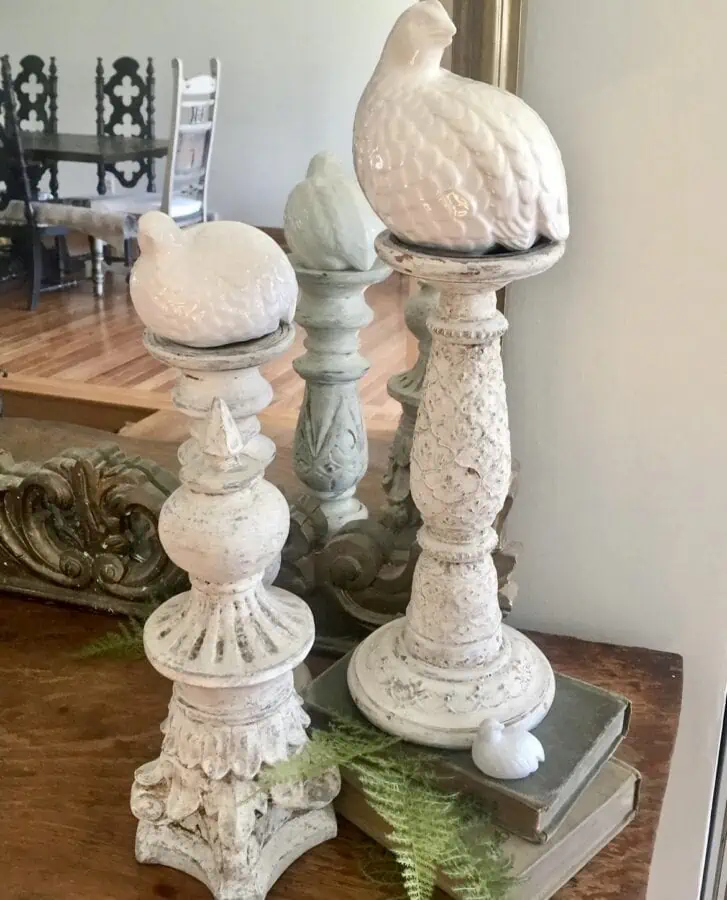
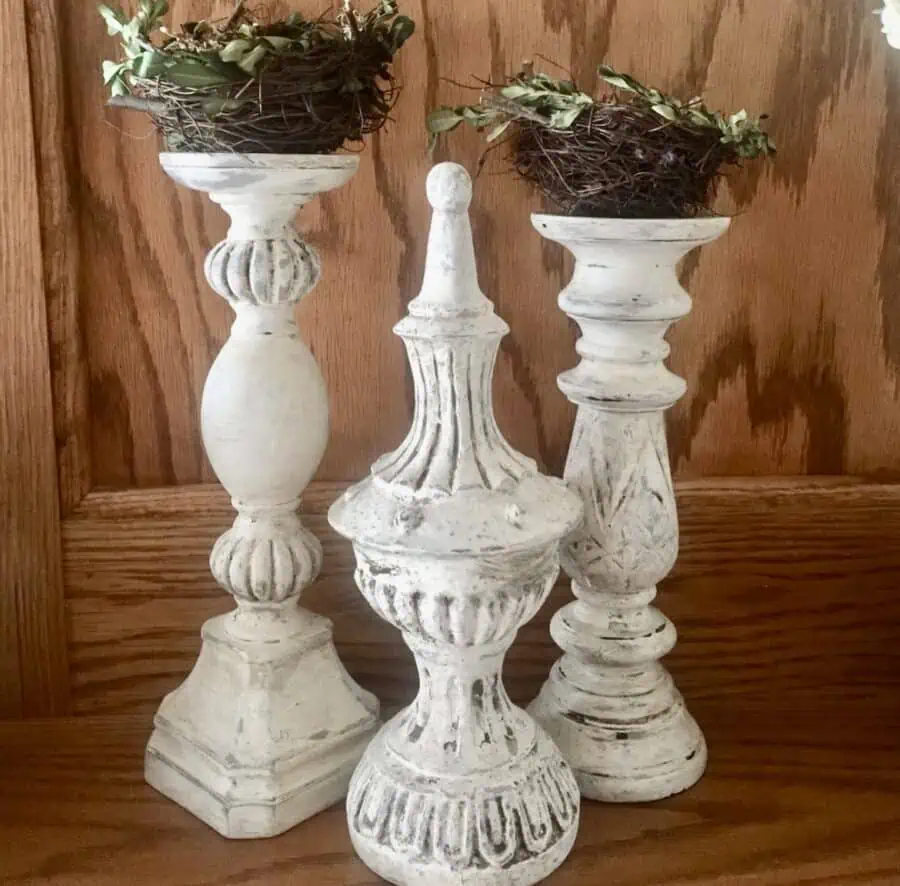
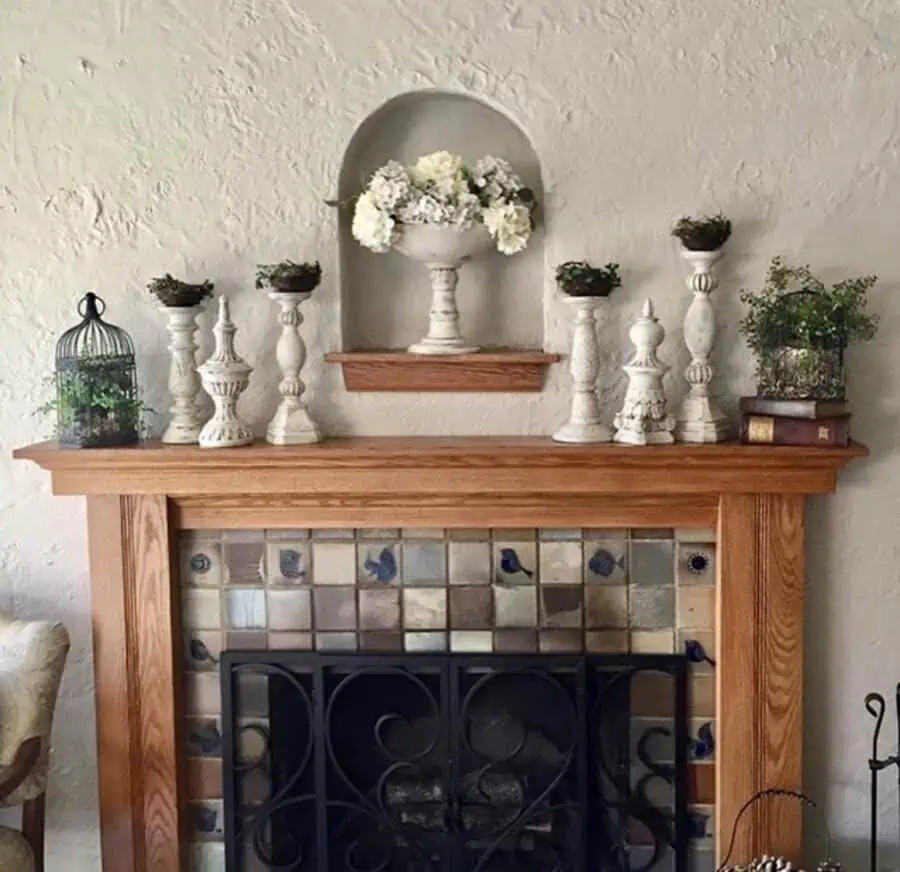
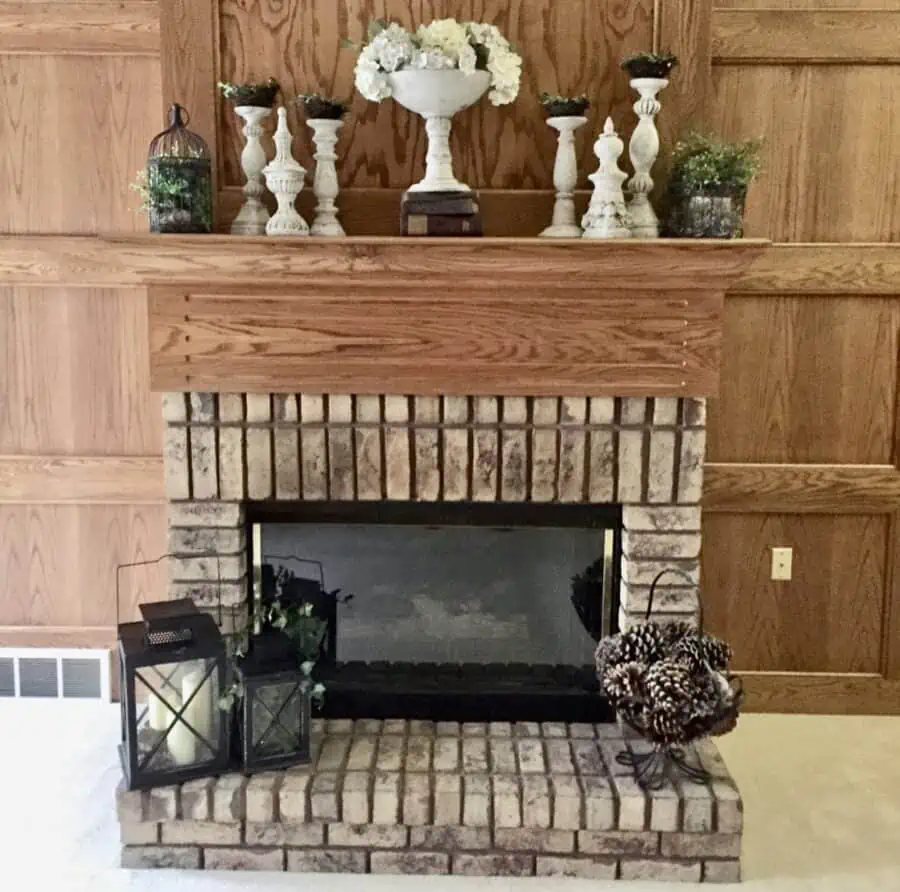
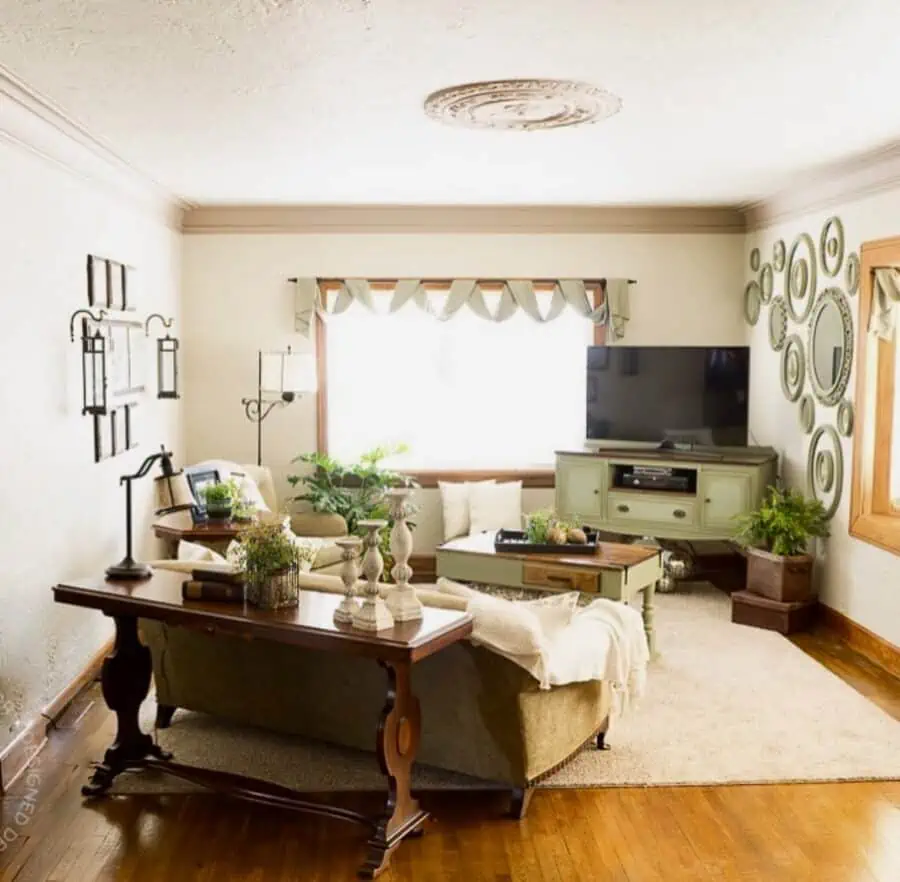
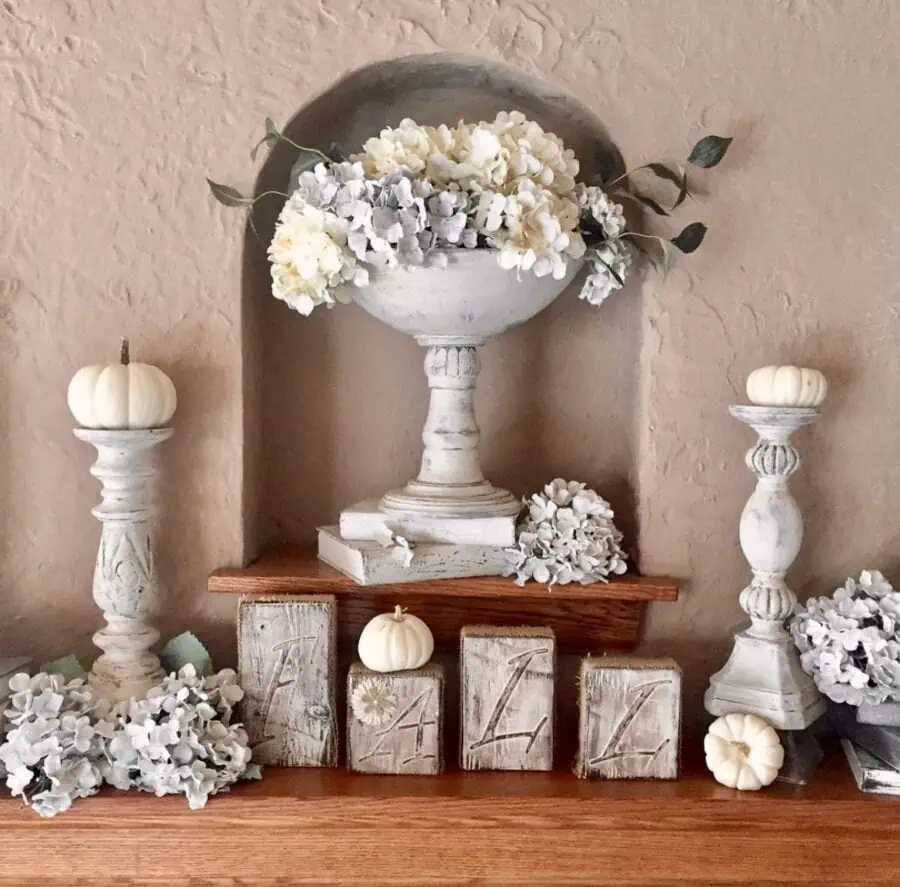
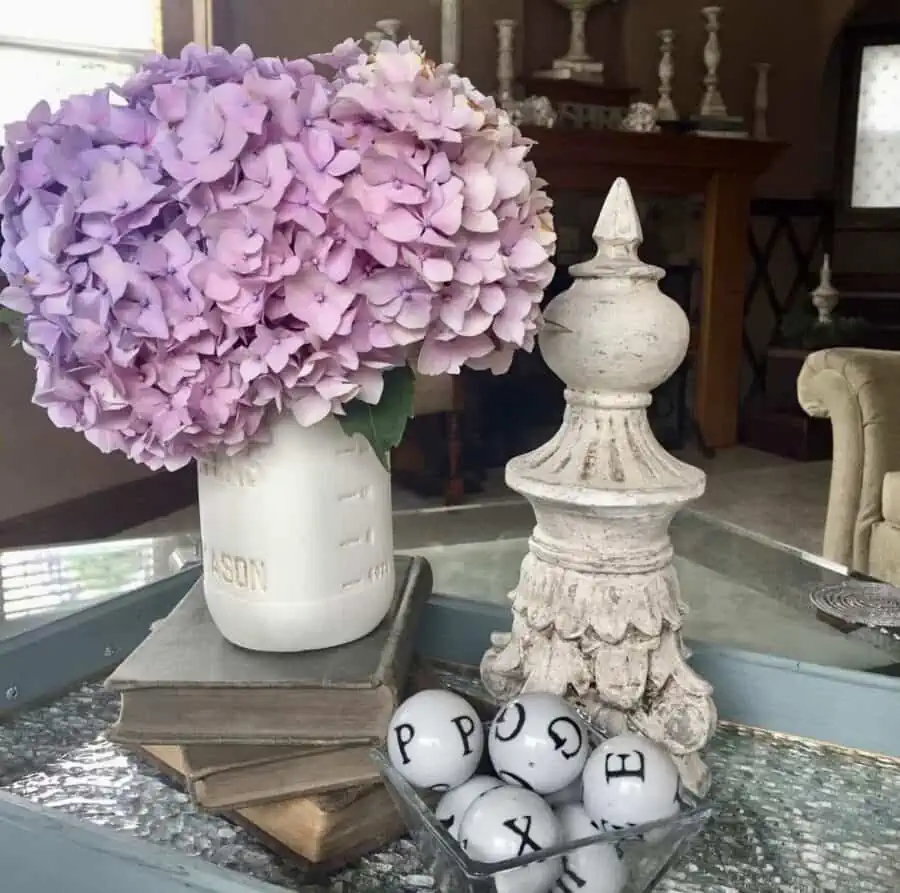
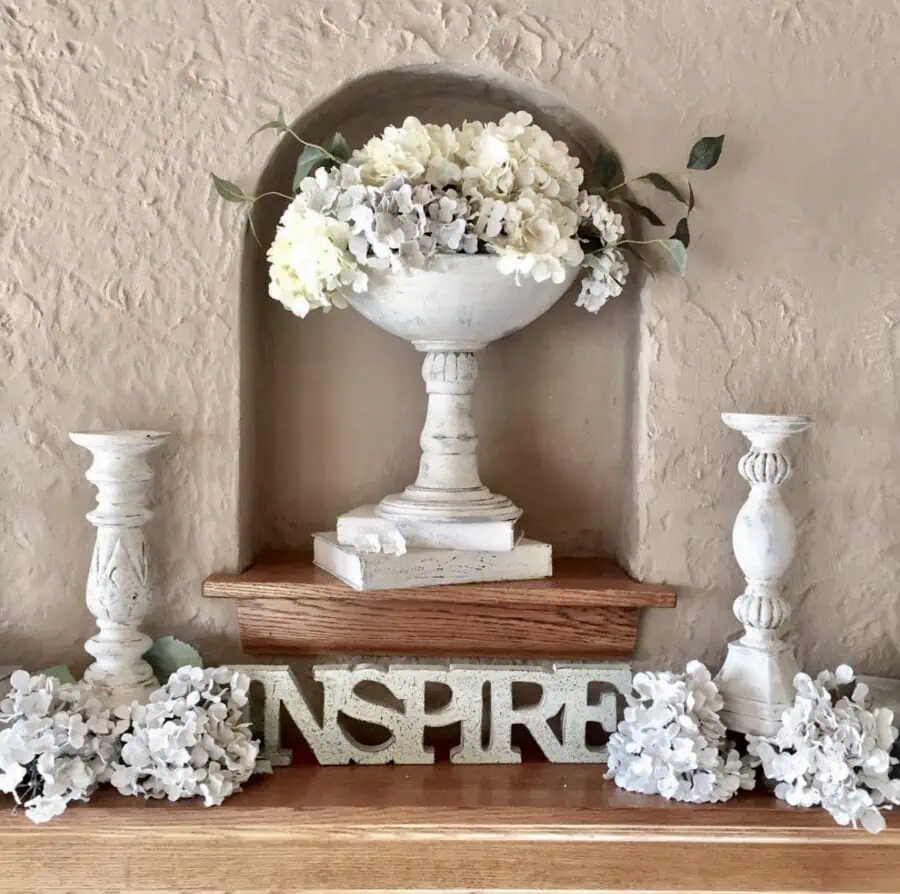
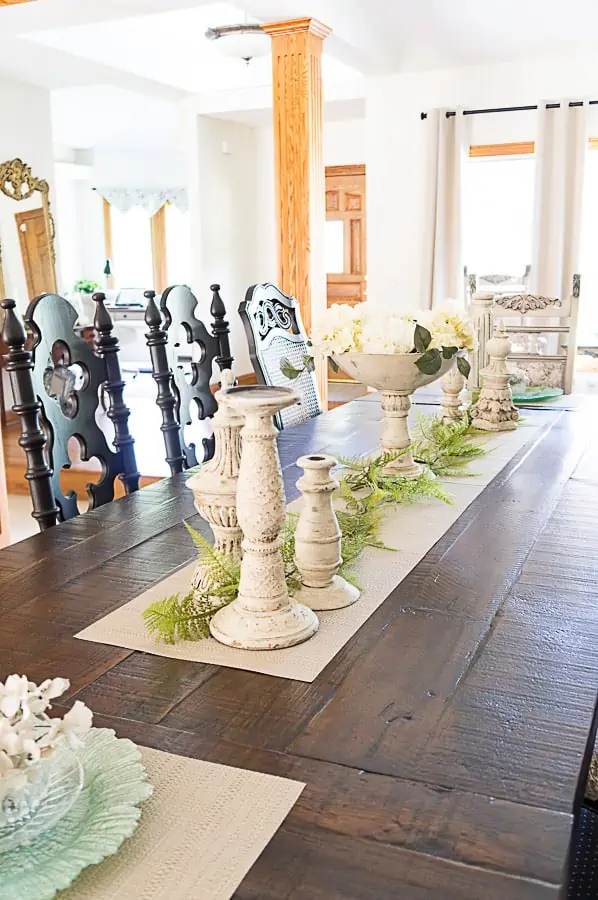
I have used these aged layered painted candlesticks all over my home(past and present) and have used them throughout the year with the seasonal changes.

All in all, the antique layered paint finish project is a beautiful way to transform furniture or other accessories of your home. It also doesn’t cost much money, which makes it the perfect project for anyone who is trying to make a major change to their furniture or accessories on a small budget.
It only requires paint of any type you’d like and whatever surface you’re working with, meaning you can create something unique to your own design aesthetic. Plus with just some extra time and effort, you can easily refinish furniture or accessories while making them look as if they have a centuries-old history in the form of layers upon layers of paint.
If this process is something you’d like to try out in your own home then gather some materials listed above and get started! Once finished, make sure you’re ready to show everyone your masterpiece when they stop by. Finally, if you’d like additional advice on future DIY home decorating and design projects, don’t forget to sign up for email updates!

Emma Clark says
Your work is top class! Thanks for great article!