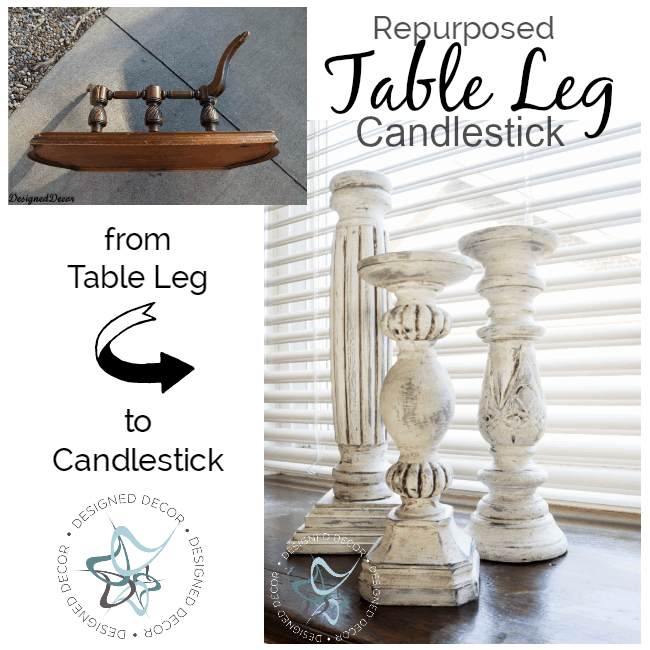
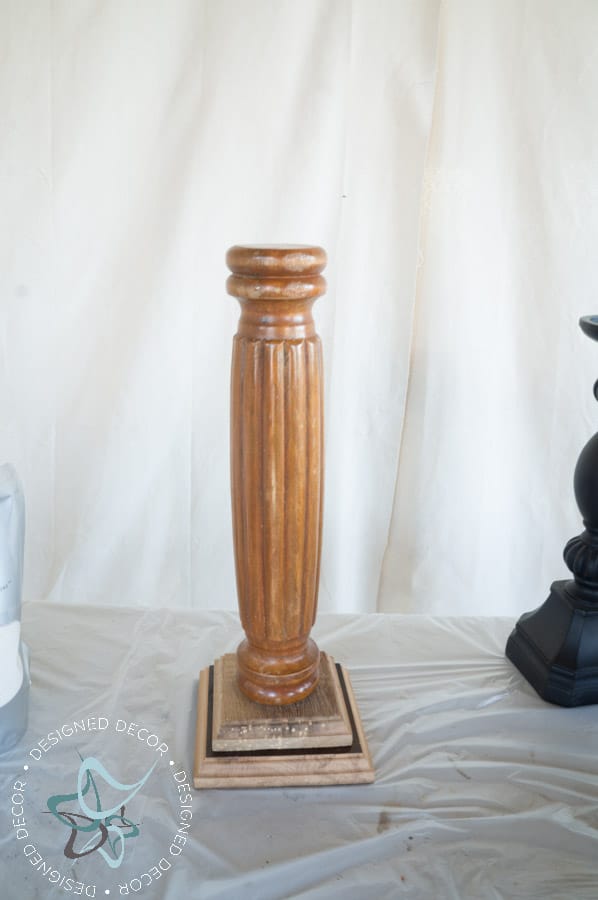
I picked this table up from the curb a few years back waiting for the perfect project. I used the top to make a chalkboard that I use that at my shop. Part of the leg was used as a repurposed table leg candlestick holder. I love how it turned out. Now, to find where I put the other pieces so I can make more candlesticks.
Whenever I find old pieces of furniture on the side of the road, I will usually pick them up if they have great details. I know I won’t fix the piece, but use it for other things.
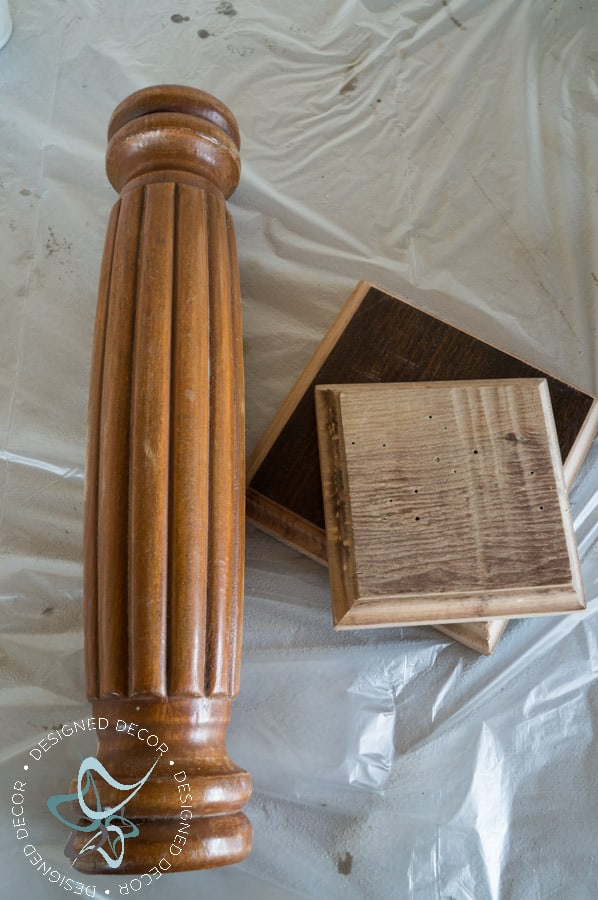
I started by cutting the pieces apart from the center table support. I sanded it down with an electric Ryobi sander to get it smooth and level. Mr. DD cut 2 different sizes of wood squares and ran them through the Ryobi router table to get the pretty finished edges.
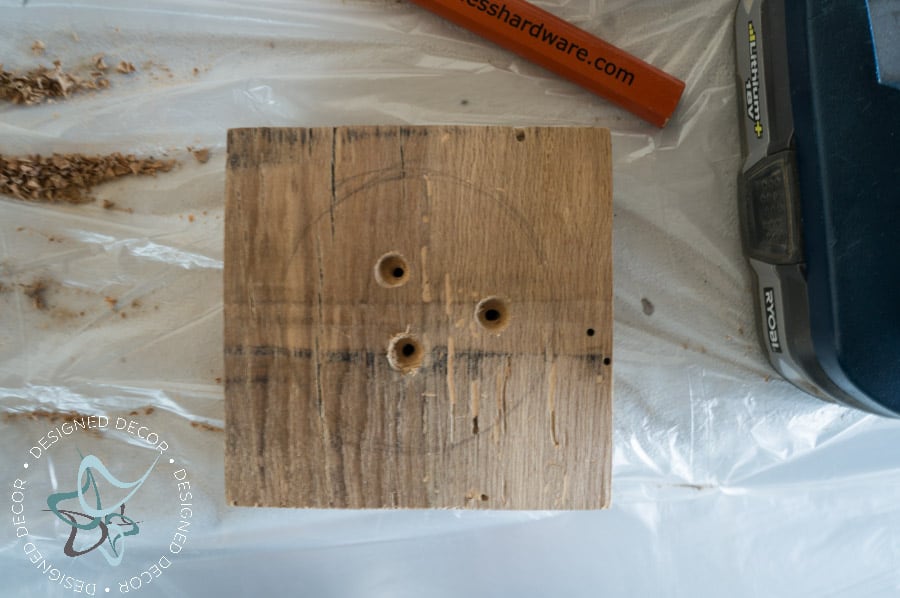
I used the center candlestick to draw the boundary line on the bottom of the upper wood square, so I would know where to counter sink the drill holes.
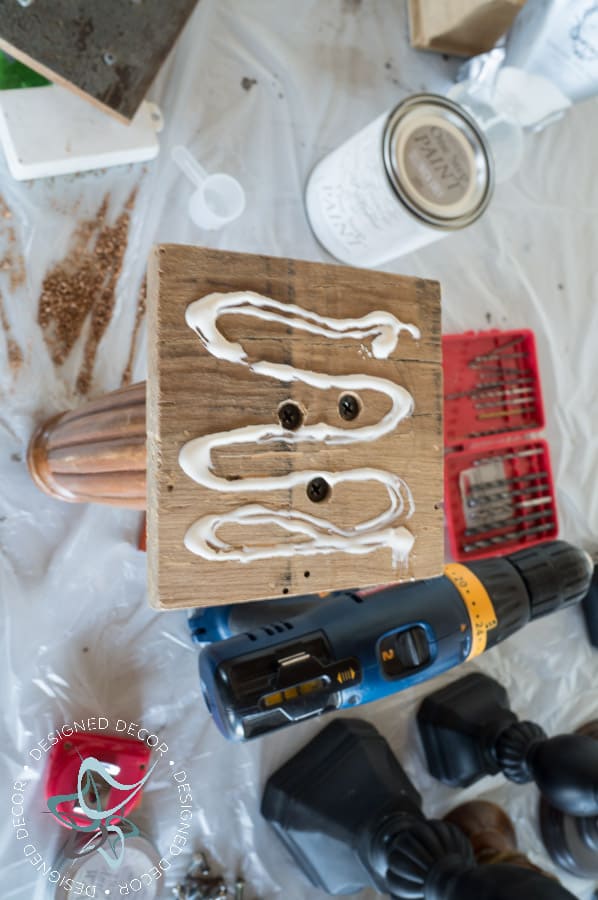
I placed Gorilla wood glue on all the pieces before attaching together with screws.
That is how simple it is to make a great looking candlestick holder out of a used table leg.
You can read all about how I painted these candlesticks to get the awesome aged layer paint look.
Join the DD Community!

Join the Designed Decor Community and receive weekly free tips on DIY home projects, painted furniture, decorating, and much more.
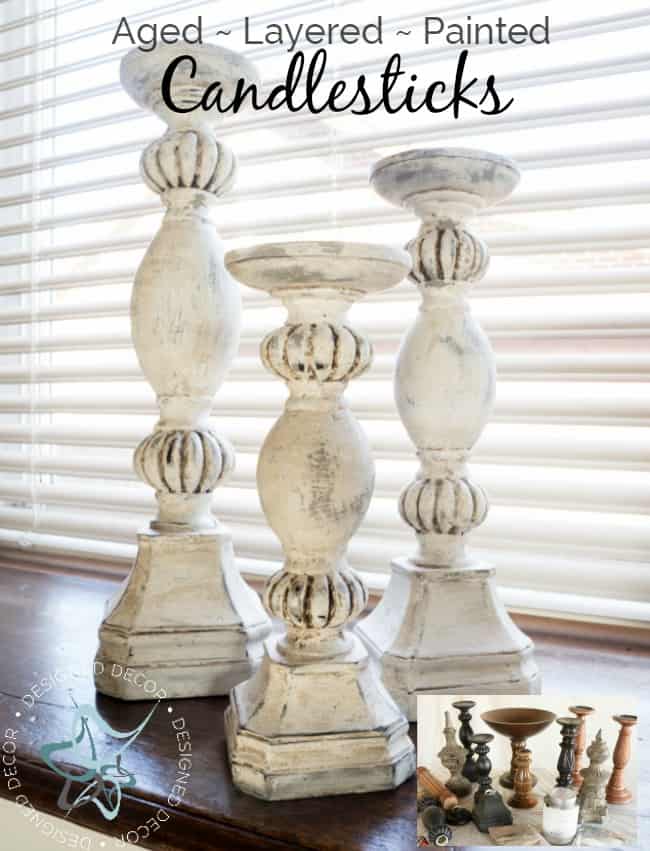

[…] small collection of thrift store/garage sale holders that I painted. You can see how to paint your own thrift store candle holders. […]