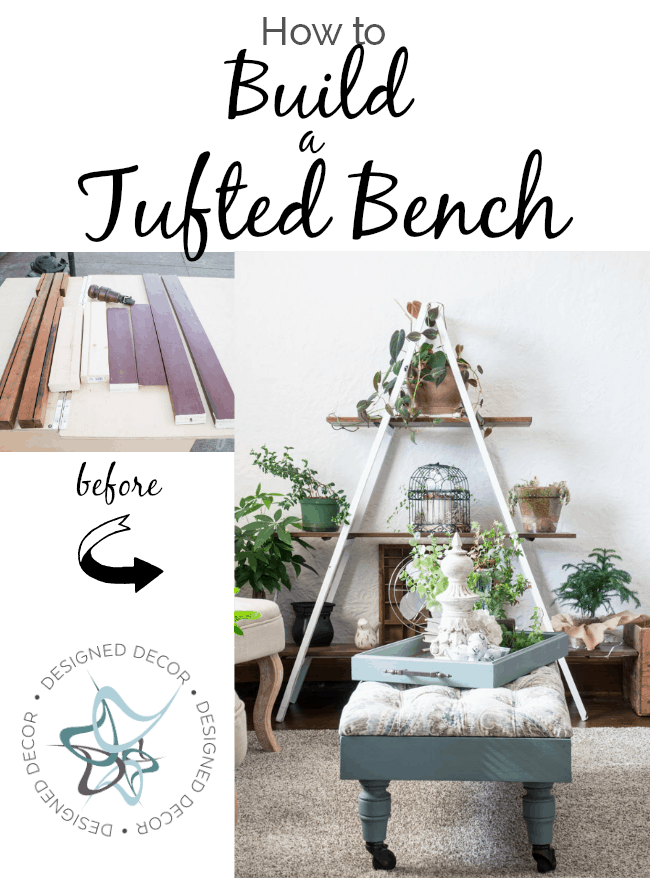
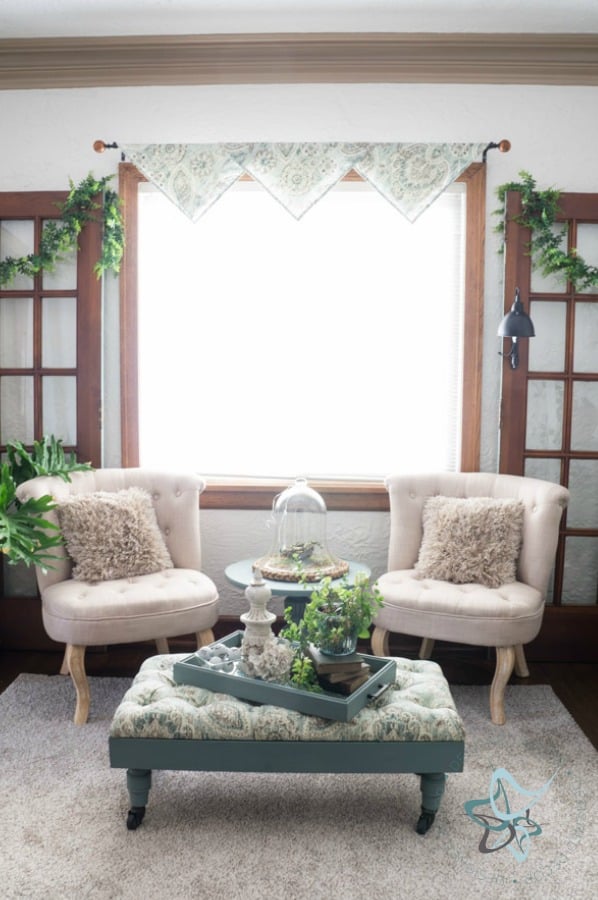
I was in search of a bench to place in my den and needed a certain size to fit in the small space. I looked at all my local stores and even searched online and could not find the size, style, and price that I was looking for. If I found one the perfect size and style the price was out of my budget or I found one in the budget and the size was wrong. I know you can feel my pain when searching for the perfect accent piece. So this leads me to make my own tufted bench for my den.
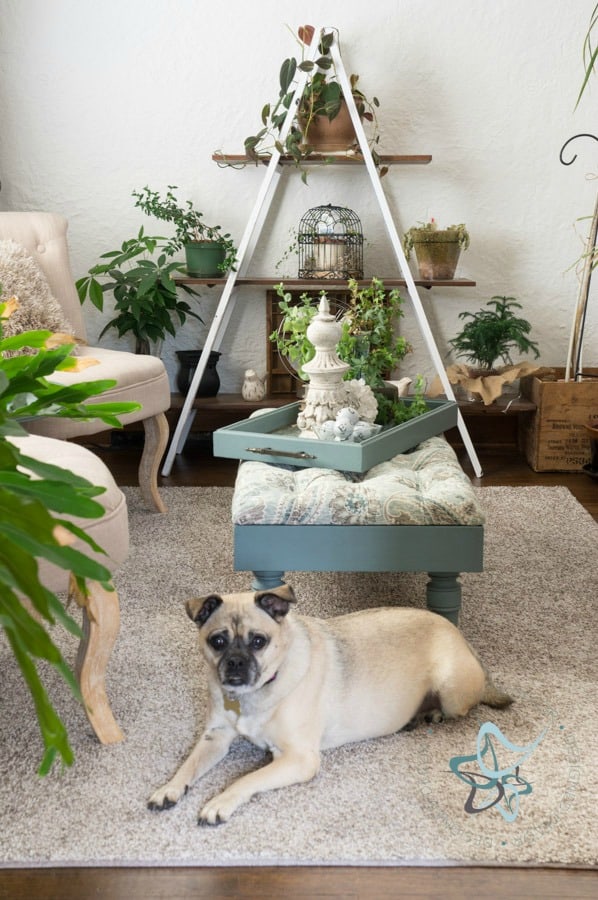
I like the fact that now, my tufted bench is the perfect size in the space, I picked the fabric and the color, so the bench is perfect!
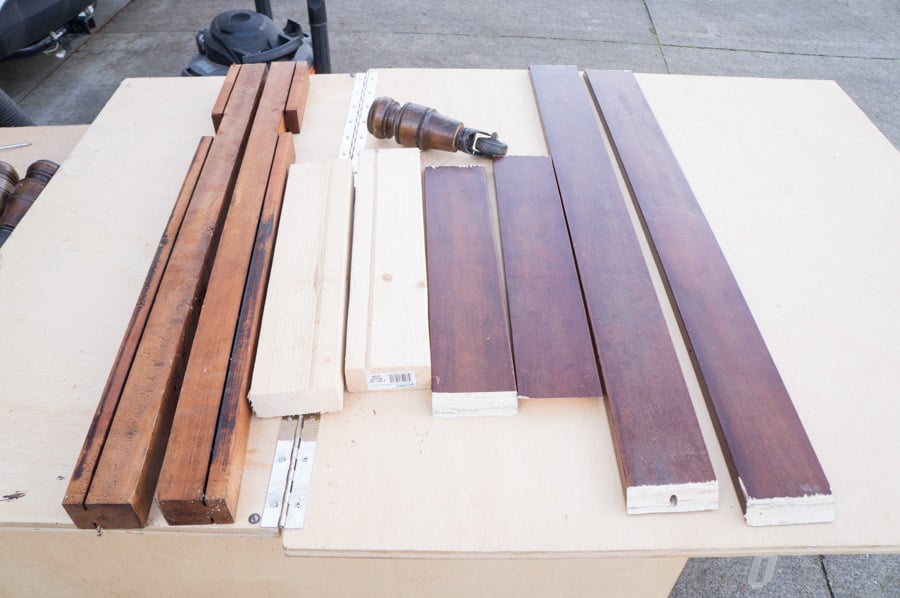
I had all this wood on hand in my garage, so the only expense was the fabric.
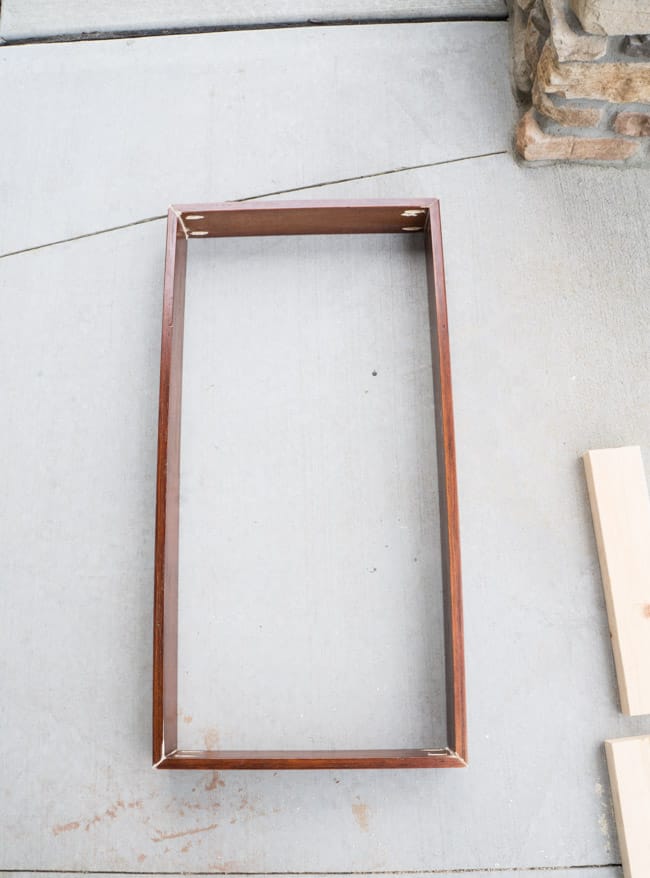
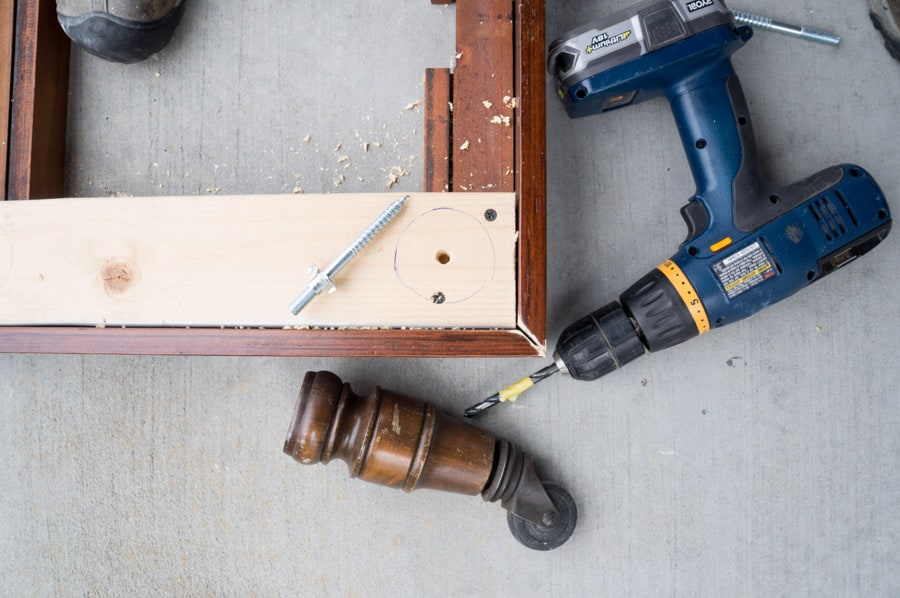
I cut the frame to size and used my Kreg Jig to make pocket holes to attach the frame together. This wood was from a bed, I think they were the wood slates from a bunk bed. They were in someones trash, so of course, I stopped and picked them up. Who knew they would become a frame for a bench.
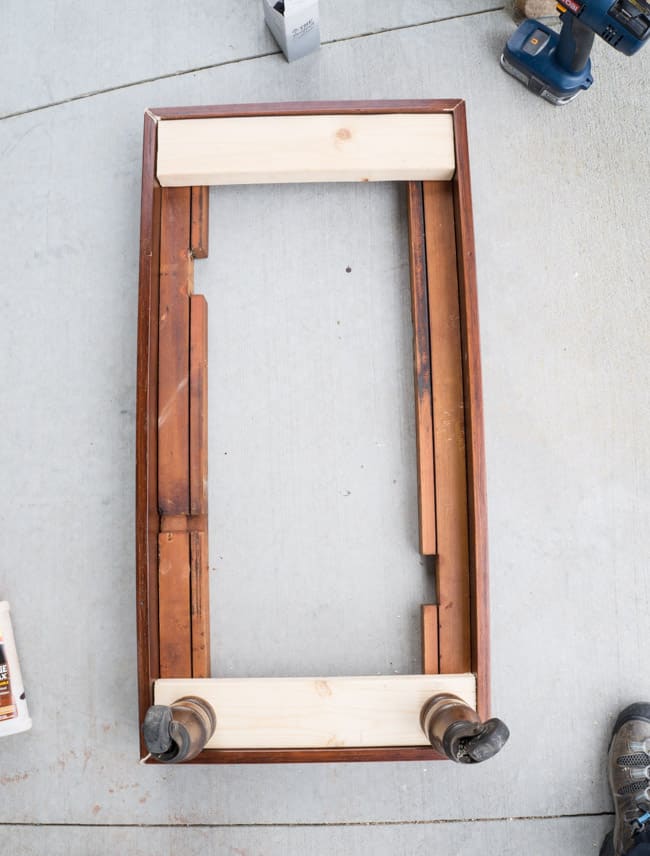
I added the interior cut wood to the length of the frame, these add support to the frame. The interior wood was from the underside of a dining room table. Yes, I use whatever wood I have piled in the garage. I usually don’t throw solid wood away because you never know when you can put it to use. I added the end cuts for additional support and to have a solid piece of wood to screw the on the legs. Of course, they were left over pieces as well.
The legs came from a HUGE old desk that I decided to piece apart instead of painting and reselling. The desk was just too big for most homes, but the parts will be perfect for other projects. I did have to purchase the screws to attach the legs.
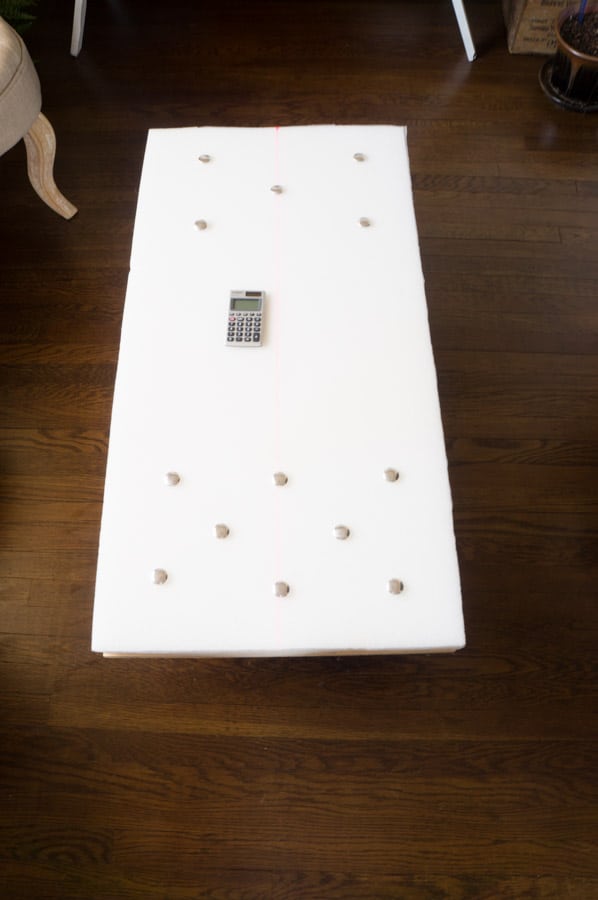
I cut a piece of plywood to fit the top and used the 2-inch foam core that I had left over from a coffee table tufted bench that I had previously made. I placed the washers in 2 different patterns of the foam to figure out which sized diamond I liked better. I ended up using the 3-row diamond pattern since the bench was only 16 inches wide. It looked better and that was fewer button covers I needed to make.
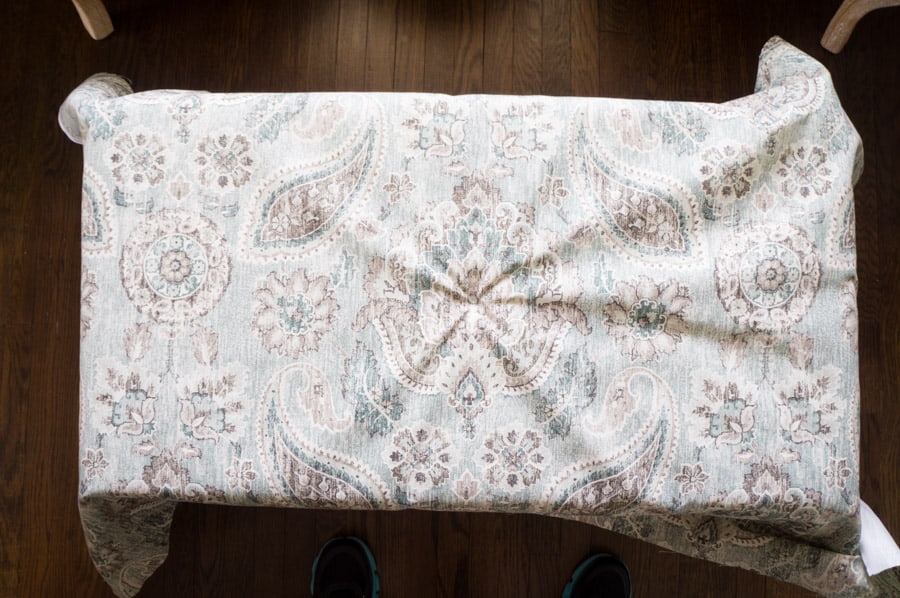
I start by placing the center screw to hold the fabric in place because the fabric will shift. Stop over to read a complete step by step tutorial on how I tufted my benches. I do it the “power tool way,” of course, and used a drill, washer, and screws. I find this a much easier way to create tufting opposed to drilling holes and threading on the buttons to create the tuft.
I used Amy Howard One STep Paint in Vintage Affliction to paint the frame and used a brown glaze over the paint. I make my glaze using Amy Howard in Windsor and mixing with Glazed Over. You can make any furniture paint into a glaze by mixing the paint with the glazed over. I usually like to glaze my furniture instead of using dark wax.
I attached the tufted top to the base by screwing from the underside of the bench. I screwed into the support frame which is on the inside of the exterior painted frame.
More DIY Build Projects
Puzzle Coffee Table Build Plans(Opens in a new browser tab)
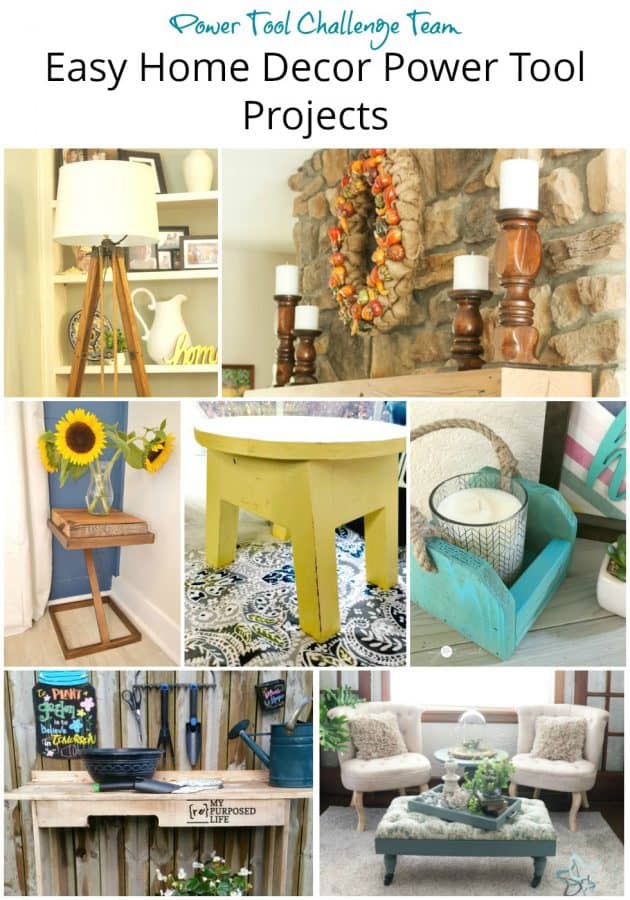
Make sure you check out these other great projects from the Power Tool Challenge Team! They are an amazing group of talented ladies who share the same passion as me!
The Kim Six Fix Vintage Surveyors Tripod Lamp
Virginia Sweet Pea DIY Candlesticks Using Upcycled Bedposts
H2OBungalow Upcycled Metal and Wood Table
Create and Babble Little Round Stool
My Love 2 Create Small Decorative Caddy
My Repurposed Life Easy One Pallet Project
Designed Decor Build Your Own Tufted Bench
Join the DD Community!

Join the Designed Decor Community and receive weekly free tips on DIY home projects, painted furniture, decorating, and much more.

Jon Wood says
Perfect interior I love the way you have placed the pots and amazing pictures 🙂 Loved your idea 🙂
The Furnshop says
Love this. This is really amazing. This such a great tutorial.
Designed Decor says
Thank you so much!
Wendi @ H2OBungalow says
Dede This is darling! Love the petite size and you have a good point that making your own is the best way to find the perfect match for your room. Pinned!
gail says
DeDe
I love your new tufted bench! The fabric and the paint color is perfect. How fun that you parted out the desk to have more bits and pieces for this an other projects. Can’t wait to see what else you make.
pinning!
gail
Paula says
Wow! I really like what you created! I like that you were able to use the legs from the old desk for this piece. Having wheels will let you easily move this bench to any room in your home. Great project!