A few years ago I made a repurposed wine cork shoe tray. It started showing some wear and tear with a number of dirty shoes that was placed on it over the years. The dirt started to show on the corks, it lasted us 3+ years and now it is time for a new one. I decided we needed something that I could wipe down and remove the dirt. I saw a few that were made with river rock, however, they were just loose stones in a shoe tray. So I took it up a notch and sealed the stones in my River Rock DIY Shoe Tray.
This post contains affiliate links. Please see my full disclosure policy.
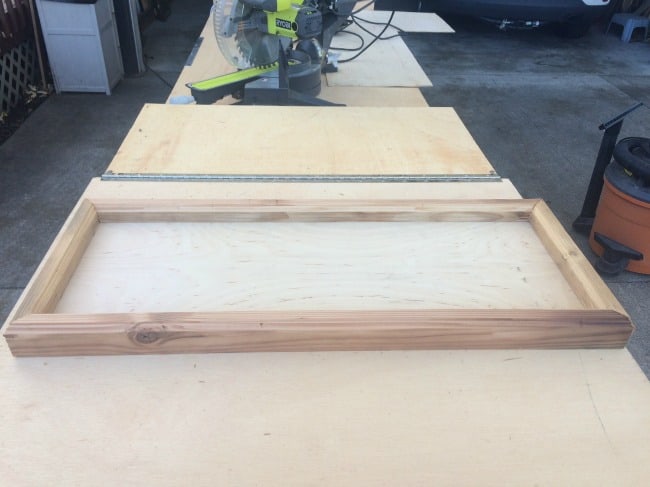
I measured the area that I wanted the new DIY shoe tray to be placed. I asked Mr. DD to cut some wood boards from our stash in the garage. He did more than cut a few straight boards, he cut the boards at a 45-degree angle and ran the boards over the router table to give them a nice finished top edge and also ran a router line near the bottom edge so the base of the shoe tray fits into the side edges. I stained the wood pieces before assembling with Gorilla wood glue and Ryobi Air Nailer.
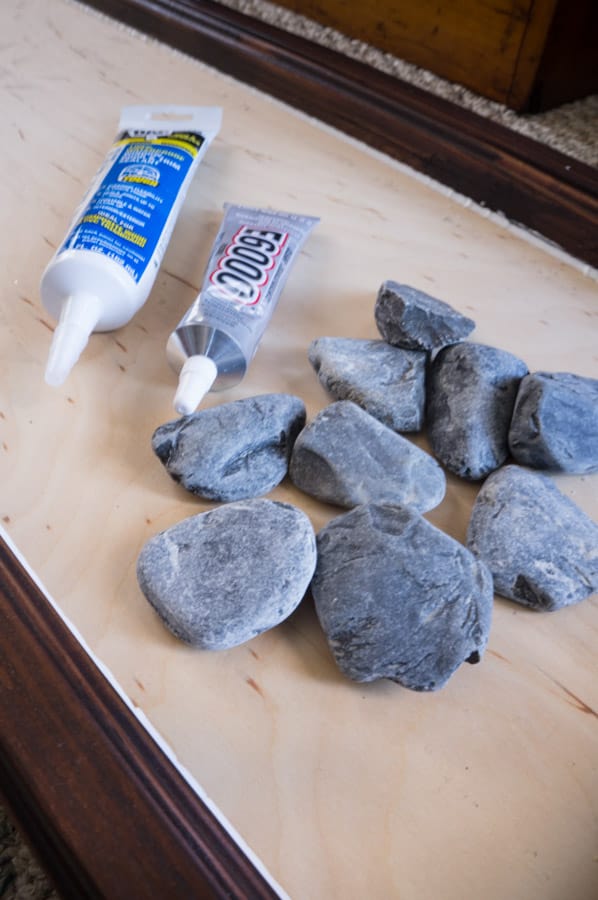
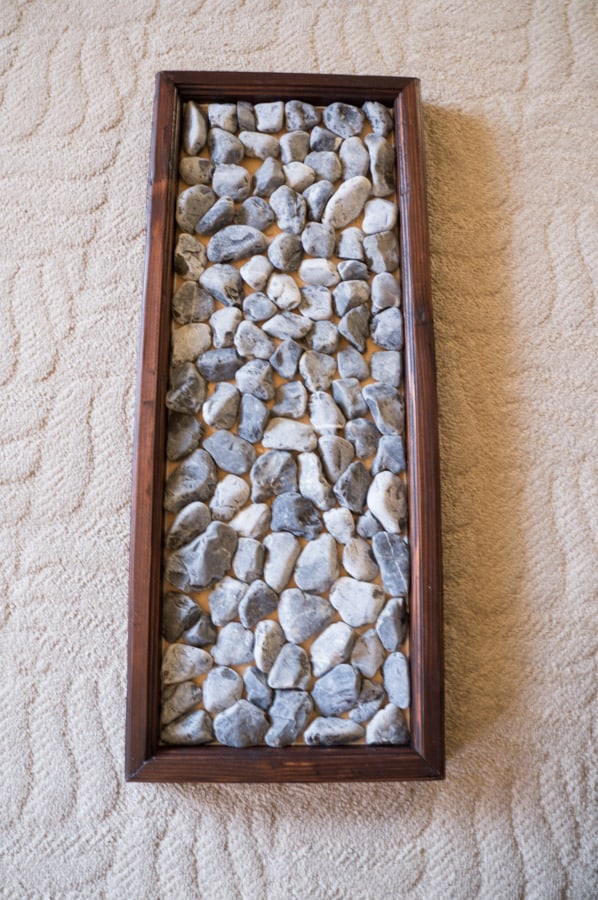
After the E6000 is completely dry, you are ready to seal the rocks with an epoxy resin mix. I used Easy Cast, a craft casting kit. Make sure you follow the exact instructions for mixing and for removing the air bubbles. Also, make sure you place the shoe tray on some type of surface protector in case any of the resin leaks out of the tray. I did have some leak out through one spot and was so grateful that I placed down an old drop cloth.
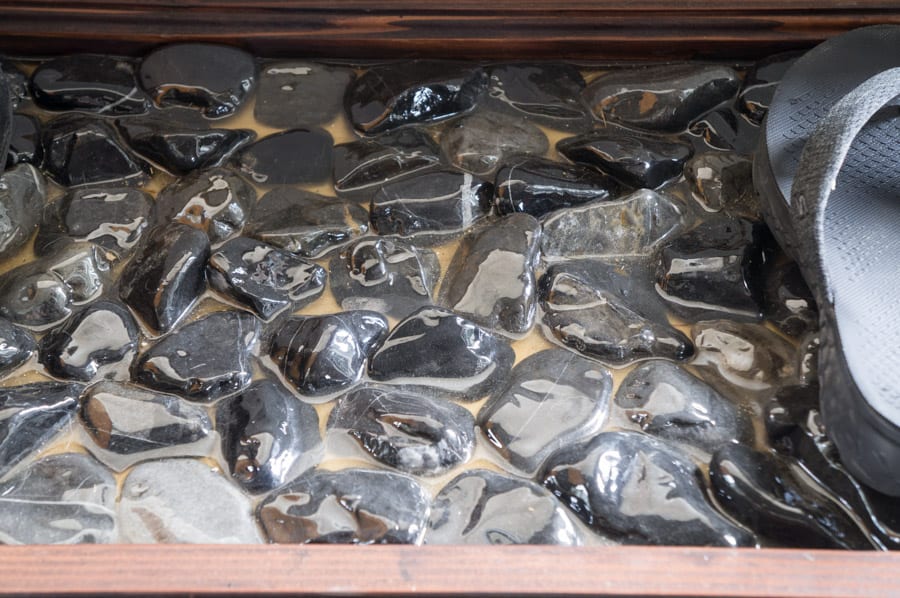
I love how the resin-sealed the rocks to make them look wet. One of my boys asked if it was ok to place his shoes on the shoe tray because it still looked wet. This tray works so much better in this space since it is bigger and easier to clean then the cork shoe tray. I am happy with the outcome of this river rock DIY shoe tray and I know it will last longer and it looks great.
Join the DD Community!

Join the Designed Decor Community and receive weekly free tips on DIY home projects, painted furniture, decorating, and much more.
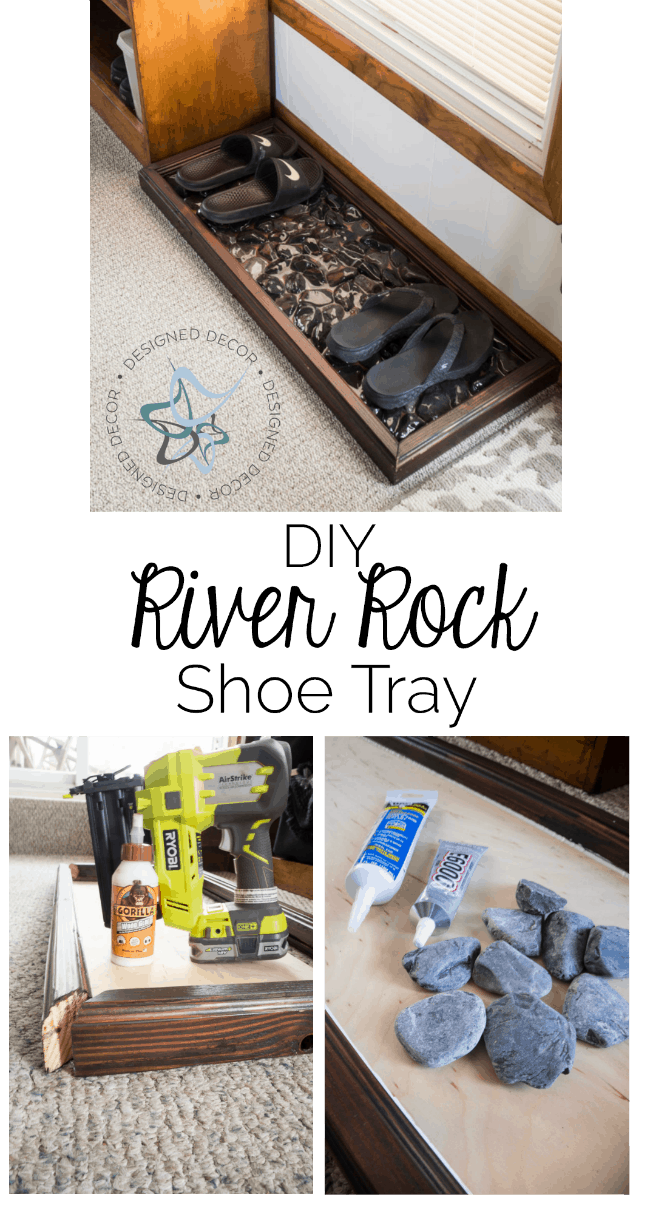

[…] River Rock Shoe Tray […]