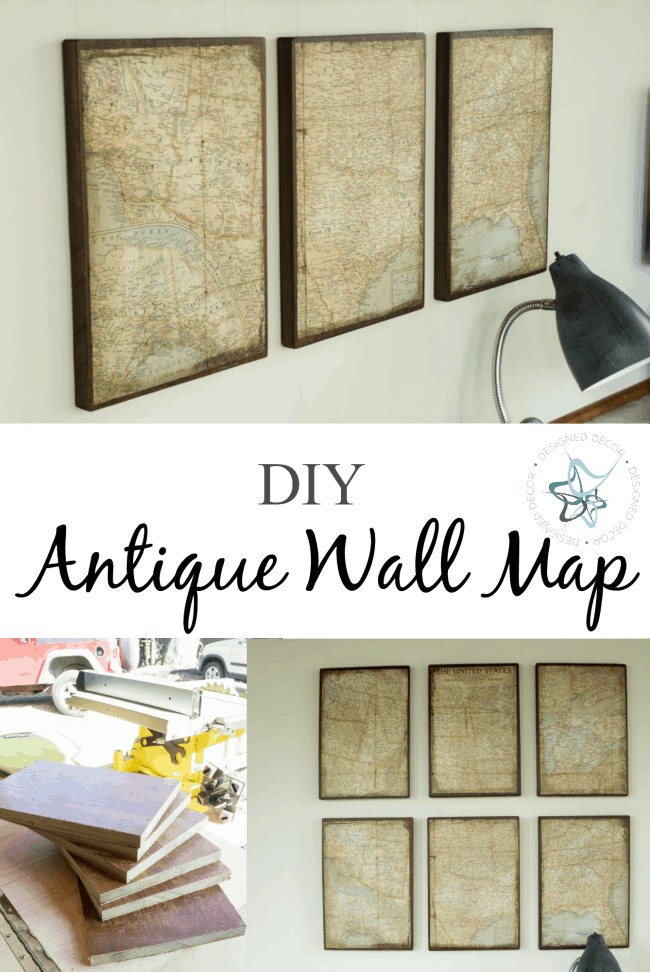
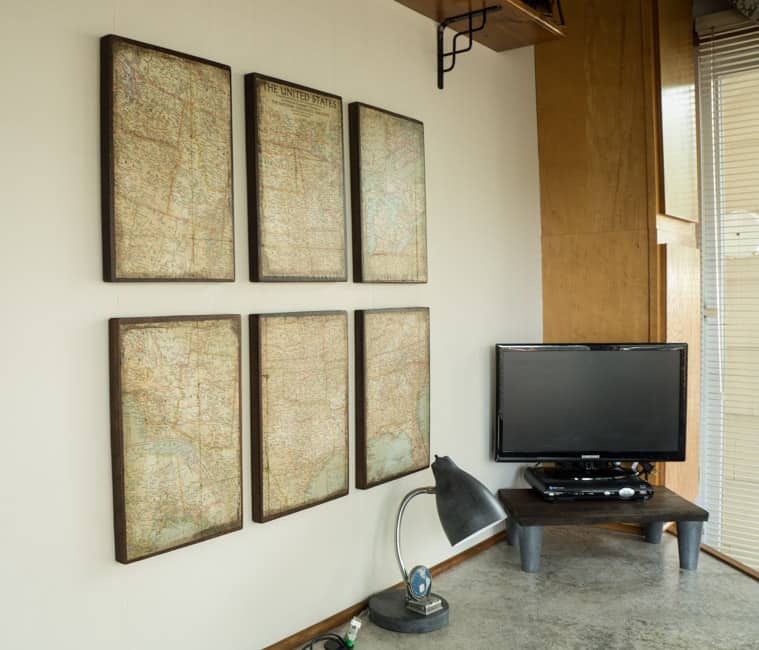
Needing some wall decor that will fill that empty space on that wall? Wanting the perfect item without spending $100’s of dollars to fill the space? I have the perfect answer, a DIY Antique Wall Map. You can custom make this antique wall map to fit any size map or to fill an empty wall space.
This post contains affiliate links. Click here to see my full disclosure policy.
My cost of this project was $5 for the map. I had the wood board in my garage that I was able to cut down into the 6 boards. For those who don’t have any of the supplies on hand that is needed for this project, stick around, I will share all the cost-saving products you can use to achieve the same outcome.
**Scroll to the end of the post to see the video for this antique wall map.
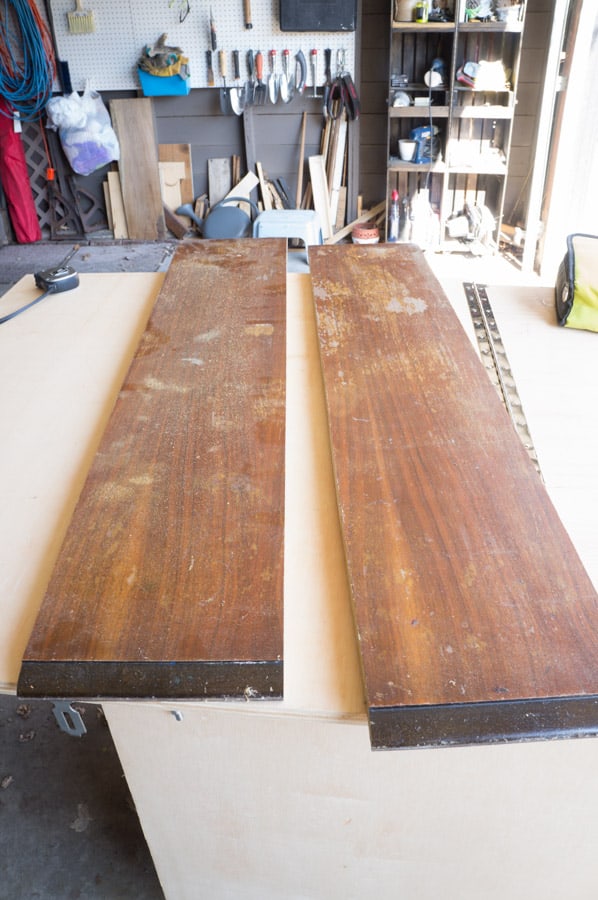
Like I mentioned, I had some extra wood on hand so I cut each board into a 9 x 13. Check your local salvage stores for used wood boards. You would be surprised to find what some of these salvage stores keep on hand. Ask a neighbor if they have any leftover wood. These boards were cut from a dining room table top.
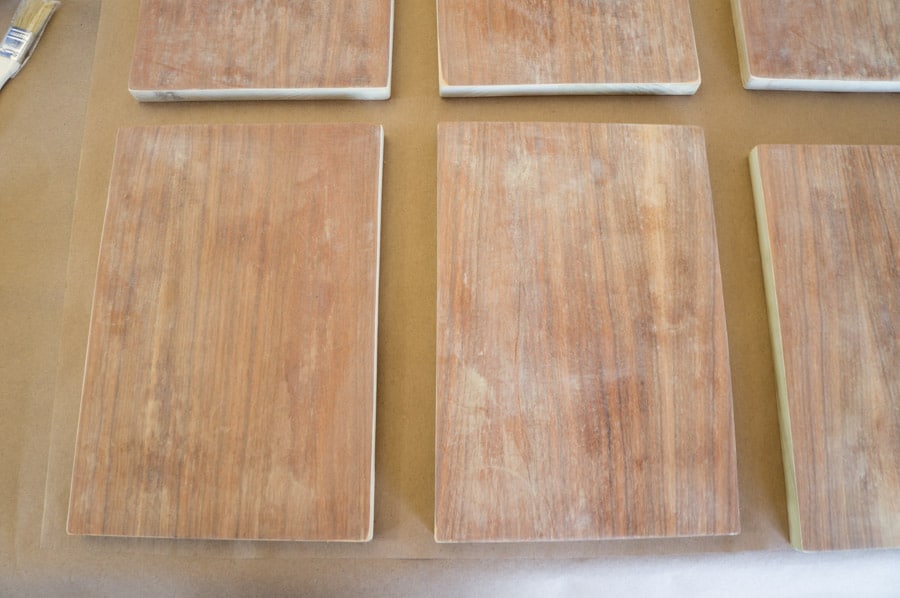
Once your wood pieces are cut, you will need to sand them down to smooth the edges and tops. You can customize the size of your wood boards based on your map size or the space you need to fill. I found the perfect map at my shop where I sell my furniture pieces and it was the perfect size to fill the space. My map happens to be an old National Geographic Map. For those of you who remember that National Geographic would place maps inside of the magazine. I remember my dad receiving his monthly magazine and how they stacked up year after year on the shelves in our house. I just checked to see if they are still being published and here’s a little trivia for you. National Geographic has been delivering for 128 years. Wow! Although today you can get a digital version. Ok, enough nostalgia back to the antique wall map.
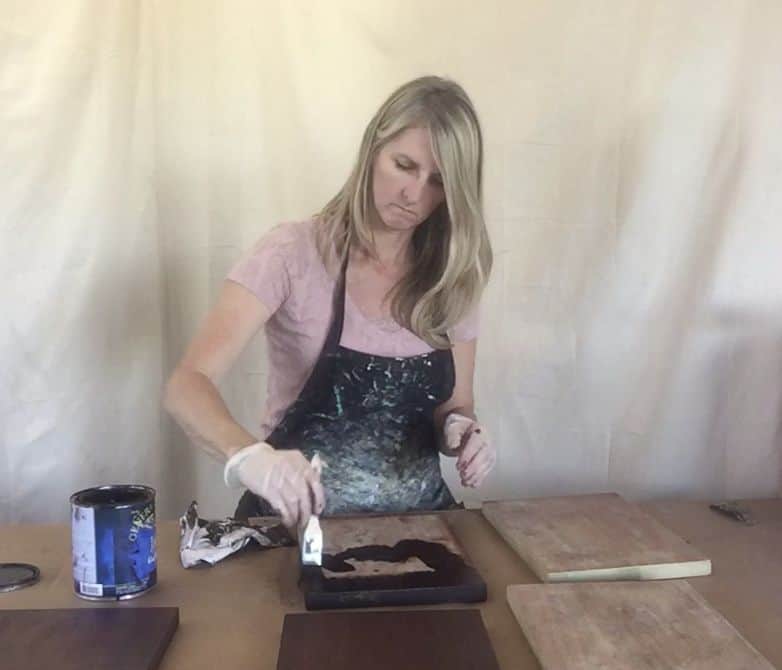
Stain your boards with the stain color of your choice. I used General Finishes Java Gel. I did not seal the boards with polyurethane since they were going to have the map on top. If you do not have any stain on hand, you could always paint your boards instead of staining. Another inexpensive staining option is to use these wood finishing clothes.
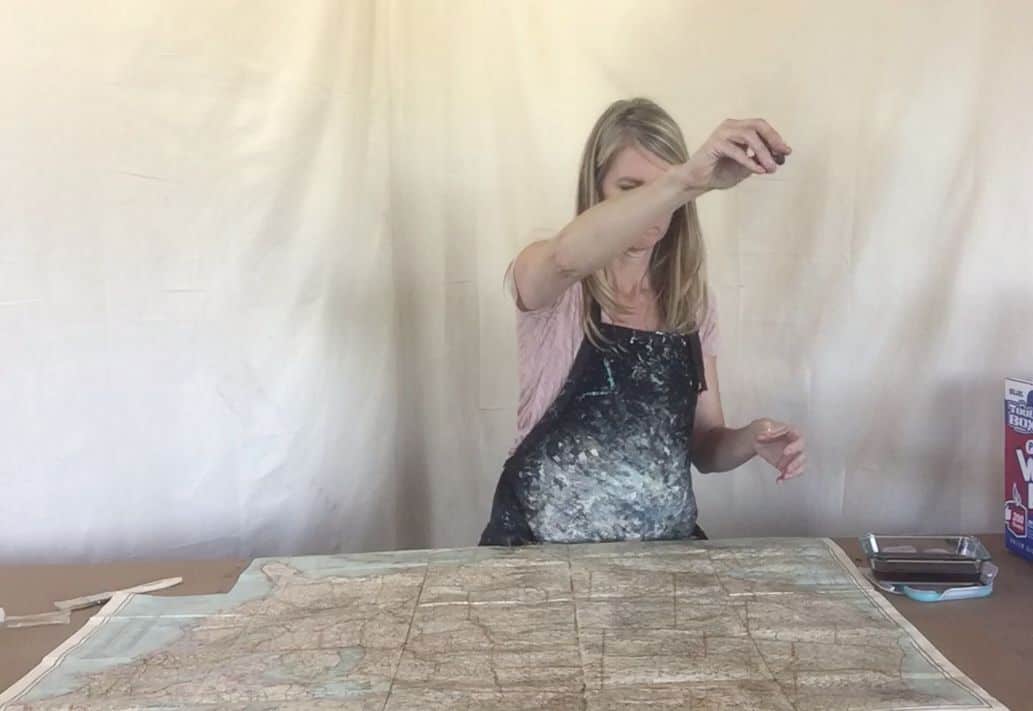
Tea stain the entire map and let dry completely. Steep a tea bag in hot water for 20 to 30 minutes, apply tea with tea bag over the entire map. Let tea bag saturate certain areas more and squeeze extra tea in order to darken other spots. You can tea stain a few times to get it the perfect aged look. You can also cut open the tea bag and let some tea sit directly on the map to darken spots. I decided to use a stain and glaze to get the map more aged.
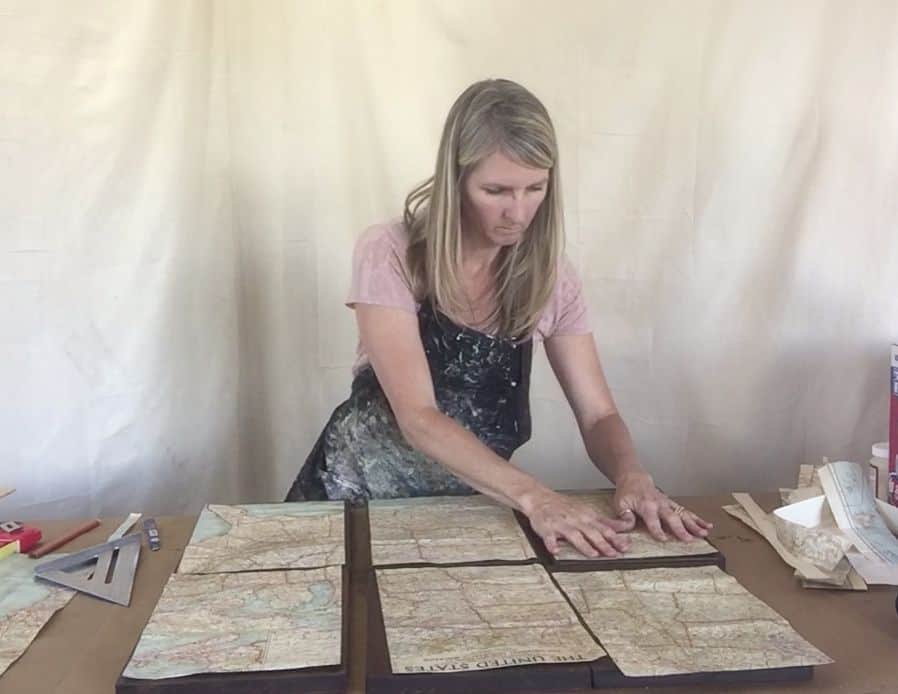
Cut your map to fill each board. I placed all my boards together and placed map over top to get an idea of the space the boards take. Place creases on the map edge along the top and left side of the map to mark the edges on where to begin my cuts. Each cut map was approximately 8×12 to allow some of the wood edges to show on top. I did have to center the United States wording on the middle boards. If I just cut the middle after cutting the left edge pieces, the wording would have been cut. After all my pieces were cut, I needed to make some minor adjustments to my maps as my boards were not perfectly straight.
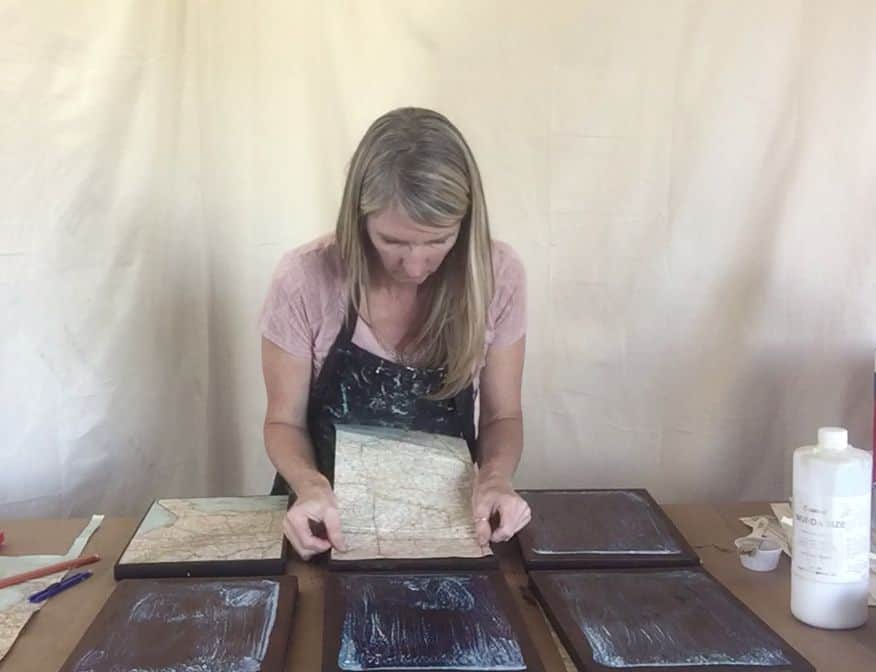
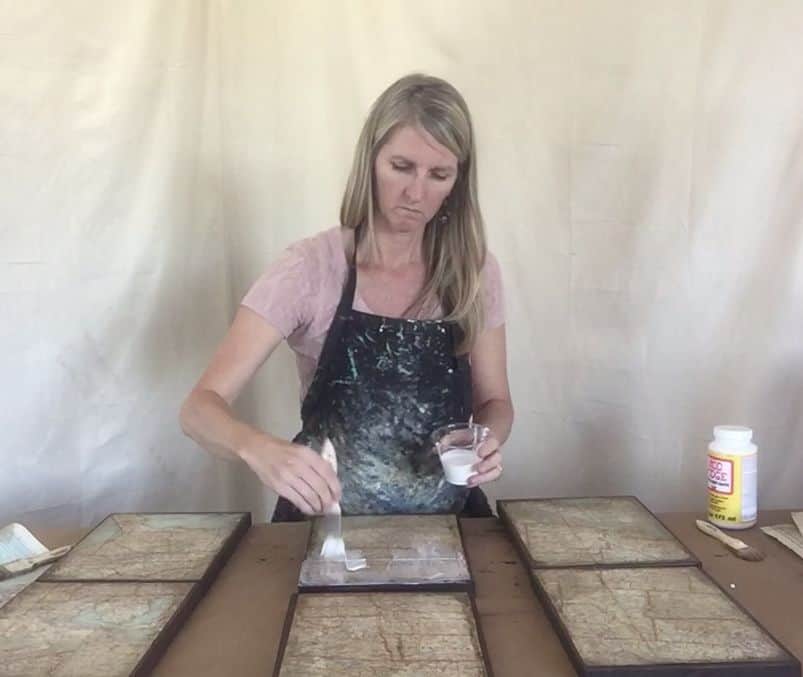
Glue maps to the top of stained wood boards. I use Wunda Size for all my decoupage projects. It is very thin and really allows your paper to adhere and not move around as they do with Mod Podge or glue and you get fewer air bubbles.
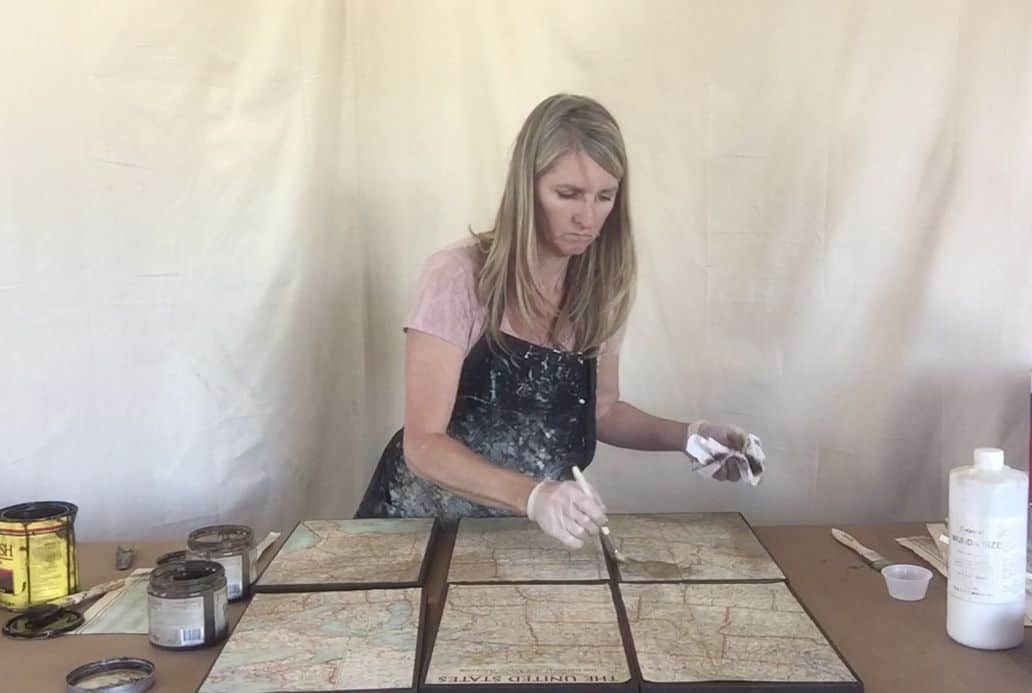
Use furniture glaze to add more antiquing and depth to the aged map. I used Maison Blanche antique glaze in bourbon and tobacco. I also used a dark stain around the edges to deepen the map on the border. You could also use brown paint for this aging process. Water down the paint to a 50/50 ratio and apply just like the glaze.
Seal the map pieces using mod podge. Make sure to work out any air bubbles before they dry. You also may need a straight edge to help the air escape. Keep checking on the pieces as they dry to continue to work any air bubbles that remain. Hang your map pieces and enjoy your DIY antique wall map. This same process can be done with any type of artwork or paper print. The options are endless.
Check out these other great office makeover projects!
Galvanized Metal Effect with Paint
Join the DD Community!

Join the Designed Decor Community and receive weekly free tips on DIY home projects, painted furniture, decorating, and much more.

Reynolds says
Thanks for the inspiration for the content and pictures. What is the cost of the DIY antique wall for a room? Please continue posting. Cheers!