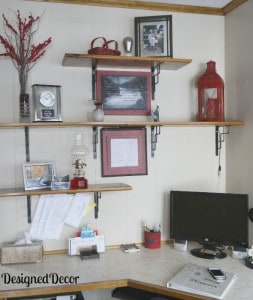
For the past few weeks, I have shared my organized office and all the office projects that I have made to create an organized and inspirational space. Last week I shared the a few projects for the organization of the office and this week I am going to share the inspirational items that I have added to this space.
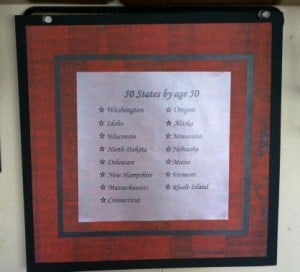
I started with an inspirational goal that I have set for myself before I turn 50. I set a goal last year to visit 50 states before I turn 50. I decided to have an inspirational reminder, to hang on the cork strip above my computer screen. The states on this list is what I have left to visit. I have 5 years left to reach this goal, piece of cake.
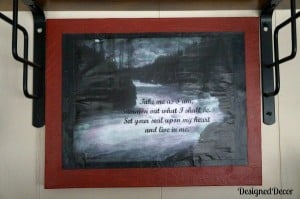
The other inspirational piece is my favorite picture and favorite quote.
I printed the picture in black and white and the quote onto a plain 8×11 sheet of paper. I painted the edges of the canvas board in red and then used a black sheet of scrapbook paper as border for the picture. I used mod podge to adhere the scrapbook paper and picture onto the canvas. This created a worn and bubble look, that made the picture look aged. The mod podge also created a green cast to the picture from the ink bleeding. I thought I ruined the picture, and I really like how the picture turned out.
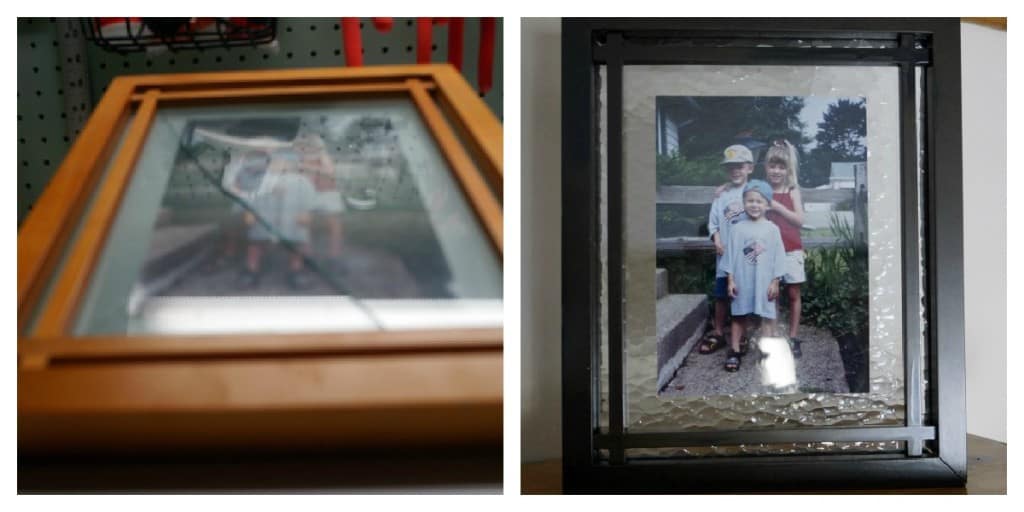
The next office project was to fix the broken glass in the picture frame on my office shelf. I wont tell you that, it has taken only 5 years to fix it. I also decided to change the light wood frame to black so it would blend with all the other black accents in the room.
Sorry for the terrible before picture, I am still learning how to use my new camera! If you can see the glass in the frame was broke, both sheets of glass. The back sheet is a frosted piece of glass and the front piece is clear. Since I just so happen to have a lot of clear glass on hand, and just so know how to cut glass, I fixed the glass. I used a wavy sheet for the back piece, I used the same picture. I love how the frame looks now!
After decorating the shelves with the pops of red, my desk space was looking dull. Now for some color on the desk, by adding some fabric to the existing pieces. I covered the mouse pad, pencil holder and tissue box, using fabric I purchased from Joann’s. These prints come in a pre-cut 2 foot square. I used the first square for my mouse pad and pen holder.
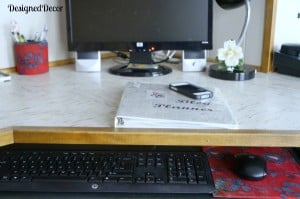
I found the step by step instructions over at Lara Cameron. She did a great tutorial, even a novice like me was able to complete this task.
I am loving the new organized and inspirational space.
Join the DD Community!

Join the Designed Decor Community and receive weekly free tips on DIY home projects, painted furniture, decorating, and much more.


Tumbleweed Contessa says
Thanks for sharing your inspiration at What’d You Do This Weekend. I like the 50 states before your 50. That is an admirable goal. Good luck!