I decided to build an A frame plant stand using leftover table tops. I received a few dining room table tops from a friend, thanks, Tara. I made some floating shelves with the ends of the tables (which I will share those with you later) and I had all the center of the tables left. The best part of this project is the $0 price tag.
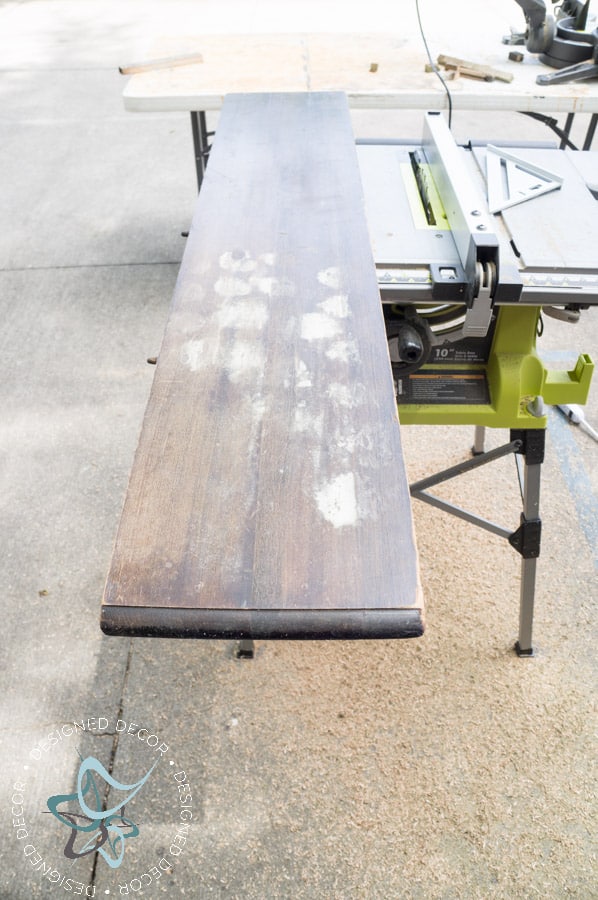
The picture below is the leaf from the dining table top that I started with and I had 2 other pieces from the table as well.
This post contains some affiliate links. Click here for my full disclosure policy.
I started by cutting all the wood pieces for the frame and shelves.
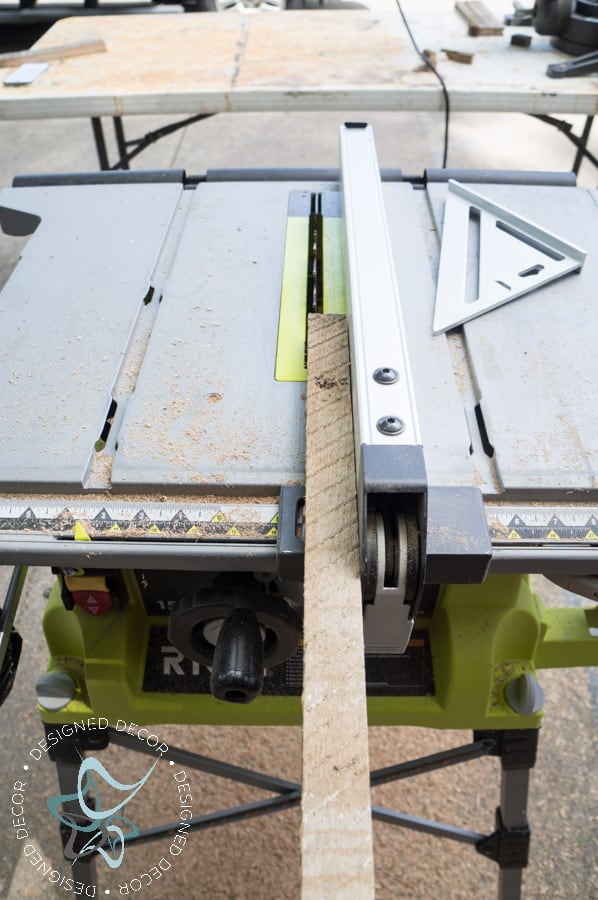
Cut “4” long pieces that measure 56 inches long by 2 inches wide. Cut “8” small pieces that measure 12 inches long by 1 inch wide. You could also have the lumber store cut your pieces for you.
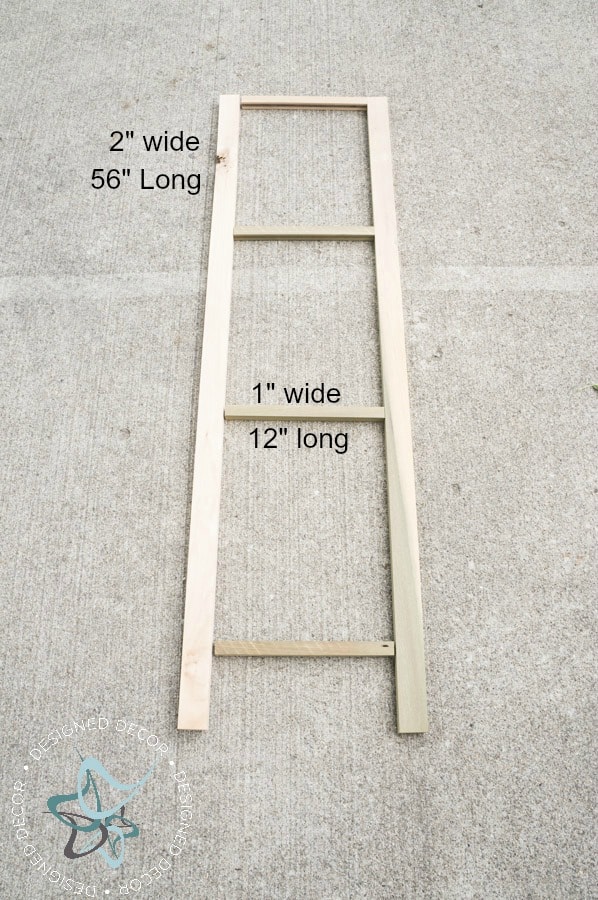
This is how one frame will look after assembled. You will have 2 of these for the A-frame.
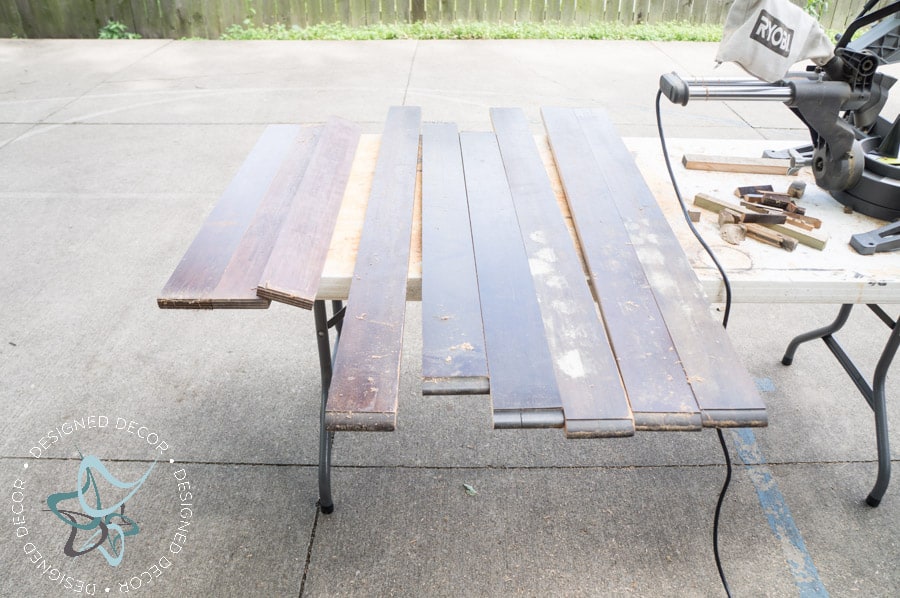
Next was cutting the wood planks for the shelves. I cut 3 boards at 52 inches long by 3.75 inches wide for the bottom shelf, 3 boards at 39 inches long by 3.75 inches wide for the middle shelf and 27 inches long by 3.75 inches wide for the top shelf.
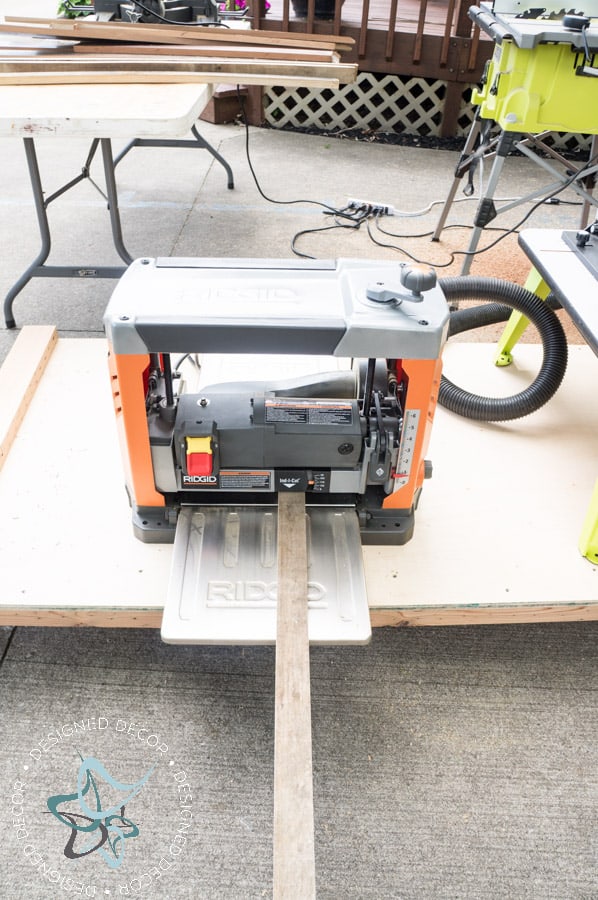
I ran all the cut wood pieces through a planner to remove the veneer top and smooth the wood. If you are using new wood, you would not have to do this step of course, but you may want to sand down all the wood after cutting.
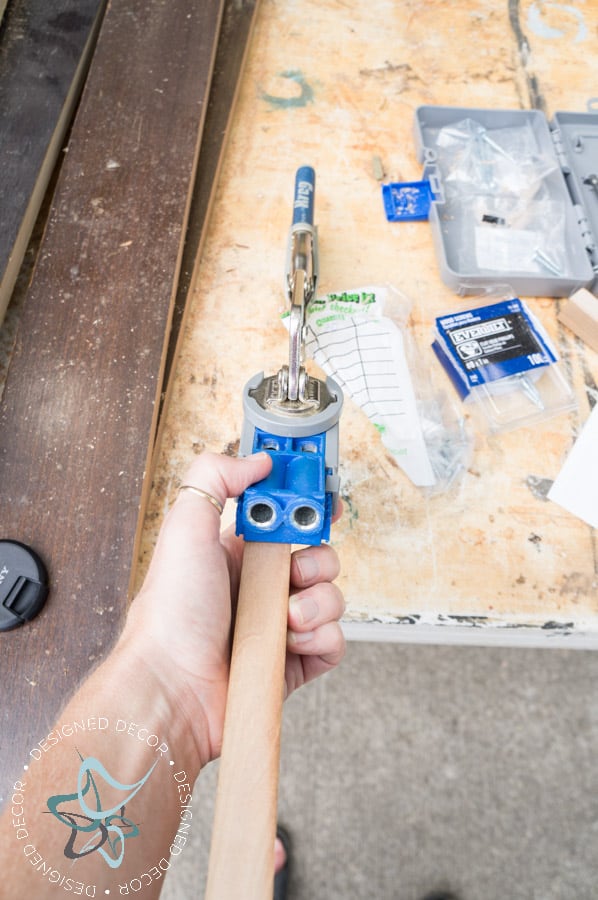
I assembled my frame by using a Kreg Jig. This allows the screws to be hidden. Here is a quick video on how to use a Kreg Jig. This was one of the very first videos I ever did and it was a live video, so stick with me on this one!
I think I need to make a new video! Yikes!
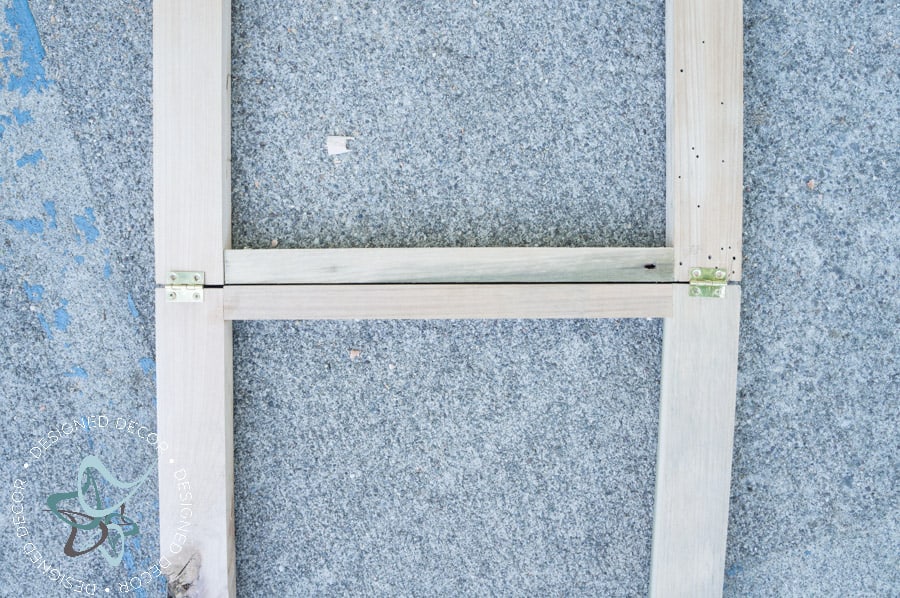
Attach the 2 frames together using mini hinges.
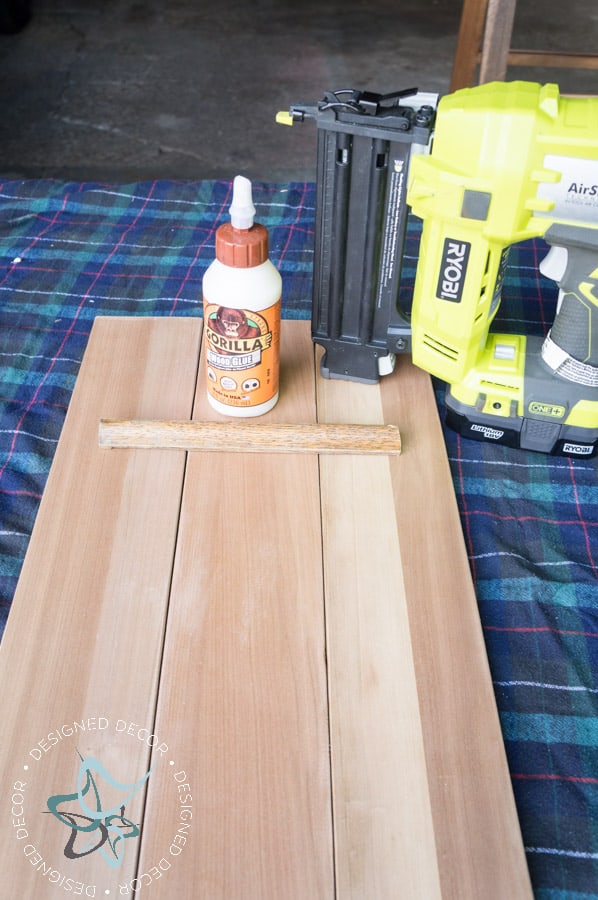
I assembled the shelves using wood glue, wood trim pieces, and a Ryobi air nailer
. I could have assembled the shelves using the Kreg Jig but decided to use the trim piece on the bottom of the shelves to serve as a stop against the frame. This allows the a-frame to lock in place using the stops on the bottom of the shelves. I placed the wood trim piece at different measurements on each shelf which would allow me to adjust the distance of the A-frame plant stand. Make sure that each wood trim piece is equal distance on the same shelf from the edge.
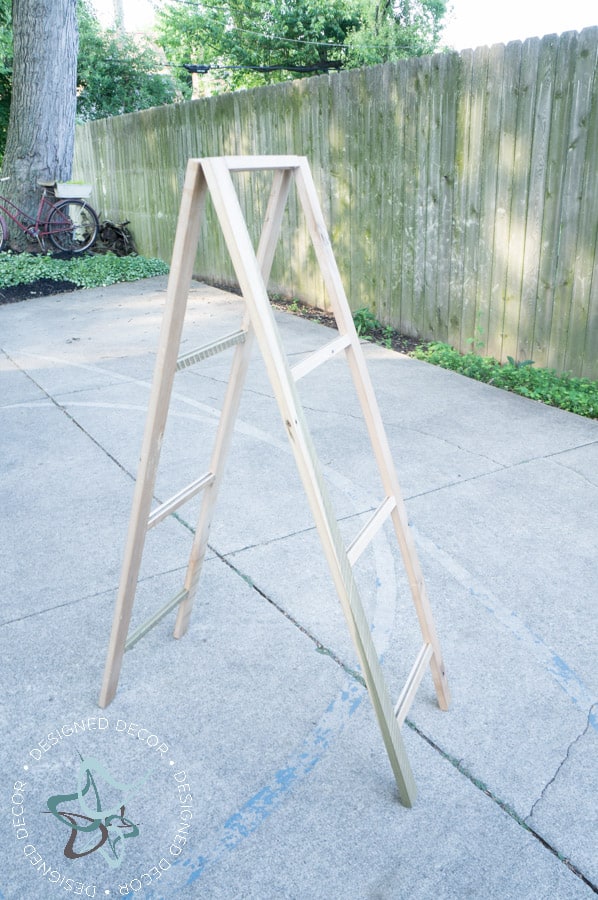
Here is the assembled A-frame.
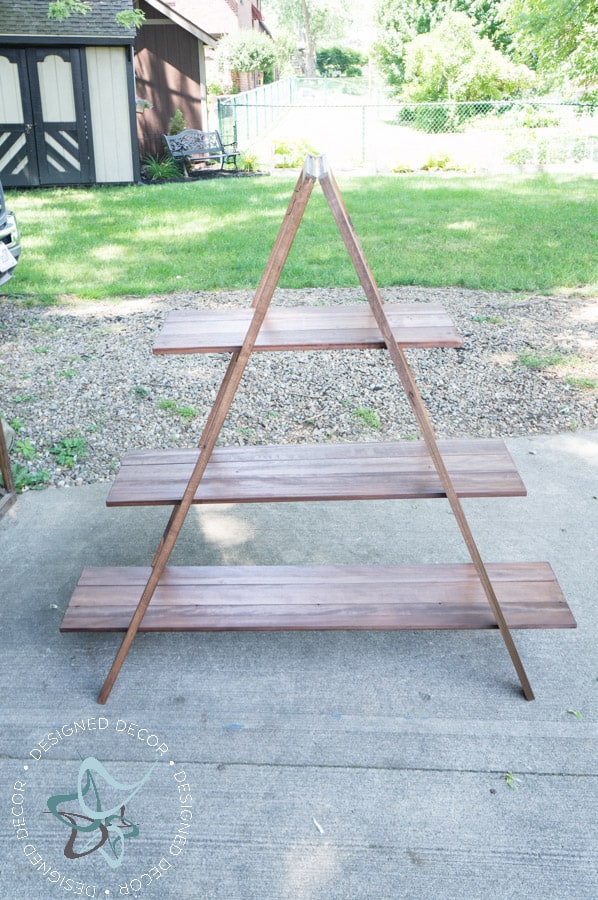
I stained all the wood using Minwax in Walnut. I then painted over the stained wood frame using General Finishes Milk Paint in Antique White
, distressed and sealed using a clear wax.
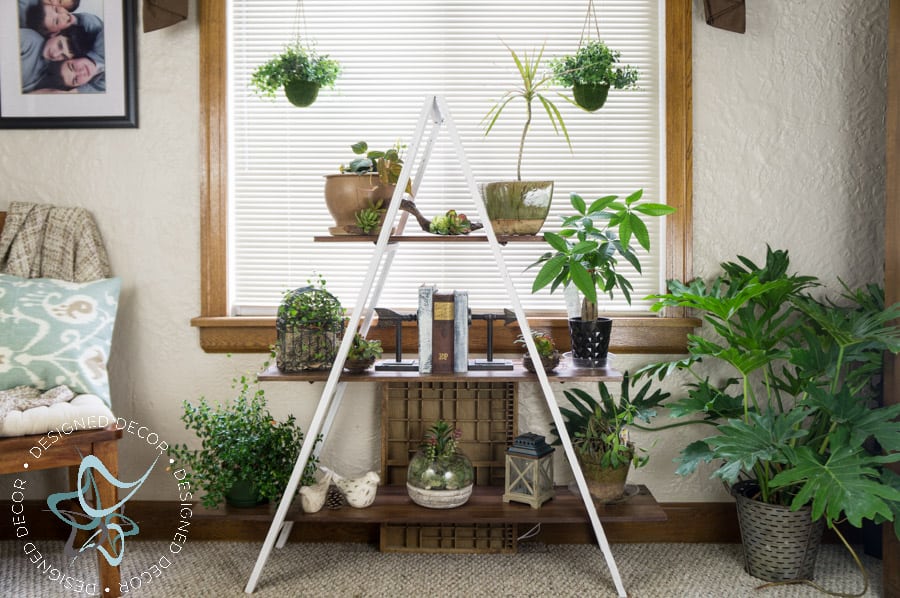
I love walking through this room and seeing my plant stand and knowing I made it myself using repurposed wood. My original inspiration for this A-frame plant stand came from this a frame plant stand. So if you don’t have the resources to build your own plant stand, you can buy one already made for you.
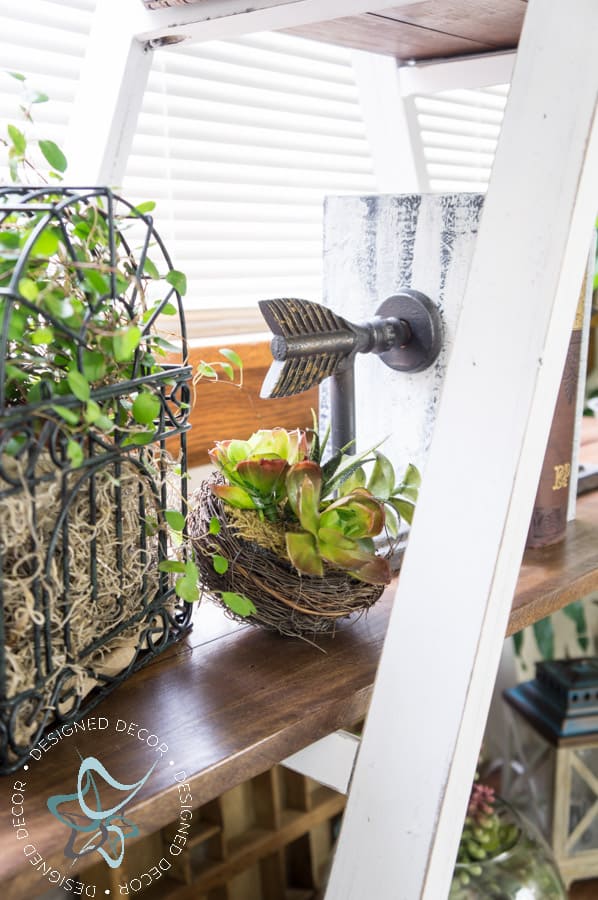
The light distressing on the frame allows the dark stain to show through.
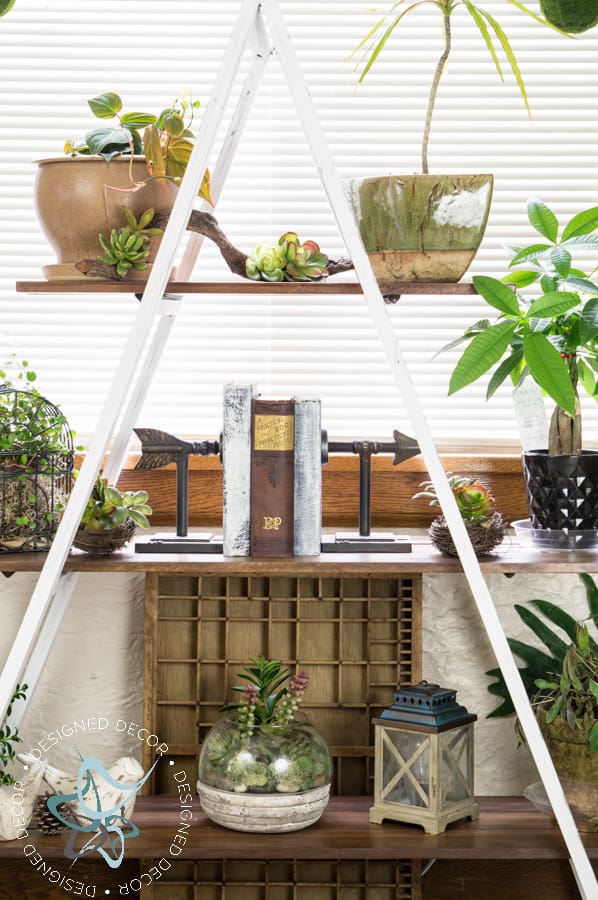
I know all the added details of combining the plants with decorative accessories give my plant stand the perfect blend of home decor items. You can see my source list at the end of this post. Can you guess which plants are real and which ones are not?
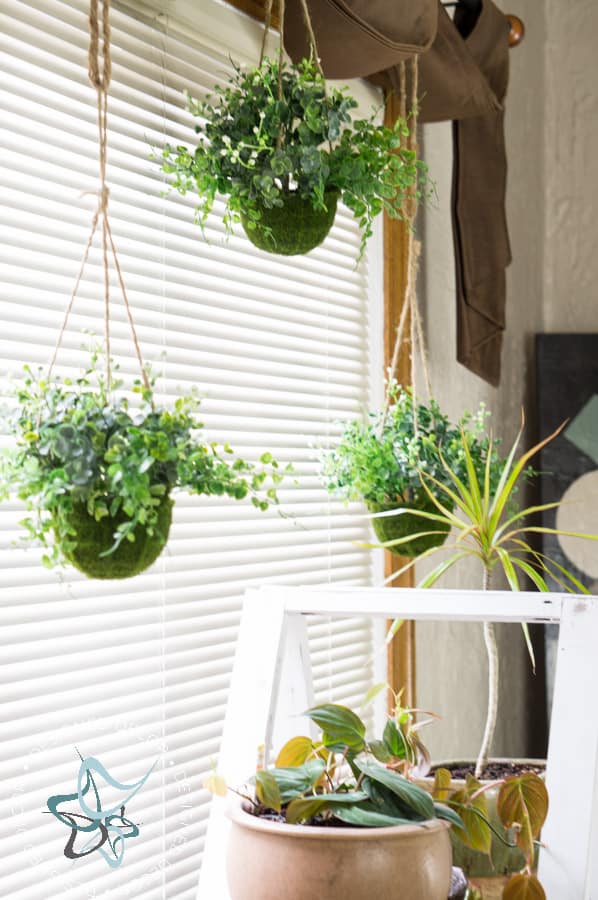
I like to combine live plants with a few fake plants to keep my plants looking lush and green. I tend not to have a green thumb, so combining them gives me a great balance. I love my little potted hanging plants, they give the space the perfect look of a small greenery. I discovered this great resource CommercialSilk.com for a great selection of artificial plants that look real. Go over to take a look at their great selection of silk plants that look very real.
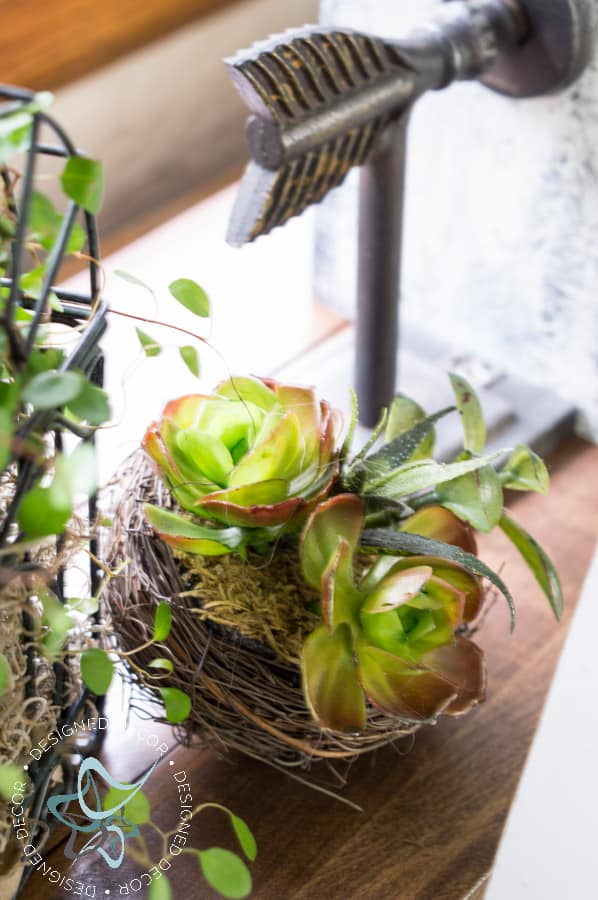
I am looking forward to decorating my plant stand for the change of seasons, but this is how she is staying for the moment.
Source Lists:
Build Source List:
“4” woodcuts 56 by 2
“8” woodcuts 12 by 1
“6” wood trim pieces cut 11 inches
“3” wood planks cut 52 by 3.75
“3” wood planks cut 39 by 3.75
“3” wood planks cut 27 by 3.75
General Finishes Antique White Paint
Clear Wax
Decorative Source List:
Round Cement Terrarium with succulents
Edison Anchorage Lantern Wax Warmer
a frame plant stand – similar style
Join the DD Community!

Join the Designed Decor Community and receive weekly free tips on DIY home projects, painted furniture, decorating, and much more.
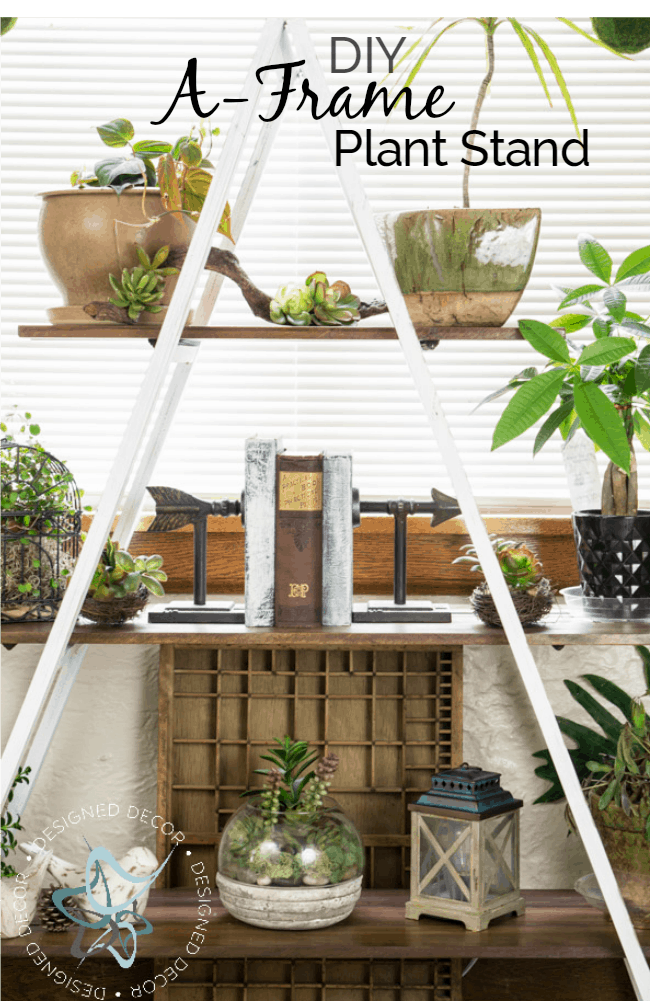
[…] my DIY A-Frame plant stand, I switched out my thankful sign for the 3 small peace, love and faith signs added the reindeer and […]