Are you looking for a way to add additional sleeping areas to your home for family visits or you have friends come to stay? Building a Murphy Bed is the perfect way to solve this issue. This is exactly why we added a Murphy bed to our Airbnb guest suite.
We wanted to provide additional sleeping for our guests and we wanted it to be more comfortable than a pull-out sofa. Building a Murphy bed gives you a queen comfortable mattress that tucks away when not in use to allow the guests to hang out in the space.
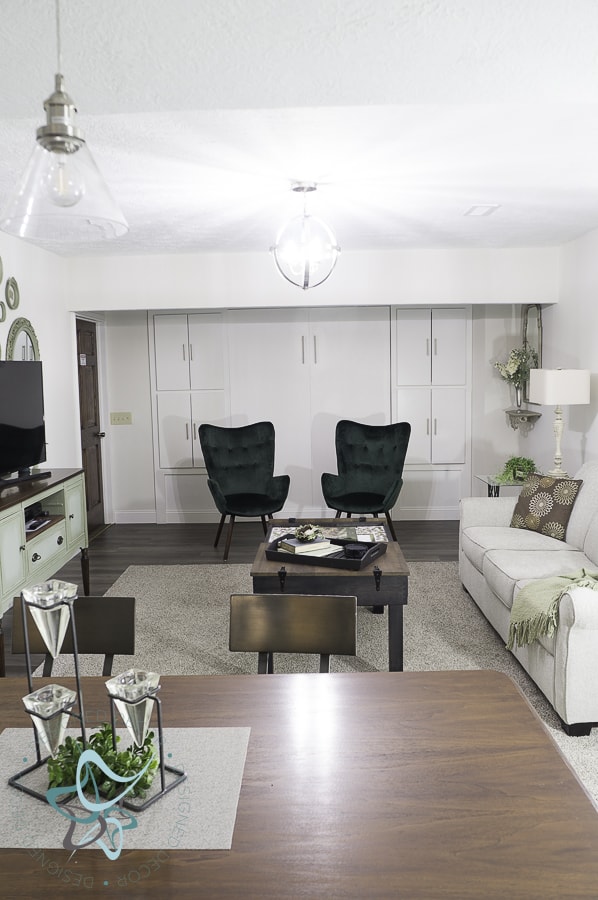
Sitting area by day and sleeping area by night.
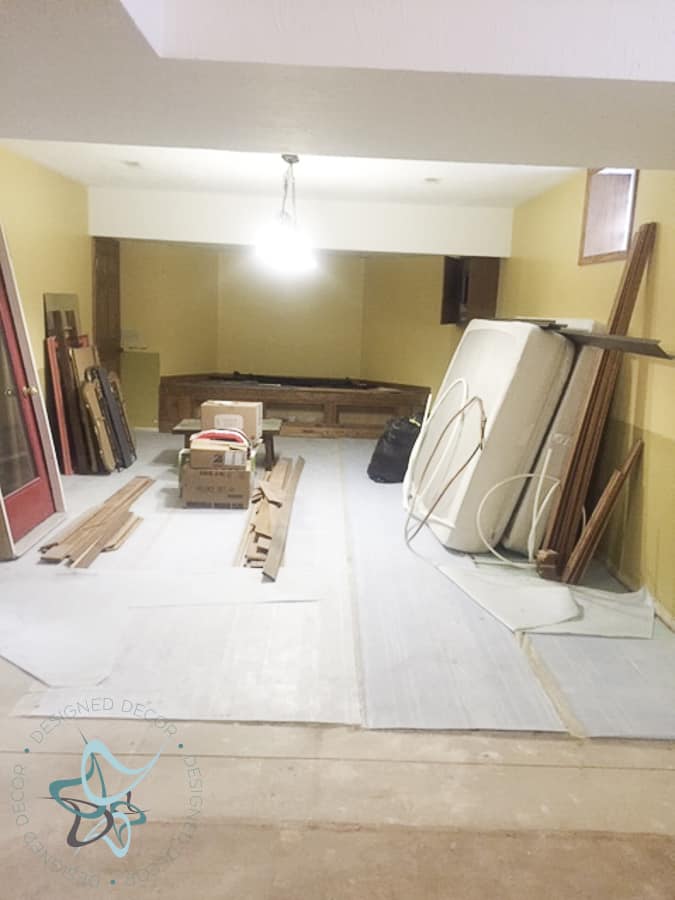
Hard to believe this was the space before we started to build the Murphy Bed. The guest suite had this concave area that had a built-in to hold a TV and stereo equipment etc. We decided it would be the perfect space for the Murphy Bed location which is at the far end of the guest suite and out of the main traffic area.
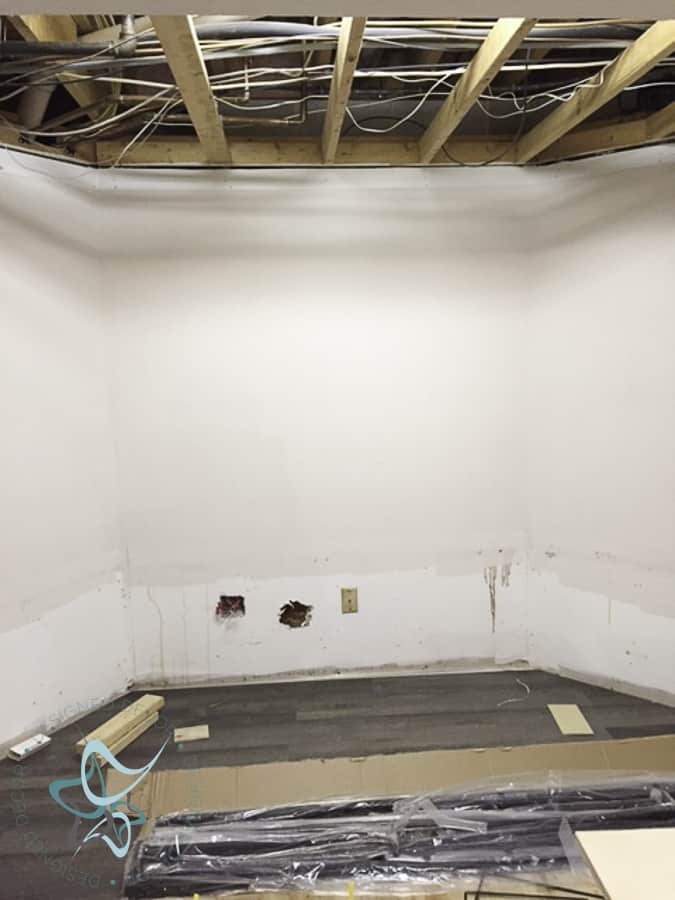
We installed the flooring before building the Murphy bed as we were unsure of the final build project and did not want to take a chance on an exposed concrete floor. It was also much easier floor installation without working around the bed.
This post contains affiliate links. Click here to see my full disclosure policy.
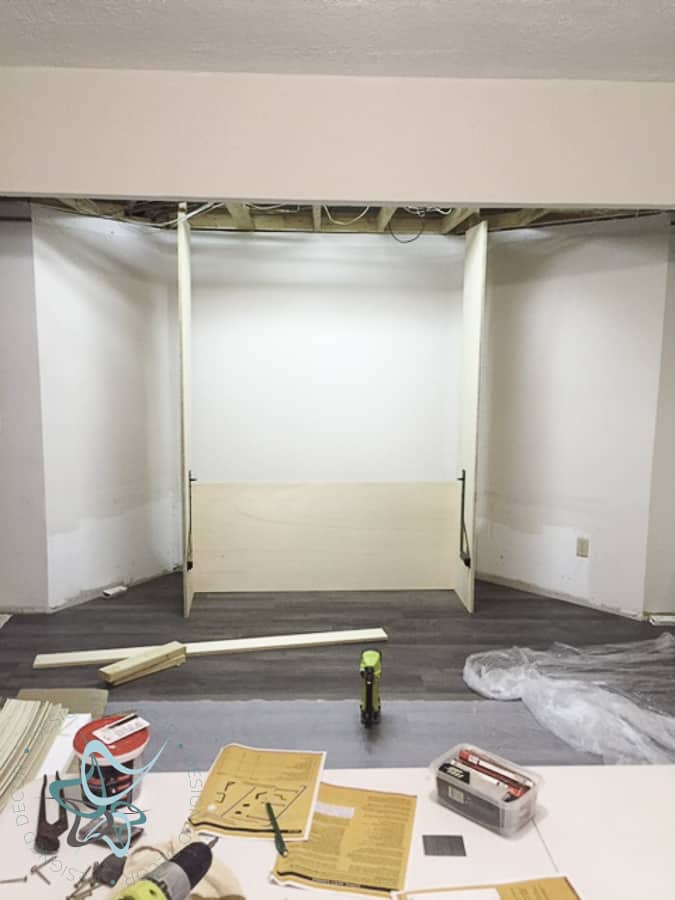
Mr. DD started by building the basic frame to hold the bed using the build plans from Rockler. We also used the hardware kit with the frame for our bed. Their build plans gave us the basic frame and we had to improvise the headboard and the sides due to our concave area.
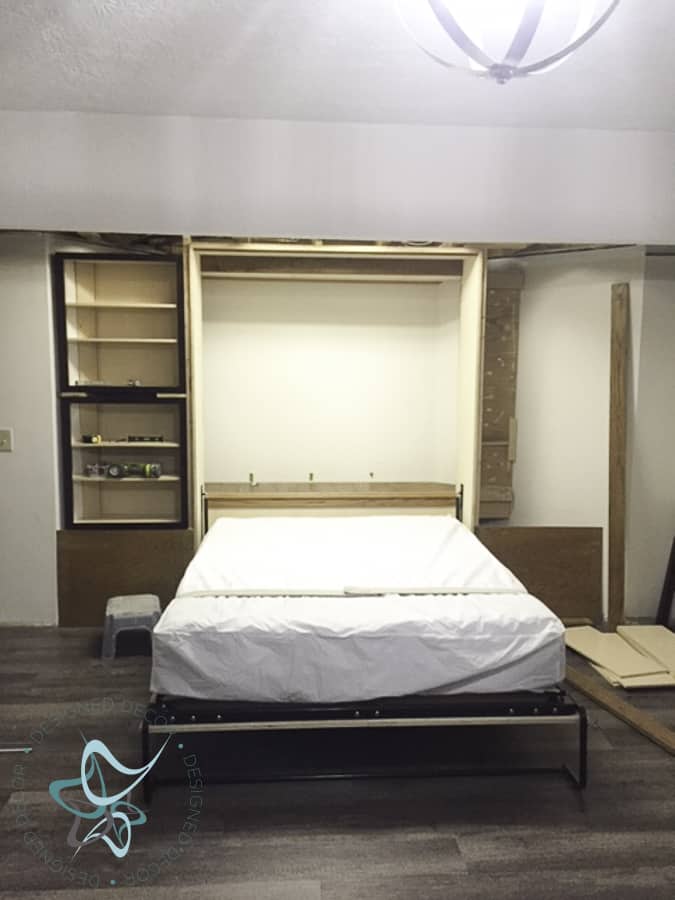
I originally wanted open shelving and decided it would look best to have closed storage for books, and board games and to cover up the clutter. We found 27″ ready-to-assemble cabinets and had to majorly alter the backs due to the angle of the wall. Mr. DD used mostly wood from our scrap pile to build the base for cabinet boxes. The only wood we purchased was the PureBond plywood for the Murphy bed frame and platform.
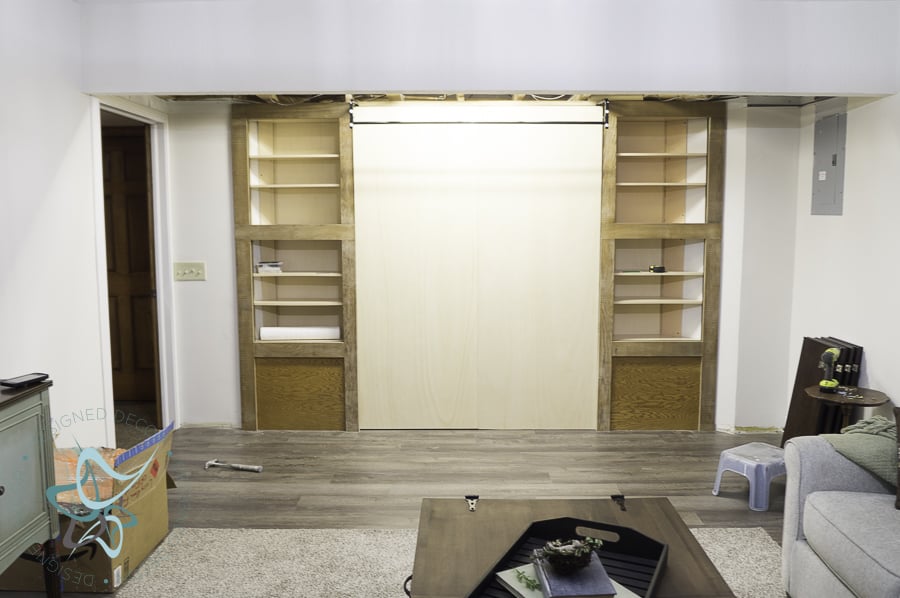
You would never know that one side of the concave wall was longer than the other. Now we are ready to prep and paint all the Frankenstein wood and cabinet doors. The Murphy bed was the very last thing that needed to be completed to start the rental process.
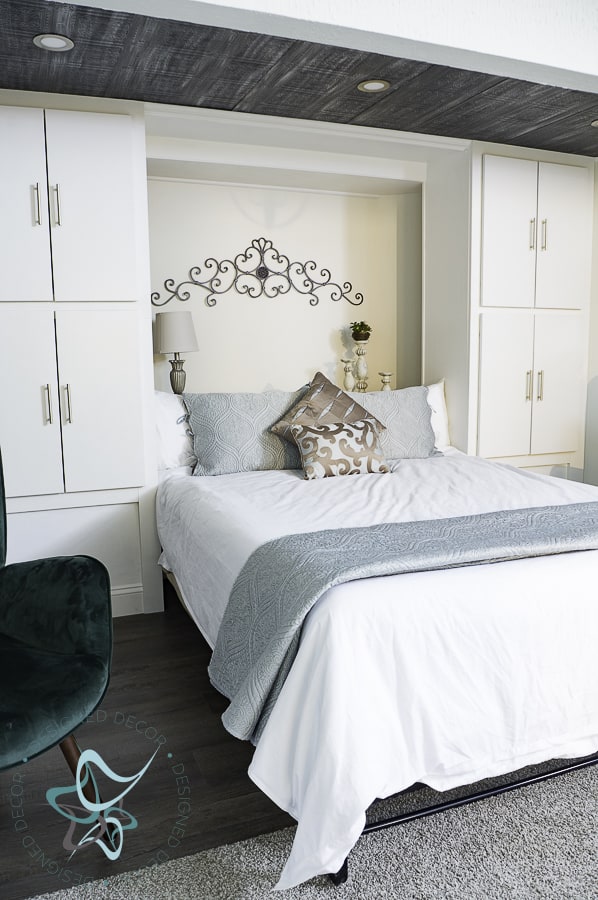
You wouldn’t believe that the ceiling above the Murphy bed is a drop ceiling, would you? I created a faux tin effect on the drop ceiling and blended in the support bars. We also added can lights for additional lighting instead of the fluorescent tube lighting. You can find my faux tin ceiling tutorial as I did this at my old house and loved it so much I decided to add it to our guest suite.
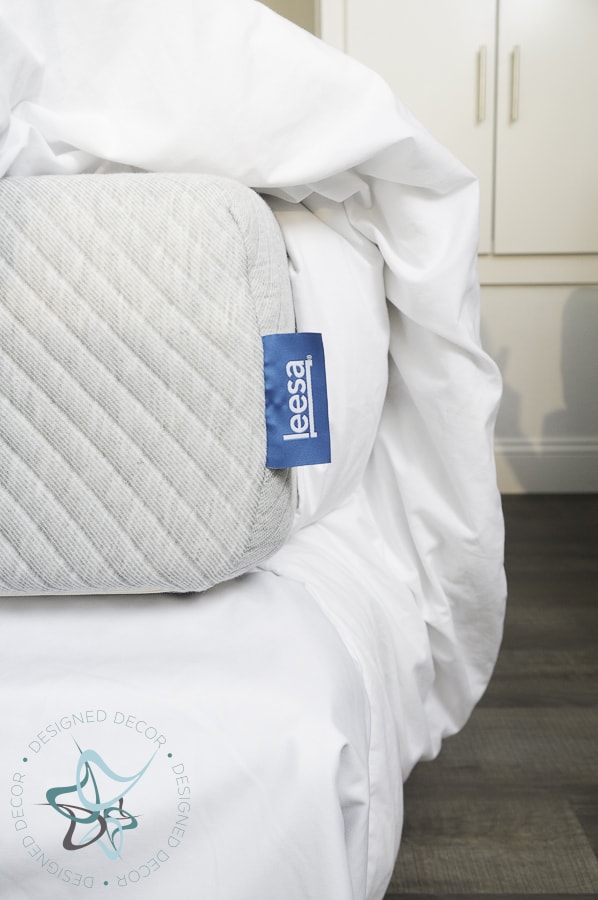
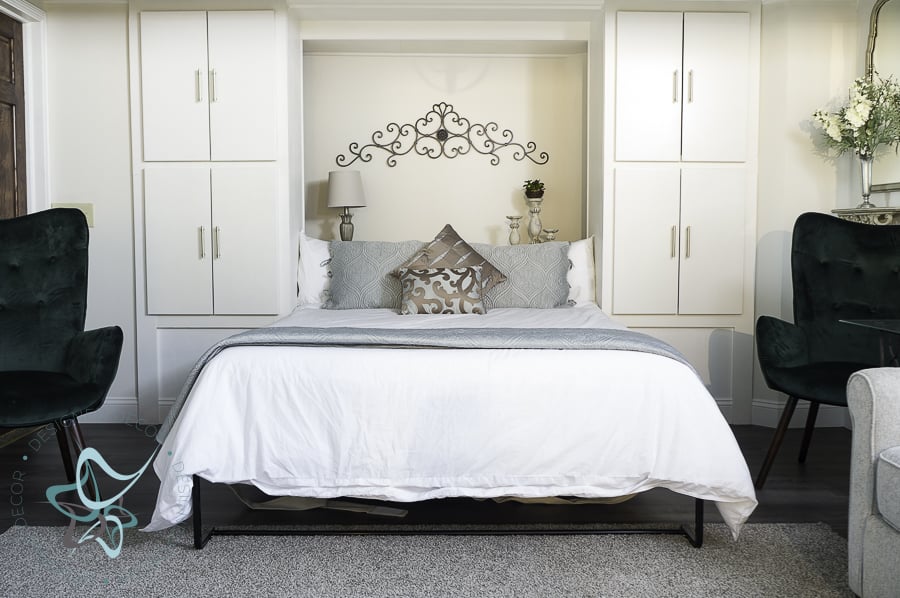
This is the benefit of building a Murphy bed. You get to sleep on a comfortable premium Leesa mattress. This is the same mattress we have in the guest bedroom and we tested it out to make sure it was a comfortable night’s sleep. So much better than the mattress on a pull-out sofa.
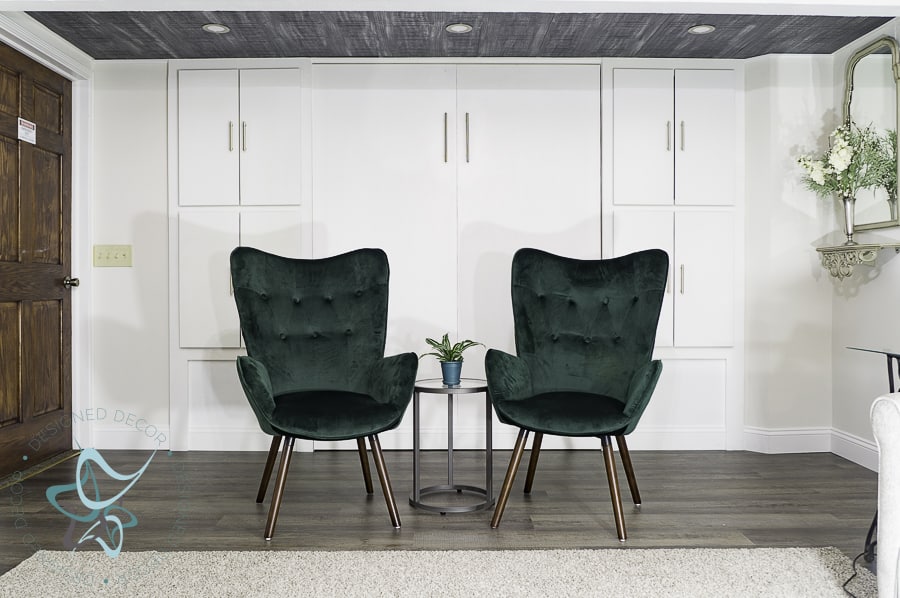
The cabinet hardware is from Hickory Hardware and it is the same sexy hardware that we used on the kitchen cabinets. It is called the Metropolis Collection.
If you are looking for other great DIY bed ideas, make sure you check out this DIY Loft bed from Refresh Living.
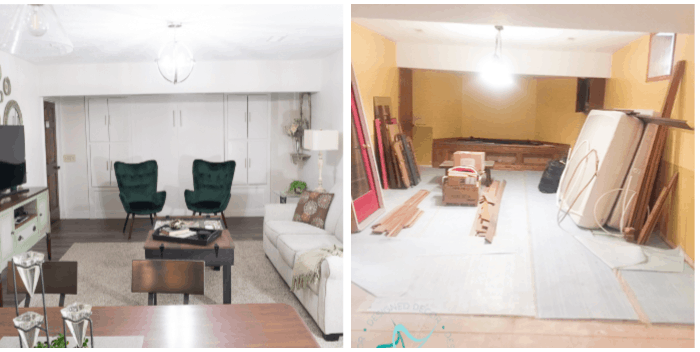
I love seeing the side-by-side before and after to capture the changes.
Do you have a need for a Murphy bed or ever built one?
More DIY Build Projects
Puzzle Coffee Table Build Plans(Opens in a new browser tab)
DIY Wood Cap Shelves!(Opens in a new browser tab)
How to Build a Repurposed Bed Frame Wall Shelf the Stylish Way(Opens in a new browser tab)

Join the DD Community!

Join the Designed Decor Community and receive weekly free tips on DIY home projects, painted furniture, decorating, and much more.
Leave a Reply