I am working on my spring decorations and changing the mantle to a spring decor. I needed a little addition for the end on the mantel and decided I would use the left over wood fence scraps to make a wood plaque. I will be sharing the entire mantel in the next few weeks, but I wanted to start with the little projects I did to complete the spring decorations on the mantel. This post contains some affiliate links. Click here for my full disclosure policy.

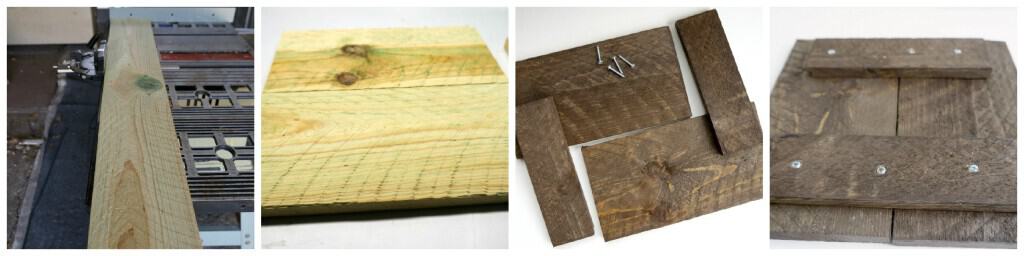
I started by cutting the left over wood fence into 10 inch pieces. I used 2 of these 10 inch pieces along with some scraps to make this wood plaque. I stained the wood pieces with a dark walnut color and screwed the pieces together.
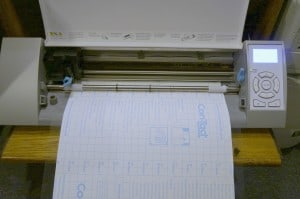
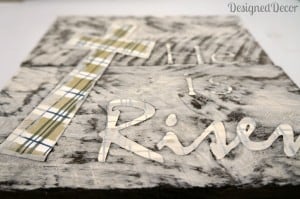
I used Cameron (Silhouette Cameo) to design and cut the pattern. I used contact paper for the pattern so I could adhere it onto the wood plaque and use it as my stencil.
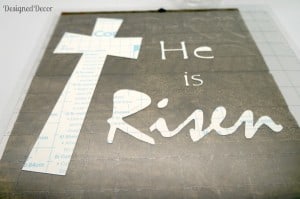
Can anyone see what is wrong with the above pictures or should I say the layout and thought process? I placed the contact paper with the pattern side down because I thought to my-self, if I place the peel off part onto the sticky mat, I might have a hard time peeling the pattern off with the backing on! So, I cut and laid the pattern on the wood plaque. I peeled and placed the cross on the plaque. It did not hit me how stupid I was until I peeled the backing off of the “R”. I can’t lay the sticky part down without the “R” being backwards! DUH! I laughed for quite a while at my-self for having a “blonde” moment. I can’t help but to hear my husband say, “You can be so blonde sometimes”. I represent that statement too many times than I care to admit, but, this keeps the humor in our relationship because I am his entertainment!
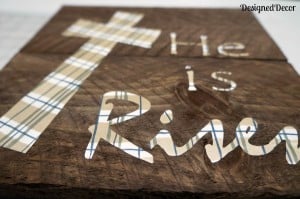
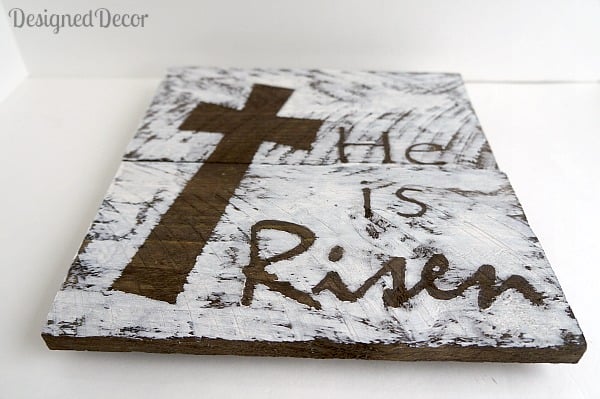
I fixed the words on the template and placed on the plaque still laughing at myself. I used a cream latex paint and watered it down to a 50/50 recipe. I randomly painted the wood plaque because I wanted it to have a rustic feel.
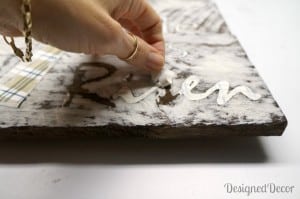
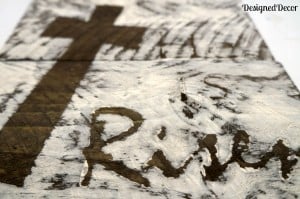
I peeled off the template and found some spots where the white paint had bled into the letters. I mixed up some brown and black paint to match the stain color and touched up those spots.
Supply List:
Cedar Fence Picket
Silhouette CAMEO![]()
Con-Tact Paper![]()
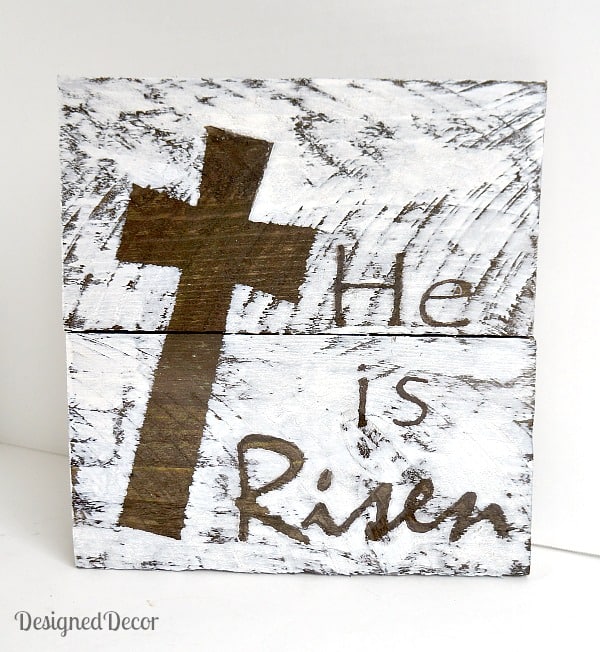
I placed the plaque on my mantle. As I was photographing the wood plaque on the mantle, my husband passed by on his way to work and stated, “That would be a great piece to donate to the camp auction.”, which was the next evening. Our church owns a camp and we hold a benefit auction every year to raise funding for the camp scholarship fund. The funding supports family’s and campers that can’t afford to send their children to camp. So, the plaque sat on the mantle for an entire 2 minutes before my husband swept it off to church for the auction. I am off to make another wood plaque for the empty space on the mantle.

Linda says
I love this. Thanks for showing how you did this… Linda
Jocie@TheBetterHalf says
Wow, turned out awesome, DeDe! I love the pallet art and great message!
Kim~madeinaday says
Very cute~ i kinda liked it with the plaid and natural wood too! Thanks for linking up at Made in a Day last week!
Kim
Debi and Charly @ Adorned From Above says
Hi DeDe,
We love this plaque. Thanks so much for sharing this post with last weeks Wednesday’s Adorned From Above Blog Hop. It is being featured at tonight’s party.
Debi and Charly
http://www.adornedfromabove.com
Chelsea says
I love this and want one! lol.
Great job!
Bliss says
Stopping in to pin, and at first I thought I was learning a new way to use my Silhouette. I will try to block that out so I don’t do it too.
Bliss
Karyn - Pint Sized Baker says
Pinned! Thanks so much for linking up to Two Cup Tuesday at Pint Sized Baker. I look forward to coming back on Monday Night!
Lauren says
I love this! It looks great.
Peggy-PJH Designs says
Hi DeDe, I love your little plaque. You did a wonderful job and don’t worry your not the only one that has those moments. 🙂 Thanks for linking up at Transformed Tuesday this week.
Hugs,
Peggy~PJH Designs
Betty Taylor says
It is beautiful. Hopefully it will bring some good money to the camp. I always’s reverse my layout, when I cut with the Cricut for something like this. I am visiting with Friendship Friday.
http://agutandabutt.blogspot.com/
DeDe says
Thanks Betty! I am on my way to visit you!
Pamela says
I once heard someone say that when someone walks into our homes they can’t tell that we are a Christian. I’m happy to see the trend change and we have so many options to share our faith in our homes. This is a piece i’d like to make. Simple but says so much. Should you hide the second one? ha!
Megin says
LOVE the white wash on the barnwood! It turned out really nice, DeDe. I hope you are able to stop by my blog and say hello!
~ Megin of VMG206
DeDe says
Megin, Thanks for stopping, I am on my way over!
Kayla says
This is really cute, I love it, and it ties in nicely with Easter!
Lynne says
LOVE this! I would keep it out all year long as a reminder of what Christ did for us. Thanks so much for sharing.
Angie says
This is just beautiful – I love it!! I’m your newest “Linky” follower from Adorned From Above blog hop – here’s my blog if you wanted to follow back: godsgrowinggarden.com
Thanks
Angie
Angela @hickorytrailblog.blogspot.com says
Love, love, love! This is such a great piece to incorporate into your Easter decor!
laurel@chippingwithcharm says
Love it…I want to try this!! Thanks 🙂
Crystal says
Very cool! Stopping by from the Made in a Day Blog Social.
carolyn says
Great project DeDe… I am totally inspried. This is one holiday where I’m all about the religious part… however I don’t think I have one piece of religious decor… how strange is that?
Love it!
Carolyn
DeDe says
This is my first religious piece I have on display. I love that it is simple yet makes a statement!
Patricia Krank @ OldThingsNew says
Beautiful. Thank you for sharing the “how to”. Blessings, Patti
Nancy says
What a beautiful and meaningful project. Love it.
Nici says
This turned out so good! It will be perfect for your mantel! Thanks for sharing!
Blessings,
Nici
Susan@organized31 says
Love the plaque and love that it went to a good cause. How perfectly appropriate.
DeDe says
Thanks Susan!