A few months ago I shared my guest bedroom makeover and forgot to share how Mr. DD completed the room by refinishing the door and closet doors in the space. So today I am sharing How to Refinish a Wood Door.

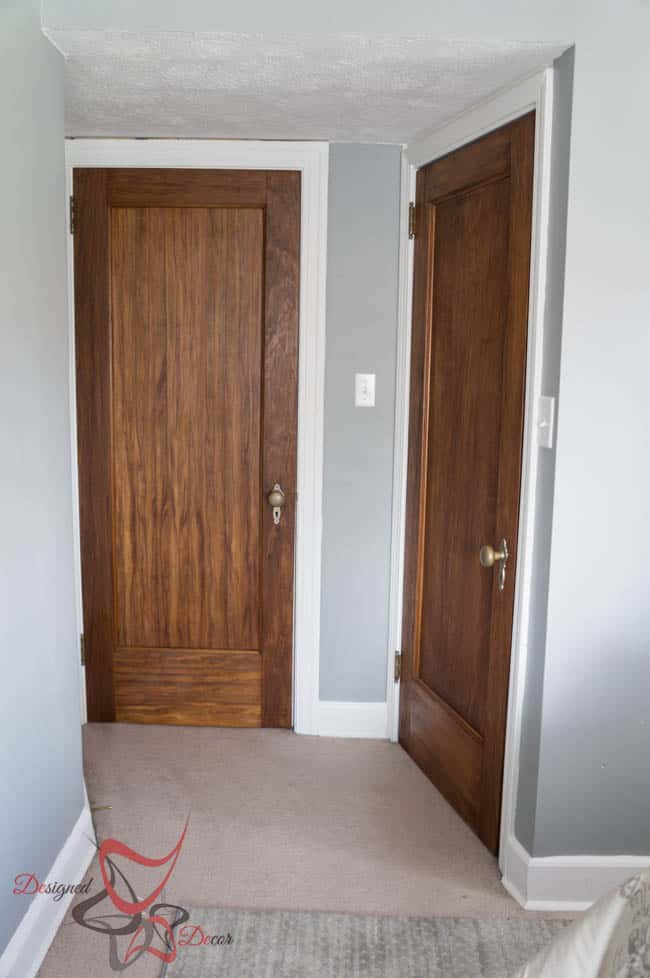
My home was built in 1927 and most of the wood work was painted and the few doors they did not paint had a orange color tint to the stain. Mr DD. has removed all the paint from the oak trim on the main living area and as we refinish a new area in our home, he will remove the doors and refinish them back to the original wood. Thankfully the 3 doors in my guest bedroom never were painted, so that made his job easier without all the layers of paint.
The doors in my guest bedroom looked just like my attic stairway that is currently being refinished. Don’t forget to follow me on Instagram to get the behind the scenes photos of all my projects.
Step 1: Remove the doors from the door frames and remove all hardware
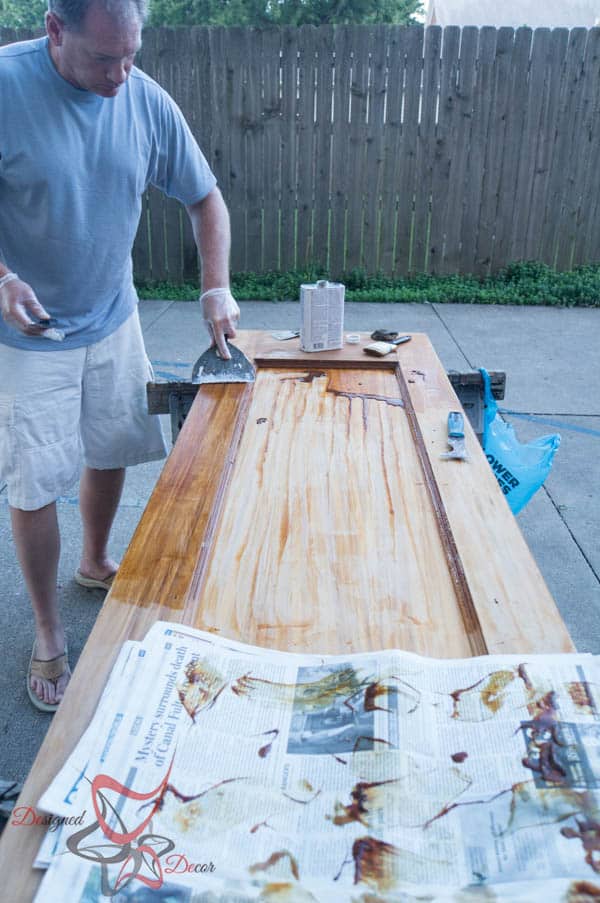
Step 2: Apply paint stripper and let sit according to time on directions. Using a putty and newspapers, remove the layers of paint(if applicable) urethane and stain. I do not recommend that you wear shorts and flip-flops like Mr. DD. Wear protective gear incase the stripper splashes onto your skin. It is like the old saying we tell our kids, “Do as I say and not as I do.”

While there is still stripper on the moulding, use steel wool and the crevice tool to make sure all urethane is removed from the moulding.
Step 3: Sanding the door
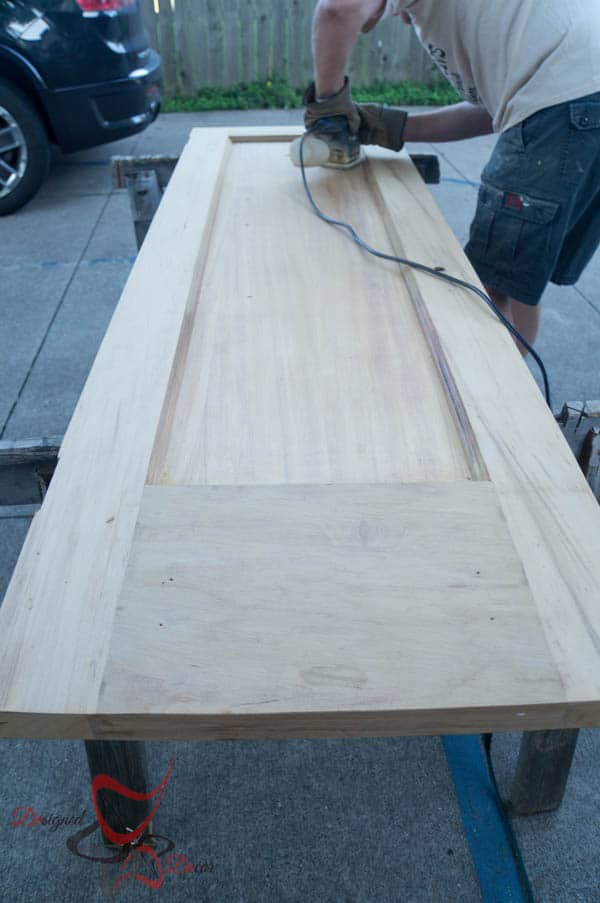
Use a finishing sander to sand the flat parts of the door and sand the moulding and profiles by hand. Use a vacuum and tack cloth to make sure the dust is removed from the door.
Step 4: Apply stain
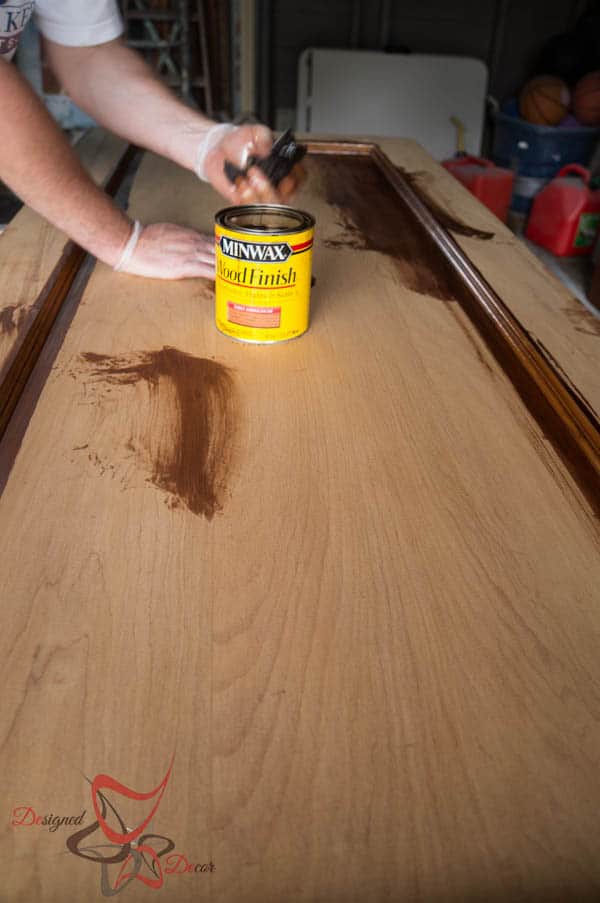
Using a soft lint free cloth apply the stain. Mr. DD. applied the stain on the moulding and profiles first and finished with the flat parts. Make sure to wipe away any un-absorbed stain using a dry cloth and wiping in the direction of the wood grain. One coat was all we needed on these doors since they have been stained before. Let dry according to directions before applying a second coat.
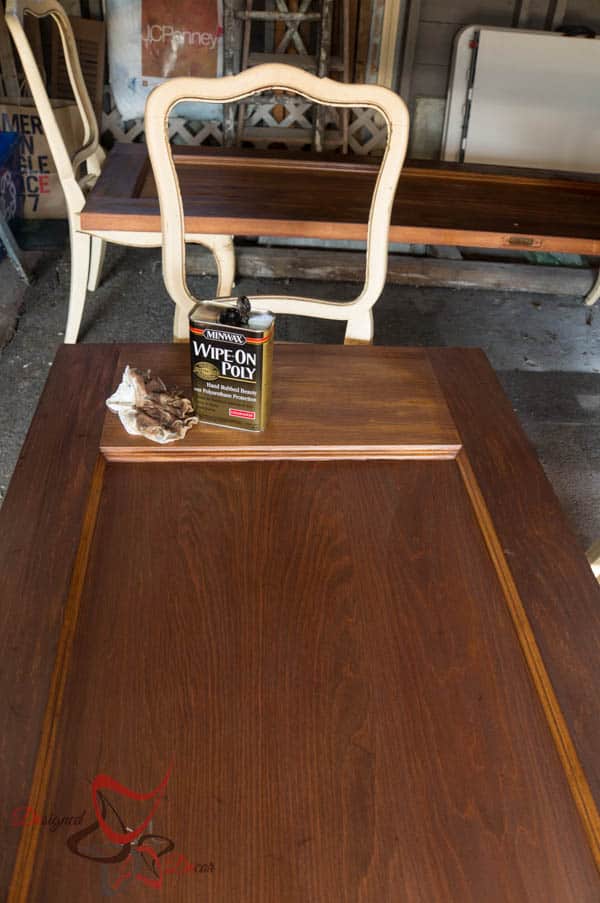
Step 5: Applying Sealer
I prefer to use the Wipe-On Poly sealer from Minwax. It is easy to use and you apply thin layers which prevents drips and air bubbles. Slightly sand down with a very fine grit sandpaper between coats, making sure to remove all dust before applying the additional coats of Wipe-On Poly.
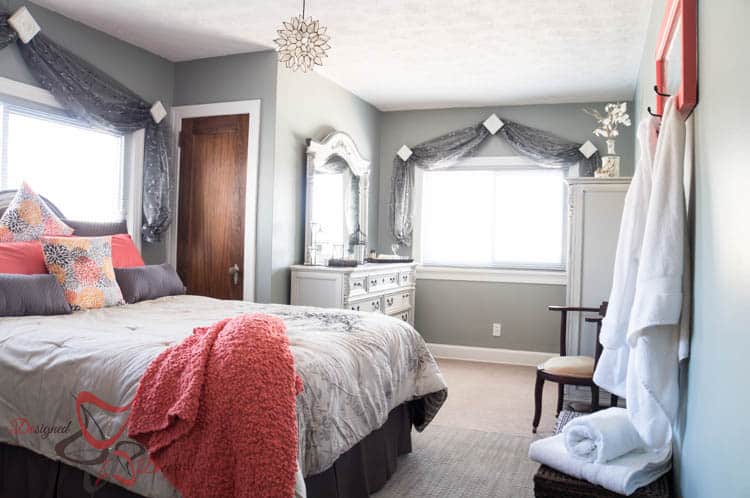
You can see how pretty the doors turned out. I love the rich deep tone of the doors in this space.
Once the attic area is complete, Mr DD. will have refinished all the doors in our home. Did you know that April is National Woodworking Month? Minwax founded National Woodworking Month in 1990. For 25 years, Minwax has helped its consumers discover and re-discover the joys of working with wood through woodworking and wood finishing projects. Stop over to their Facebook page to find out more about the contest they are running to celebrate 25 years of National Woodworking Month.
You may also like these other great “How to” posts:


Wendi @ H2OBungalow says
Wow..our doors must be related! We moved into an old home that had original wood doors from the 50’s and I stripped them down too. Yours came out beautifully! Good job!
Designed Decor says
Wendi, I love the charter the wood doors give a room! Thanks so stopping by!
Christine says
Oh, guys. You’re way too smart and way too creative to be living in the last century with these horrible chemicals.
Get yourself some Citristrip and plastic grocery bags. Smear that stuff all over your door, very thick. Cut open the plastic bags and press them into the Citristrip to hold it against the wood. Now the hardest part: LEAVE IT ALONE. You’ll see the stuff bubbling up in ribbons (plastic holds it down to keep it working) and you’ll be tempted to peak. Don’t. Go to work. Bed. A Hoarder’s marathon. Anything.
After about 8 hours, pull the plastic off. There’s a seriously huge chance the paint will lift off in sheets. ONLY use a plastic scraper to push off anything else left on. The wood will be soft, so no wire brushes, no metal scrapers. Be gentle.
If you want to remove the stain, i.e. take the door down to raw wood, us a 2nd coat of Citristrip and plastic. It’ll such the stain out like BBQ sauce. Neutralize with WATER, because mineral spirits will liquify the stain right back into the wood — in bright purple, I’m here to tell ‘ya. Squeegee the water out of the wood by turning it on its side and pressing the plastic scraper along the grain.
You’ll only need a 220 to smooth the grain. Any residual stuff in the cracks can be picked out with a tiny, eyeglass screw driver or one of those floss things that have a pointy end. Any dust, just 220 of off.
No space suit, no flesh eating chemicals, if you get it on your hands, just wipe it on your jeans. I have done 15 antique doors in front of the TV, hosing them down in the yard to get the stain goo off of them. Because of the patience involved, I do one coat for paint, the next day I do a stain removing coat. Let them dry. Done. My kitchen cabinets were done in place, and in front of the TV in my pajamas.
Join the 21st century and get away from the stuff that’ll not only work you to death, but kill your brain cells. You do far too beautiful work to mess with that evil crap.
Designed Decor says
Christine, I hear your passion. I do all that I can do to not use chemicals and I will be giving the Citristrip a try. I try to avoid stripping down anything and usually just sand to get down to the wood. Sometimes pieces do call for the big guns! I used up the last of my stripper on the doors and will convert over and try Citristrip if needed. Thanks so much for taking the time to leave a comment.
misty says
Love how they came out! What a difference. and your bedroom is so pretty! 🙂
Ashley ~ 3 Little Greenwoods says
Your refinished doors are fabulously pretty! I love the color of the wood!
Meg @ Green With Decor says
The doors look great! Love the color scheme and decorating in your guest room!
Designed Decor says
Thanks Meg! It took long enough to finish, but I love to walk past the room now!