Let me start by saying this DIY art canvas is only cost effective if you already have some of the supplies on hand. Stick around even if you don’t want to make a canvas, I want to share the lessons I learned in attempting an abstract painting.


Building the Canvas
The benefits of this DIY art canvas is it fits the wall space since I was able to make the frame and canvas myself. I had all the supplies needed, so why not save money and make it instead of buying a premade canvas.
This post contains affiliate links. Click here to see my full disclosure policy.
Supplies
- Wood Pieces for frame
- Wood Glue
- Wood Screws
- Corner frame clamps (optional)
- Drop Cloth or Heavy Wallpaper
- Staple Gun and staples
- Gesso
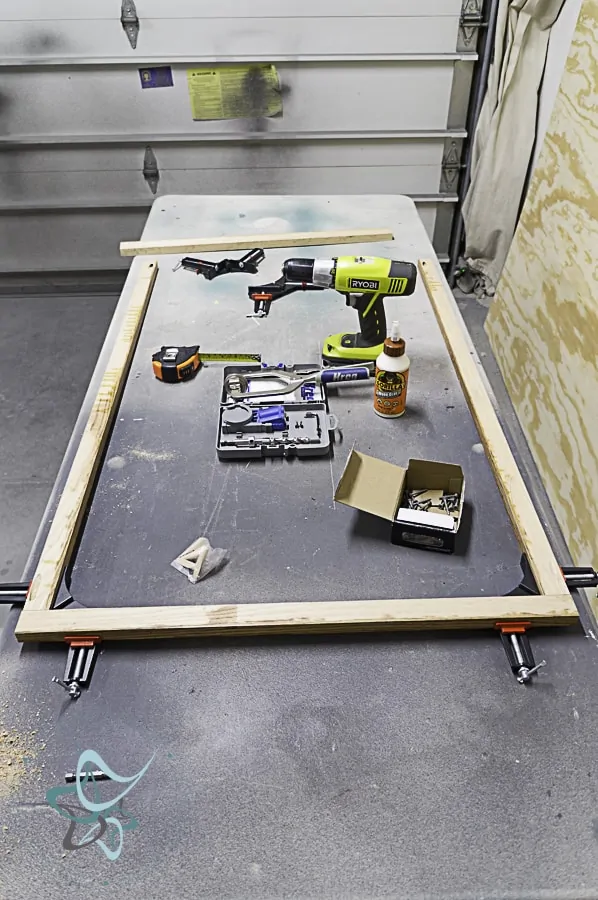
Step 1 – Cut wood frame to the size needed. My pieces measure 27 and 40 inches.
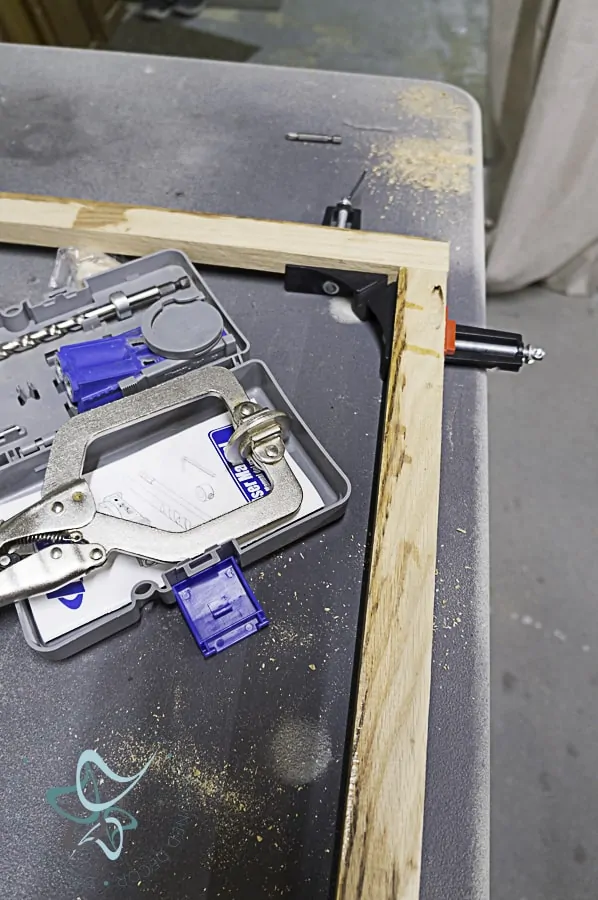
Step 2 – Assembly wood frame using wood glue and screws. It helps to have these handy corner frame clamps. You do not need a Kreg jig to attach the frame, you can just screw from the ends. Tip – pre-drill the holes so you do not split the wood with the screws.
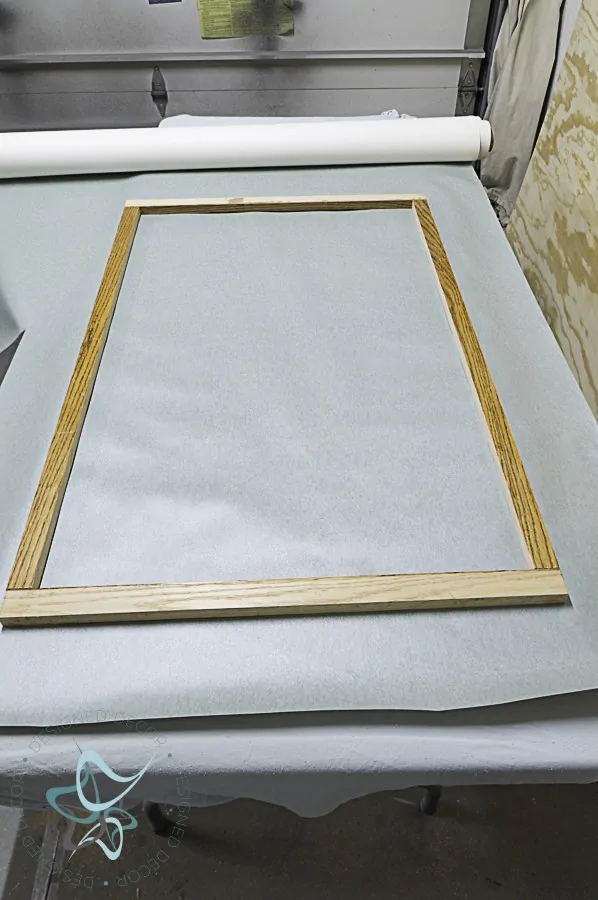
Step 3 – Attach canvas to the frame. I used heavy duty wallpaper. You can use other materials like a drop cloth. Tip – lightly wet the drop cloth before stretching over the frame. As the drop cloth dries, it shrinks and makes for a tight-fitting canvas.
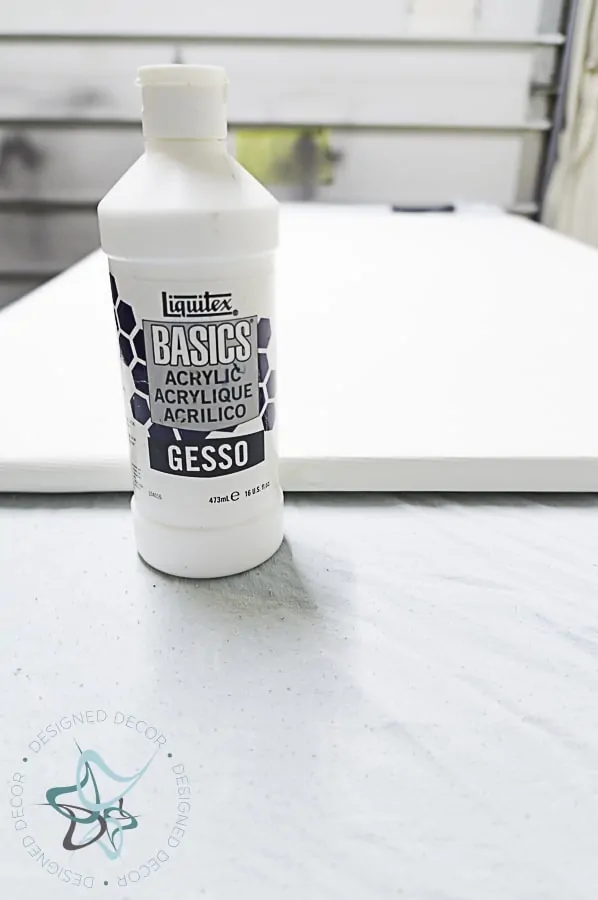
Step 4 – Prep canvas with an art medium like Gesso. Tip- this allows for a better flow of the paint as the canvas will not absorb the paint since it was prepped with gesso.
Painting the Canvas
I started out with the idea I would do an abstract painting as I thought that would be the easier form of art. Well, lets just say after a few mess ups and painting over the original layer, it was not as easy as I thought.
Painting a canvas is not like painting a piece of furniture. I think it is harder and something that takes practice. Of course, those who are good at painting canvas might say it is easier than painting furniture.
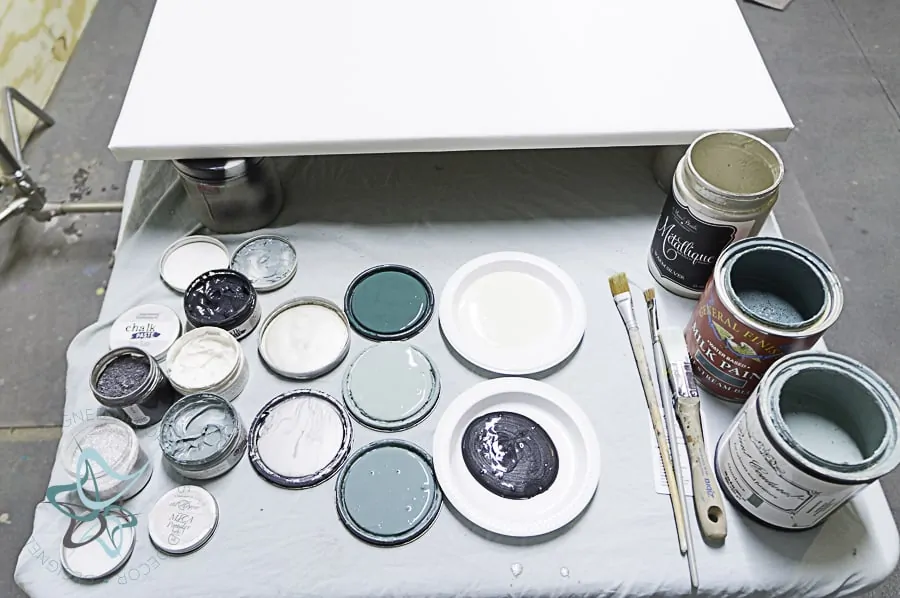
I used the furniture paints that I had on hand for my color pallet. Tip – use acrylic based paints and not chalk paints. Chalk paint will crack when drying on the canvas. Although, if you want that aged look on the canvas, it would be a really cool look.
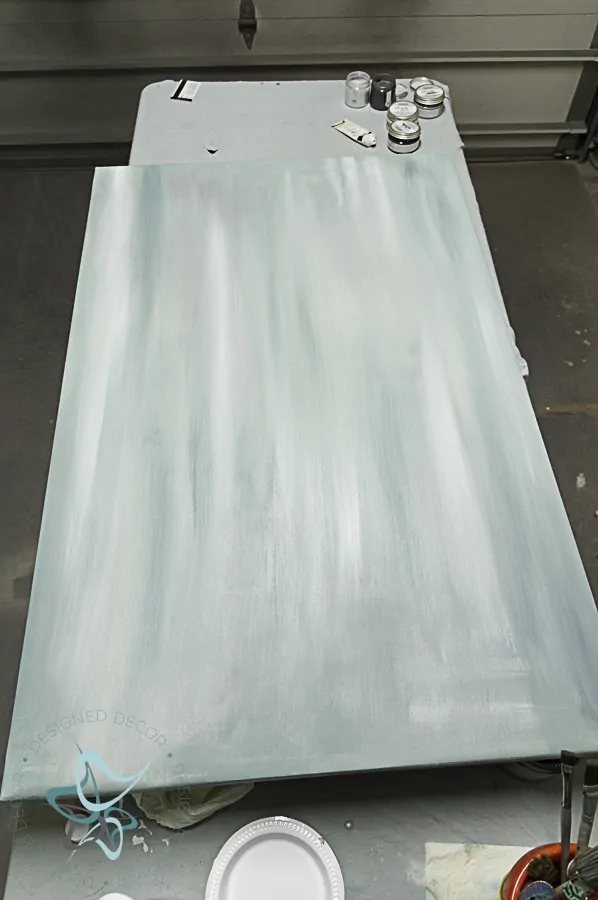
After a few attempts, I settled on this blended paint look. I tried to add abstract on top of the blended paint and hated it, so I blended some more.

I ended up using stencils, just so I could get my artwork finished. It also was like painting furniture, which was way easier for me. I used this stencil, budding clematis, from Cutting Edge Stencils. The budding clematis stencil has been discontinued, however, you can use this Virginia creeper stencil for a similar look.
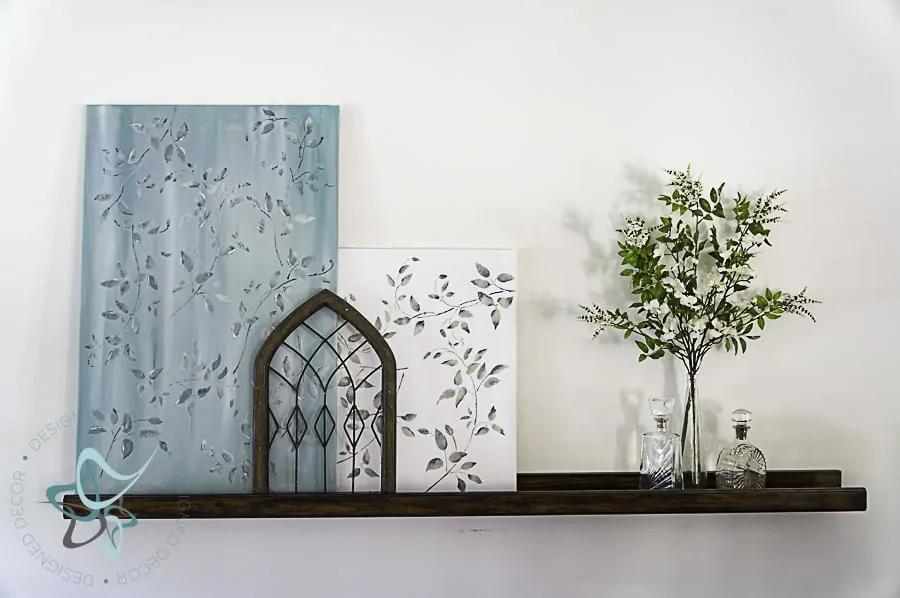
I needed something more on the art ledge, so I decided to make a second canvas to compliment the paint-blended canvas.
Use a Picture Ledge
The art ledge is a perfect way to display wall decor without having to put holes in the wall. Stop over to see how easy it was to build this repurposed wood picture ledge.

Mr. DD was impressed that the leaves in my vase matched the painting. Yes, I went looking for a faux floral that would compliment the painting and I guess I found the perfect pairing.

I want to make a frame for the DIY art canvas, a nice wood frame will give it a finished look and it will also look better for the edges of the canvas. I am going to continue to practice my abstract art and that way I can easily change out the wall art. Also if you are looking for more DIY art inspiration check out these 12 Modern Wall art ideas.
Check out my other Budget-Friendly Artwork for more inspiration.

Favorite DIY Products & Tools
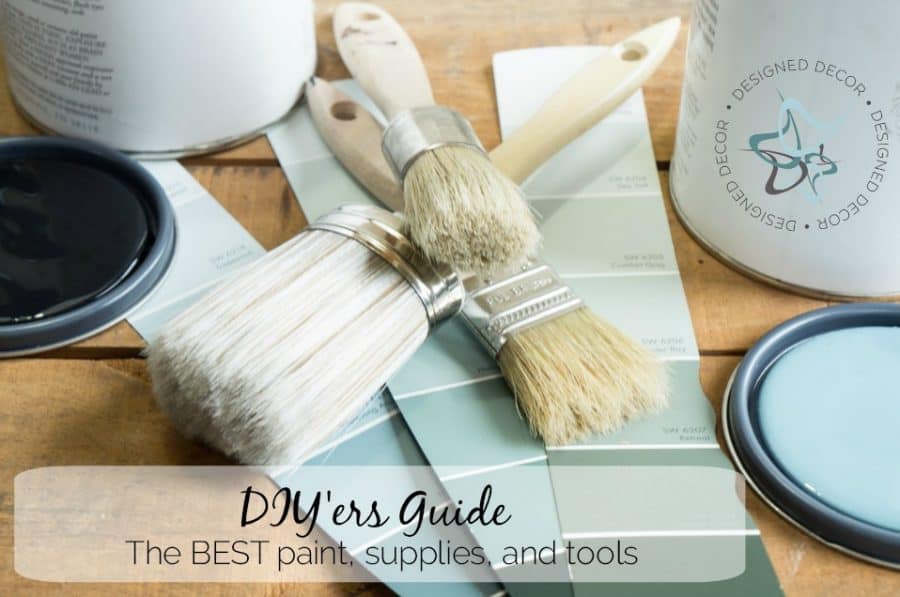
- Quick reference guide for all your DIY products
- Favorite paints, stains & sealers
- DIY tools and paintbrushes
- Favorite decoupage products and more
Leave a Reply