Are you looking for an easy way to display your favorite pictures or artwork? Are you someone who likes to change the artwork on your walls and hate having to repair the holes in the wall? I have the solution, build an easy DIY picture ledge.
This picture ledge is a very easy DIY home decor project. You can even have your local lumber store cut the wood pieces to size if you don’t have a power saw.
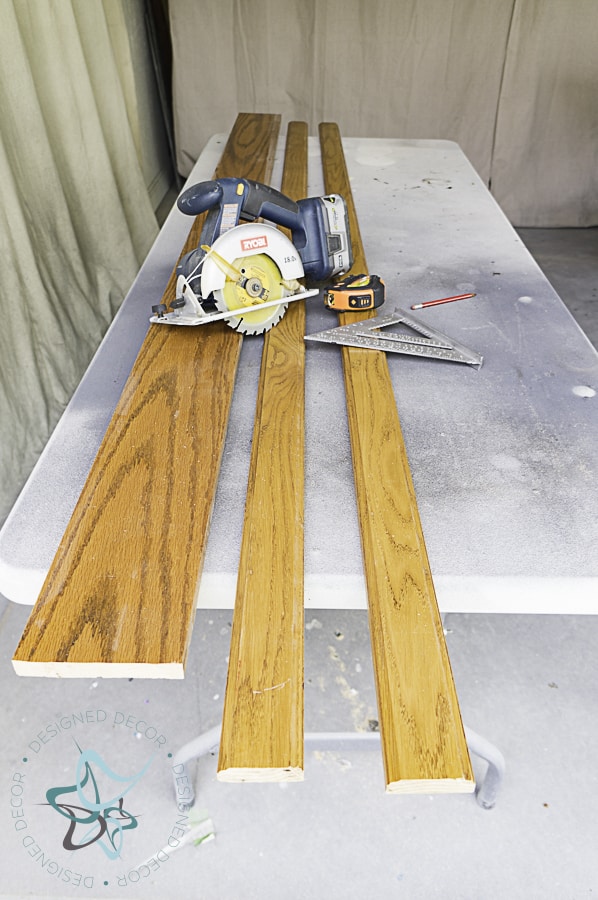
We used the leftover oak wood from the wall we removed in our dining room. Thankfully my pieces were the right width, I just needed to cut the length. I was also thrilled that the edges were routered so it will give my ledge a finished look.
Want to see the before pictures of my dining room and the wall we removed? Stopover to read my design plans for the dining room.
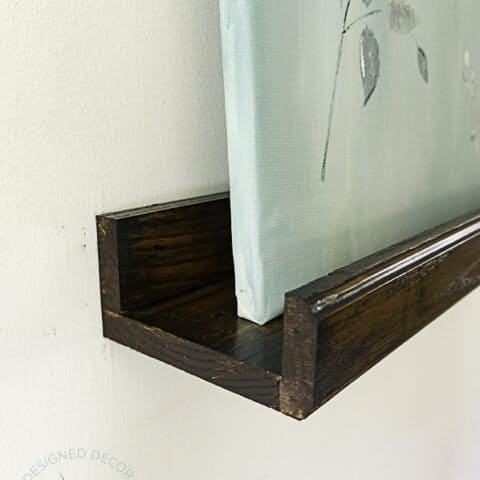
DIY Picture Ledge
Build an easy DIY picture/art ledge for all your favorite artwork.
Materials
- 1 - 1x12x8 wood board
- wood screws
- wood glue
- stain or paint
Tools
- Drill bit
- Clamps
- Power Saw (or have lumber yard cut to size)
- Screw Driver
- KregJig (optional)
Instructions
- Cut wood to size - 1x5.25x7 (1 piece) - 1x3x7 (2 pieces)
- Attach back piece of wood to the top of the bottom board. Pre-drill holes for screw placements. Use wood glue, clamps, and screw together
- Attach the front piece of wood to the outside front edge of bottom board. Use Kregjig, wood glue, and clamps to attach the front board to the bottom board.
- Stain or paint picture ledge.
Notes
See post details for different building options
Recommended Products
As an Amazon Associate and member of other affiliate programs, I earn from qualifying purchases.
How to Build Picture Ledge
You can easily change the depth or ledge heights on the picture ledge you build.
- Step 1 – Cut wood to size or have a lumber yard cut for you. You can use 1 piece of 1x12x8 to make your shelf. 1 board is 1×5.25xdesired length, the 2 other boards are 1x3xdesired length.
- Step 2 – Add hole pockets using the KregJig to the bottom of the bottom board. This will allow you to attach the front board without seeing screws and allows you to cover up the bottom edge of bottom board.
- Step 3 – Attach the backboard to the top of the bottom board. Start by pre-drilling the holes for screw placements. This keeps the wood from splitting when attaching with screws. Use wood glue and clamps to keep wood secure when drilling and screwing.
- Step 4 – Attach the front board to the bottom board. Pre-drill, wood glue and clamp the boards in place.
- Step 5 – Stain or paint picture ledge in the color of choice.
- Step 6 – Hang, make sure to find the wall studs to attach your art ledge.
*Alternate ways to make the ledge if you do not have a KregJig. Attach the front board to the top of the bottom board, screwing from the bottom, so you do not see the screws. However, you will see the bottom board on the front of your ledge. The back board will need to be a 4 to 4.25 inch board so it sits higher then the front board. Attach the backboard flush to the bottom board and screw from the backside.
See other DIY Home Decor Projects
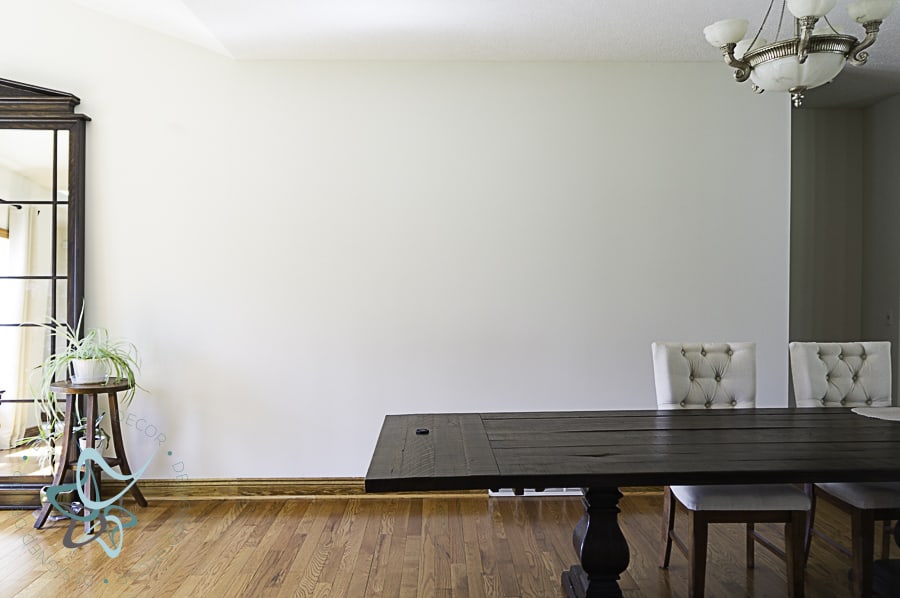
I decided on a picture ledge for my wall since it would allow me the fill the wall with pretty artwork without having to place holes in my wall. I love changing things around, so this would make it easier to move things without patching holes.
Want to see how we built that HUGE leaner mirror to the left? Stopover to read Building a Beautiful Leaning Floor Mirror.
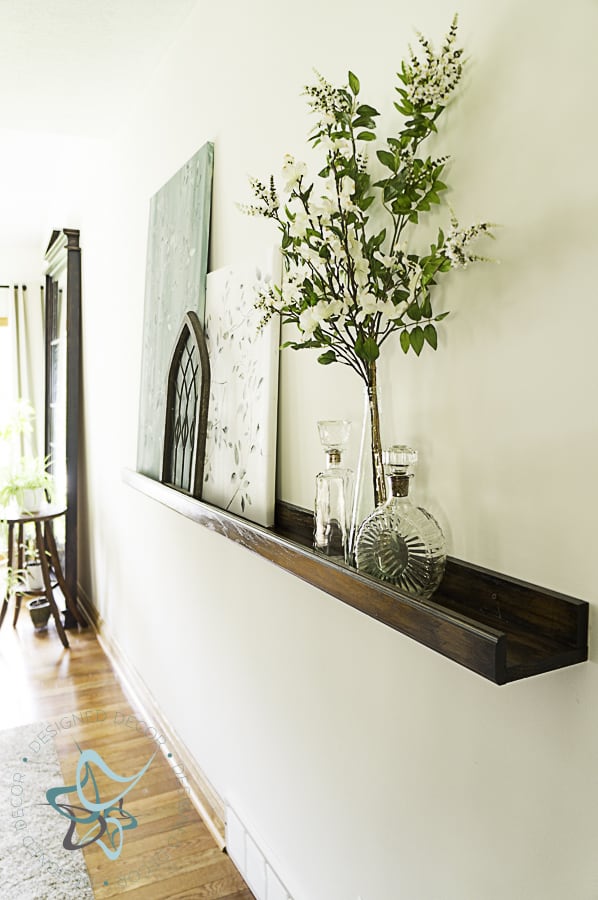
The other reason was it allowed me to fill the wall without adding another heavy piece of furniture to my narrow dining room space. I do not have much room between the dining chairs and the wall, this was the perfect solution.
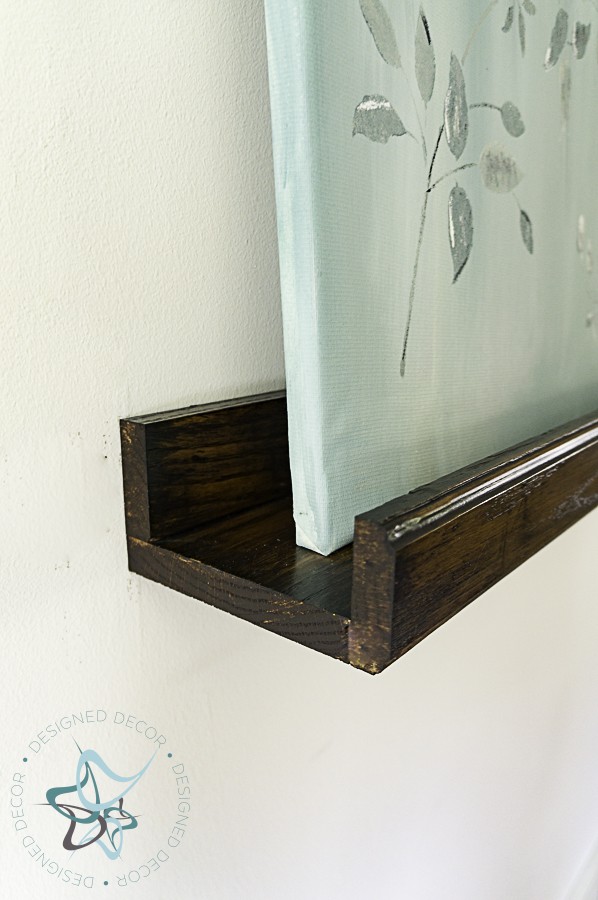
Stay tuned, as next week I will be sharing how I made my own canvas and painted my own artwork.
I am so close to finishing up my dining room for the One Room Challenge. Make sure you go over for a visit to see other room makeovers and inspirations to take on your own room makeover challenge.

Join the DD Community!

Join the Designed Decor Community and receive weekly free tips on DIY home projects, painted furniture, decorating, and much more.


Helen Rodgers Chapman says
Sorry to intrude, but this was in ppg below pieces if wood.
“We used the leftover oak wood from the wall we removed in our dining room. Thankfully my pieces were the right width, I just needed to cut the length. I was also thrilled that the edges were routered so it will give my ledge a finished look.”
Jerry Nikl says
Did you use a router for the edges of the front board? I did not see it listed in the tool list.
Designed Decor says
Hi Jerry,
I thankfully did not have to router my front edges as the wood I used already had router edges. If they did not have the routered edges, I think I would have done that, the router edges give such a finished look.