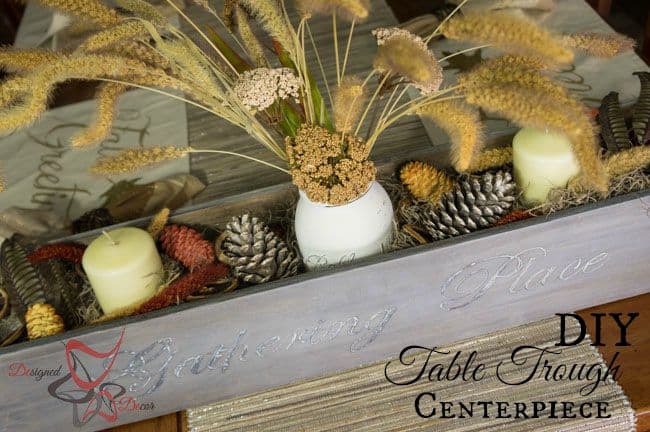
Who is ready for some fall inspiration from me and a few of my fellow bloggers who love to build? This month we are all sharing a project that we built and our theme is Fall! I had some scrap pieces of wood left from the plank wall we just added, (I will be sharing that soon) so I decided to make a Table Trough Centerpiece. This post contains some affiliate links. Click here for my full disclosure policy.
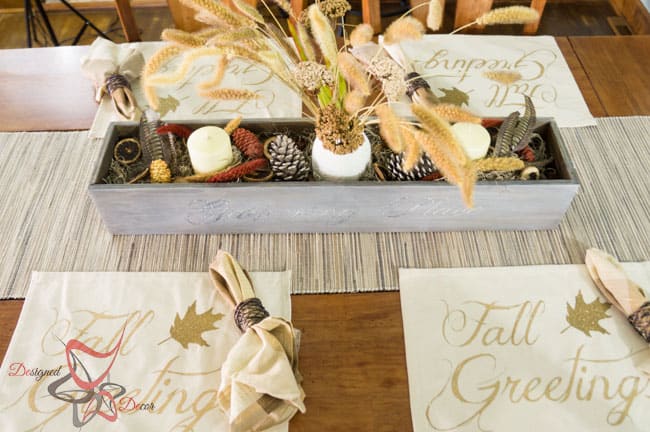
I am thrilled how this one turned out. This table trough will be a versatile centerpiece that will change with the seasons, as I love to do.
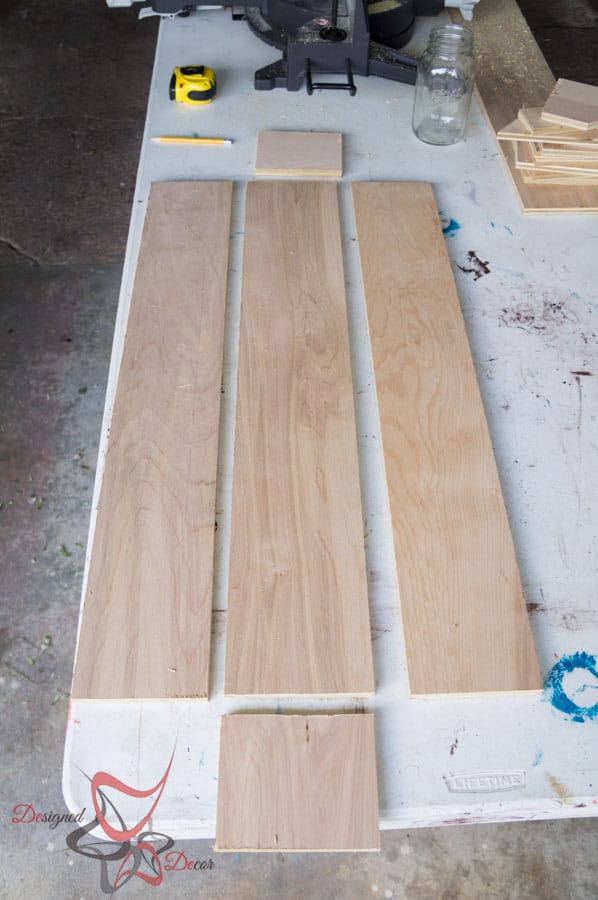
I had some Pure Bond plywood left over from the plank wall we just completed. The plywood was cut in to 5 inch stripes, so of course my boxes are 5 inches. The great thing is, you can make these centerpiece boxes in any length or size.
Supplies needed:
-
- Wood, cut to size (use reclaimed wood, pallet wood, old fences etc.)
- Stain, Minwax Wood Finish Interior Wood Stain, Dark Walnut
-
- Wood Glue, 18oz Gorilla Wood Glue
- Wood Glue, 18oz Gorilla Wood Glue
-
- Stencil
- Wood Burner, Weller 25-Watt Short Barrel Woodburning Kit
- Paint
- Wax
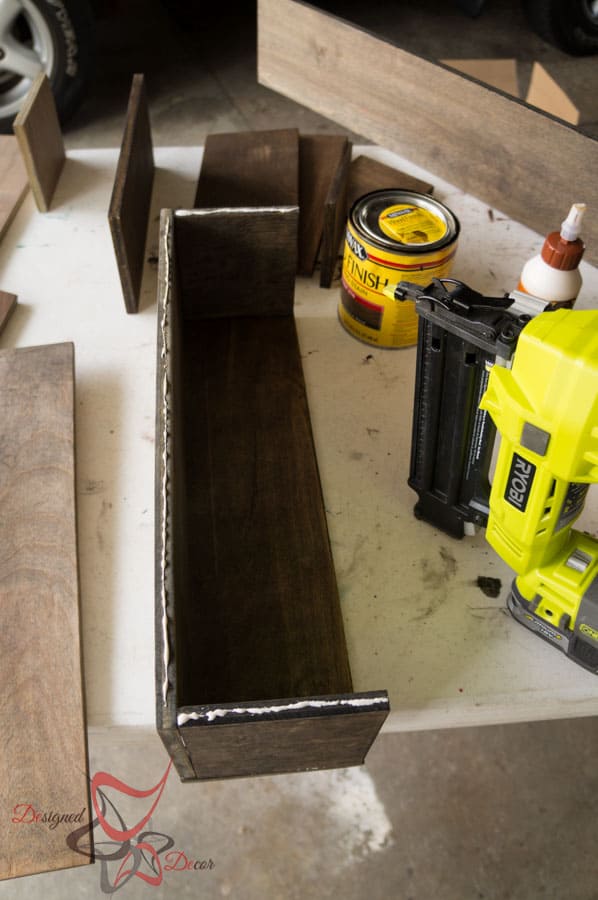
When cutting your wood pieces, take into account the thickness of your wood(this will be a deduction you make on the end pieces. My side pieces measure 5 inches in height and the end pieces will sit on the bottom board, so my end pieces measure 4.5 by 5.
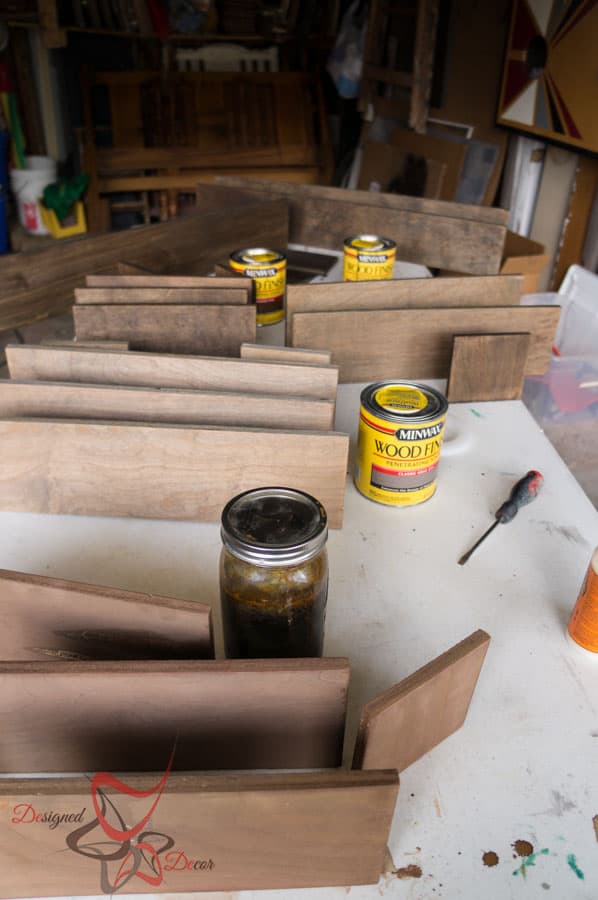
I decided to make a few extra table trough centerpieces to sell at the shop. I figured it was easier to do all at once instead of 1 box at a time. As you can see, I used several different stains on each box. I like to stain my pieces before putting together, it is easier to stain a flat piece than one with corners.
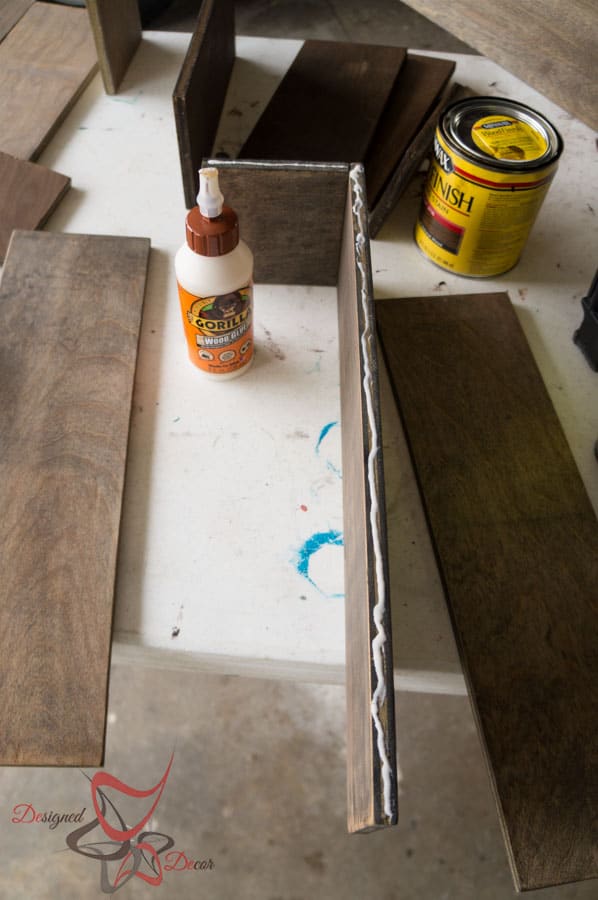
Order of assembly: Attach the bottom piece to one end. The next piece to attach is a side panel. Attach the other end piece and the last piece is the other side panel. I use Gorilla Wood Glue, on all the pieces before I attach it with my Ryobi Air Nailer.
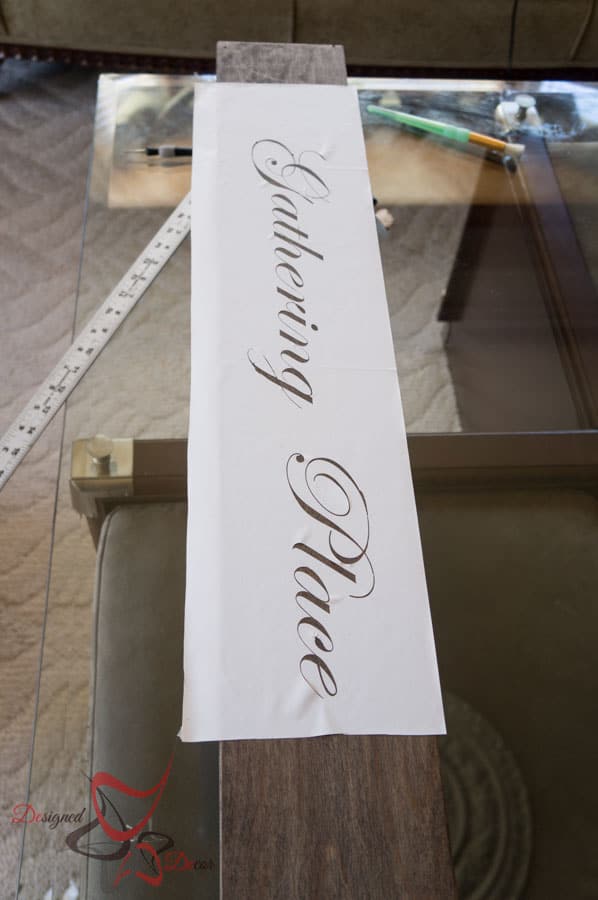
I decided on the centerpiece that I was keeping to make a stencil template.
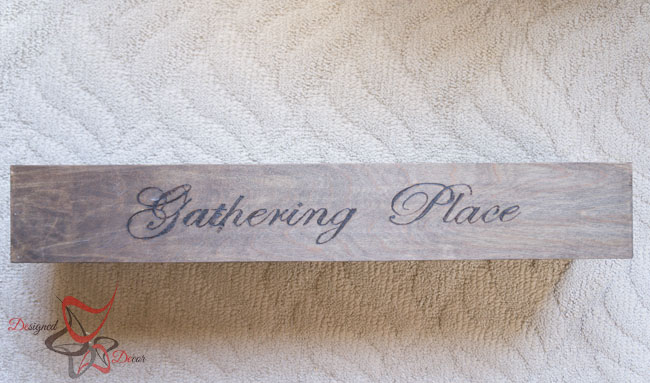
Of course, I used Cameron (Silhouette Cameo) to make my disposable stencil with contact paper. You can watch this video on how I used a Woodburner on my painted stencil.
I love how the wood burnt area darkens against the stain. Since I have so much wood in my dining area, I decided to do a paint wash on my centerpiece and sealed it with white wax.
I am excited to complete the other boxes once I decide how I will be completing each one. I always like to make things different, so I am sure they each will have a different look.
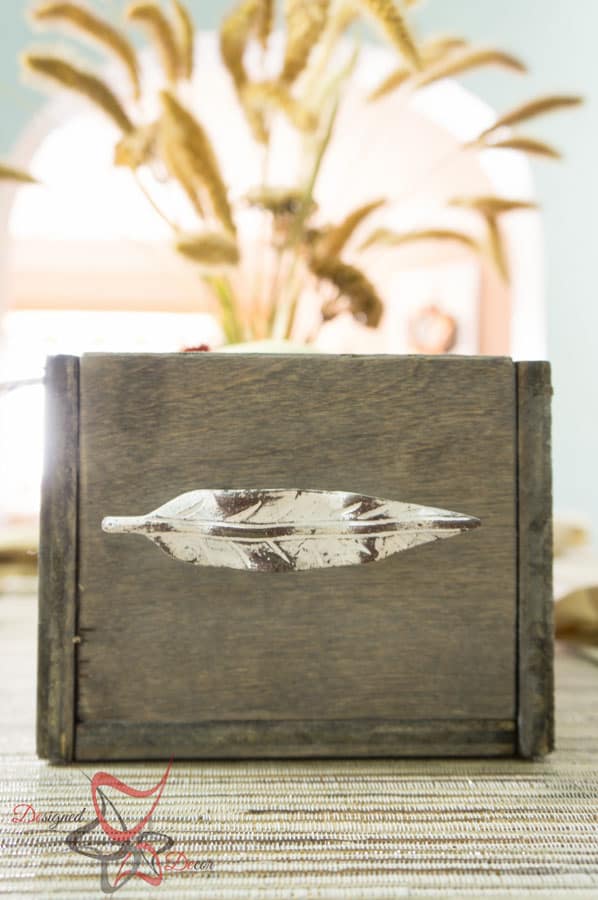
I am loving the leaf handles that I added to the ends of each box. The great thing about these is that I can change them out with the seasons as well.
Now, stop over to each one of my “Power Tool Challenge Teams projects for more fall inspiration!
Join the DD Community!

Join the Designed Decor Community and receive weekly free tips on DIY home projects, painted furniture, decorating, and much more.


Rakhinationwide says
Very helpful. Thank you from the bottom of my heart.
Amy says
Love your table trough! The details are beautiful, especially those leaf handles!
Paula@SweetPea says
This is perfect for a table centerpiece! I love how you used the wood burner for the graphic. I just got a wood burner and need to experiment with using the different tips that came with it. The leaf handles are the perfect finishing touch.
Marianne @ Ja-Nee / Trash or Treasure says
Such a wonderful idea and your instructions are so clear. Ia ma going to make something similar and now it will not be so daunting a project. Thanks!
ananda says
are you using vinegar-steel wool stain dede? =) i love the trough, and the leaf handles that can be changed out with the seasons!!
Designed Decor says
Yes, I used a vinegar/steel wool stain on one of the boxes.
Marie@The Interior Frugalista says
DeDe your Fall Table Trough is fabulous, especially the wood burned sentiment and those gorgeous leaf handles are perfection! Smart girl to make several to sell – I like the way you think.
Designed Decor says
Thanks Marie! Having it on my dining table gives me an excuse to decorate and fill it! I love how it looks!
Christy @Confessions of a Serial Do-it-Yourselfer says
This is just perfect for Fall or any season really. The wood burning is a beautiful detail as are the leaf handles…very nicely done! XO
Designed Decor says
Thanks Christy! I love those handles too!
Wendi @ H2OBungalow says
Super job and adding the wood burnt detail really made it pop! So smart making several at once too!
Designed Decor says
I liked using the woodburner, it just took some time to complete and I did both sides, so wow!
Cher @ Designs by Studio C says
Wow! The trough is amazing and a really easy project! I love the leaf handles, as well!
Designed Decor says
Cher, I think the leaf handles complete it!
Larissa ~ Prodigal Pieces says
You can’t go wrong with a table trough…so versatile and fun! Thanks for the DIY and making it look so easy. 🙂
Designed Decor says
Thanks Larissa!