This year I am making your Christmas Decorating easier by sharing my Christmas Decorating on a Budget Series. Today I am showing you how simple it is to make your own Mercury Glass Ornaments.

I like to change my Christmas decor around and I find myself getting tired of colors and like to switch things around. I do have a few sentimental items that are staples in my Christmas decorating, but for the most part, I don’t hold onto items over long periods of time. This can get costly to change-up colors every year, so I decided to share some ideas of decorating on a budget by repurposing what you have or making your own holiday decor. This post contains some affiliate links. Click here for my full disclosure policy.

These Mercury Glass Ornaments are a simple 3 steps, you know I like simple.
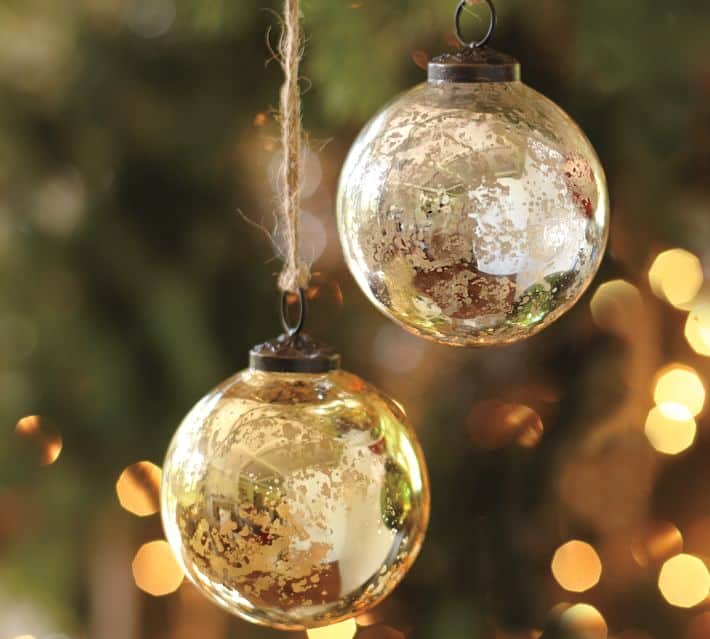
My inspiration for these mercury glass ornaments was from Pottery Barn. I love them but did not want to pay $29.50 for just 6 ornaments. So, of course, I made a knock-off.

Step 1 is to spray a clear glass ornament {<- – – this is the exact ones I used} with a 50/50 mix of vinegar and water. Don’t go too heavy on this part or the water just creates drip marks. You can get 20 of them for $8.27 on Amazon.

Step 2: Spray the wet glass ornament with a coat of Rustoleum Mirror effect. Lightly dab the wet paint with a damp cloth. Let the ornament dry and repeat steps 1 and 2.

This is my handy system I used to make my ornaments, I used sticks. You can poke the sticks into the ground or a potted plant.

Step 3: Add a ribbon and hang on your tree.

You could also stencil these with Mod Podge and Glitter, to personalize them. These would make great gifts. My cost for these beautiful ornaments = $.95 each, with a small amount of labor. Pottery Barn is $4.91 each.

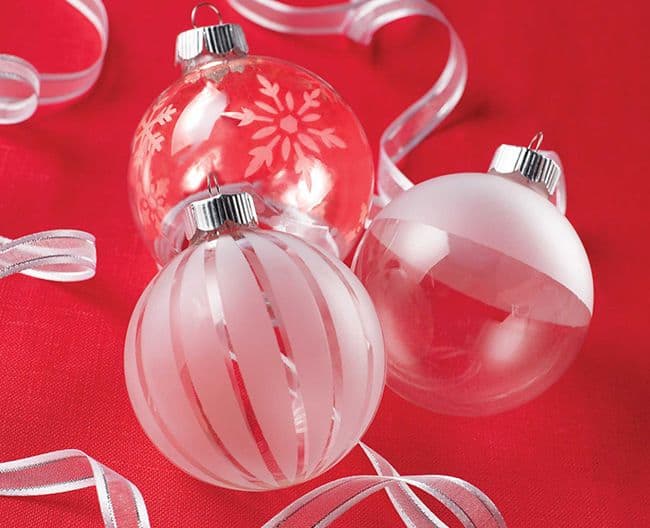
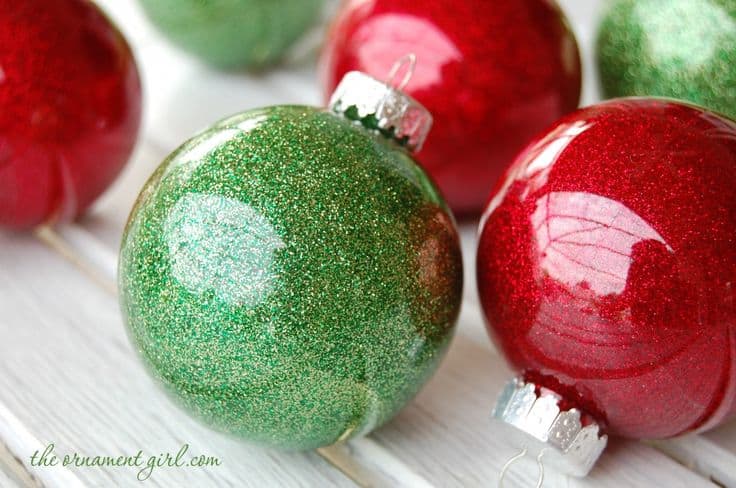
Here are a few other ornaments you can make with the glass ornaments.

Fabric Wrapped Glass Ornaments
Stay tuned as I will be sharing a few more posts on Christmas Decorating on a Budget. You can also follow along if you missed the first parts: Part 1 and Part 2.

Leave a Reply