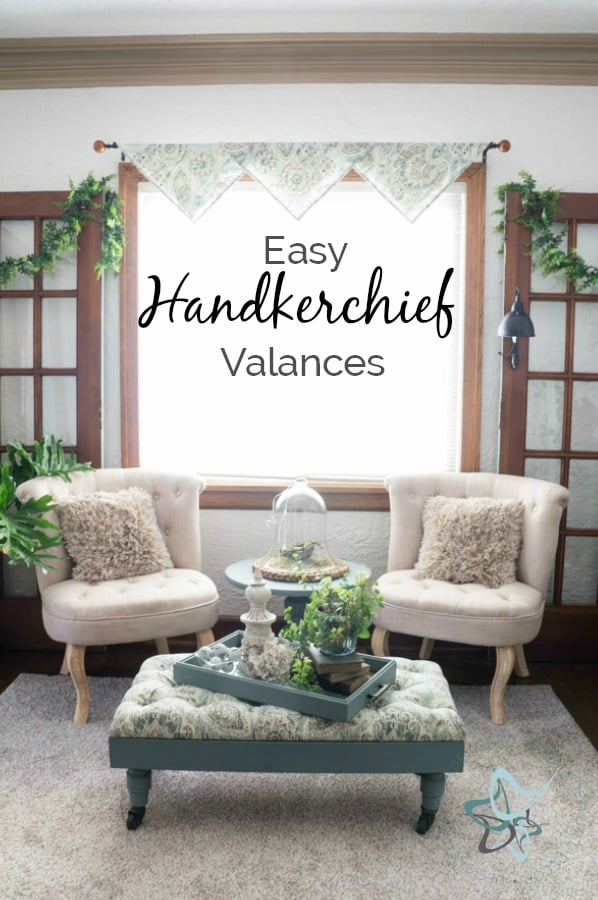
I updated my office and den area and wanted simple window valances. I liked the idea of how easy using napkins hanging on the decorative rod would be. I shopped online and in my local stores and could not find a design and color that would go in each room, so I decided I would make my own DIY handkerchief window valances.
[contact-form][contact-field label=”Name” type=”name” required=”true” /][contact-field label=”Email” type=”email” required=”true” /][contact-field label=”Website” type=”url” /][contact-field label=”Message” type=”textarea” /][/contact-form]
This post contains affiliate links. Click here to see my full disclosure policy.
If you are lucky enough to find cloth napkins in a color and style you like, your job is done, except to hang the decorative rod and valances. I was hoping it would be that way for me, but no such luck. I like that it gives the window a finished look without over powering the room. I wanted the window valances to be subtle and complimentary. I used the same fabric for the window valances as the tufted bench. Make sure you sign up to receive my emails so you can follow along. I will be posting about the DIY tufted bench.
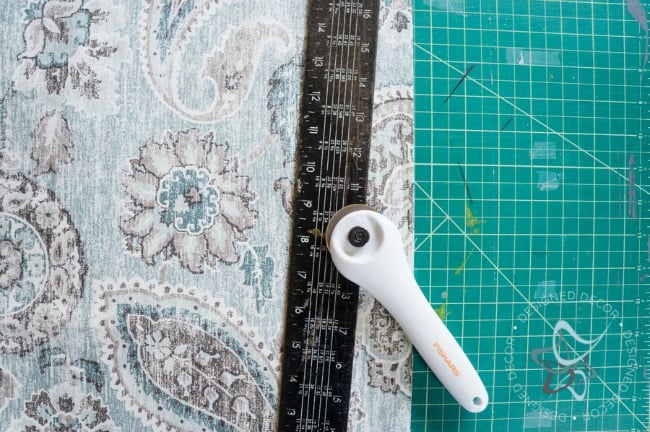
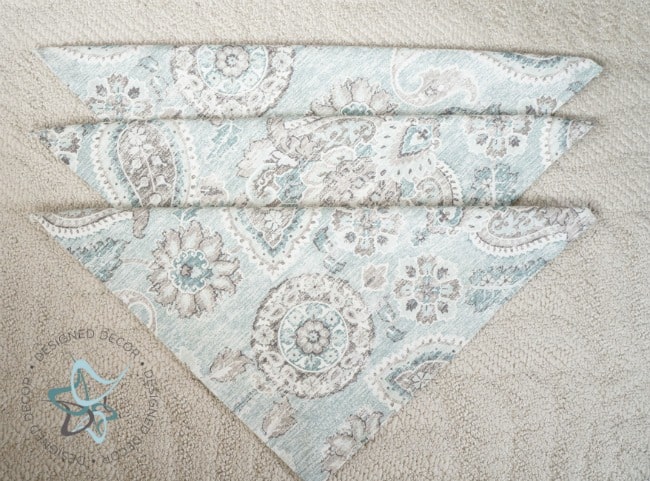
Start by cutting the fabric into 21-inch squares. I based this measurement from the cloth napkins that I had in the house. I liked the size of them and they hung down to a perfect length. You can adjust your square size as needed for the size windows you need, however, I would not go too much bigger or smaller.
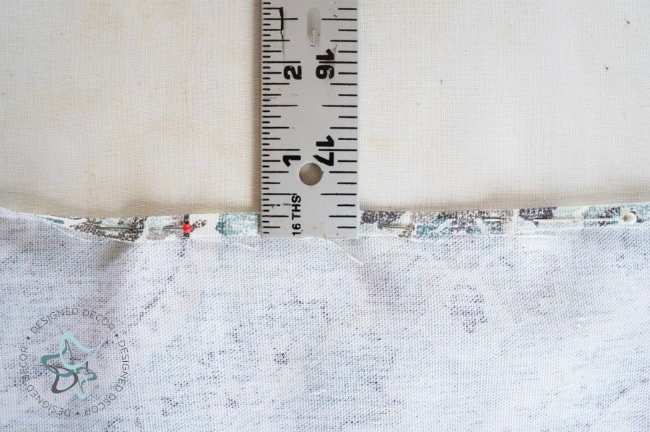
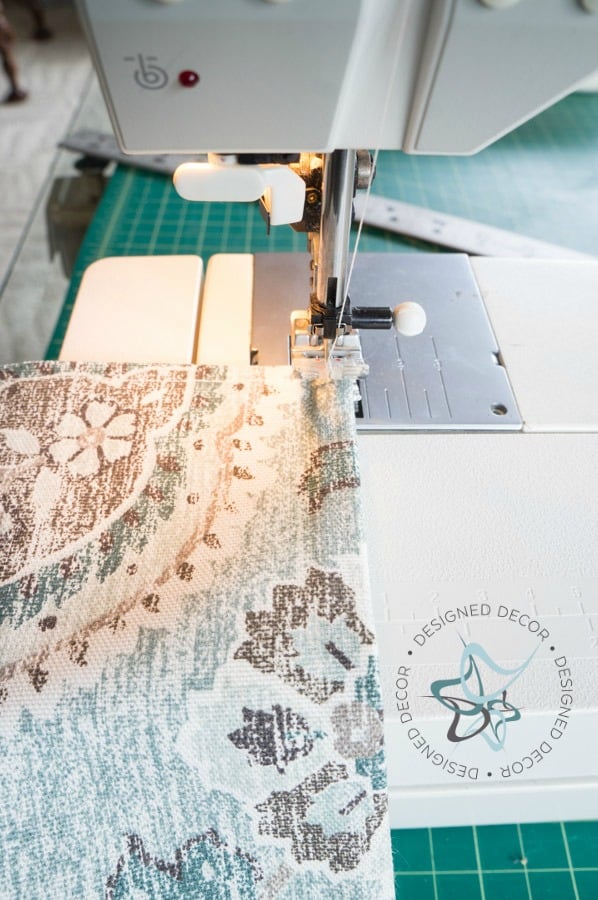
Sew the edges or you could use “no-sew” seam tape. I have used this exact no-sew seam tape for some scarf valances I made for my guest bedroom and it worked great. If you plan on using the seam tape, I would definitely use a 1/2 inch folded edge.
This was an easy project to complete and a perfect finishing touch to both rooms.
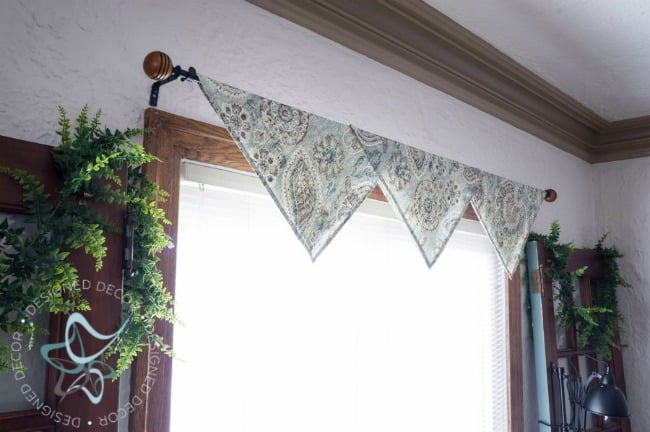
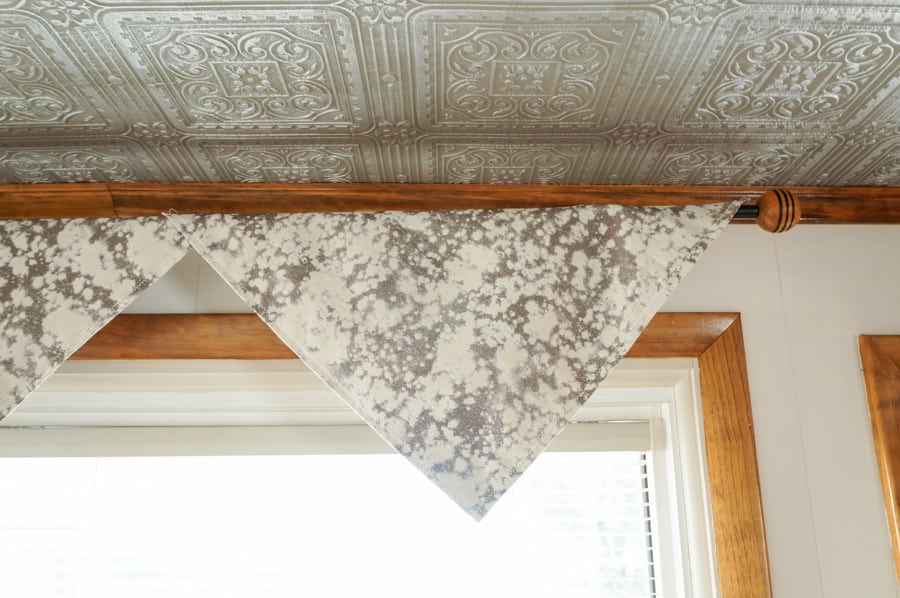
You can overlap the handkerchief valances in a few different ways. I chose to have the center valance on top of the other 2 valances. You could have the center on the bottom or just keep layering one valance on top of the other working your way down one direction or the other. You also need to consider the balance of your window valances. It is best to have things grouped in odd numbers opposed to even.
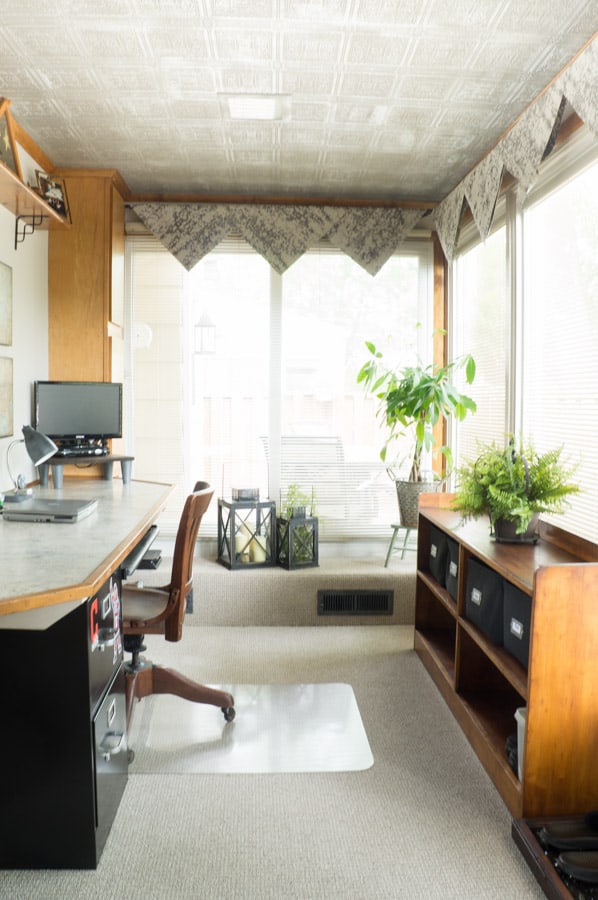
Although it is not shown in this photo. I used 5 valances on the right side window since it was wider than the sliding door area. I had the center valance laying on top of the ones next to it and those were laying on top of the end valances.
I did place a straight pin on the tip of each valance to hold the front and back together so they did not gap. I also placed a straight pin on the overlap sections. I discovered I needed the straight pins to hold the over laps sections together because when the sliding glass door is open, I would get a strong breeze and one day I found a few of the valances moved down the decorative rod.
Source List:
Fabric (Den Valances)
Join the DD Community!

Join the Designed Decor Community and receive weekly free tips on DIY home projects, painted furniture, decorating, and much more.

Leave a Reply