Interested in sprucing up your home decor on a budget? Why not make your own DIY drum lampshade? It’s a great way to add some personality to a room and it’s really easy to do. In this blog post, I’ll show you how to make your own drum lampshade using some simple materials. So, read on for instructions on how to create this stylish DIY project!
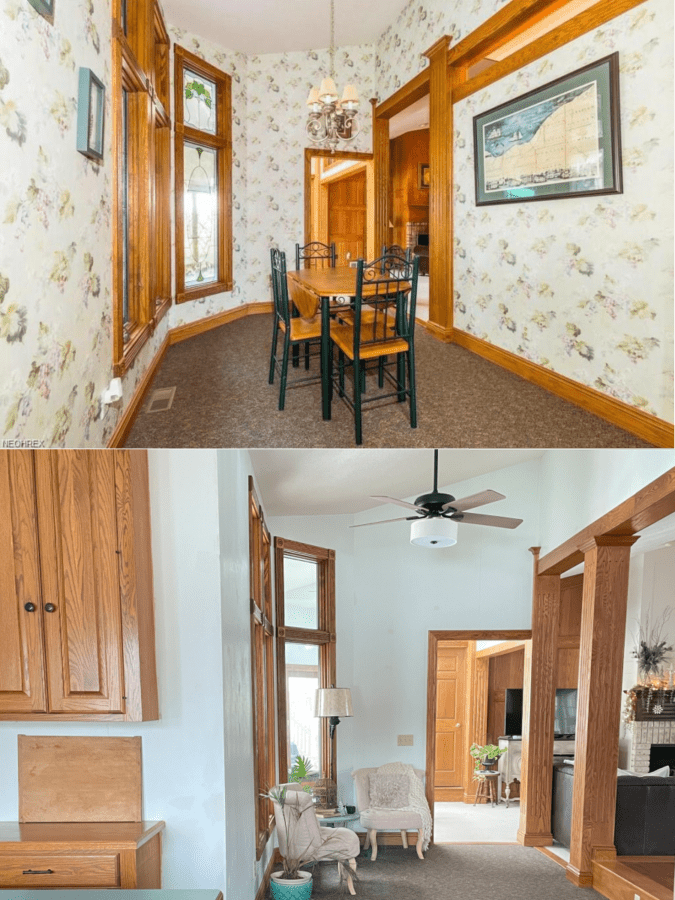
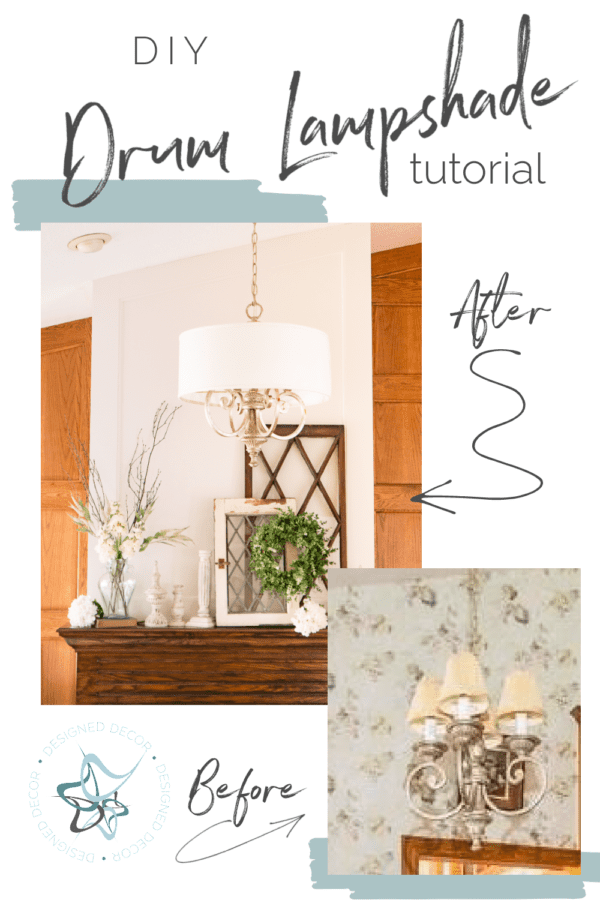
Since I have an open concept living area and all of the hanging light fixtures are coordinated, which is important with an open concept. The light fixtures are good for now except I had one that was outdated with the candelabra mini lamp shades.
This post contains affiliate links. Click here to see my full disclosure policy.
The upper part of this image is from the house listing photos, zoom in on the outdated mini shades on the hanging light. Thankfully a lot has changed in this space since this photo was taken. And we are currently working on more changes. I can’t wait to share all the exciting updates that are happening.
Since the base of the hanging light matched the other hanging light fixtures, I decided to give it a slight makeover with an updated look by making a DIY drum shade.
After pricing large drum shades online and not finding anything that was narrow in depth or budget-friendly, I decided to make my own DIY drum lampshade. I did find this lampshade, however, I was not paying over 100 for something that might be a temporary fix. I also found this customizable lampshade, and again it was $170, and not budget-friendly.
DIY lampshade supplies
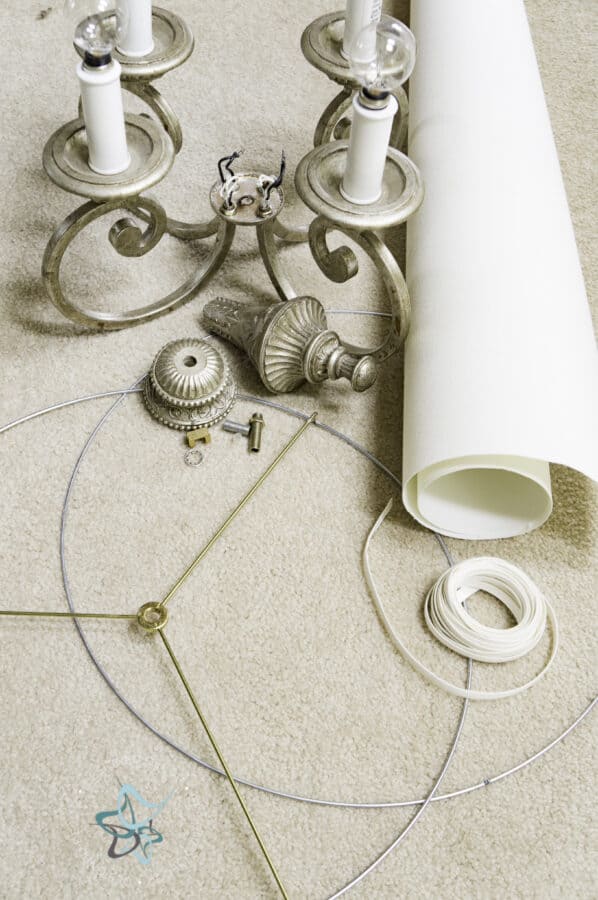
Here is the list of the lampshade supplies I used for this project.
- Spider Lamp Shade Rings
- Fabric Styrene and matching fabric edge
- 1″ cotton twill tape
- Fabric Glue
- Sharp Fabric cutter or Scissors
- Metal Clips
- Spray Adhesive ( if using a separate fabric)
How to make a drum lampshade
Step 1
Start by cutting the fabric styrene to the proper size. I was making a 20″ lampshade so I needed at least 64″ to go around the wire.
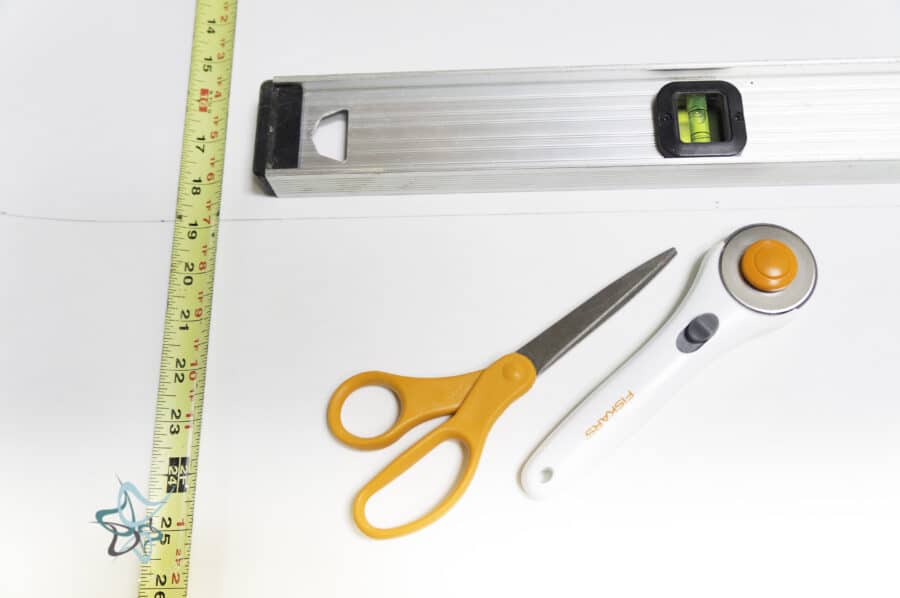
The key is to make sure you have a straight line, otherwise, you will not have a straight lampshade to adhere to the lampshade wire. I measured down from the top edge marked a few lines across the styrene and used a metal straight edge to draw the line.
I also prefer to use a fabric cutting wheel as it is easier to make a smooth and straight cut.
Step 2
Glue the cotton twill tape onto the outside edge of the top and bottom of the fabric styrene. Make sure to only expose enough that the fabric edge will cover up the cotton twill.
*The cotton twill wraps over the shade wire and it will be slightly longer on the inside of the shade.
**Make sure the glue is dried completely before moving to step 3.
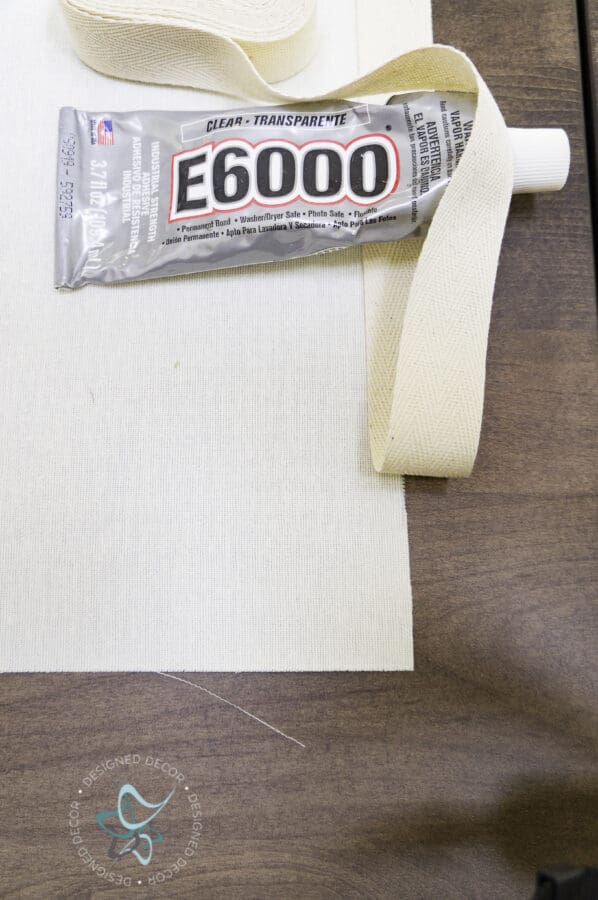
If you are using a fabric that is separate from the styrene, glue the fabric to the styrene using a spray adhesive. Do this after you glue on the cotton twill. This allows you to cover up the twill tape.
Are you wanting to learn how to paint furniture and just can’t find the time in your busy schedule to go to a local workshop?
Frustrated with all the conflicting tutorials on “how–to” or “what products”?
Are you eager to learn a new paint technique and afraid you will mess it up?
Learn many different furniture painting techniques with video training from beginner to advanced.
Online Furniture Painting Workshops for every skill level
Insider Furniture Painting Tips and Tricks
Step 3
Place the metal wire onto the inside edge of the styrene and begin to wrap and glue the twill tape. This is a little difficult so if you have someone to provide extra hands, ask.
It is easier to run a bead of glue on the entire length of the twill tape. I chose to only do one side at a time and allowed the glue to completely dry before doing the other side.
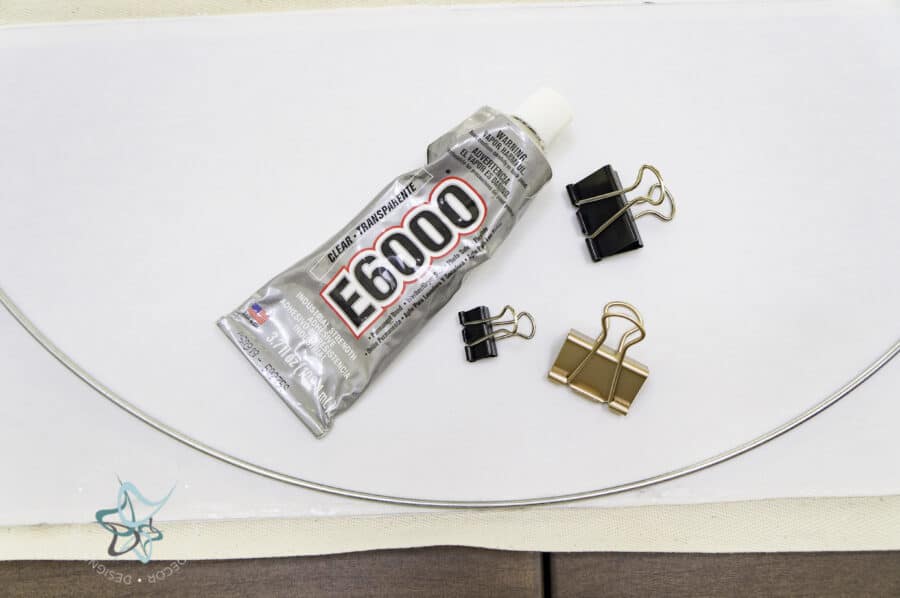
These binder clips worked great to hold the shade to the wire until the adhesive was set up. I highly recommend using fabric glue since it is thinner as I struggled to get the E6000 to spread a nice thin line.
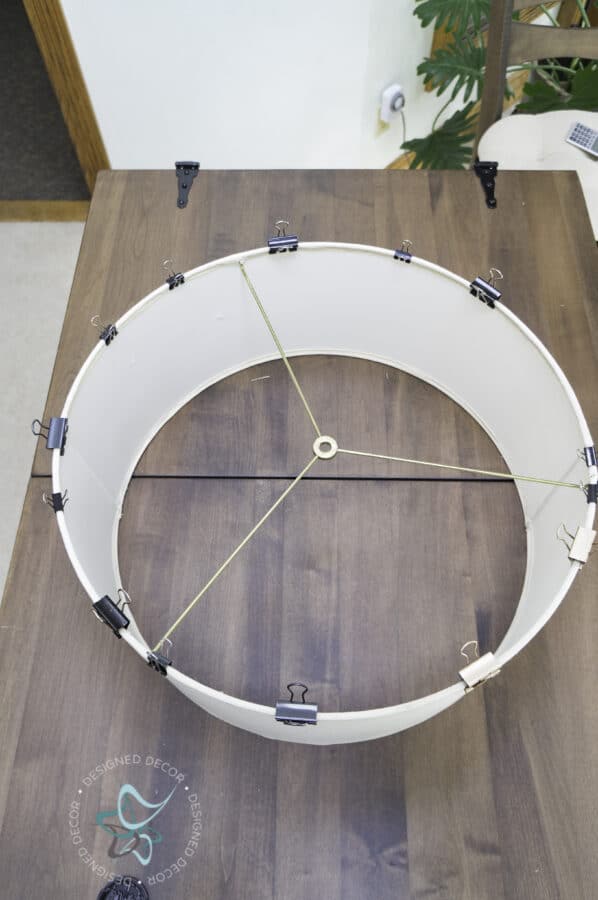
***Important- Let the glue dry completely before gluing the other side. This will prevent your shade from moving around and separating from the wire.
Glue the other side of the fabric twill onto the bottom wire and shade using the steps from above. Also, make sure to run a bead of glue along the shade seams.
Step 4
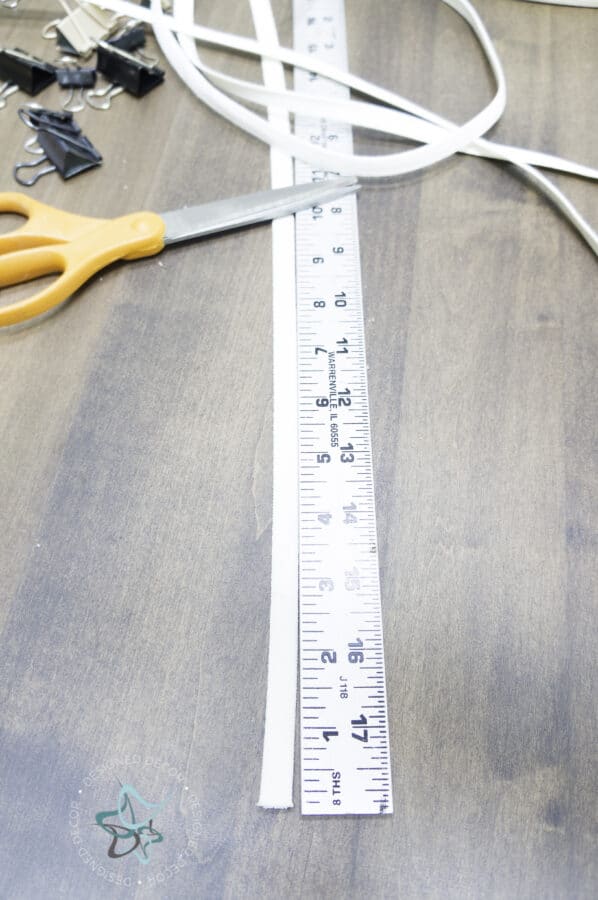
Cut the fabric edge for both the top and bottom and also for the side seams.
Place a bead of glue onto the top outside edge of the lampshade and begin to place the fabric edge in place. Use the binder clips to hold until the glue is dry.
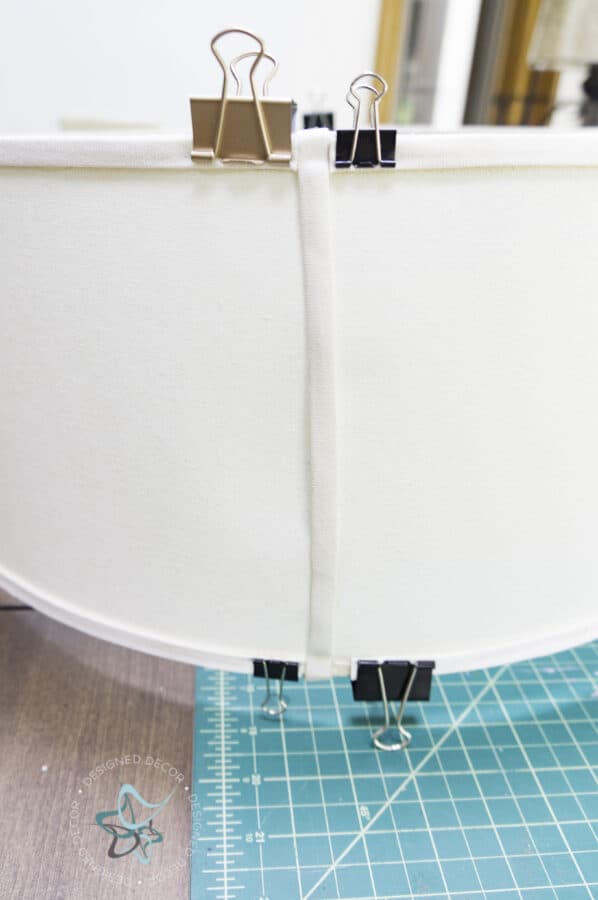
Step 5
Attach the drum lampshade to the light fixture and enjoy your DIY drum lampshade.
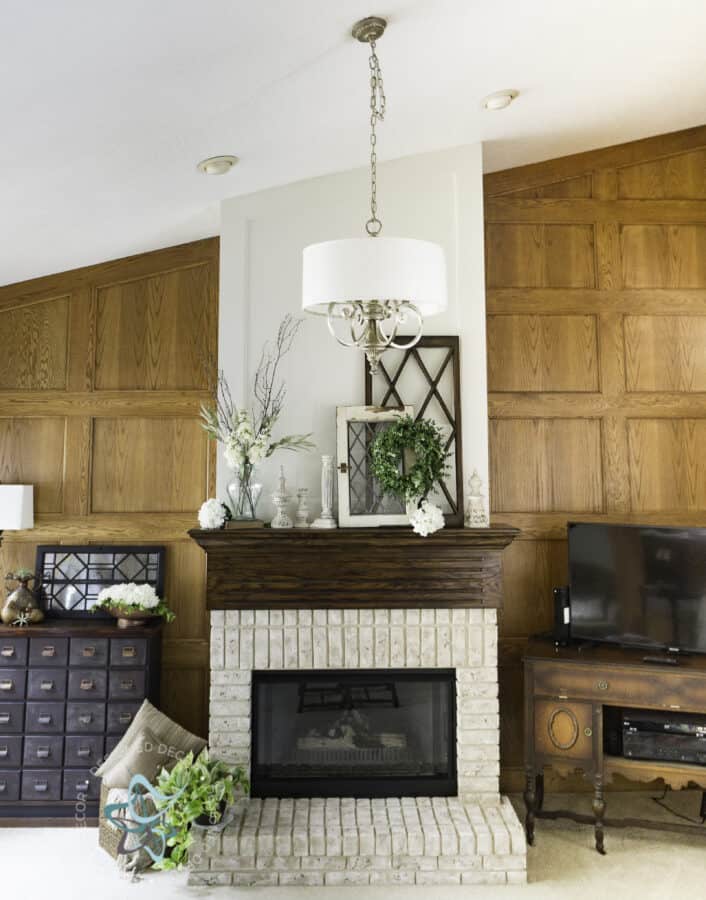
It took me a while to decide on the height of my DIY drum shade chandelier so I left it clipped up until we decided on the appropriate length.
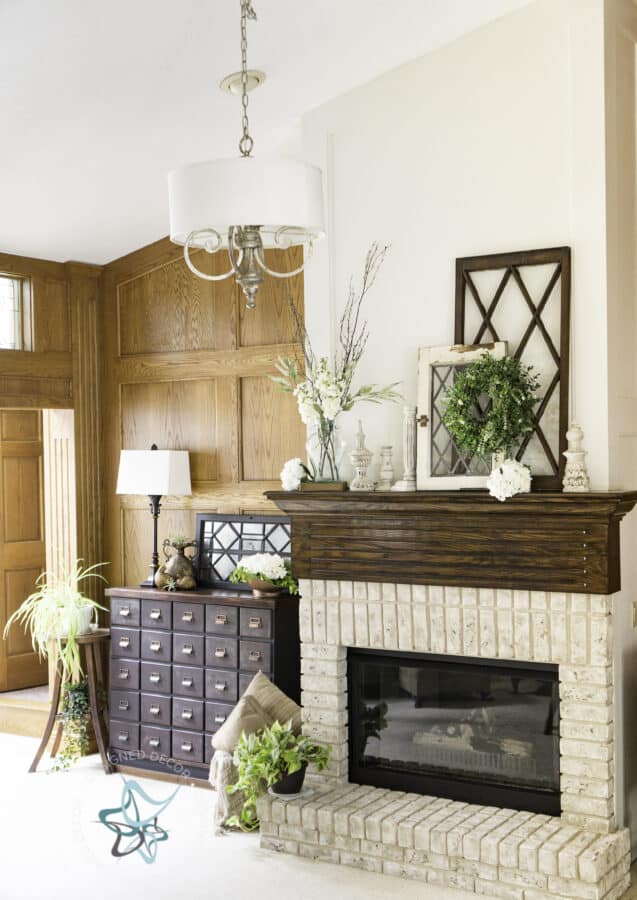
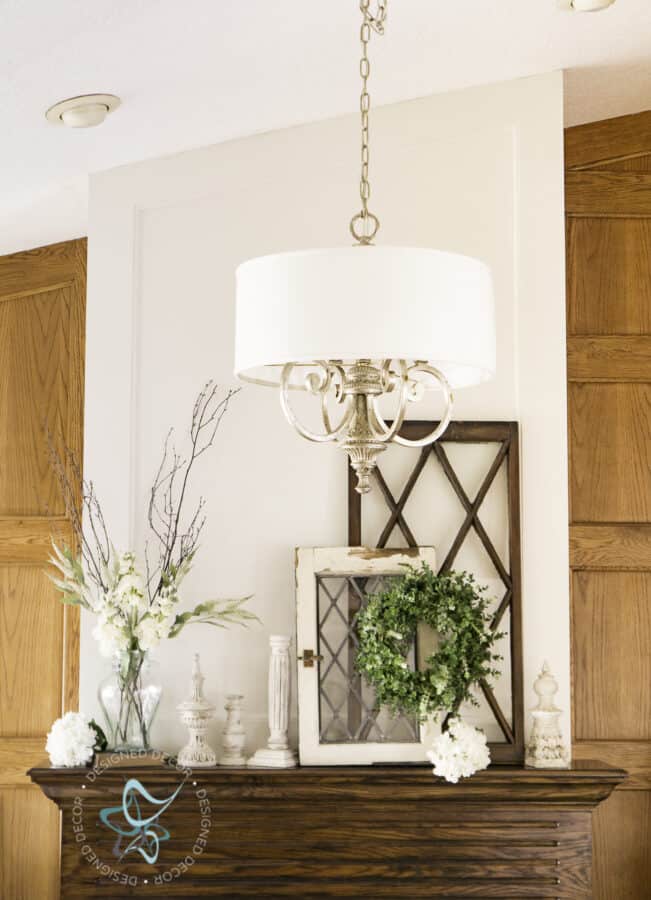
Cost of making a DIY large drum lampshade
Since I was making a 20″ drum lampshade I found it to be cost-effective to make my own. If I needed a smaller size, it may not have been a huge saving.
Using the supplies from the supply list above, my DIY drum lampshade cost me $52.32 compared to this lampshade for $110. I would gladly make another DIY lampshade for that type of cost savings.
Drum lampshades are a great way to update an existing light fixture and add some personality to a room, but they can be expensive to buy. This tutorial showed you how to make your own drum lampshade for a fraction of the price. So gather your supplies and get started! By the end, you’ll have a stylish new light fixture that you made yourself.
More DIY Home Decor Projects
- No-Sew Fabric Lampshade cover
- How to Hardwire a hanging light
- Insider Furniture Painting Tips & Tricks


Join the DD Community!

Join the Designed Decor Community and receive weekly free tips on DIY home projects, painted furniture, decorating, and much more.
Cecily says
Thank you for your how to tutorial! I am looking to do a large lampshade as well. Your link for the spider lampshade rings only offers up to 18″. I am having a very difficult time finding anything larger than that. I am looking for 19 or 20″. Any suggestions?
Designed Decor says
Hi Cecily, Check out the lampshop dot com. They have all types of parts for lamps and shades. Good luck with finding the sizes you need.