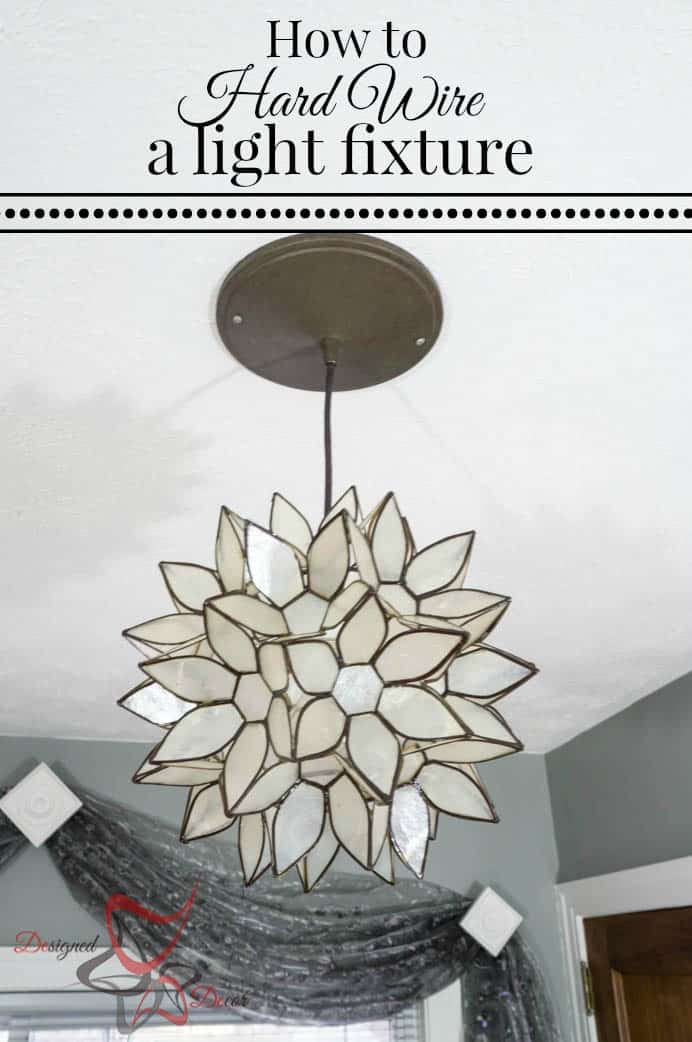
Have you ever found a lamp that you absolutely had to have but it would not work because you needed it to be a hard wire light so you can turn it on with a light switch? Well, this is what I experienced so I wanted to share with you How to Hard Wire a Light Fixture so you can use any light fixture you want to hang.
This post contains some affiliate links. Click here for my full disclosure policy.
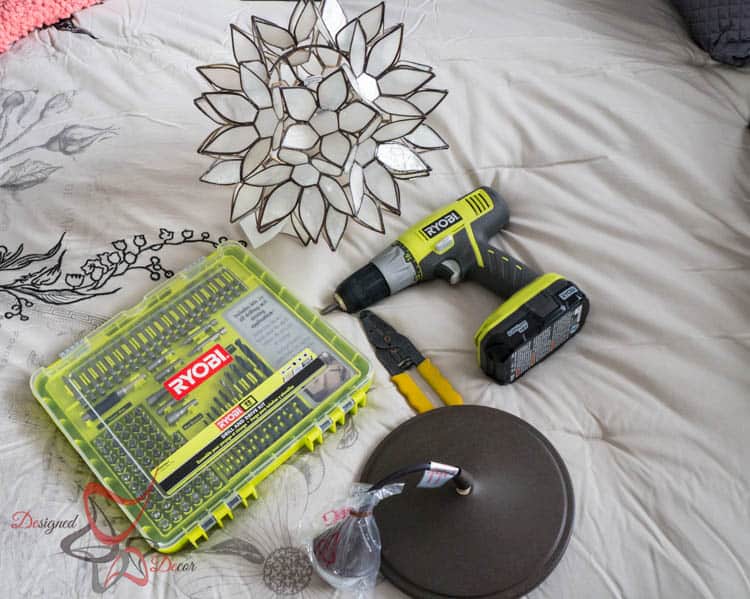
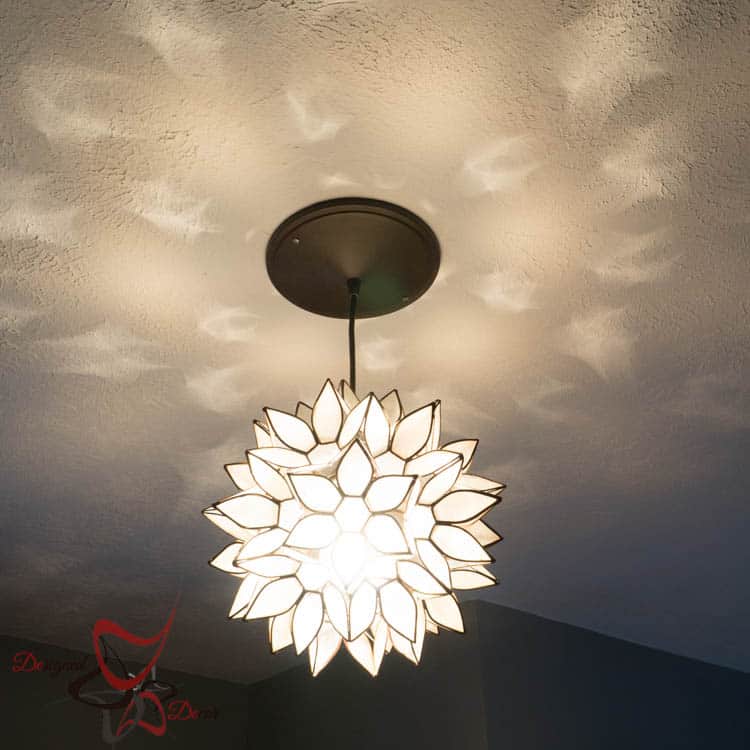
I purchased this light fixture from one of my favorite places to shop, World Market. It was the light shade only and I needed to find a kit for a pendant light fixture to hang the shade from my guest bedroom ceiling. All the base light kits that I was finding where plug-ins.
I found the perfect ceiling base kit, it was oil rub bronze just like the shade, but it was for a recessed ceiling light fixture. That did not stop me because I knew it could easily be hard-wired and used for my guest bedroom.
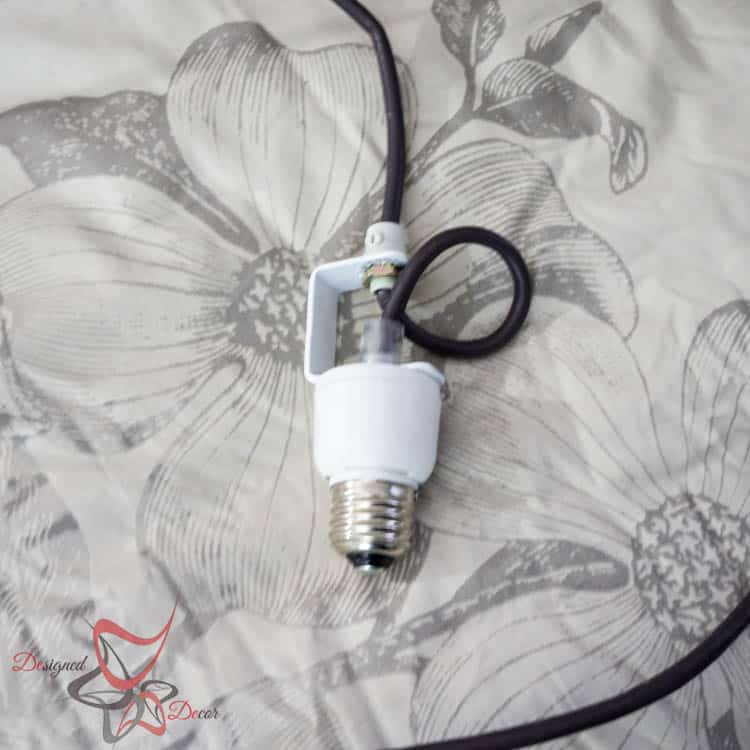
For some odd reason, the inside of the shade would not fit around the socket on the base. Mr. DD. used a metal hacksaw and put a small grove on the inside of the shade where it holds to the socket, worked like a charm. Now we can move on!
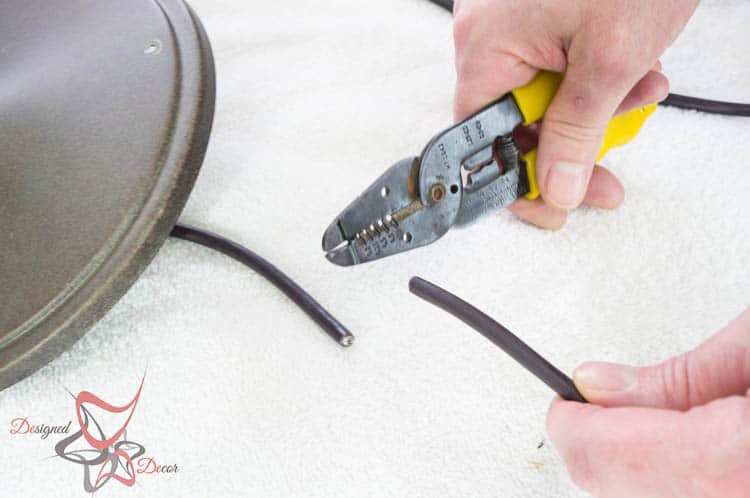
The first step was determining the length of the pendant so we could cut off the cord to a proper length.
Using wire cutters makes the cutting of the electrical cord a breeze.
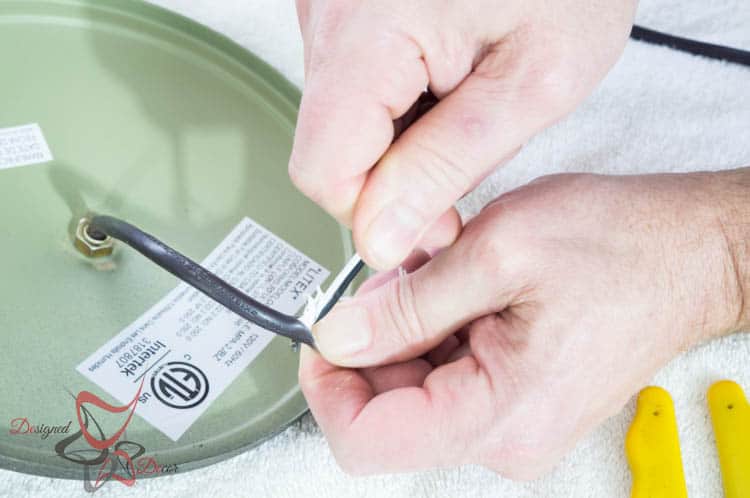
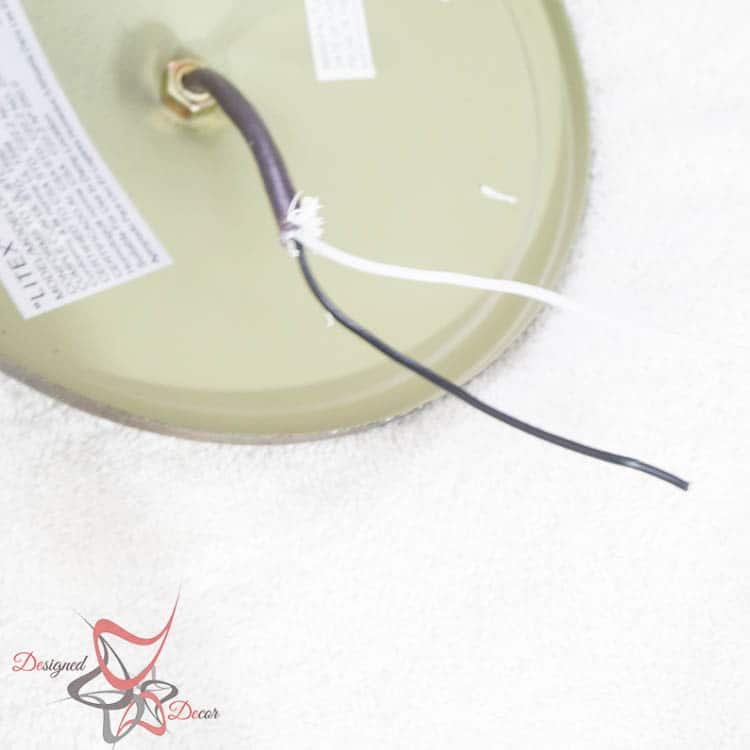
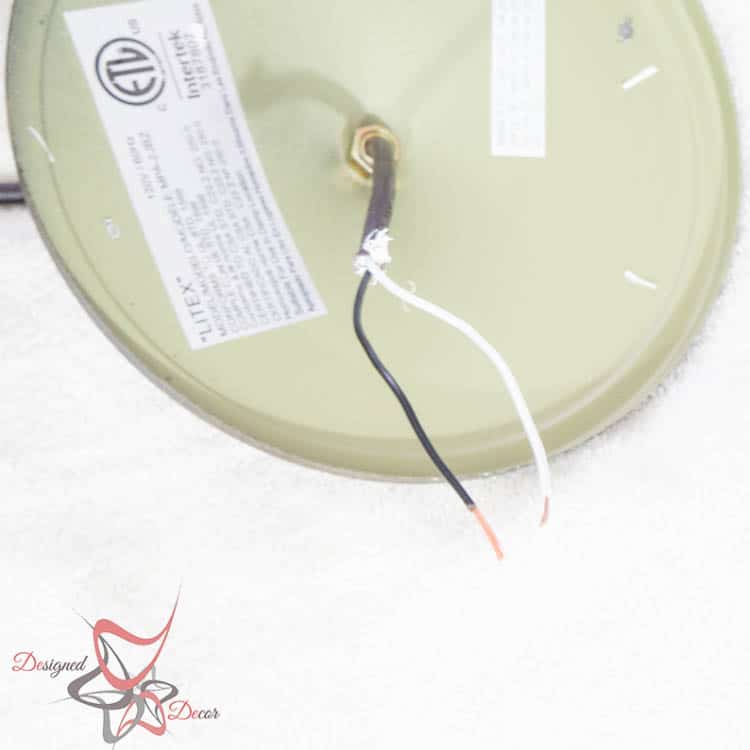
Next, you will need to expose the white and black wires on the inside of the cord. You do this by taking a straight edge blade and cutting down the length of the cord, making sure to not go all the way through the cord.
Make sure to expose enough of the cord to wrap around the electrical connectors in the ceiling.
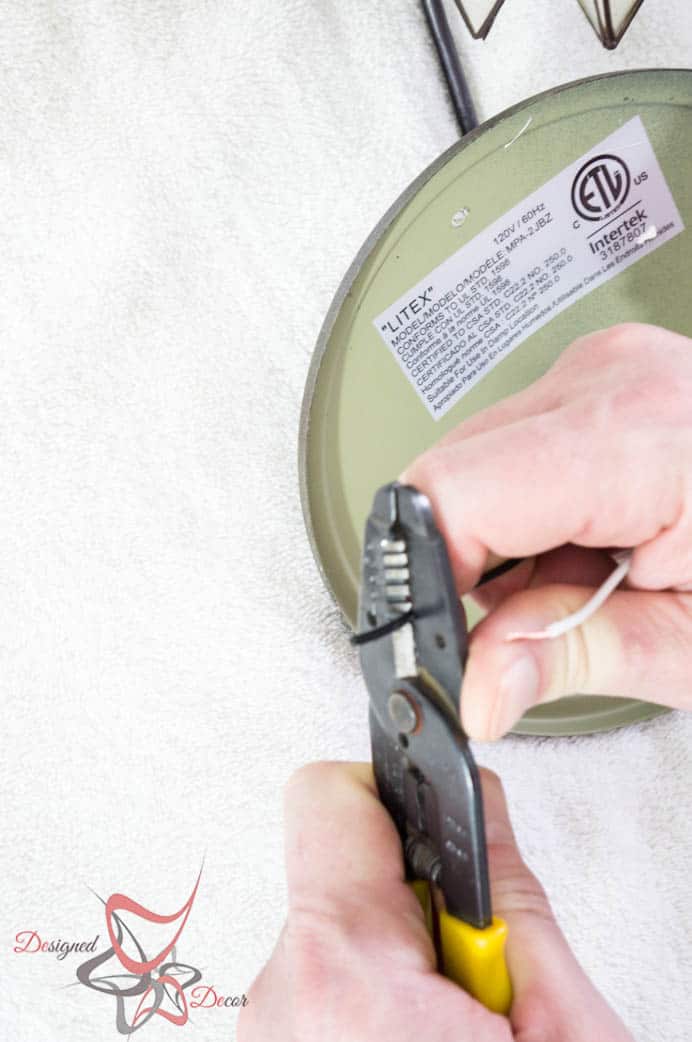
Next, you will need to expose the copper wire on both the white and black wire. You use the proper size hole in the wire cutters and it easily strips the plastic coating from the wires.
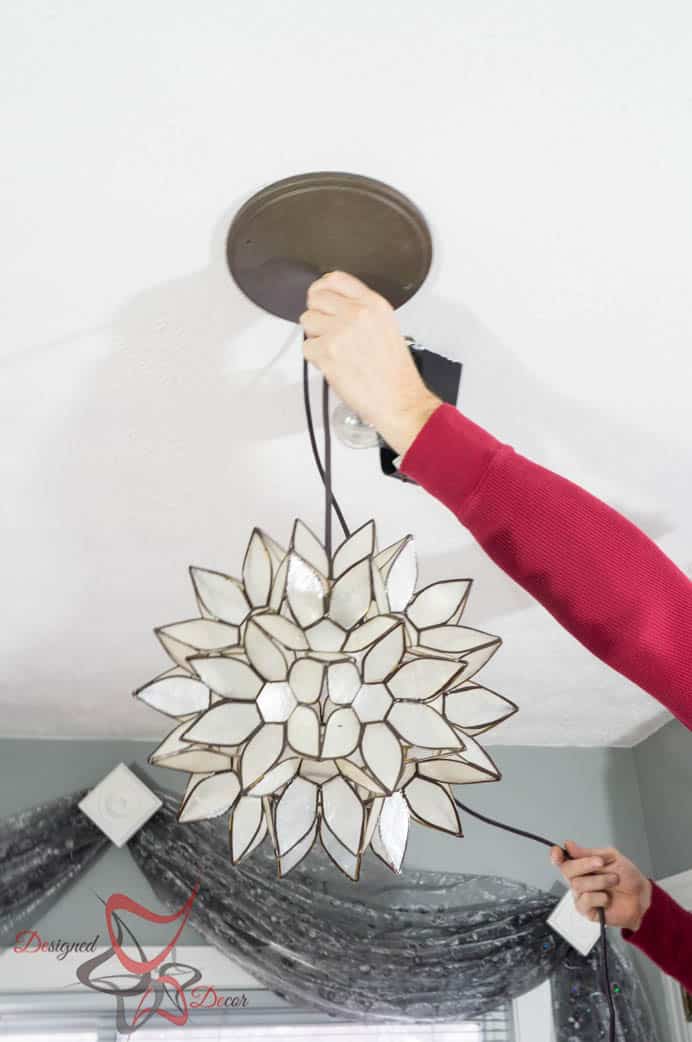
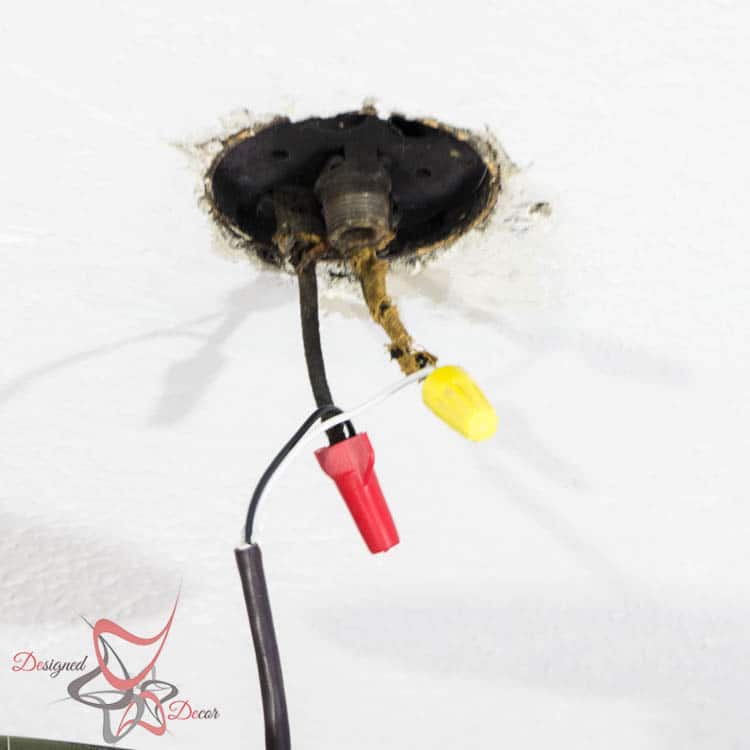
Now you are ready to wire the light to the ceiling wires.
You attach black to black and white to white and place wire caps on the ends of each. The wire caps are used for safety. As you can see how old my wires are, my house was built in 1927, so my white wire is yellow!
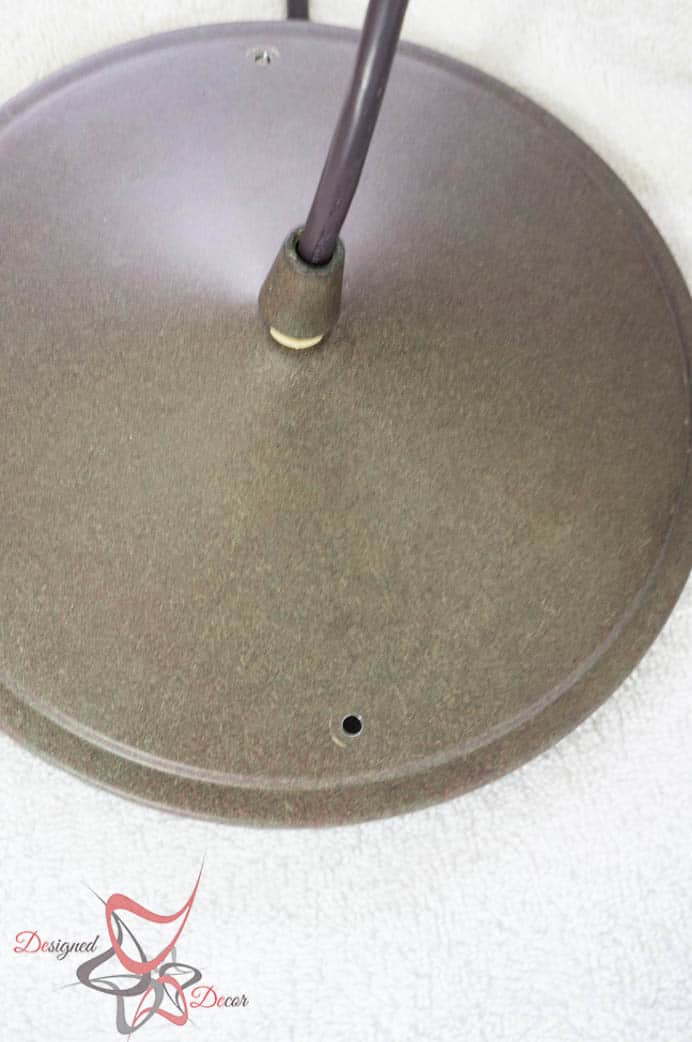
We needed to drill holes into the base of the light fixture.
Done, except I need to paint over the screw heads to have them match the lamp base. I will be using rub and buff for that job.
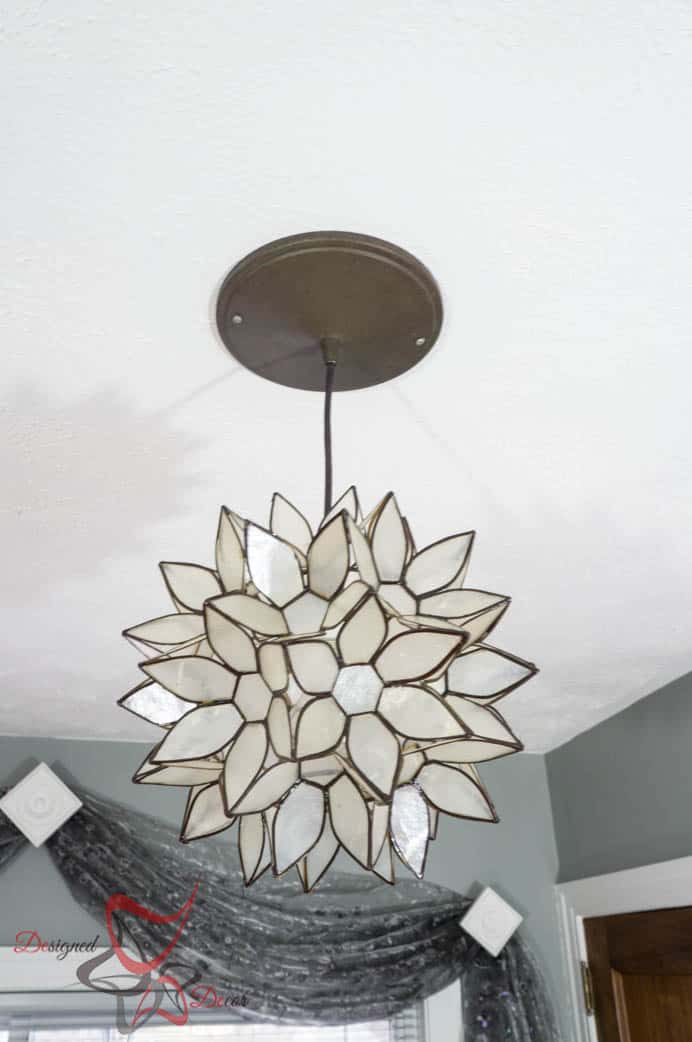
I love how the light reflections are on the ceiling. I love this light and I am so glad it worked in my space. I have a tendency to buy things before the space it complete and hope that it works. You can read about the other guest bedroom updates by clicking on these links – Thrift Store Lamp Makeover – Guest Bedroom Makeover – Painting the Guest Bedroom Furniture.
Join the DD Community!

Join the Designed Decor Community and receive weekly free tips on DIY home projects, painted furniture, decorating, and much more.

Karen Seale says
Hi DeDe, I bought this exact light shade and am having the same problem! I am trying to find a light kit. Where did you find your Ceiling Base Kit? Thanks in advance!
~Karen
Designed Decor says
Hi Karen, I bought the ceiling kit from Lowes and converted it to a hard-wired instead of the screw in like the post mentions.
Maria@SewTravelInspired says
I learned to do this in 4-H about a hundred years ago. I haven’t thought about it in years. You gave a wonderful explanation and the pictures were perfect. Thanks for the refresher.
Designed Decor says
Maria, That is great! I had no idea that they taught you things like that! Thanks for the nice compliments!
Amy | Canary Street Crafts says
Love the light! Great tutorial too!