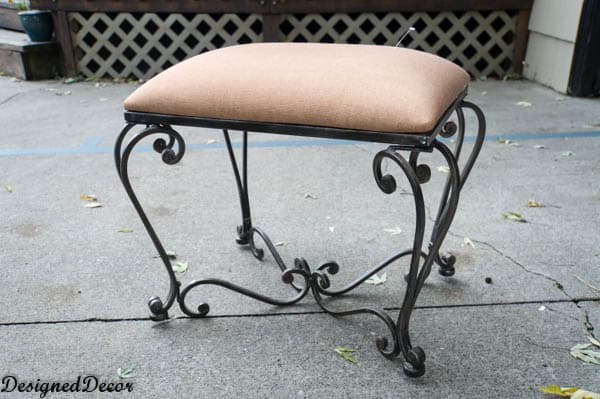
When I came across this bench, it was yelling at me to give it a new look. Do you ever have things speak to you? Well, this one did!
It told me to pair it with burlap.
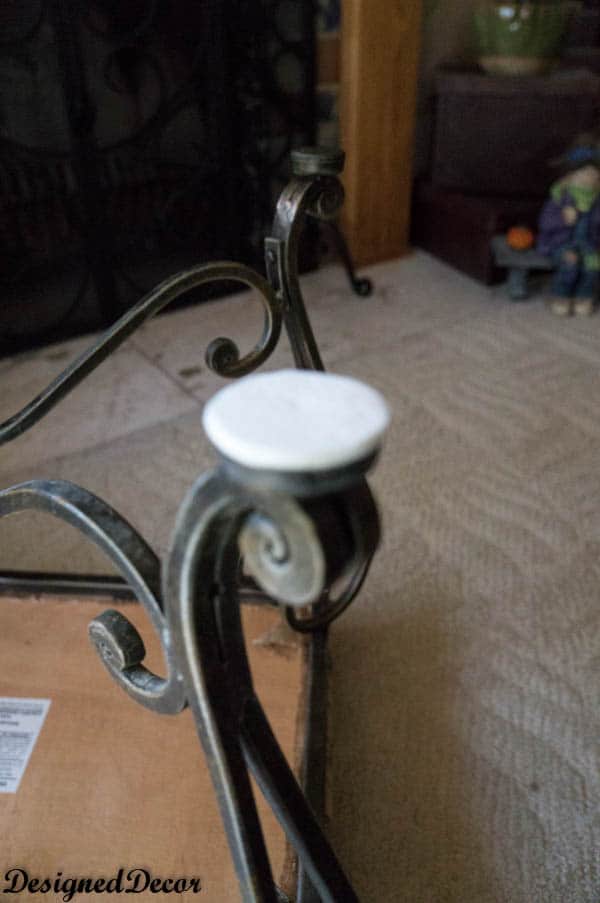
She was in great shape, it looked like it was never sat on. The bench was missing a cap for one of the legs. (minor repair)
The foot had a hollow opening where the piece had fallen out, slight dilemma of how to fix it. I knew if I just glued something on their it would not stay on as the repair needed to fill the hallow space.
I used this product called Smooth Finish, it is used in craft projects. You can mold it into any shape, so this was the perfect answer. It is almost like putty but with a lighter feel. I filled the hallow space and shaped it to be about the same height as the other leg bottoms. I left it to dry for a few days and painted it the same shade as the others. I forgot to take an after picture of the repaired leg. Mr. DD inspected my work and asked, “Which one is it?” So I think that tells me “I done good”! LOL Patting myself on the back!
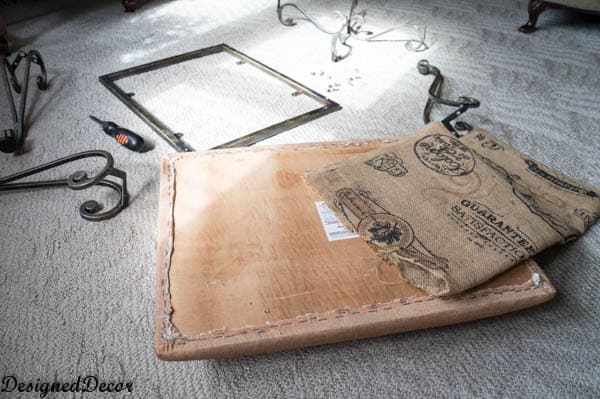
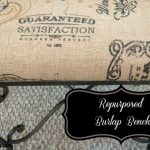
Since the original cover was in great shape, I left it on and just placed the burlap over it.
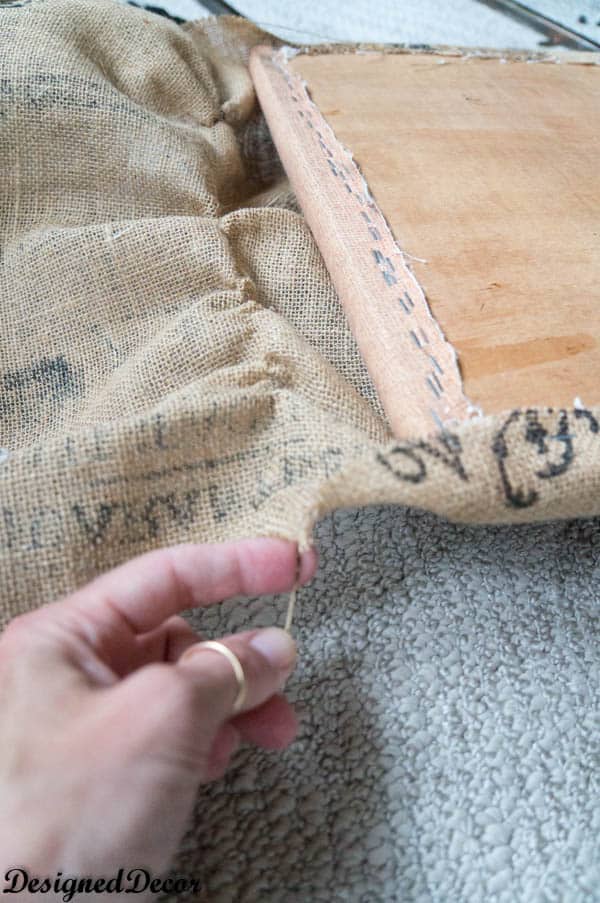
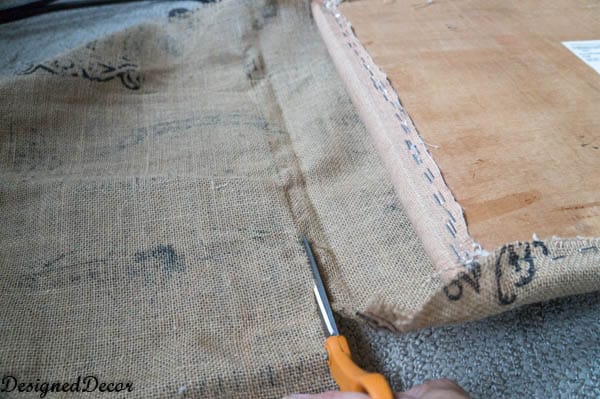
Do you know how to cut burlap? Start by pulling a thread of the woven burlap at the place you want to cut. Pull the thread all the way out and it leaves a line to cut.
This allow you to cut straight and it helps the burlap from unavailing.
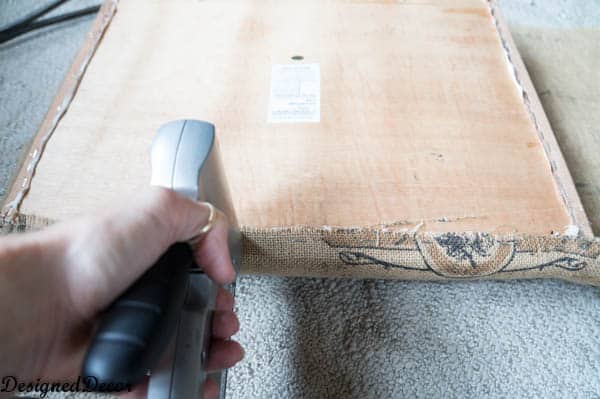
Make sure pattern is straight and lined up and begin to staple in place. I usually place a few in place and flip back over to check before adding all those staples and then discover it is slightly crocked. This might be experience talking!
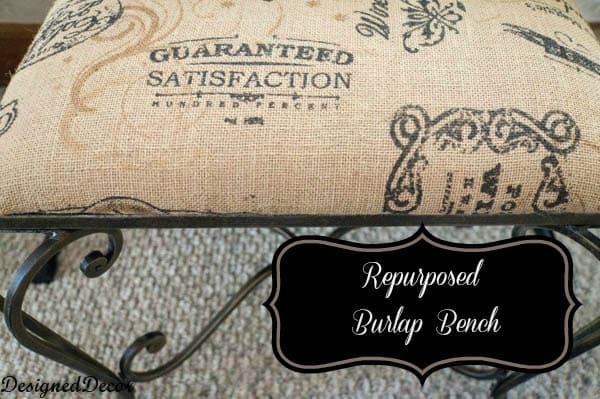
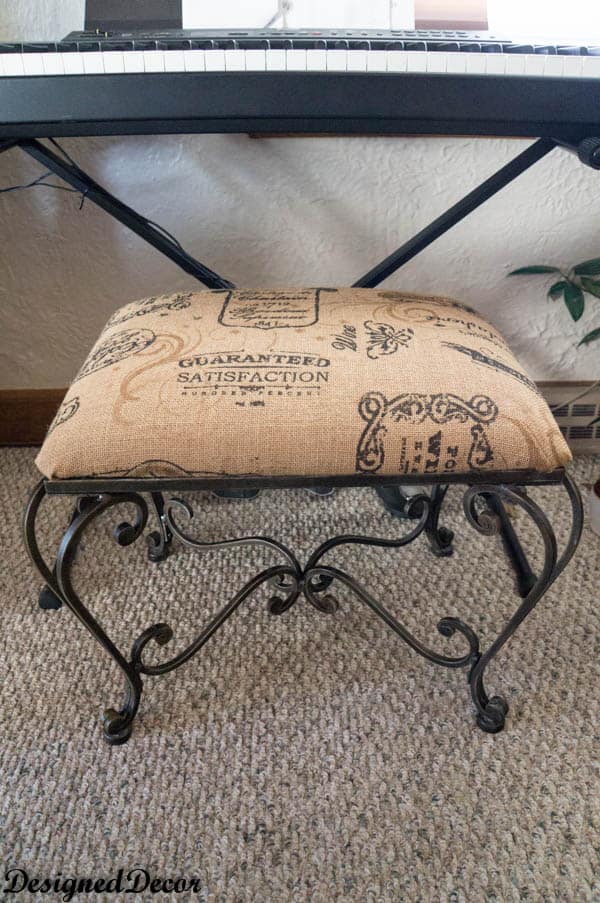
I love how the burlap fabric compliments the metal of the bench. This one sold on my very first day at my new space, so I guess the burlap was the answer for this bench.
Join the DD Community!

Join the Designed Decor Community and receive weekly free tips on DIY home projects, painted furniture, decorating, and much more.


Leave a Reply