I usually don’t like to use chemicals, so I try to avoid buying furniture that has been previoulsy painted. Sometimes a bargain is too good to pass up and this is why I want to share my tips on how to strip painted furniture.
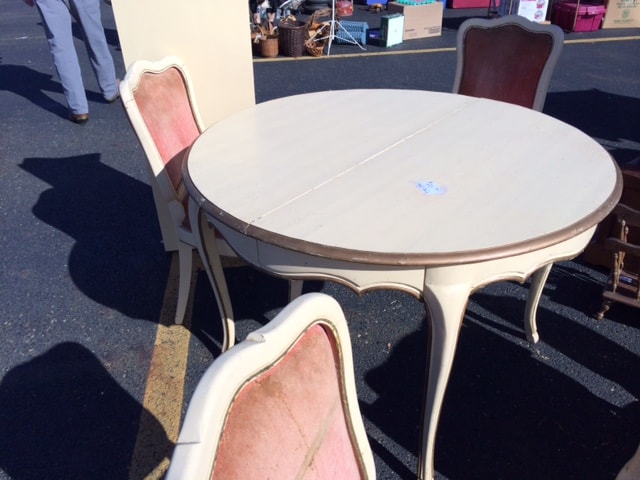
This is the only before picture I could find of this piece. This set was in SAD shape and maybe that is why I got it for $20 bucks, yes a table and 5 chairs for $2o. Like I said, some painted pieces are too good of a bargain to pass up.
I usually like to finish a dining table with a stained top. I think they hold up better to the everyday wear and tear. So I decided I would give it a try and see what kind of wood was under that factory paint job!
Step 1: Apply Paint Stripper
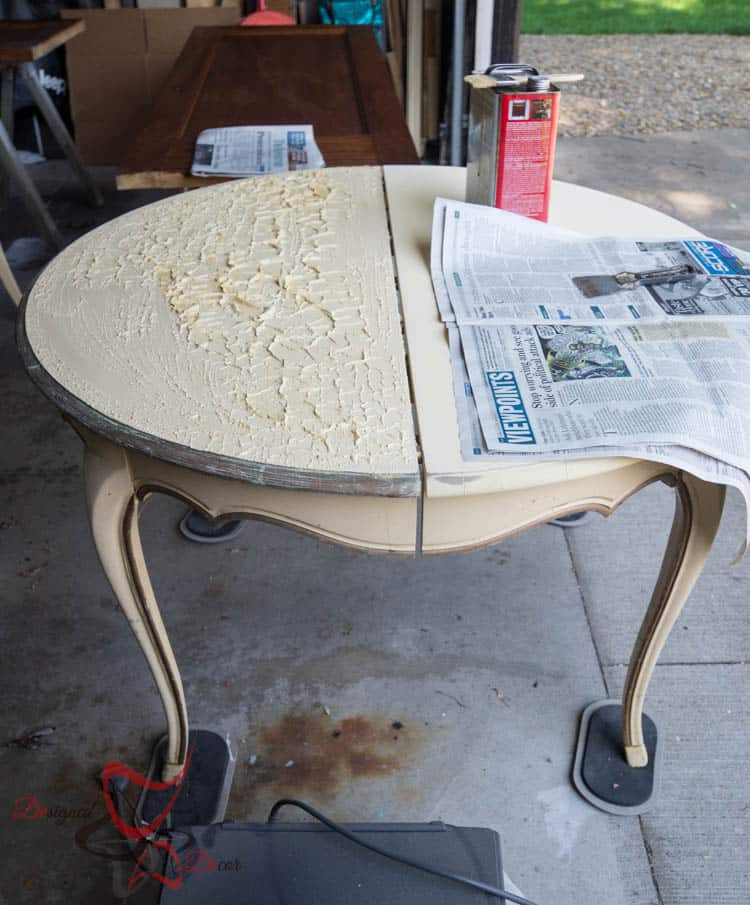
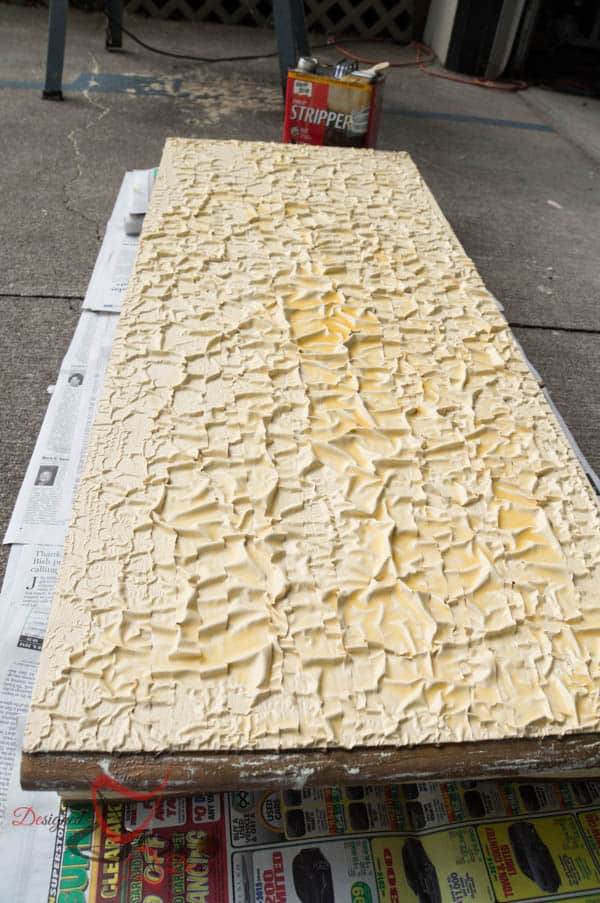
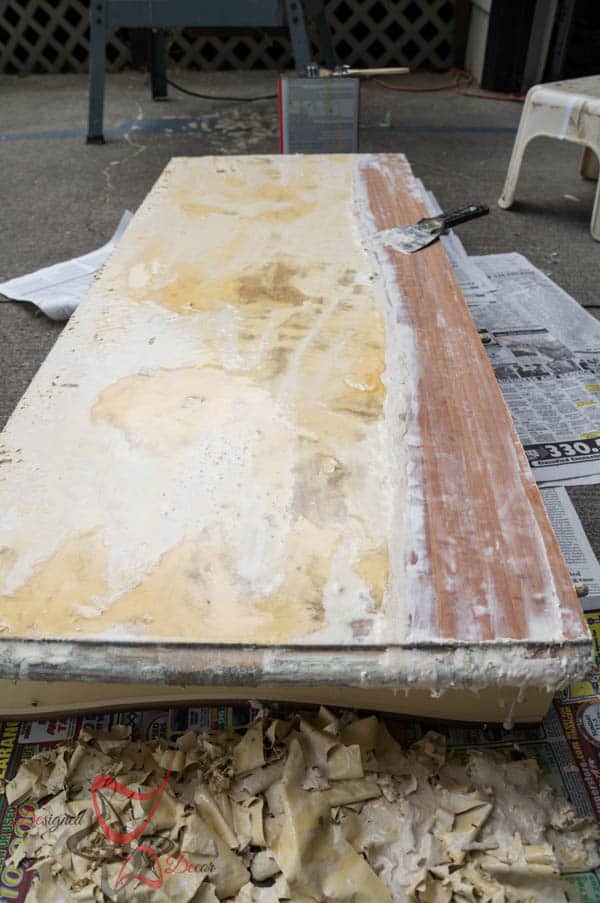
Make sure you are wearing the proper safety equipment before beginning, heavy duty gloves and goggles. Tip: Wear the proper shoes and pants as the paint slug can splatter. Apply a coat of Klean-Strip Paint Stripper. Tip, I use a disposable chip brush so I don’t have to clean the brush when done. The above picture is how it looks after 30 minutes wait time. I use a large putty knife to remove the layer of paint onto a few layers of newspaper. Tip: I like to use extra layers of newspaer that way I can wrap up the paint sludge and still have extra layers under my work area.
A second coat of stripper maybe needed to remove all the paint. This factory painted table did need 2 applications of stripper. You want to see the wood when you remove the paint sludge.
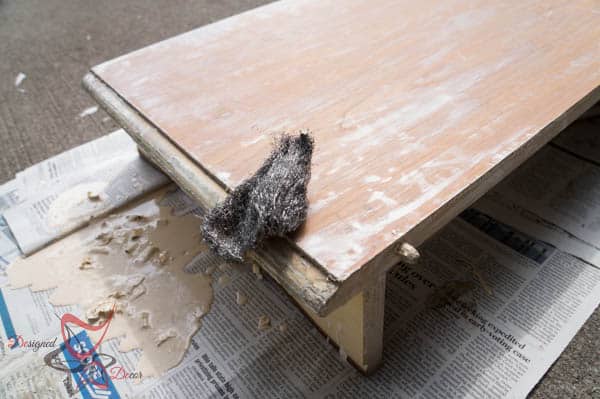
After the paint is removed from the top, use Steel Wool to remove the paint from the edges.
Step 2: Sanding
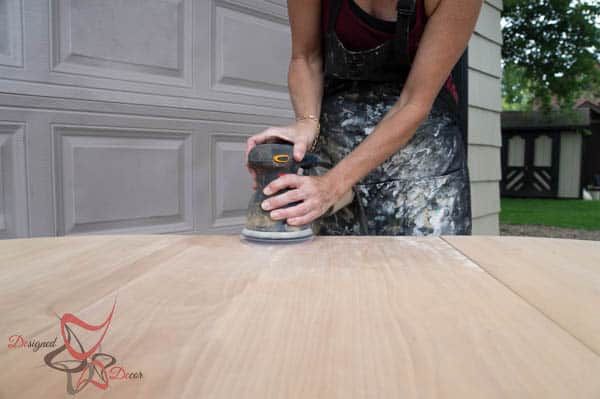
My favorite tool for sanding is Ryobi Orbit Sander. This sander does a great job at removing any extra paint and getting down to the bare wood.
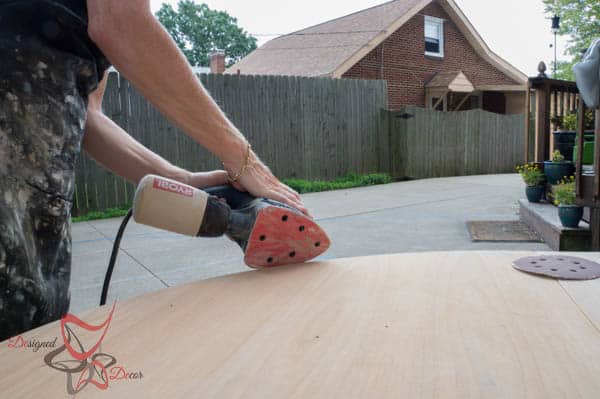
I use my Ryobi Finishing Sander on the edges and finished by sanding the remaining edges by hand. Now she is ready for paint on the bottom and stain on the top. I will share with you how the table turned out later this week. You won’t believe how pretty she turned out and you will have to hear about those chairs!
You may also like these great posts:
Join the DD Community!

Join the Designed Decor Community and receive weekly free tips on DIY home projects, painted furniture, decorating, and much more.



Christine says
I hope you give Citristrip a try and give it time to work. Your pieces (and doors!) are beautiful, but you’re poisoning yourself unnecessarily and working too hard.
If you leave Citristrip on for a couple hours, vs playing with it and getting impatient, you can just squeegee the stuff off. Too many people rush it (like The Rehab Addict!) and don’t let it do it’s job.
No point in burning yourself or having to dispose of potential lead paint along with chemical stripper. Arrrrghhh!
Jackie says
i love the way this turned out! I especially love the table top stain. What did you use? I have some tables I want to stain a medium gray but I’m not sure what product to use. I want the wood grain to show.
Designed Decor says
Jackie, If you use a lighter color, the wood grain will show through. I used the black gel stain and since it is a black gel stain, you dont see the grain. If you strip your tables down to the bare wood you can use a regular stain in the gray colors. Minwax has a classic gray in their regular stain line.
Designed Decor says
Shannon, my apron is my rag to wipe my hands, other wise I would have stuff everywhere!
Denise says
Great Tutorial DeDe. Shared on FB and pinned yesterday.
Designed Decor says
Thanks so much Denise! I really appreciate your support!
karen@somewhatquirkydesign says
I always line up a cardboard box at the edge and scoop all the sludge into the box. The part I always skimp on is the long pants and shoes. It doesn’t take long to realize you have spattered yourself! I use critus strip sometimes and there is another green one that I use occasionally but I like the chemically ones the best. They just work better. Way better.
Designed Decor says
Karen, I am with you on the pants and shoe thing! I hate using chemicals, but sometimes you have to use the BIG guns!