Happy New Year and Happy First Monday of the year! It feels so good to get back to a routine. It is nice to take a break once in a while, but routines are good. It has been 2 weeks since I worked out and it felt great to be back at it today. I also took the dog out for our routine walk. I hate the cold weather so once it is here, I have a hard time getting myself to go outside. Today is officially my first DIY post of 2013. What a great amount of learning I did in 2012. Last year I had hesitantly decided to start a blog, and what a surprise of how much I love blogging. If someone would have told me this is what I would be doing today, I would have laughed really hard at them. So thank you to all of you who have followed along. Ok, your probably saying “enough already and just show me the repurposed pet bed”, so that I will.
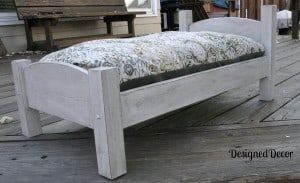
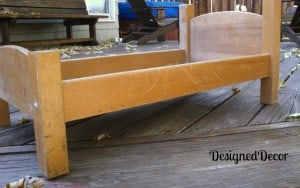
I was wandering through the Salvation Army store and came across this doll bed. As soon as I saw it, I was thinking of all the cute adorable little animals that would love to have this as their bed.
I purchased it with the intention to sell it, because my puggle is too big for it.
I wanted to try the new antique glaze that I had purchased and thought this will be a great item to give it a try. It was small enough that if I hated how it turned out, I could repaint it without a lot of hassle. I started by making my own chalk paint, with some cream latex paint I had from my walls in living room. If you would like to see the recipe I used for my chalk paint, you can read about how I used it on my repurposed plant stand. I love chalk paint because it allows you to be lazy take the easy way out and not have to sand and prep your item.
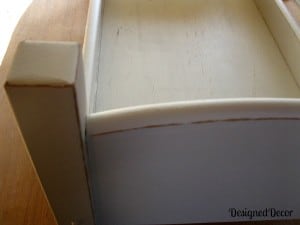
I applied two coats of chalk paint, allowing to dry between coats.
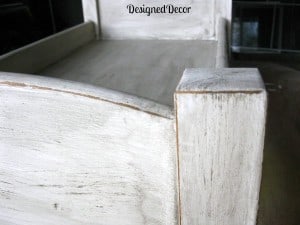
Once the chalk paint was dry, I sanded down the edges to give the bed the worn look.
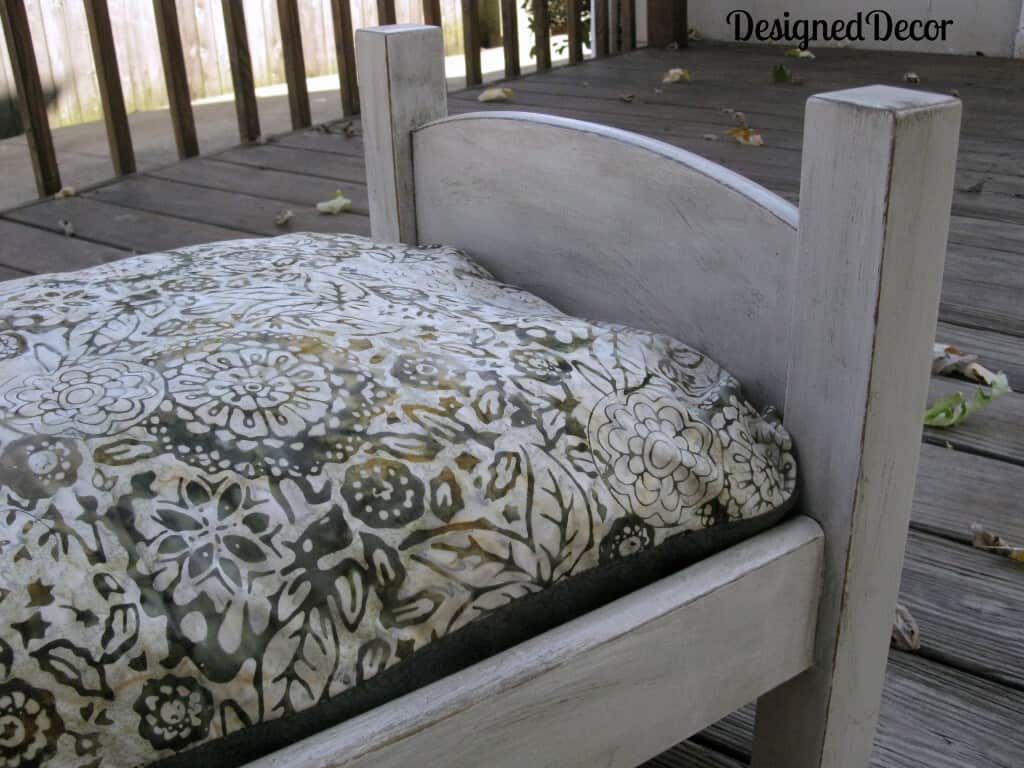
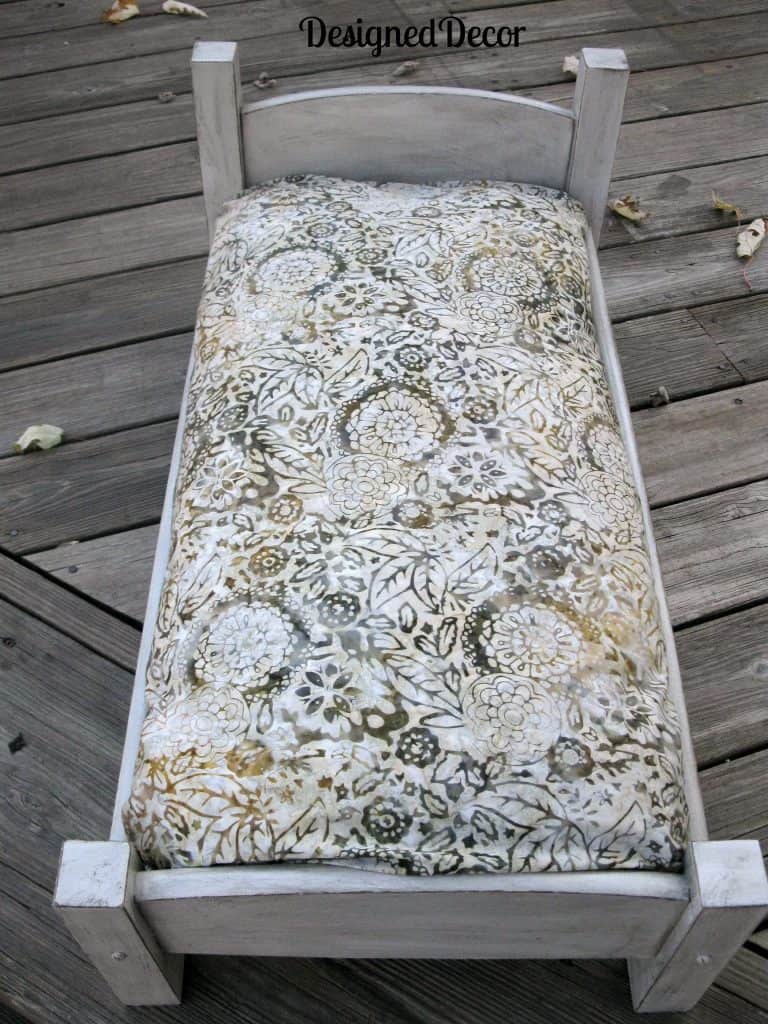
I than applied the antique glaze in small sections. I painted a light coat on with a paint brush and then used an old t-shirt to wipe off the excess glaze. Once the entire piece was glazed and dry, I went back over and used a dried brush technique with the antique glaze. I also sealed the bed with an acrylic urethane sealer. I love the color and the look of this bed. I want to do this same technique with a dresser or table, once I find that perfect piece.
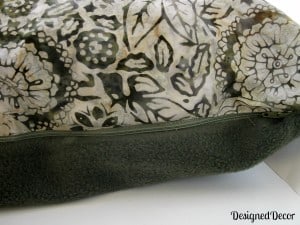
Now comes the challenging part. I don’t sew very well, but decided to sew my own pillow bed to fit inside the bet bed. Oh and to makes things even more complicated, I decided I wanted the pillow to have a zipper so the cover could come off and be washed. Me as a pet owner look for things that can wash easily. I found this great tutorial of how to sew a zipper in a throw pillow by Brett Bara. I have to share my trails of sewing my pillow and a zipper. I started sewing the base and sides of the pillow and once I got to the zipper, I decided to watch the video. For those of you that sew are probably cringing, and saying NO you do the zipper first! Well I watched the video and found this out. I followed the step by step on how to sew the zipper and ended up sewing my pillow shut and could not turn it to the correct side because remember I did the sides and the base first. Take the advice from me, watch the video first. I managed my way through the zipper and had to use my seam ripper to open up the zipper opening.
Looks pretty good for my first zipper job! I also used an old pillow case for the inside pillow, this will allow for an easy removal of the outside pillow case. I only had to make a few minor adjustments to the pillow case.
So the next lesson I learned on sewing a pillow to fit an exact dimension, is to allow for seam allowance and the simple fact that once you stuff a pillow it gets thicker, therefore the pillow gets smaller. DUH! After I made this stupid mistake, I thought to myself why on earth did my common sense not kick in and think of this before I started. So back to the fabric store I went. Well, the good thing about it is I was able to do my second pillow properly and better than the first. So I don’t know if there is an exact guidance out there in the sewing world, but I added 4 inches more to the length and the width of my pillow. It turned out the correct size the second time, so maybe 4 inches is the trick. I am sure it all depends of how much stuffing you place inside the pillow. I also listened to the advice of my mother in-law that if you go bigger you can always go back and make it smaller, so that is what I did, except I did not have to make it smaller with the extra 4 inches. Thanks for the advice Alice, I should have asked you before I started the pillow in the first place.
Now to find the pet that this bed will belong too!
Join the DD Community!

Join the Designed Decor Community and receive weekly free tips on DIY home projects, painted furniture, decorating, and much more.


Julie {Lilacs & Longhorns} says
So cute! Love it! What a great find….if only I could find something like that for my lab mix!
Stopping by from Funky Junk linky.
Julie
Trine @ Creative Pink Butterfly says
Thank you for linking up to The CSI Project. Your dog is supercute! I would never have thought of using a dolls bed for a dog. But I am not sure if my dog would sleep there if she had the chance.. But still, cleaver idea 🙂
Inspire Me Heather says
Your pet bed turned out great and I’ve got this linked to my pets and home décor post too today!
Emily says
Not sure which is cuter, the bed or the puggle. (Well, I think the puggle is.) I love this idea, but I think my 20 lb half daschund would be too big too. It’s a super idea though!
Kim~madeinaday says
OOOh ! I want one~ Now I am going to have to be on the lookout! Thanks for linking up on Made in a Day!
Kim
Pamela says
What a precious bed! Thanx for sharing the make over at THT.
Jessi @ Practically Functional says
I love it, what a fun idea!
Jocie@TheBetterHalf says
so so cute Dede. Although I must say, it makes a mighty cute doll bed too (my girls would be in love!)
Thanks so much for sharing.
Roeshel says
So sweet!!! We’re hoping to rescue a dog soon. I have plans for lots of DIY pet projects too!
Diana Rambles says
Awesome re-purpose!!
Tanya Schroeder says
First of all, your dog is adorable! Secondly, this bed is amazing! What pet would’t want this bed! The antique glaze is very cool! I’m not that crafty, but my gears are turning already! This is wonderful! Thanks for sharing at One Creative Weekend!
KC @ The Real Thing with the Coake Family says
Very cute! We just got a black cat. He loves to sit in my Grandma’s chair. I’m thinking I may try making him a bed so his black fur will be there rather than all over a chair people may sit in.
Thanks for the idea.
KC
Heidi says
What a great redo! Thanks for linking up at One Creative Weekend! Enjoy your weekend.
Michele says
Love your doggy bed DeDe!! My dog is jealous:) New follower. Follow me back:) I posted to Front Porch:)
Leslie Stewart @ House on the Way says
Such a cute pet bed! Thanks for sharing at my twirl & Take a bow party. Love your new site! Have a great week.
Leslie