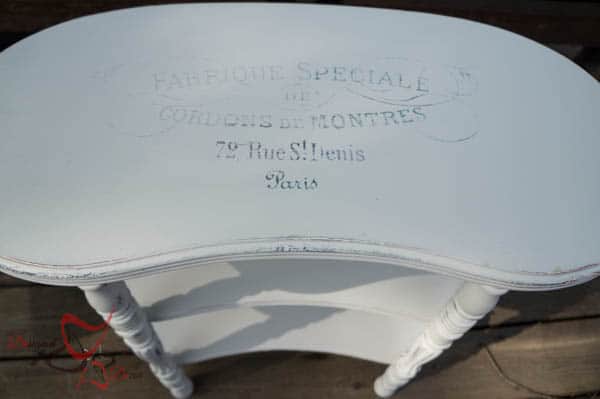
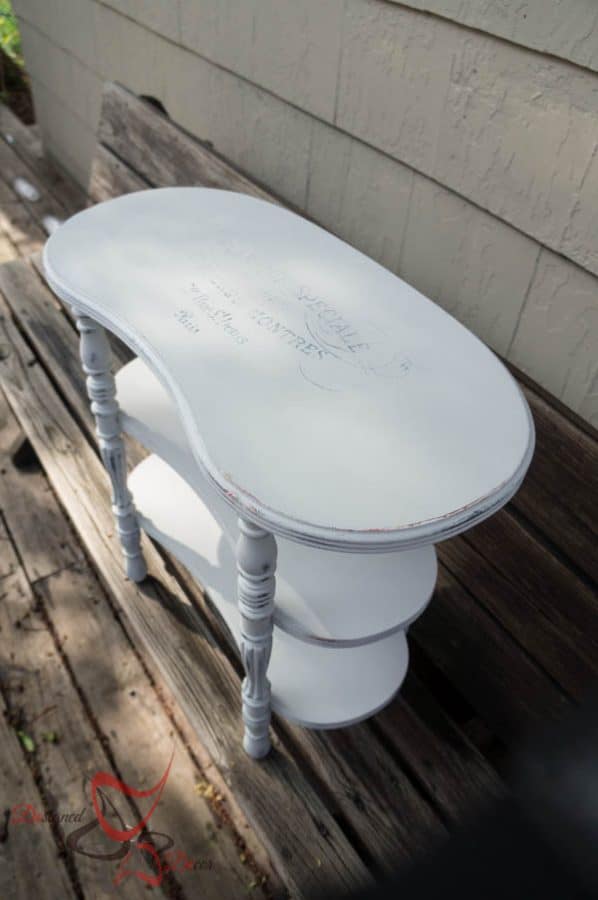
This cute little kidney shaped accent table needed a little makeover. I decided it was too plain with just paint and decided to do a freezer paper graphics transfer.
She turned out pretty cute, but let me tell you this simple small project was not so fast and simple like I thought it would be.
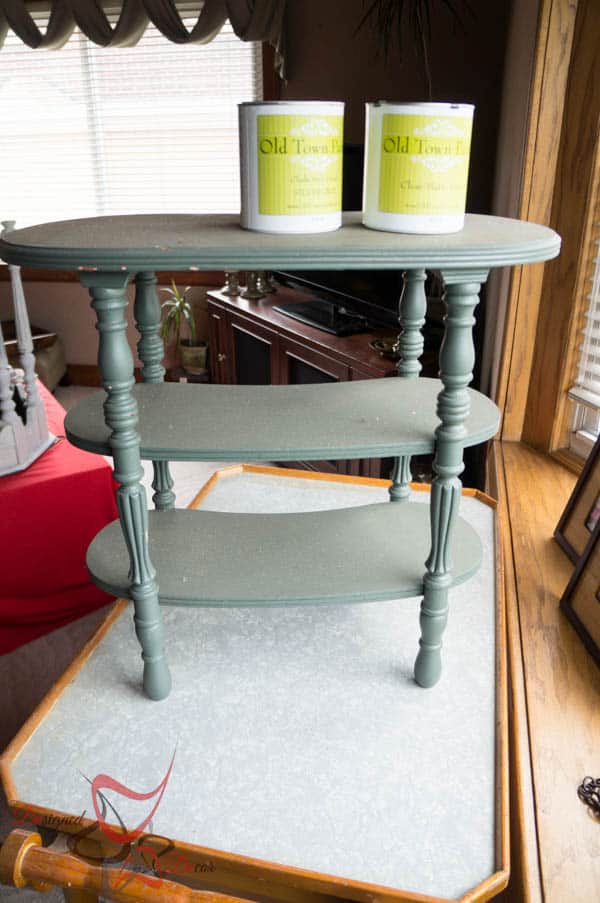
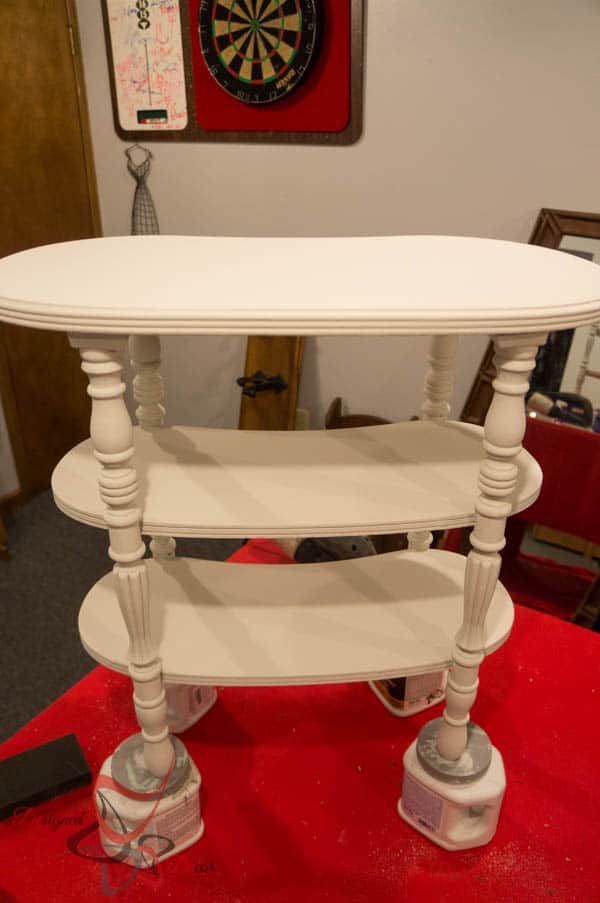
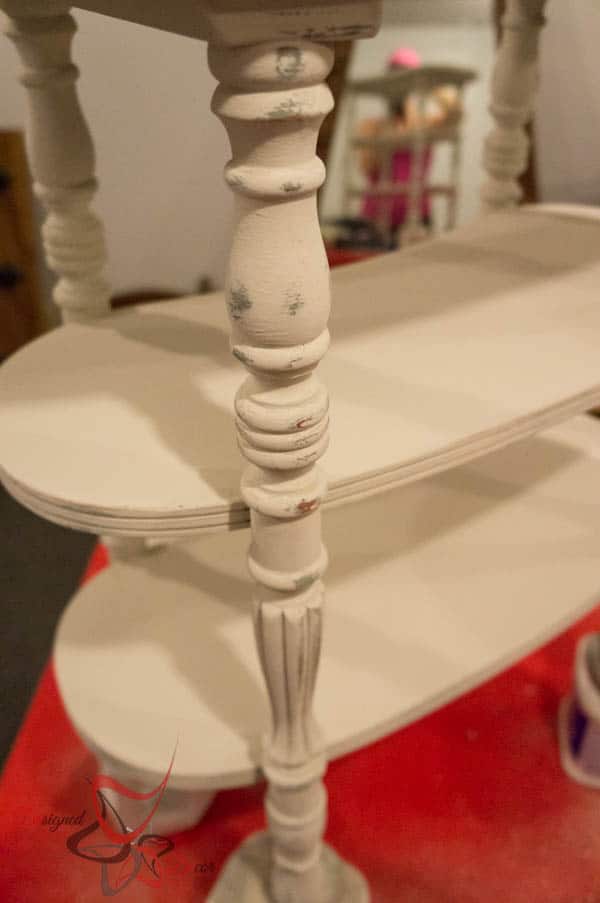
The table was a nice shade of green and I decided to use Silver Grey from Old Town Paints over top. I wanted to stress the edges and legs so the green would show through and give the table more character. I also decided it still would be too plain and I decided to add a graphic to the top.
I love the shade of the Silver Gray form Old Town Paints. It is such a soft shade of grey, it is almost white. The paint was so easy to use and I loved how easy is was to distress and sand down. You need to stop over and check out the great colors this company offers in their Chalk Style Finish Paint. I like to use a fine sanding block when distressing furniture.
This table had been painted a few times. I was able to get a red paint color to show through on certain areas of the table. This gives the table so much more of an aged look with the various colors showing through. Let me quickly run through some tips and advice I learned form doing a graphics transfer with freezer paper. I used the tutorial from Home Frosting on how to set up my freezer paper for printing. This method worked great and it allows you to run the freezer paper through your printer without the printer eating or miss feeding the freezer paper.
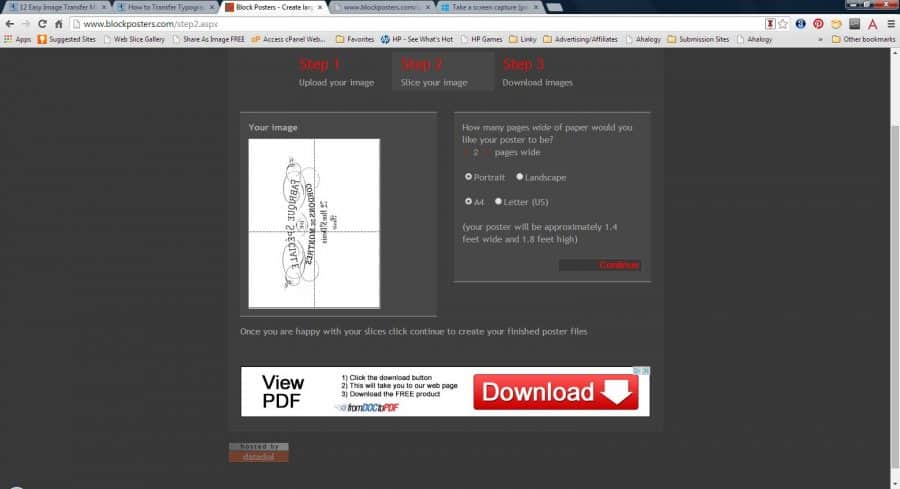
I felt that just printing on a 8 x 11 sheet of paper was to small for the table. I used blockposters.com to size the graphic to my table. This site is very simple to use and it allows you to size graphics to the size of sheets of paper.
This is a screen shot of how easy it is to select the size of your project. Step 1 was uploading the image, Step 2 is selecting the direction of the graphic and selecting how many sheets of paper you want the graphic to be. I was able to lay 4 sheets of paper on top of my table and visualize how much room the graphic would take up. Step 3 is to download your completed sized graphic.
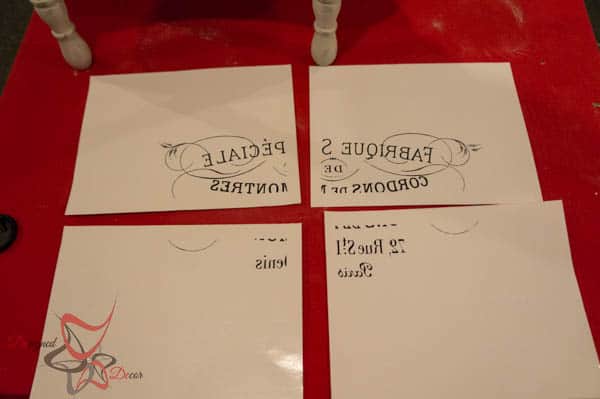
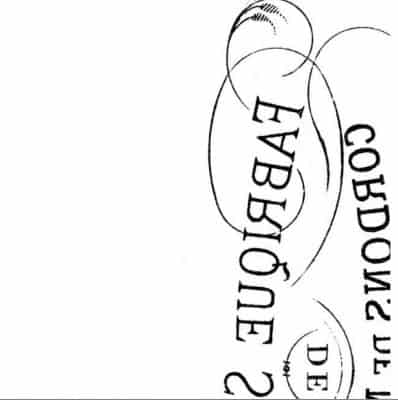
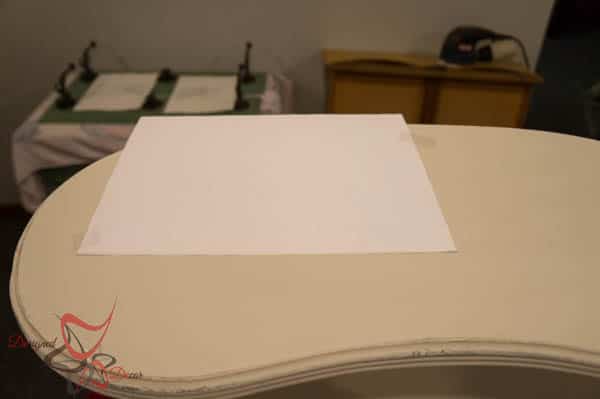
The above image is 1 sheet of 4. This is where I want to save you time and frustration. Once the image is downloaded, you need to print directly from the image that comes up. By printing directly from this download, it keeps the image true to size. I made the mistake of saving the download and opening up in Windows Photo Gallery and printing from there, it was not to scale. I had to start all over again with the printing after I figured out the mistake. So about 8 prints later, I was ready to lay down the graphic.
You only get 1 shot of placing your graphic centered and correctly on the table. You can not lift up and move, so make sure you have a center point and the image is straight. I was able to place the image correctly, but my mistake was not taping it in place more. I used 2 small pieces of scotch tape and lets just say that did not work. When I started to rub the paper to make sure the ink was transferred, the paper moved. UGH! My image was smeared and I had to start over. I did not take pictures of my mistake, but this is where my easy project turned in to a headache. I wiped off the wet ink from the table and some ink was already set. I painted over the dry ink and had bleed through. I did another coat, still had bleed through. I painted with a primer, still had bleed through. I had to sand down the top and start over. So learn from my mistake and tape down the graphic properly before wiping the back of the paper.
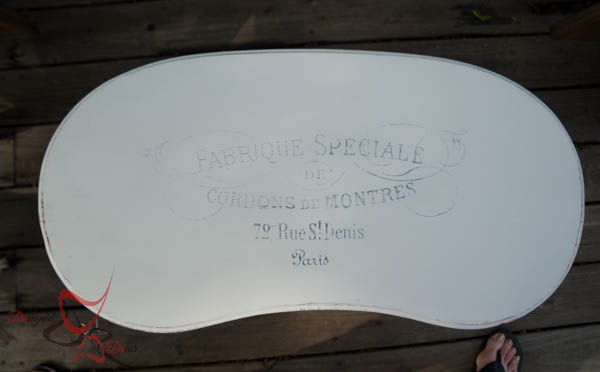
I love how it turned out. It was a project full of trial and error but this is how you learn. I am glad that is was a small piece of furniture for my first freezer paper graphics transfer.
Join the DD Community!

Join the Designed Decor Community and receive weekly free tips on DIY home projects, painted furniture, decorating, and much more.


Mike Thortsen says
I have 2 tables identical to this. Did you by chance do any research on their age or origin?
Designed Decor says
Hi Mike,
I did not research the ages of the tables. Sometimes it can be hard as there are usually no markings on a lot of the furniture pieces I find. There are a bunch of sites that you can google and they might help you to figure yours out.
lloyd says
You’ve done a great job! and creative
Sandy says
LOVE this project, a lot! I love getting inspired by others.
SJ @ Chasing the Donkey says
I am sending this to my bestie who does these kinds of renos, she will love this!
Designed Decor says
SJ, Thanks for sharing!
Maria Oller says
ohh it looks wonderful I need to start re-purposing and painting a couple of old pieces
lisa jones says
You Did A Great Job Would Love To Try Something Like This You Make It Look So Easy!
Designed Decor says
Lisa, just learn from my mistakes and that will make things a lot easier for you! LOL
Natalie says
Oooo I love this, the text transfer is awesome as well.. you make me want to go dabble in some paint!
Joyful Gifts by Julie says
What a great find on such an unusual table. Love the finished work.
Designed Decor says
Thanks Julie, I love the shape of the table too, very different!
Joanna Sormunen says
It looks amazing! Really great work, I wish I could do projects like that too!
Franc Ramon says
It’s a nice transformation and you did a great job.
tonygreene113 @ 113tidbits says
You have some really good woodworking talents. I’ve never had the patience to do such projects myself.
Designed Decor says
Thanks Tony!
Kathleen Garber says
Very cute! I’m glad to see there is an easier way to print off something bigger than one sheet of paper now. I remember making banners and posters as a kid and trying to figure out how to do it myself.
Designed Decor says
Kathleen, things are so much more easier now! This website was so easy to use!
Rebecca Swenor says
Love projects like this. Thanks for sharing and it looks great.
Kristen says
THAT is Adorbs!
Aisha Kristine Chong says
It turn out so lovely. Nice one!
Designed Decor says
Thanks Aisha!
michele d says
I have done something like this in the past. I know it’s a lot of work but the results are great. Love your table btw.
Designed Decor says
Michele, I would do it again, it will be easier the next time too!
Michelle F. says
What a beautiful transformation! Great job.
RUSS says
WOW! You did a fabulous job with that table. I admire your patience for that. It’s really beautiful.
Designed Decor says
Patience was key! I was going to forget it after the first mess up but glad I didn’t!
Paula Parker says
Very nice. It turned out great. You can always find old tables cheap. I bet you, you make some cheap, but expensive looking gifts! You go.
Designed Decor says
Thanks Paula, yes, I am very frugal and can find great bargains and make them look great!
Mama to 5 BLessings says
WOW that turned out great, what a nice way to spruce it up!
Crystal says
Love the table!! So cute!!