I have slowly been sharing all the things I did to complete my Guest Bedroom Makeover, and today I am showing you how to Stain a Basket.

I saved these storage baskets from the trash.

Yes, these were sitting on the side of the road, ready to be picked up for trash day the next morning. Of course I slammed on the brakes, popped open the hatch and threw them in. They look pretty good, right!
So they were a little moldy, but is that reason to throw them away? Most people say yes, I said “Oh, these can be saved.”

The first step was to clean them up. I took a bristle cleaning brush and throughly dry scrubbed all the dust and dirt from the baskets. On the areas that were molding, I used a little bit of soapy water and they cleaned right up. Let them dry completely before moving on.

Next step was to glue down any pieces that were coming away from the basket. Thankfully, these were in great shape and I did not have to glue that much on the baskets. My go to product for any glue project is Gorilla Glue.

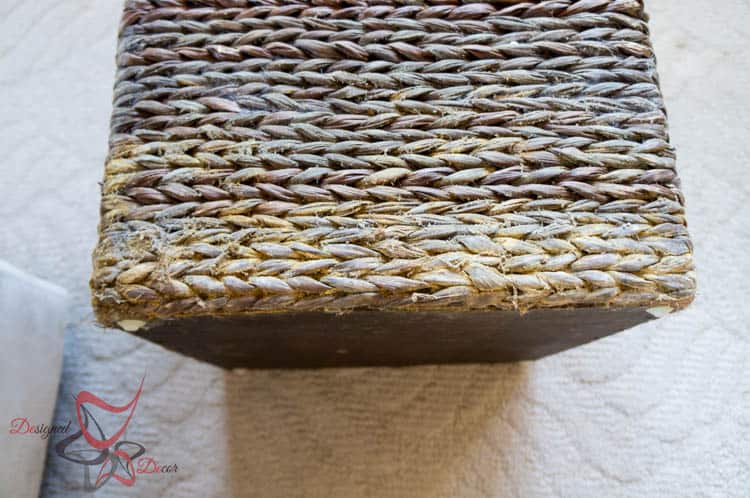
Yes, I used this Restore A Finish to stain the baskets. I had this on had and decided I would use it up before going to buy anymore stain. Guess what, it works just like stain on a basket. So, if you don’t have this on hand, you can use regular stain. I applied with the sponge brush and let it dry for a few days before placing in the room. Just to make sure, I placed a few layers of newspaper under the baskets until I knew they were good and dry.

I am sure you can figure out which one is stained! Yes, the one on the right!

If you are staining a light-colored basket, you will need to do the staining process a couple of times to get it dark. I did try it on a light color basket and it needed 3 coats to become dark.

I love these storage baskets and I was happy to picking in someone elses trash! Here are a few of my guest bedroom projects if you missed them.
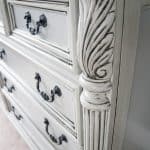
Furniture Makeover

3-D Frame Gallery Wall
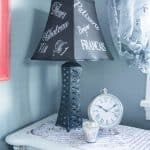
Thrift Store Lamp Makeover
Leave a Reply