
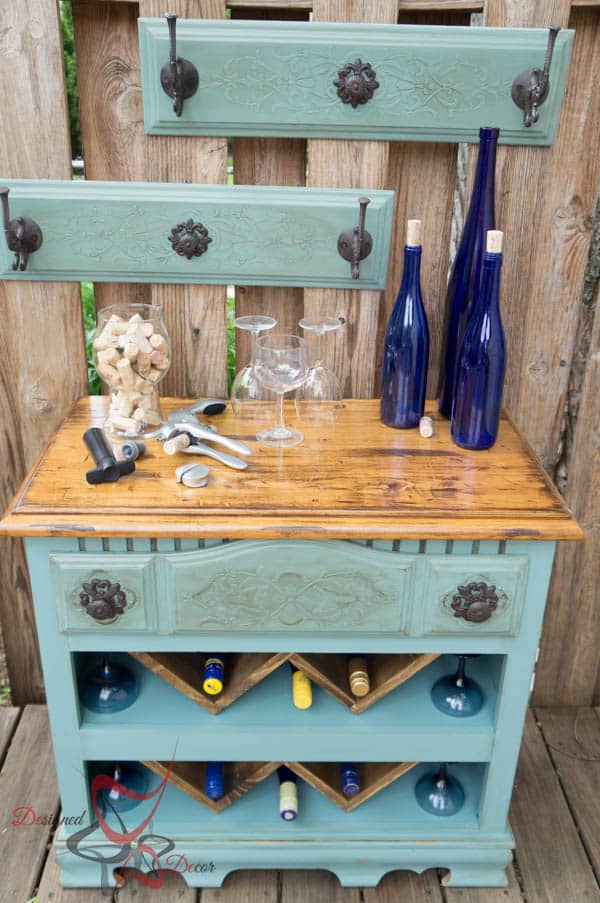
Last week I shared the dresser that I re-purposed into a wine bar and promised I would share how I made the wine bottle holder.
This was an easy project to tackle now that I have my new FAV tool!
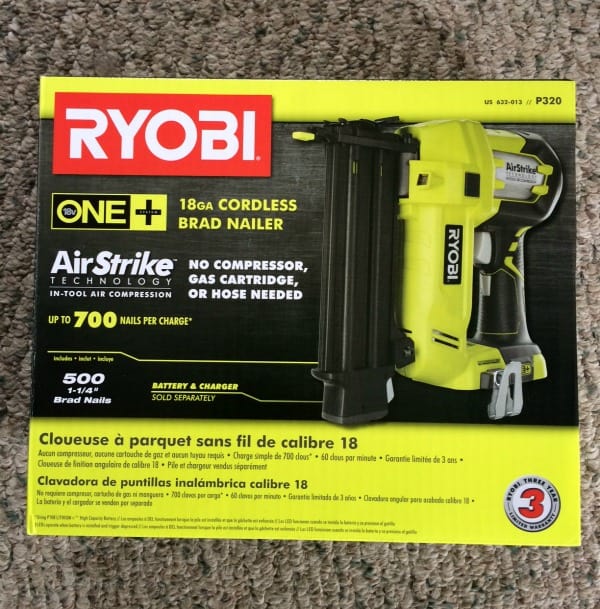
This Air Nailer from Ryobi has been on my list of must have tools since I used it last year at the Snap Conference. I am now a proud owner and I LOVE this thing! Supplies needed: 1 piece of 1 x 16 x 8, 2 pieces of 1 x 2 x 8, 1/4 inch plywood, and wood glue.

We started by making a support bracket for the shelving. Mr DD made a “H” bracket using the 1 x 2 x 8, to place inside the cabinet.
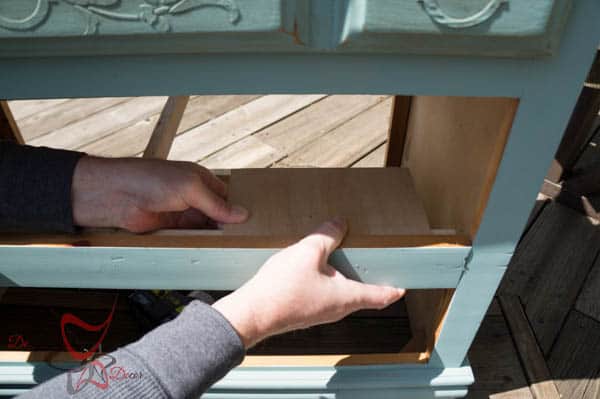
Before securing the “H” bracket, test the placement and the depth by using a scrape piece of the 1/1 plywood.
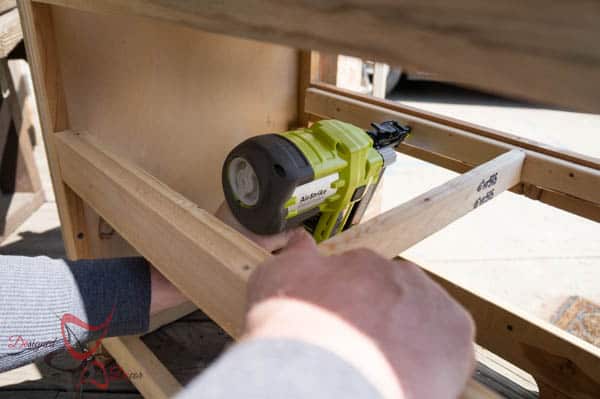
Using the Air Nailer was the easiest way to complete this project. Yes, I could have used screws and my Ryobi power drill, but why would we want to after having such power in your hands.
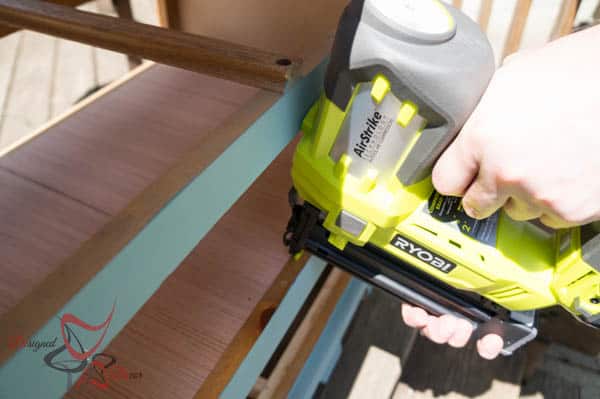
After the support brackets were in placed, cut the shelving and nail to the support bracket. Tip, do the bottom shelf first! This again comes from experience, we did the top shelf first and it was a very tight space to work in after the top shelf was in place.

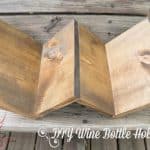
Start by cutting the 1 x 16 x 8. You will need 4 cuts at 8 1/2 and 4 cuts at 6 1/2(This is for 2 wine bottle holders). My opening was only 6 1/4 high, so your dimensions will differ based on your opening. Mr DD turned the blade to a 45 degree angle and cut the 8 1/2 boards on the end to give them a more finished look.
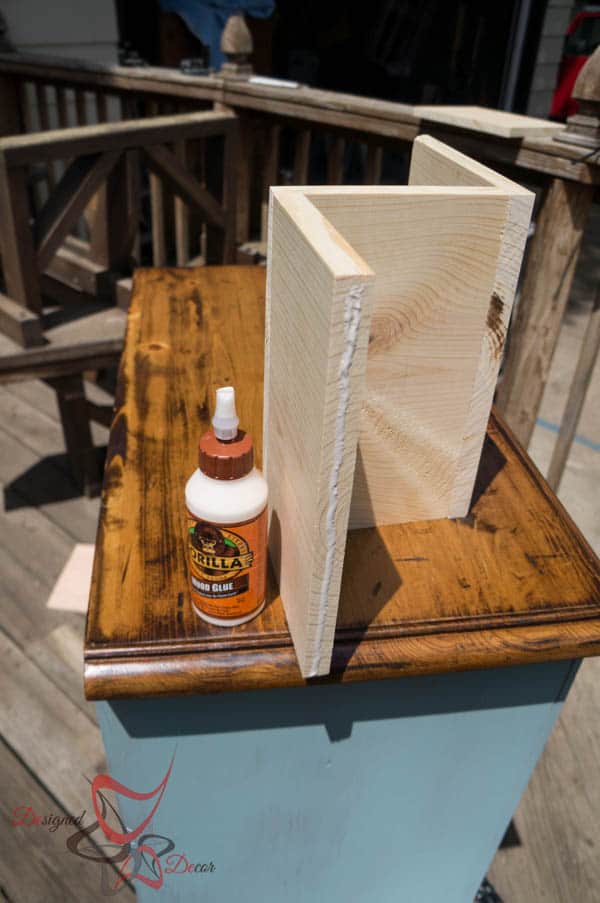
Assemble the boards by using wood glue and the Air Nailer. Again, I can’t say how much easier a project is using the air nailer. I cant wait to start another project just so I can use my FAV tool.
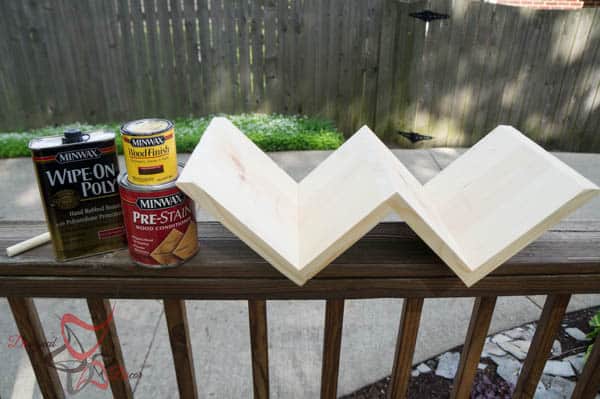
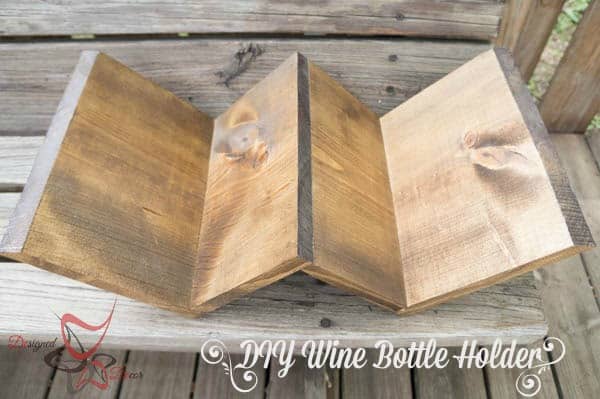
I decided to stain the wine bottle holder to give contrast against the painted shelves. I love how they turned out.
Don’t forget to use the wood conditioner before stain a project!
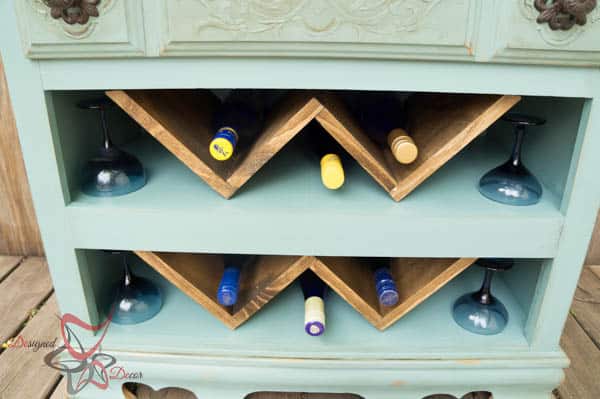
I love the result of my Dresser turned win bar. I put a lot of work into this piece but it was so worth it!

dadriscoll says
Very clever! x
karenploransky says
Awesome upcycle! Love the bonus drawer fronts too!
Designed Decor says
Thanks so much!
Tami @ Curb Alert! says
I love how you didn’t let the drawers go to waste. What a great piece now!
Designed Decor says
Tami, I could never toss a perfectly good draw front! LOL
Miriam Illions says
I think I saw each of these project individually – how fun to see it all come together! Super creative!
Designed Decor says
Thanks Miriam, I had fun doing this one! I cant wait to make another!
Susan @ Rustic ReDiscovered says
Beautiful job. Thanks for the great idea.It turned out lovely.
Designed Decor says
Susan, Thanks for the nice compliments! Have a great week!
artsychicksrule says
That is awesome!! Really…I love, love it! Pinning!
Nancy
Designed Decor says
Nancy, Thanks for pinning! I am so glad I impressed you, the queen of DIY and makeovers! xoxo
Carol Speake says
What a great idea. Thanks for sharing! ~Carol
Gail (@repurposedlife) says
beautiful job! pinning!
Designed Decor says
Thanks Gail!
Sarah says
I love my Ryobi AirStrike nailer, too! No cords, no compressor…no fuss, no muss! 🙂 Love your wine bar, BTW, especially the way the details on the front of the drawers stand out. Nice job!
Designed Decor says
Sarah, I think the air strike is the best thing next to sliced bread!
Homeroad says
I love this DeDe and the color is gorgeous!
Designed Decor says
Thanks Susan!
Heather @ new house, new home, new life says
A home isn’t complete without a wine holder (and a nail gun!!). Love this solution for storing wines!!
Designed Decor says
Heather, I could not agree more! Just put done the nail gun when drinking the wine! Lol
Rachel Kathyg says
Wow! This turned out so, so beautifully…What an awesome piece to have..I love it. pinned it. Beautiful job! Have a great week:)
Designed Decor says
Rachel, Thanks so much for pinning!
dishofdailylife says
What a clever idea! I love this! Just pinned it for later!