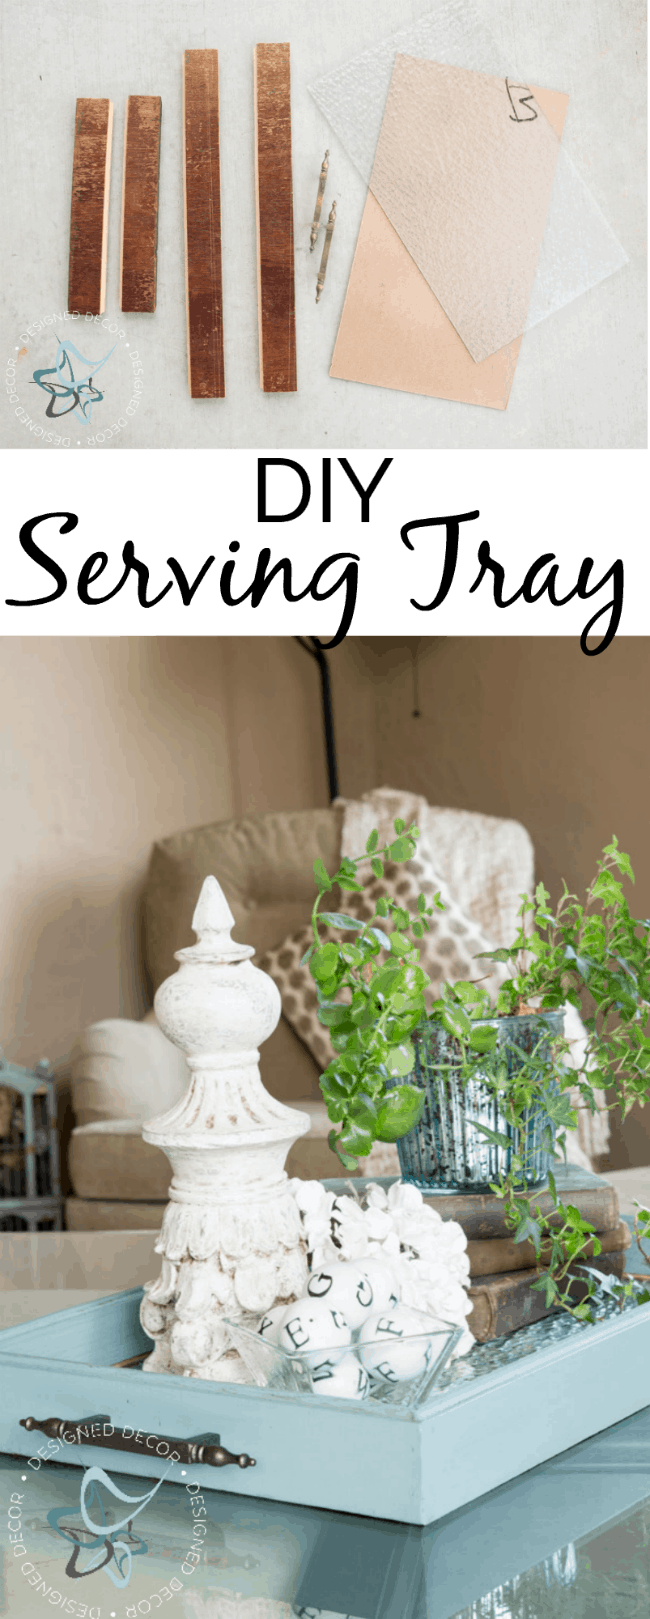
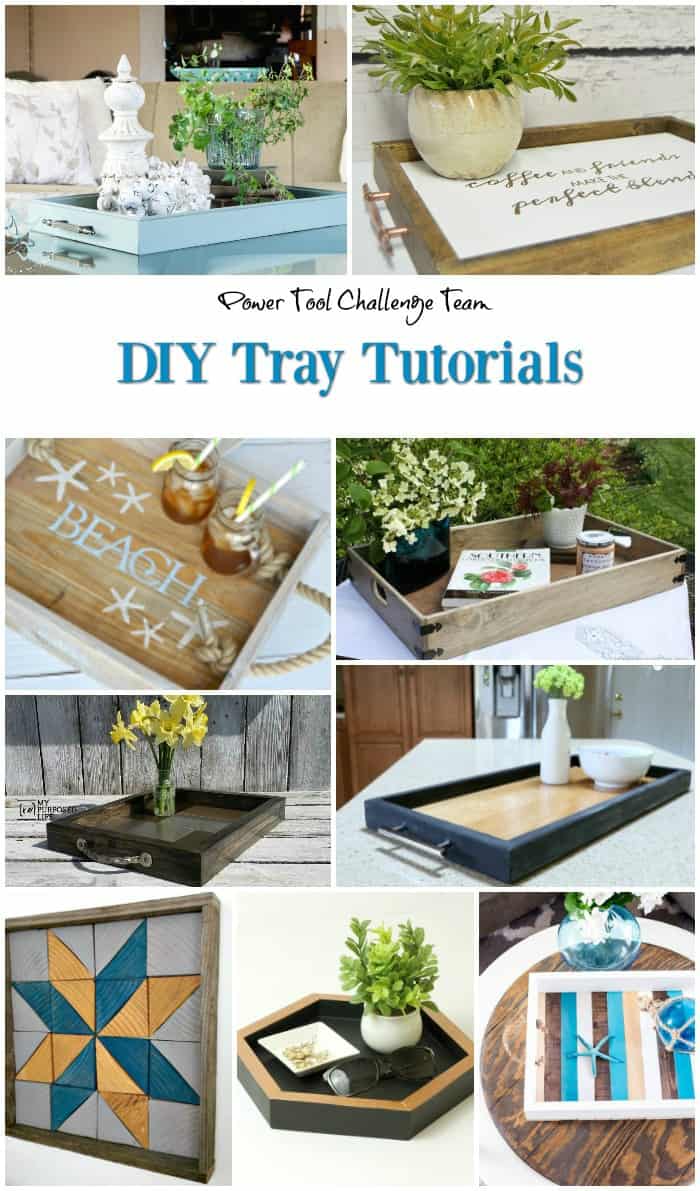
This month the Power Tool Challenge gang has decided to repurpose or build serving trays. So you are going see all the different versions of a DIY serving tray.
This post contains some affiliate links. Click here for my full disclosure policy.
My tray was made with all materials that I already had on hand, left over from other projects. So technically, this tray had a $0 investment, outside of my time. This is my favorite project, using material that I already have so this is less stuff to trip over in my workshop.
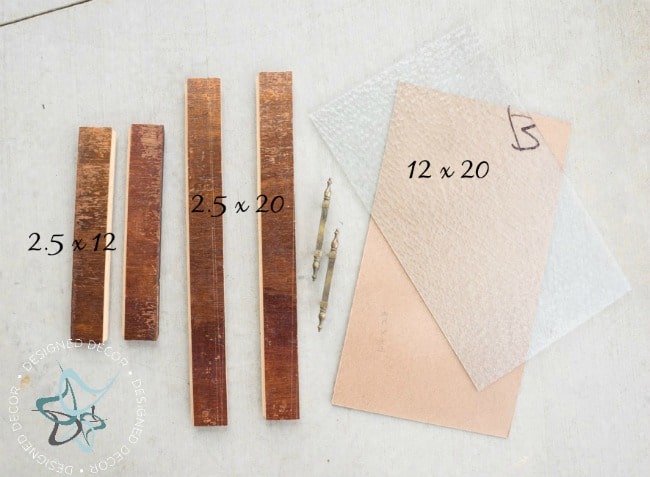
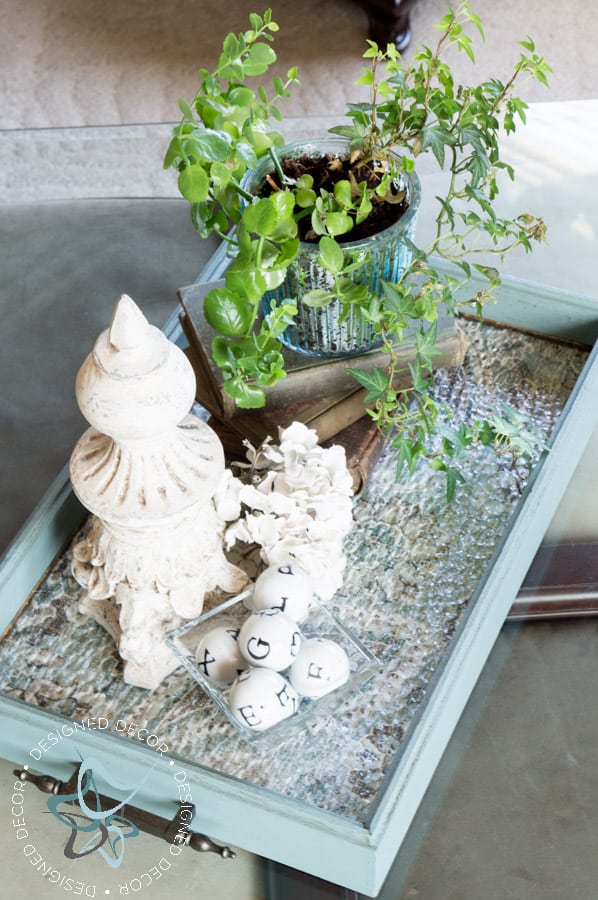
I started by cutting my glass piece 12 x 20. I used to do stained glass work, so I have a lot of glass still on hand and all the tools needed for cutting glass. Cutting glass is very simple and you only need a glass cutting tool and some glass cutting oil
for the tool if you wanted to try your hand at cutting glass. If not, go to your local store that sells glass and they will sell and cut the glass for you. Next, you will need to cut your wood to size as well. I did cut my corners at a 45 degree, but you do not have to, you could assemble as a square.
I did get all fancy and routered the bottoms of my tray so I could place the glass in the wood channel of the router line. I also did a second router line on the bottom to place the back of the tray inside the frame as well. I did this so I could remove the back and change out the material I placed in between the glass and bottom. Again, you don’t have to do the fancy cuts. Just cut your wood frame to be bigger than the glass and you can set the glass inside the tray and still be able to remove. I assembled my tray with Gorilla wood glue and my Ryobi Air nailer.
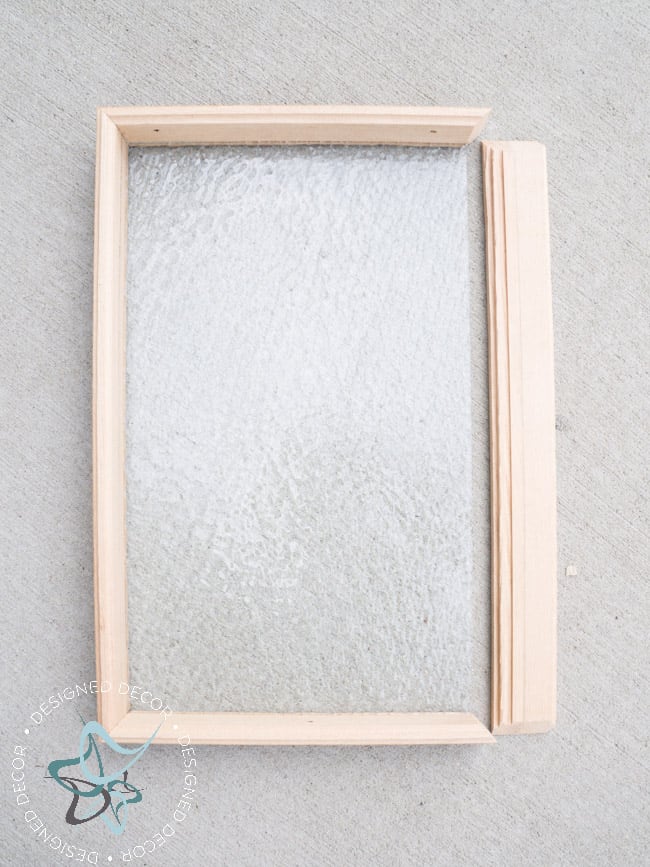
I put the three sides together and placed in the glass and completed the last side.
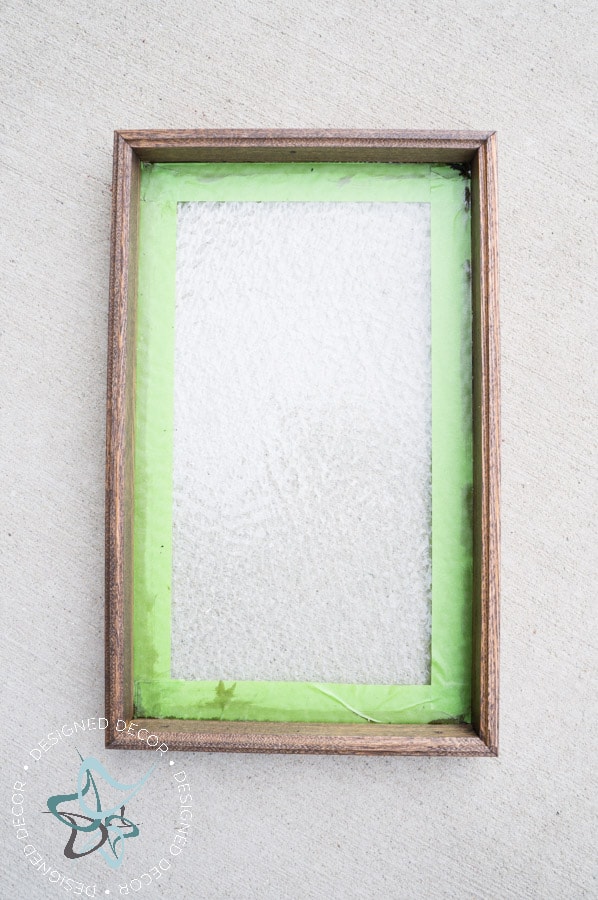
I stained the serving tray before I painted in case I wanted to do a distressed look. I also wanted to see how it looked like with just stain.
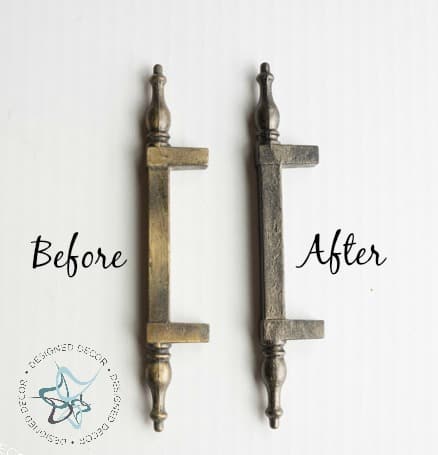
I did a quick makeover on these original furniture hardware pieces. I turned the brass gold into an oil rubbed bronze color. You can take a workshop on “how to paint furniture hardware” that I created and I cover this technique in that workshop.
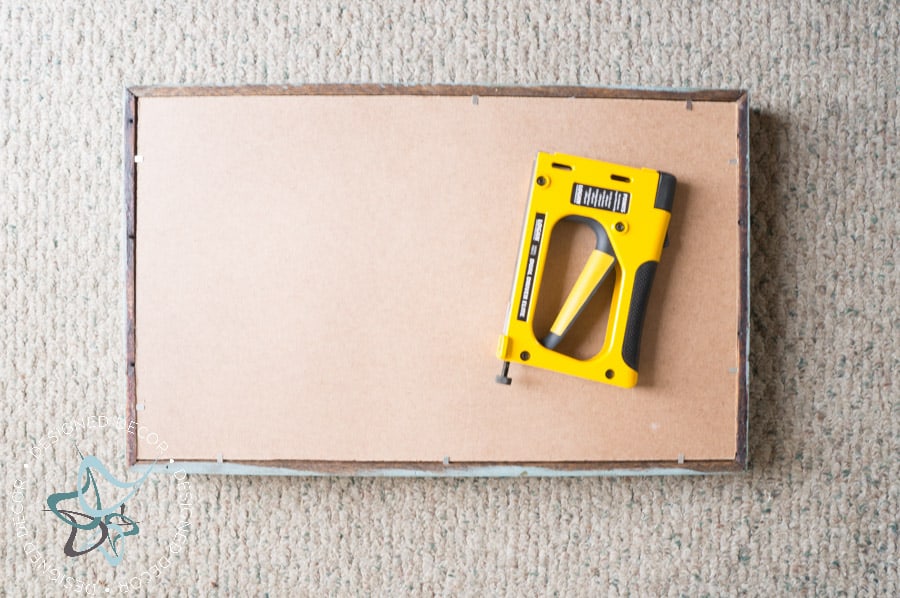
I used a spray adhesive and glued the fabric to the bottom and placed the bottom on the tray using a point driver.
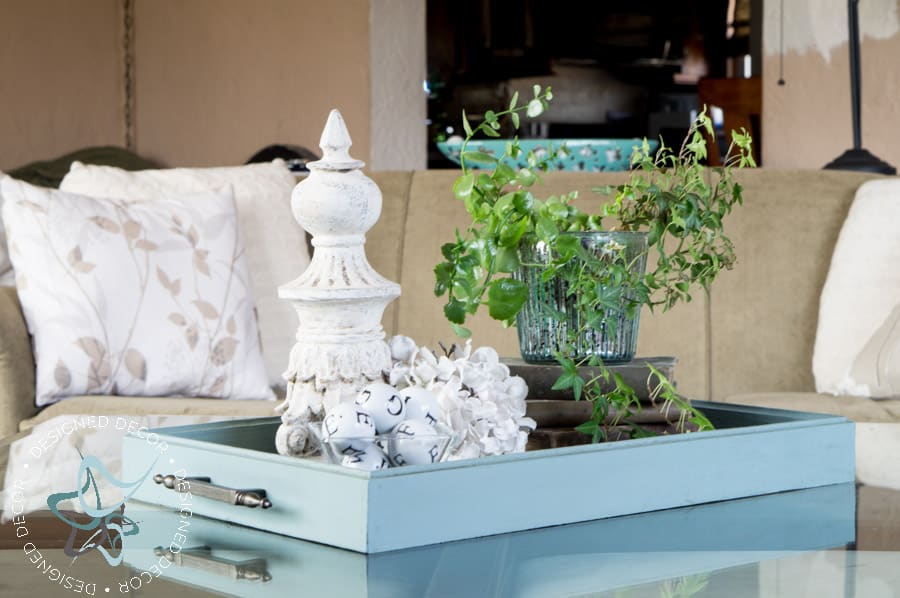
I painted the tray in Amy Howard One Step paint in Vintage Affliction and dark antique wax.
Now make sure you go over and check out the Power Tool Challenge Team projects for some serving tray inspiration.
Designed Décor – DIY Serving Tray
Interior Frugalista – DIY Farmhouse Tray
H2OBungalow – Coastal Rope Handle Tray Tutorial
Virginia Sweet Pea – DIY Farmhouse Style Tray
My Repurposed Life – DIY Tray Using Metal Tiles
My Love 2 Create – DIY Chalkboard Serving Tray
Create And Babble – DIY Wooden Quilt Square Tray
The Kim Six Fix – Easy Hexagonal Tray
Domestically Speaking – DIY Coastal Tray
Join the DD Community!

Join the Designed Decor Community and receive weekly free tips on DIY home projects, painted furniture, decorating, and much more.

gail says
DeDe I love your diy serving tray. The glass in the bottom is so pretty! Pinned!
gail
Maryann says
So pretty! LOVE the handles!
jeanie749 says
Such a pretty tray – I love how you used a glass layer!
Designed Decor says
Thanks, Jeanie!
Wendi @H20 Bungalow says
I love how your tray turned out…especially the handles! Great job as always.
Designed Decor says
Thanks, Wendi! It was a fun month seeing all the styles of trays!
Choice Furniture Superstore says
I really liked your DIY serving tray tutorial. The tray’s final outcome is awesome. Thanks for sharing this post.
Designed Decor says
Thank you so much!
Marie|The Interior Frugalista says
Your tray is so pretty, DeDe with the glass insert and that lovely color. The mitered detail gives it that refined touch. Love the way you staged it too. You rocked this challenge!
Designed Decor says
Thanks, Marie, that means a lot coming from you!
Paula says
I love how you used glass in the bottom of your tray. I can imagine that it especially looks pretty when the light shines on it at the right angle. I am loving the many designs of trays this month!
Designed Decor says
Paula, I think this month was one of my favorites because it was so fun to see how we all made different looking trays.