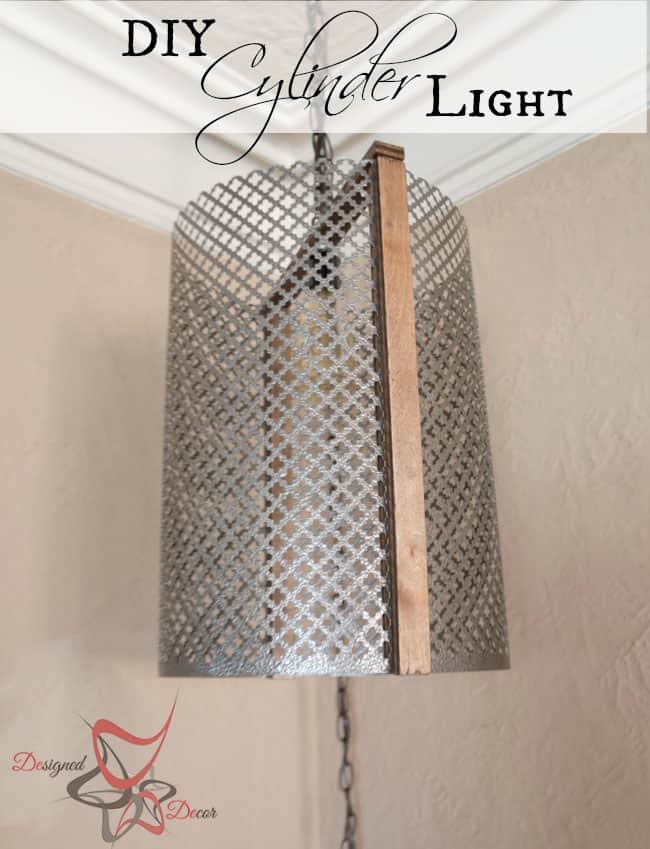
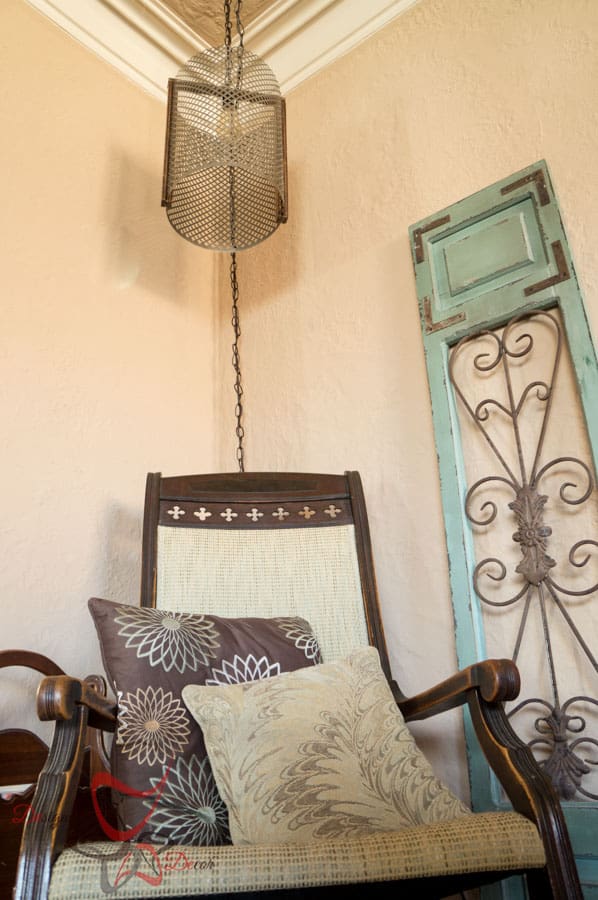
I love how this Metal Cylinder Light turned out! I have a small confession, I originally visioned it for the attic area that I just completed. I ended up making a different light for that area since this one was too large for this space. This post contains some affiliate links. Click here for my full disclosure policy.
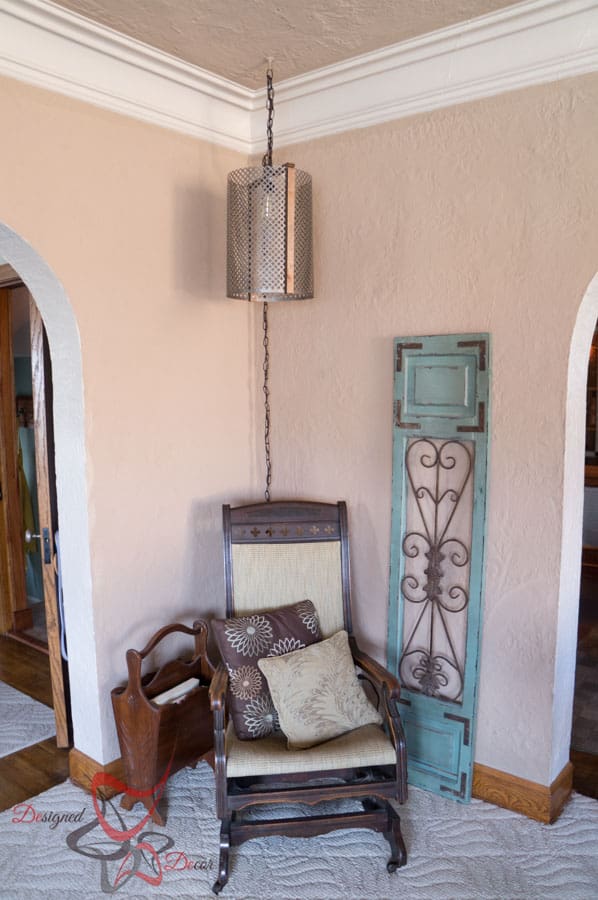
I decided I would use this DIY Cylinder light in my living room for the time being.
One of my many blessings is that when I am done with it, I can sell it in my shop and let someone else enjoy it as much as I do.
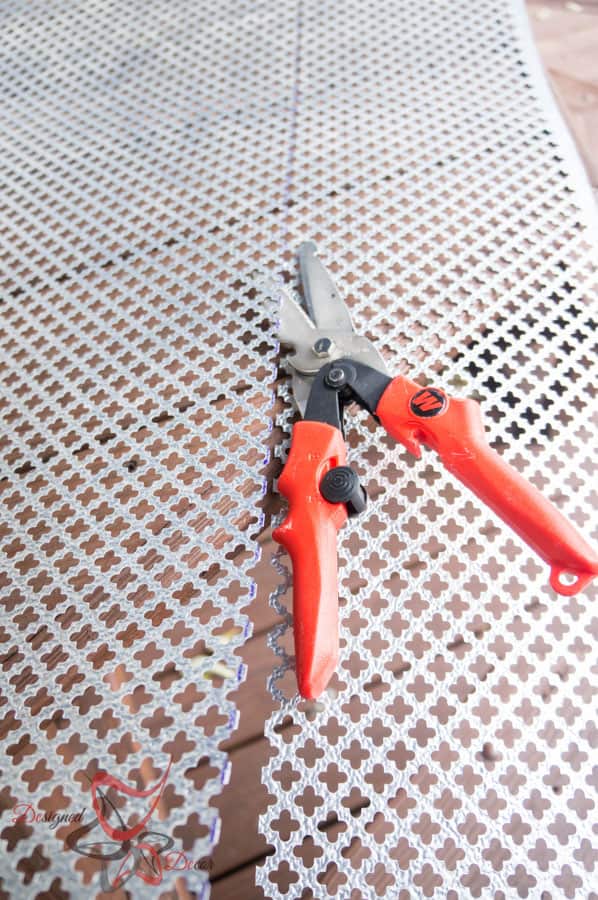
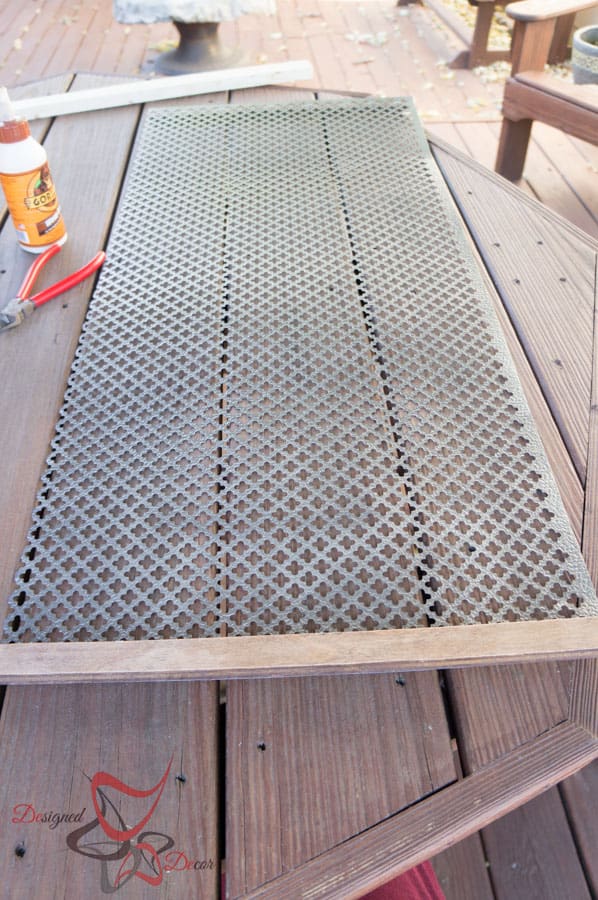
I used a cloverleaf aluminum sheet. The sheet I had is a 24 x 24 sheet so I had to cut mine down so be a 12 x 24. I had this on hand from another project and never used it, otherwise, I would have just purchased the sheet in the size I needed. I also sprayed it withRustoleum Oil Rubbed bronze spray paint.
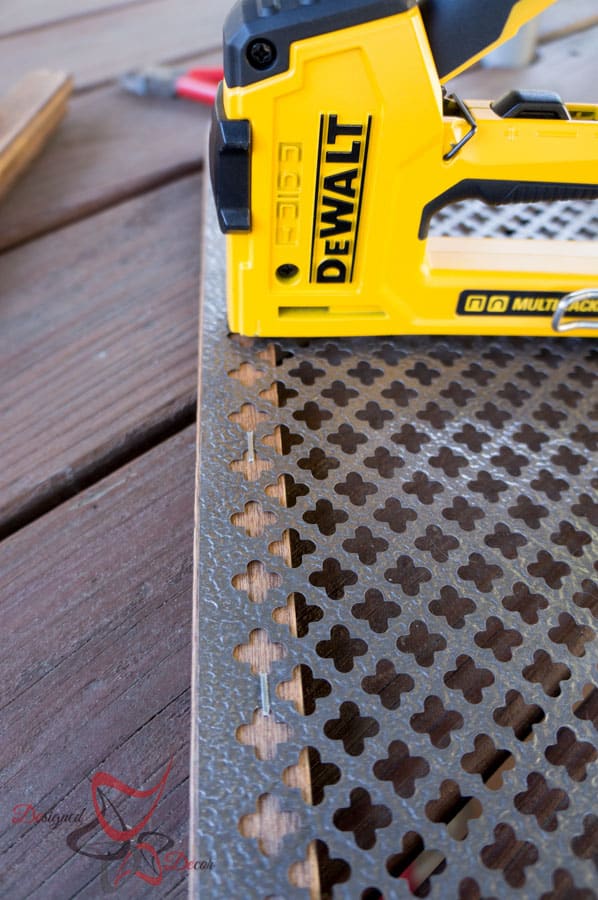
I pre-cut 12 by 1-inch wood stripes and stained using Minwax in dark walnut Staple the aluminum sheet onto the stained wood strip.
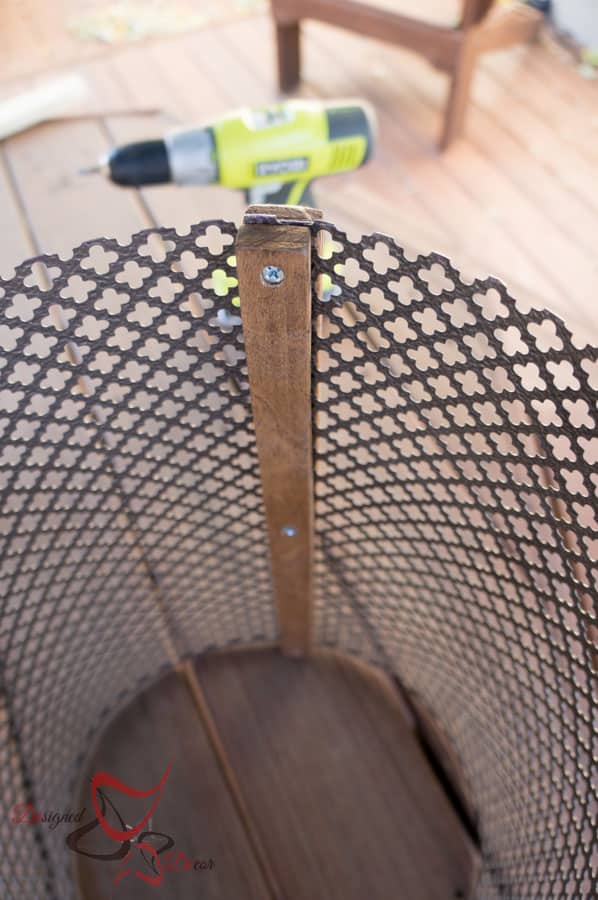
Attach the other wood strip on the other end of the aluminum sheet by on the opposite side of the first one. So the one closest to us would be on the top and you would place the other on the bottom of this sheet on the other end.
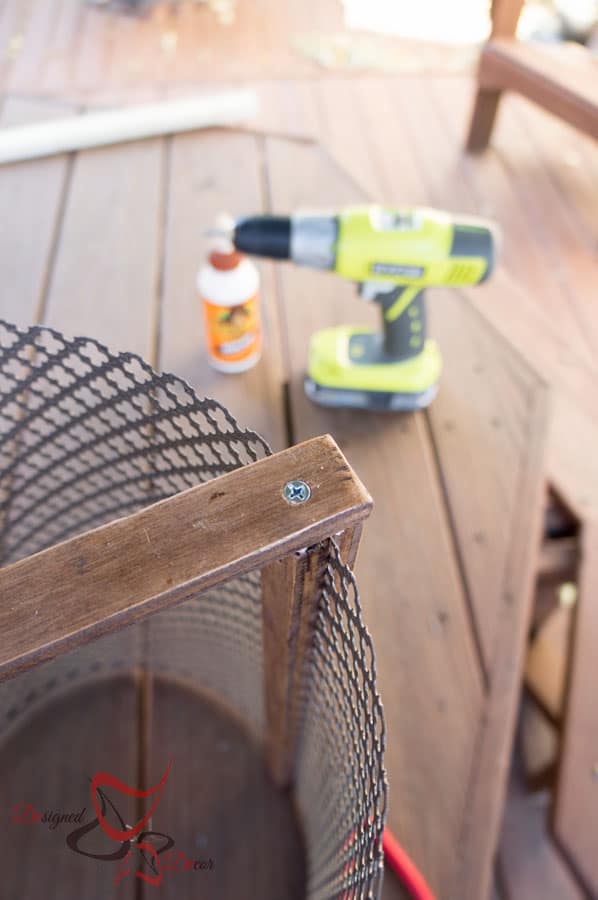
Once you wrap the ends together, secure using screws.
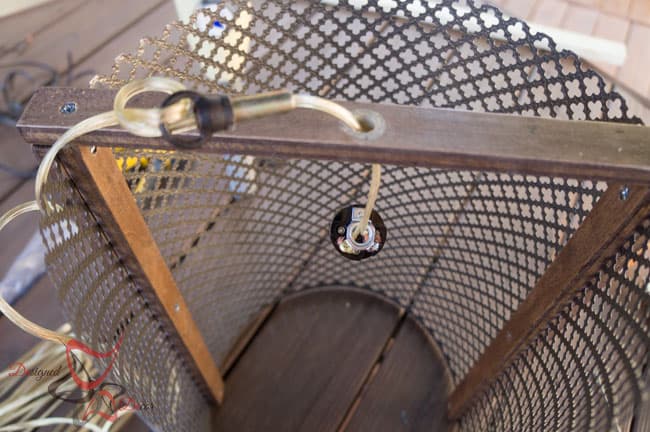
I placed another wood piece on the top and glued and screwed together. I also pre-drilled a hole in the center of the top wood piece to run the light parts through the center.
I feed the brass nipple and the ring finale onto the lamp wire and then ran the wire through the hole and attached it to the light socket. Screw the lamp nipple to the lamp socket through the wood piece.
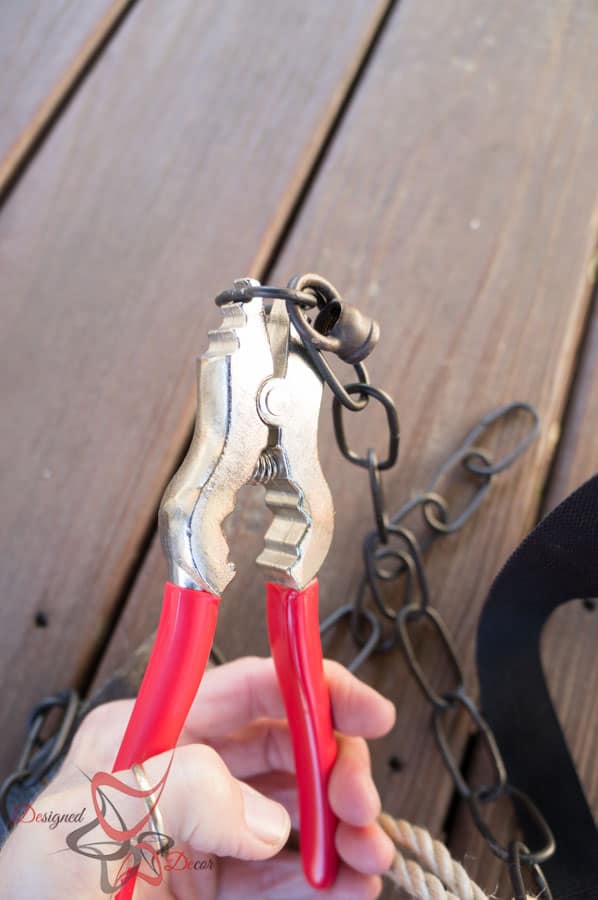
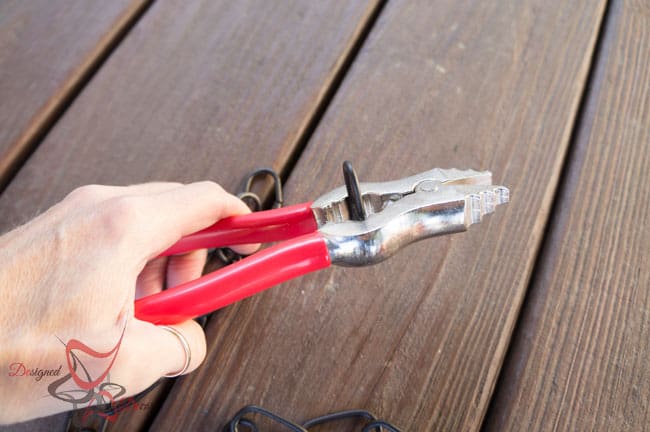
Now let me tell you about the best dang lamp tool EVER! I have struggled to pull apart a chain link and I have watched Mr. DD struggle as well; then to be able to get it back together was near impossible. I had that A-Ha moment (the moment that the angels are singing above you and you want to break out into your best happy dance right there in the hardware store.) in the hardware store when I was buying chain by the foot and the guy picked up this tool and quickly and easily took apart the chain link.
Since I make a lot of hanging lights and use chain link, this fixture Chain Pliers was a “no-brainer” purchase for me. Now I can do the chain link by myself. Happy Dance! If you want to learn how to wire your light, you can read about that in my guest bedroom light post.
What about you, have you ever made your own light fixture?
Join the DD Community!

Join the Designed Decor Community and receive weekly free tips on DIY home projects, painted furniture, decorating, and much more.

Tori says
Gorgeous! I love the look of this light!
Designed Decor says
Thanks Tori!
karen@somewhatquirkydesign says
I’ve made a few. But I’ve never made a hanging one, and thus never came across those pliers. Your lamp looks great!