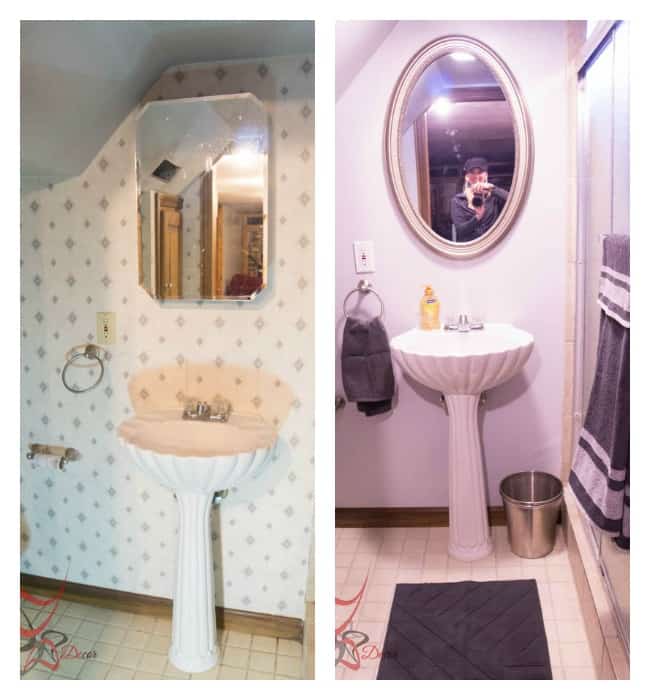
I have a small confession to make, I did this Basement Bathroom makeover almost a year ago and I am just now writing about it! I was waiting to complete one small piece for the bathroom and keep putting it off until I just plain forgot about it. Oh, and I never finished the one small task that I wanted to do.
This makeover was strictly for cosmetics only. So I guess you can say it was a makeover on a budget. A couple of years ago we had to completely replace the shower. It had cracking in the grout and settlement from when the bathroom was added over 15+ years ago. We knew the cracking would lead to water damaged and we finally had to break down and address the issue.
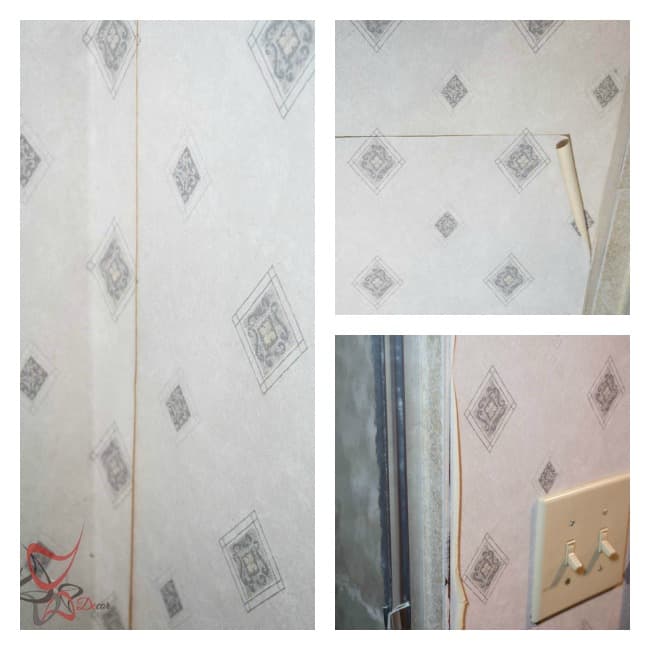
When we replaced the shower we only needed to patch a few areas of wallpaper around the shower doors and we still had that on hand. Yes, Mr DD had wallpaper from 17 years ago. You would be amazed at the things he saves, just incase we need it! Now a couple of years later it was peeling. I did try to save it and seem it back down, but it was past the no return place.
Mr DD told me is was going to be the hardest wallpaper to remove since it was placed right over the drywall. Well, I was determined to remove it, because that is how I roll, stubborn and hard-headed. It was the easiest tear out of wall paper I have ever done. I started to think he just tells me things like that so I wont start a new project.
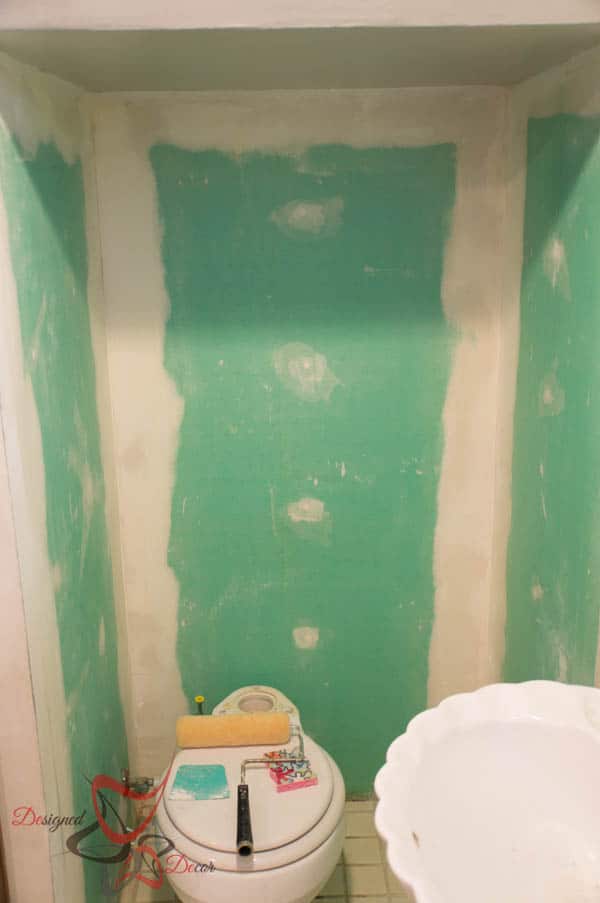
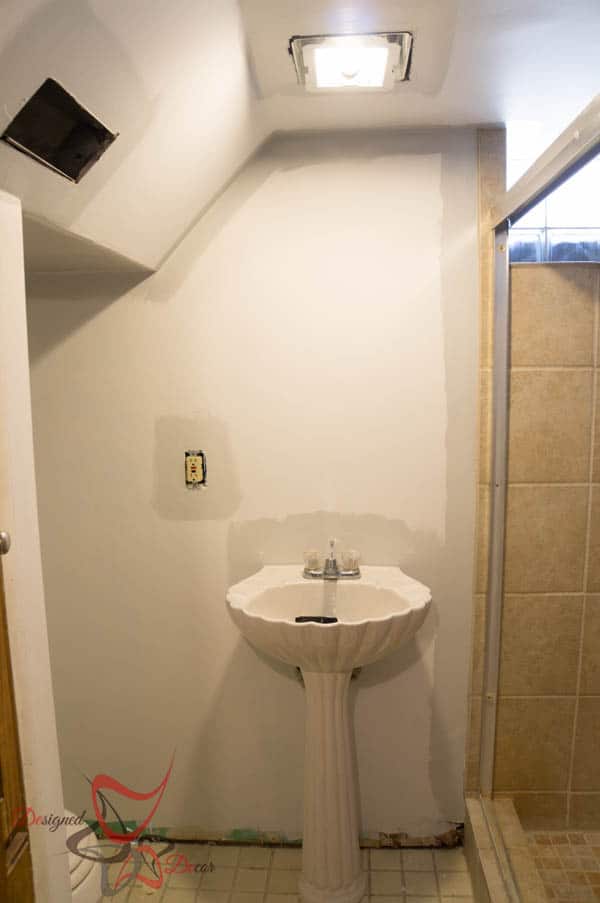
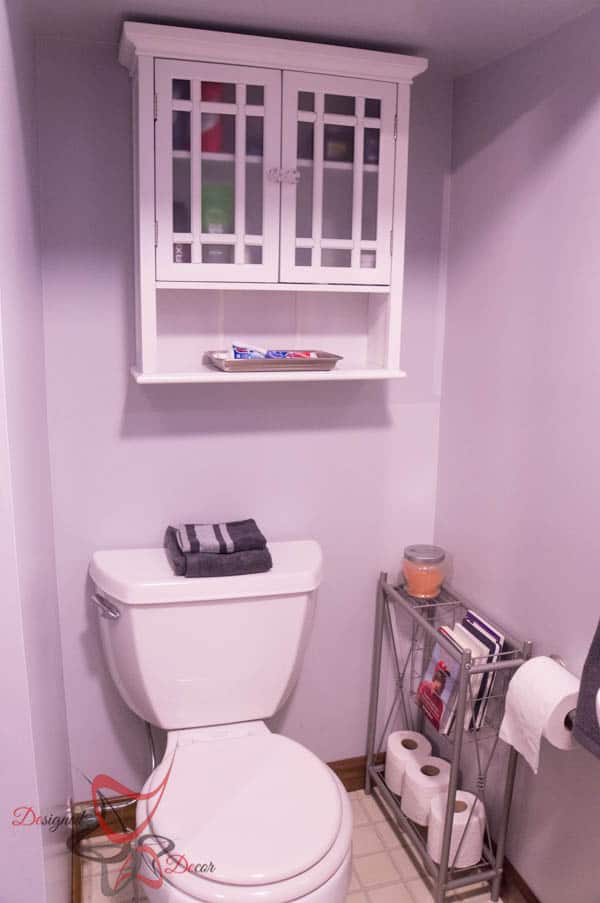
This is a tiny area and that was one of the hardest issues to deal with. It is tucked under the basement steps. Let me tell you it was one of the most disgusting areas too. Let me just say having 4 boys, seventeen years of little boys standing and doing their boy thing took a toll of the wallpaper. See how close the toilet is to the wall? Now you know what I am talking about.
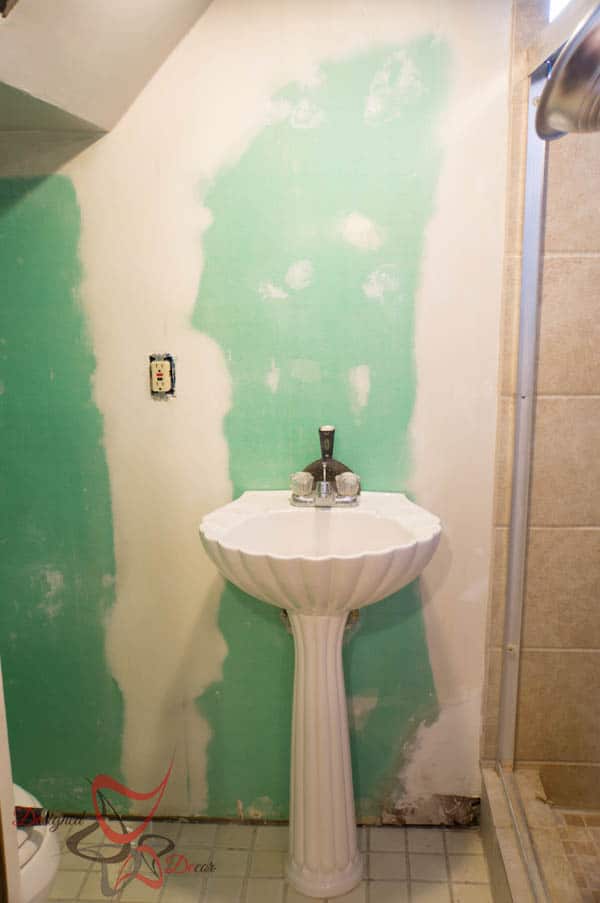
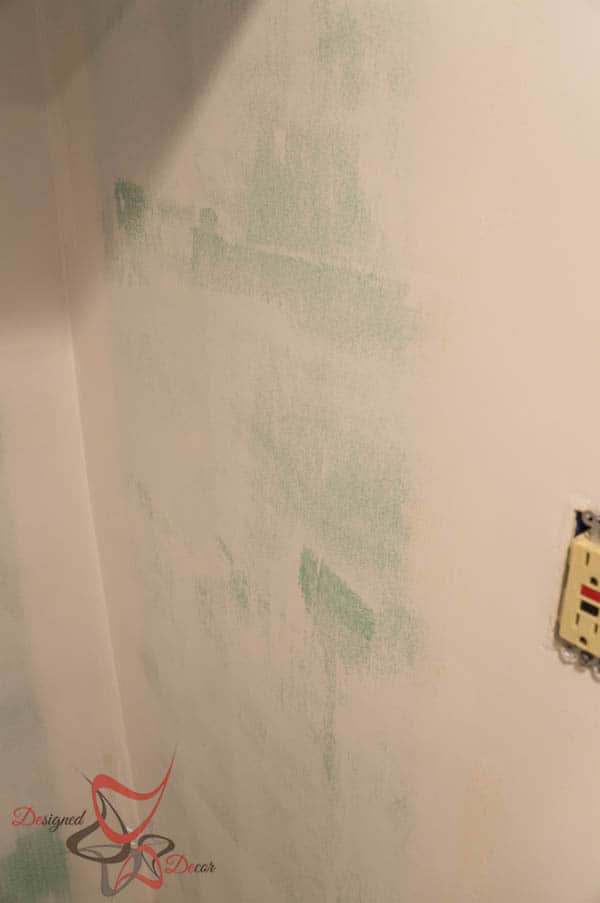
My next biggest challenge was making sure all the glue was off the walls. I was wishing I hand the handy dandy tool that I am currently using to strip wallpaper in the attic stairway. If you follow me on Instagram, you can see what I am talking about. Next was priming the walls. The above picture is what happens when you don’t get all the glue off your walls. I even sanded these walls down and I still had patches of glue. It took a few coats of primer before I was ready to paint.
We had left over paint from the basement walls, so I just used the same color in the bathroom(money saver). I hand trimmed all the areas and then went over with a few coats with a short-handled roller. The painting was the easiest part, since I trim with no tape. Stop over to read my post on how to do that.
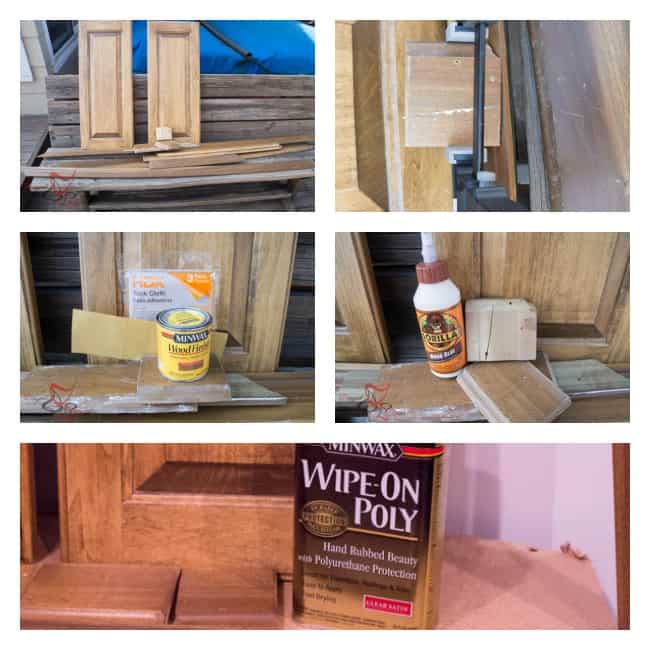
This bathroom is a sauna when the boys shower, so I wanted to give the wood trim a good treatment so it will hold up to the daily steam. Since all the wood trim was already removed that made my job easier. I slightly sand down the trim, re-stain it and sealed it with a few coats of Wipe-On Poly.
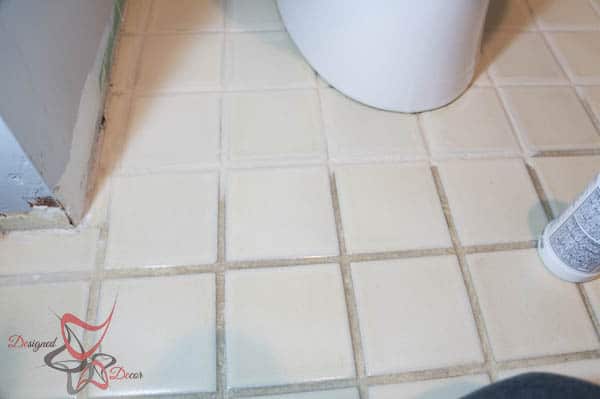
I will share with you on Friday how I was able to get those clean grout lines! This product is the best!
I added the cabinet over the toilet to give the boys some storage for their personal products. We do have storage but that is mostly holding towels, toilet paper, cleaning supplies etc. Now let me tell you the one small piece that I wanted to complete for this bathroom. I wanted to make a sign to sit of the back of the toilet that read “All men must sit and pee, or you clean the pee.” It is still on my list of things to do! I know I need to get it done before the youngest has his graduation party!
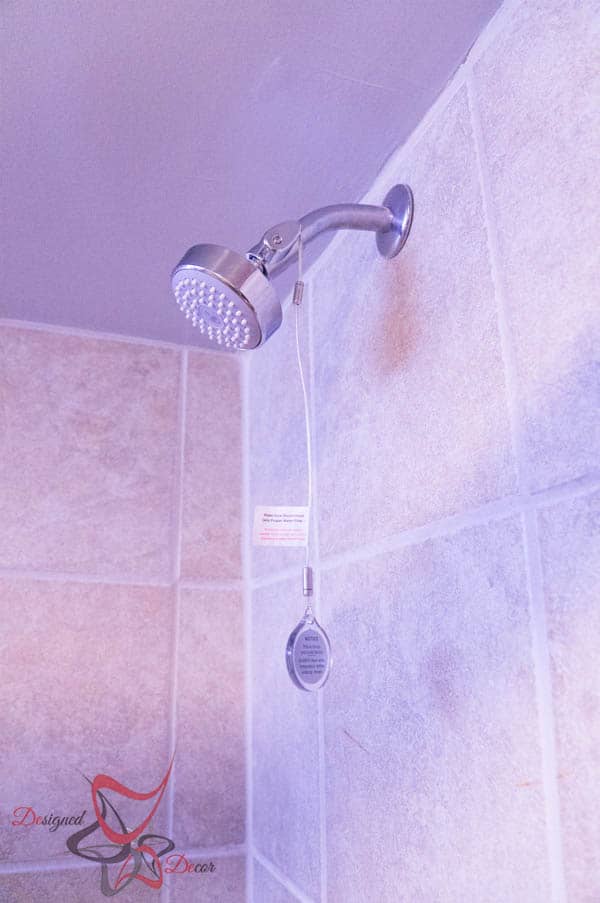
Oh, I need to tell you about this money saver! My boys have a very bad habit of turning on the water to let it warm up. Well, we all know what a huge waste of water and money that is. I found this awesome shower head to help with this issue. You turn on the water and it runs until the water is hot and it turns it self down to a slow drip. Once the boy is ready, he pulls the cord and warm water is flowing out of the shower. This is a must have for any water waster in your home. It is called an Evolve Showerheads (affiliate link). This has been one of the best money savers we have found.
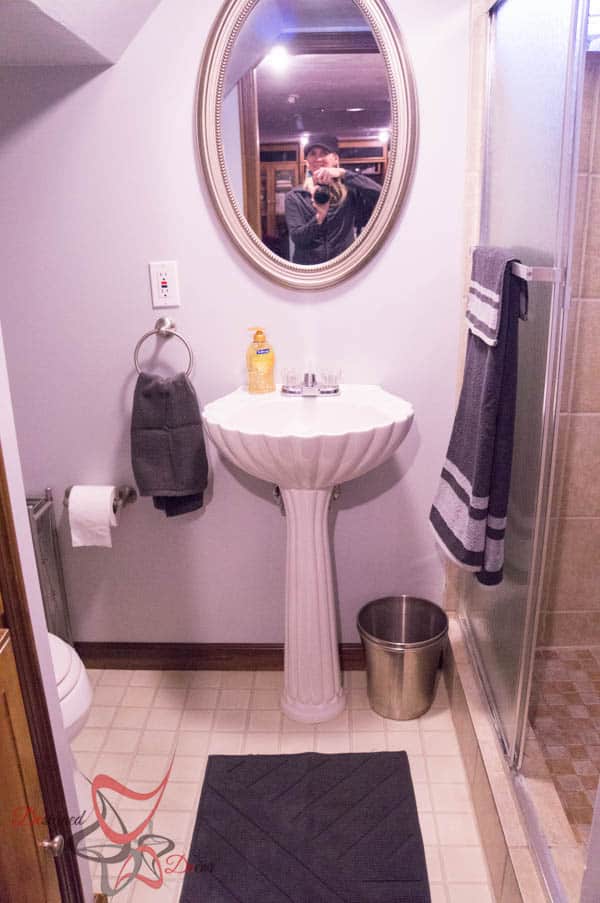
So the only money spent of this bathroom was for primer, cabinet, shower head, grout cleaner, mirror, towels and a bath mat.
Join the DD Community!

Join the Designed Decor Community and receive weekly free tips on DIY home projects, painted furniture, decorating, and much more.

Tina Marie says
Amazing! I love how the bathroom looks much bigger!
Stephanie R says
Such a gorgeous makeover! I love that mirror that you chose!