I am sharing the simple ways to update an outdated bathroom. This is a bittersweet post for me as I am typing up the very last home update that I will be competing for my 1927 Tudor home. We are moving as this is posted.
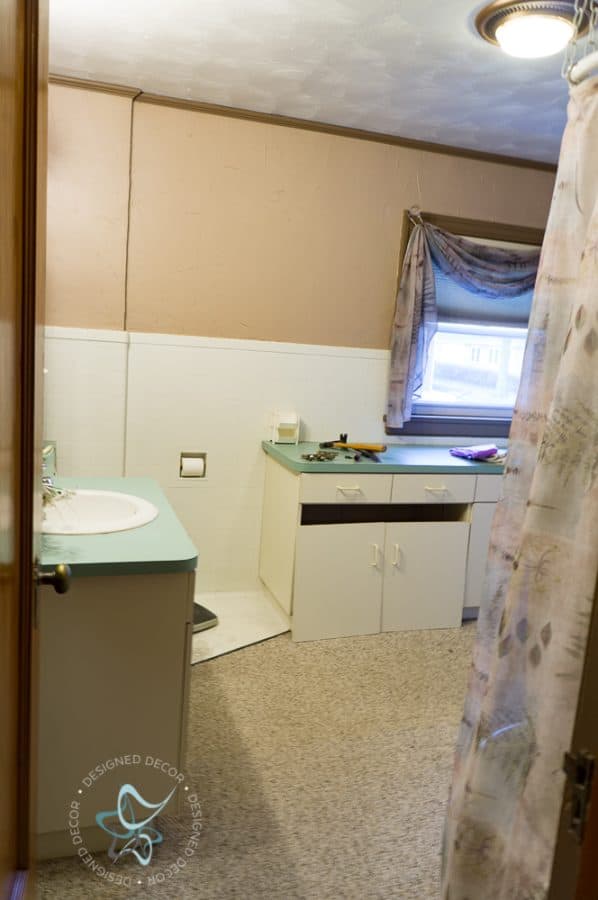
My home is full of charm EXCEPT this bathroom was majorly lacking in EVERYTHING!
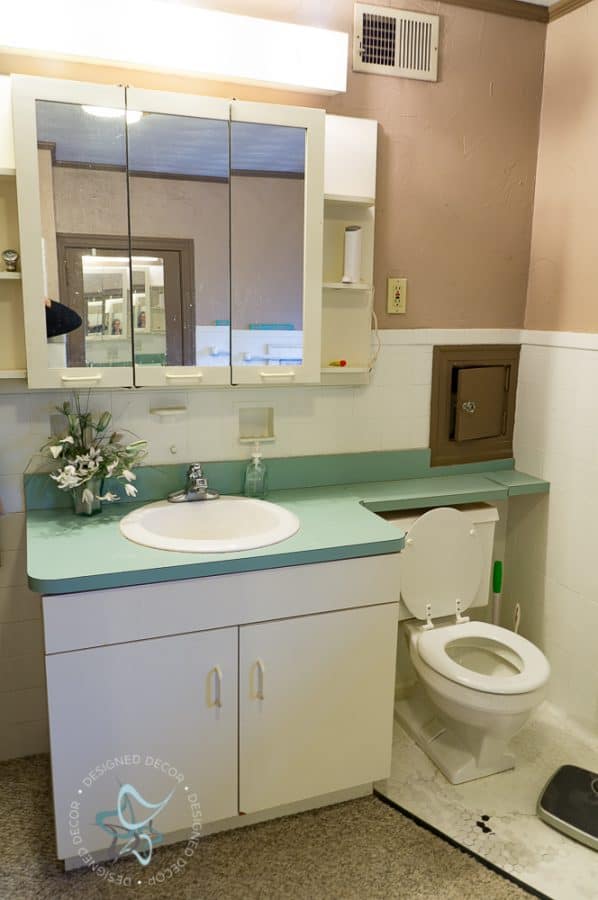
The previous owner decided that pressed cabinets would be what was needed to update the space. They also had pressed cabinets just like this in the kitchen, which we gladly tore out years ago.
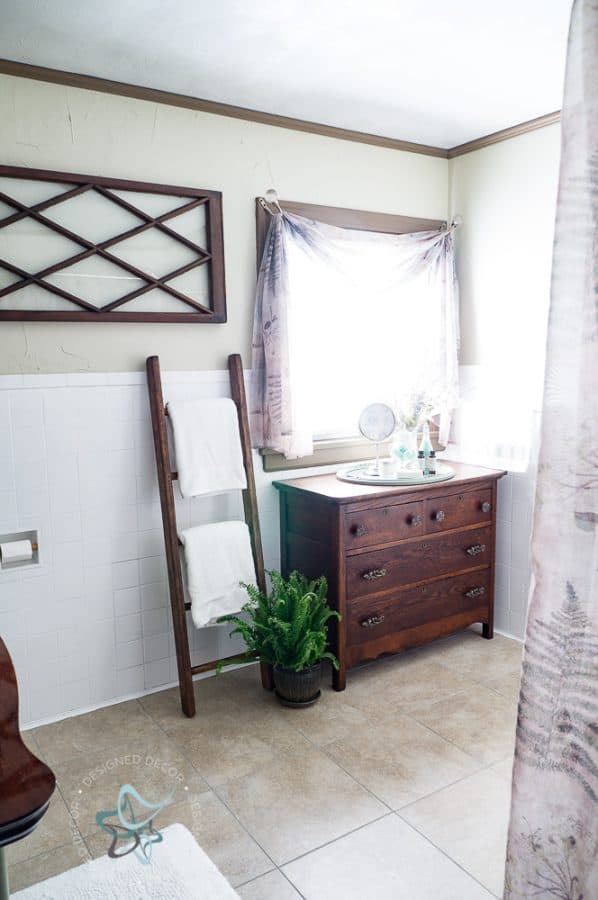
Now I am thrilled with how you can see the charm in my bathroom now!
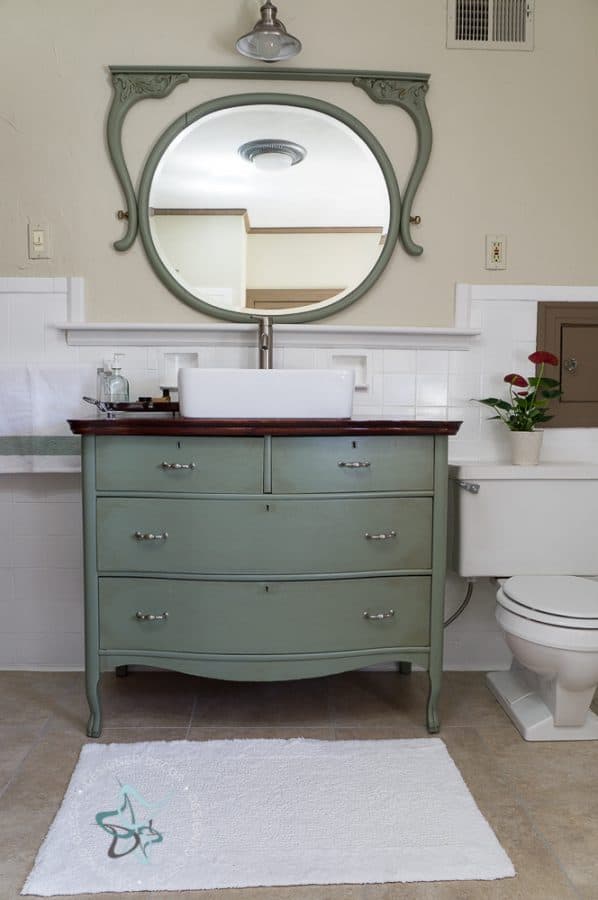
Of course, we ask ourselves, why did we not do this sooner so we could enjoy this updated bathroom. Now, I can only hope the new owners love it too!
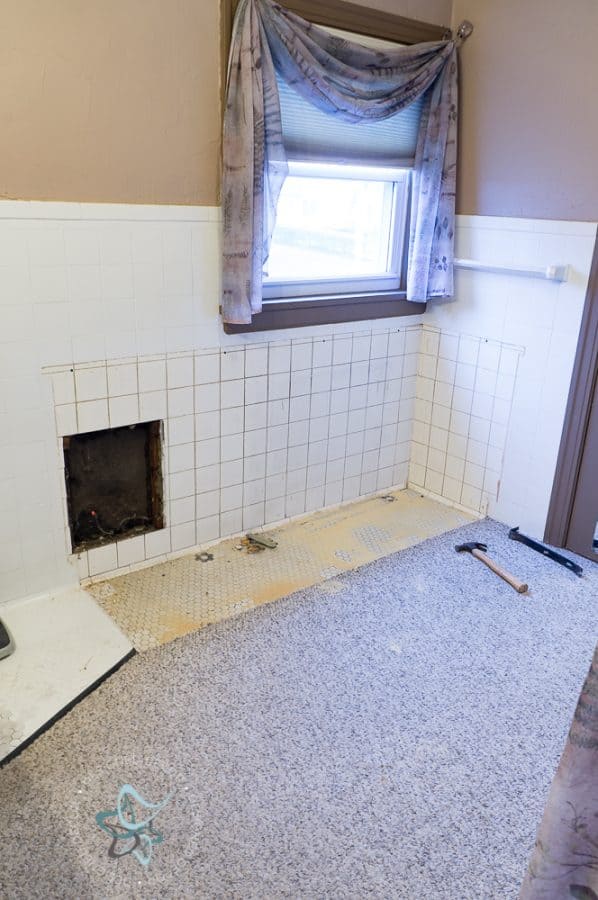
After tearing out the base cabinet below the window we found there was an electric heater on the wall. I did not want another large cabinet in its place so we needed to patch the hole. Mr. DD placed a piece of plywood in the opening and we used a product called simple mat to adhere the tile too. This simple mat is an easy way to tile a wall without having to use the standard way of tiling with tile adhesive. I highly recommend using this product. You are able to grout right away after setting the tiles in place.
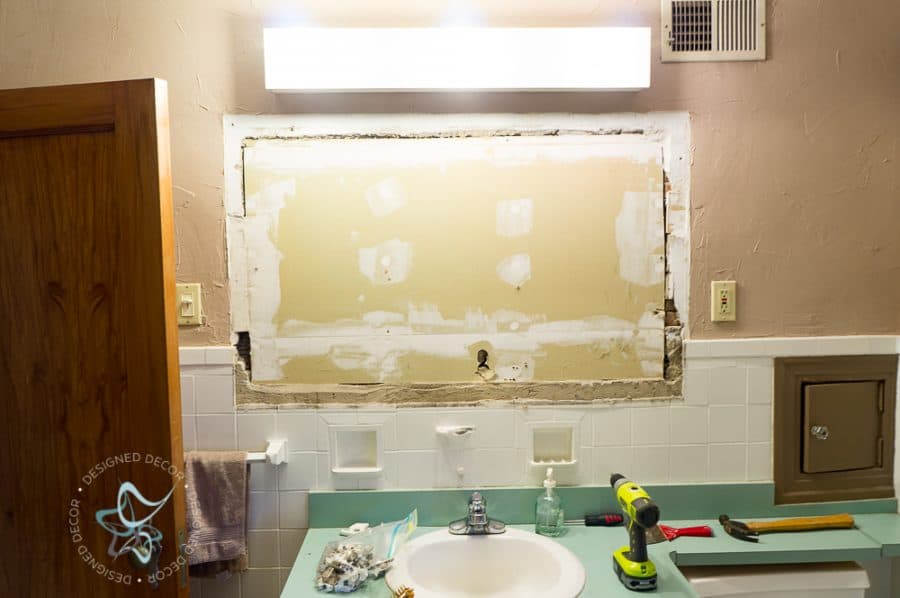
This is what we were left with once we removed the custom medicine cabinet/mirror they installed.
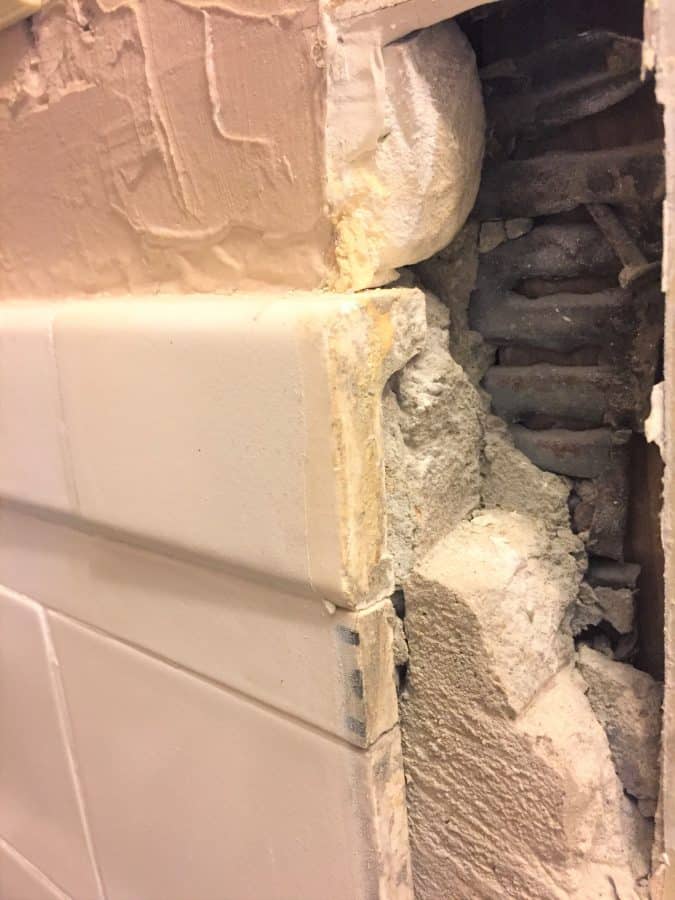
We originally were going to try to find old matching tiles and have the tile edge go across, but we discovered the mirror would have to go over the tile and it stuck out too far. The tile used in 1927 is much thicker than the newer tile. Look at how much cement is behind that tile and all of the lathe and plaster in these walls. They certainly don’t build like this anymore. And a warning to the new homeowners should you ever want to gut this space.
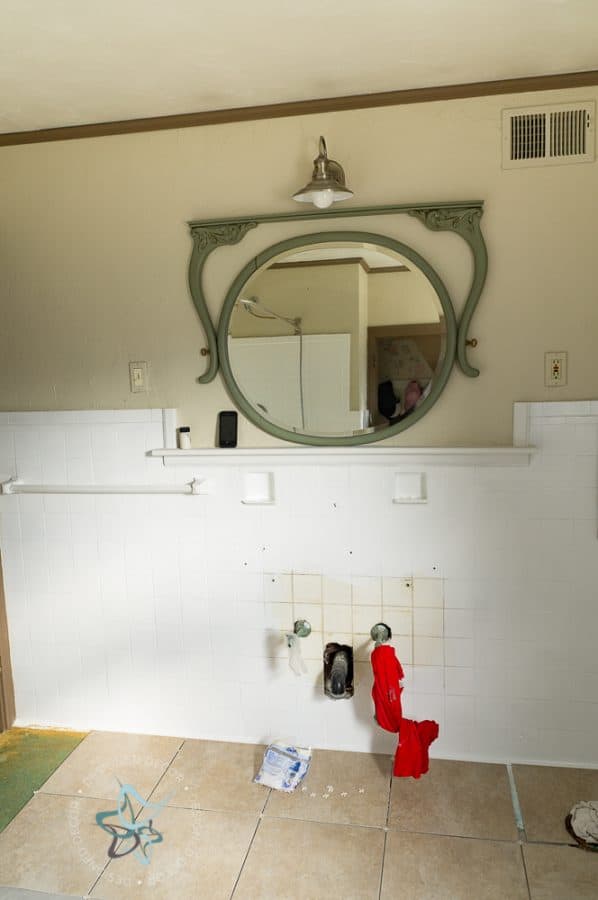
Mr. DD decided he would build his own ledge to blend in with the tile. He also plastered the wall to blend in with the original plaster walls.
I did not do a good job of photographing each step because we were fixing the bathroom so we could list the house. I painted the walls a much lighter shade and kept the trim color the same.
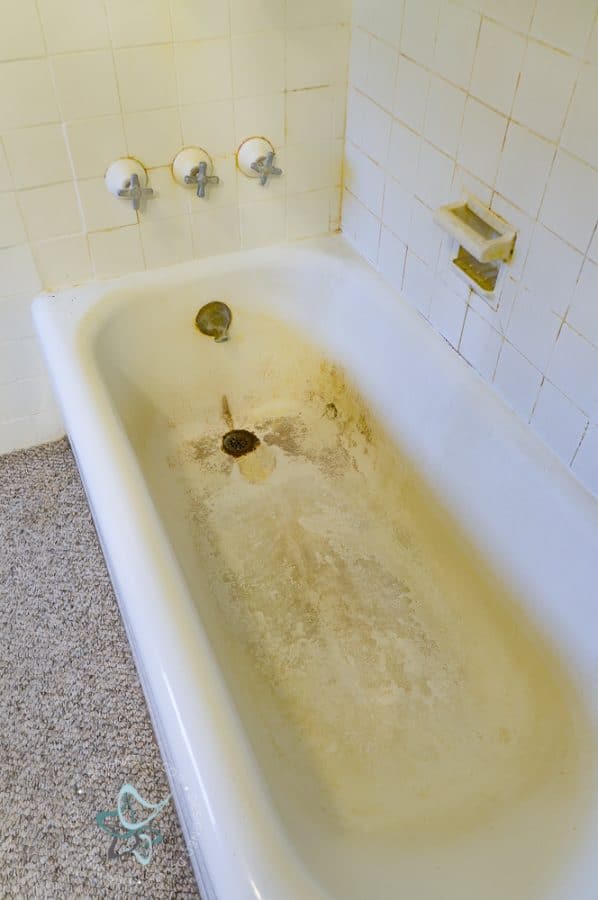
DON’T JUDGE ME! I know how bad this looks and this is clean! This is what years of hard water does to your tub. We had the tile walls and bathtub painted by a professional 15+ years ago. It held up great for the first 10 years and then it began to wear off.
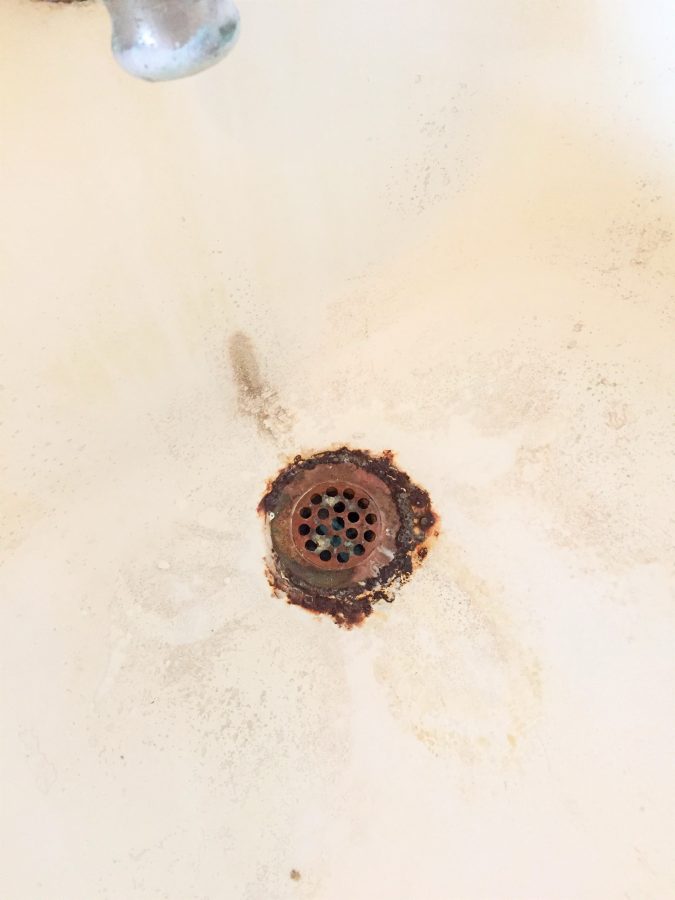
These old cast iron tubs had metal rings around the drain and this is what happens after 90 years of use. This is the original cast iron tub. I used a product called Workshop Hero Metal Rescue Rust Remover Gel. It did a great job of removing the rust and it is an environmentally safe product. I can’t wait to use it on other rusted projects I have in my workshop.
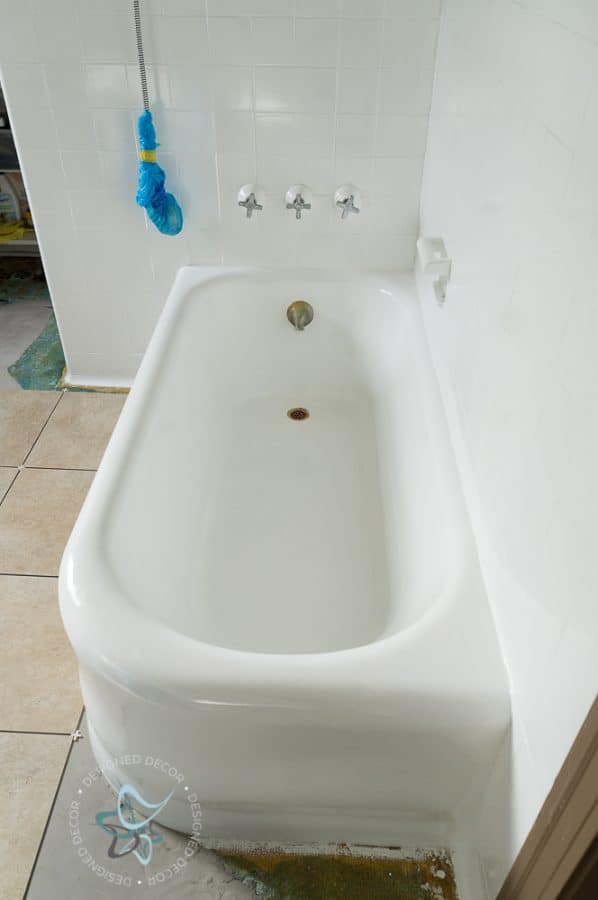
Look how good she looks now!
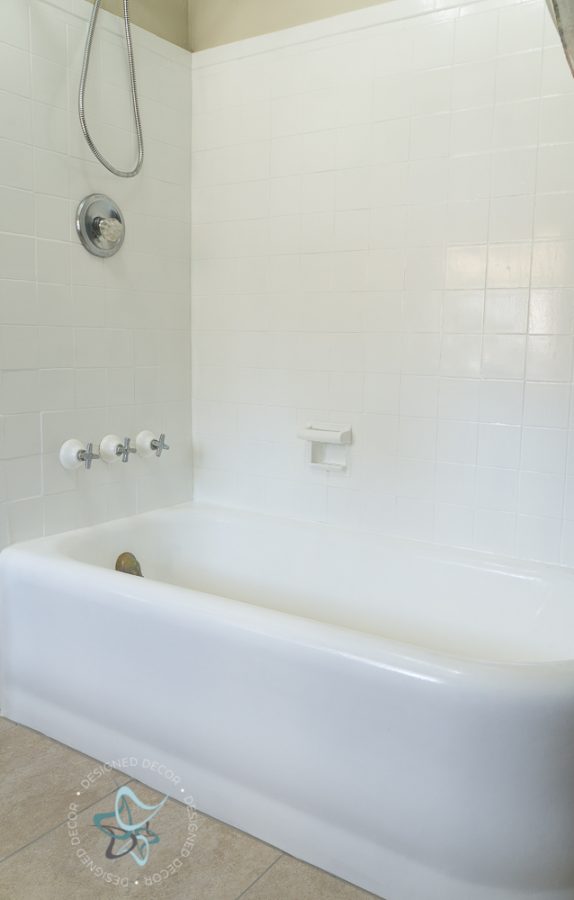
We painted the tub and tile using Rust-Oleum Tub and Tile Refinishing Kit. (This one is discontinued, but I found a similar replacement)
I heard great reviews about this product so we decided to give it a try. I am hopeful that the new homeowners will get a few years’ uses out of the tub before they have to replace it or cover it again. We used 2 kits for the entire bathroom.
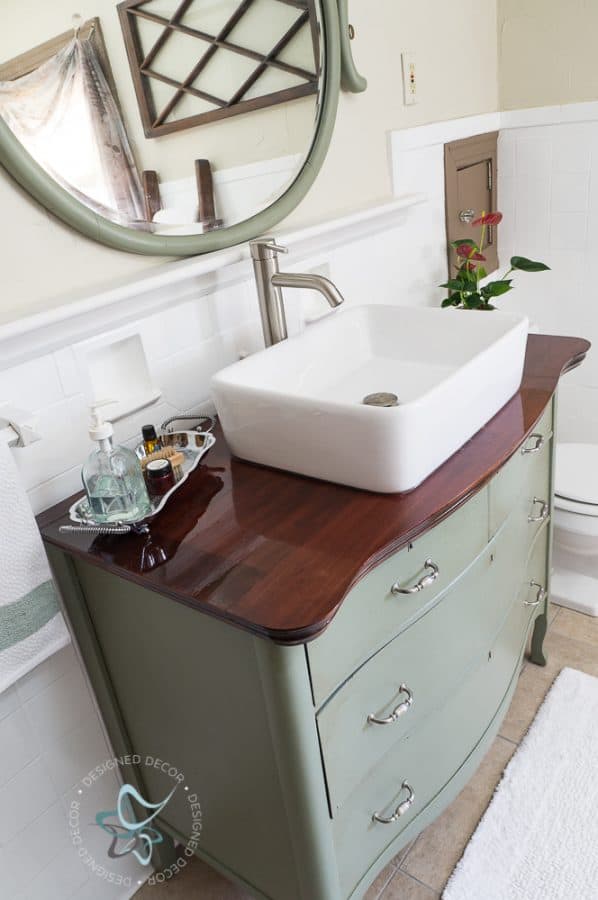
My favorite part of the updated bathroom is my vanity.
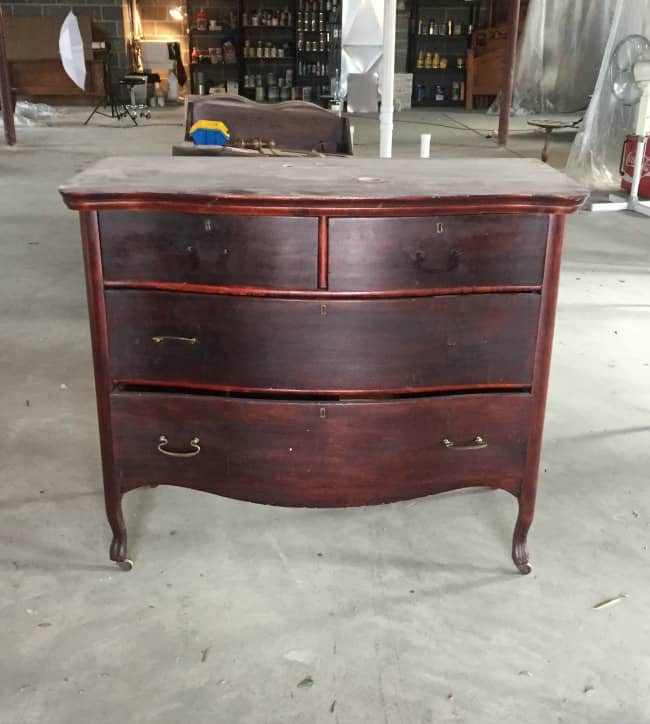
I found this in my neighbor’s trash. They were using it as a vanity as well. We had to reconfigure the drawers to accommodate our sink and plumbing.
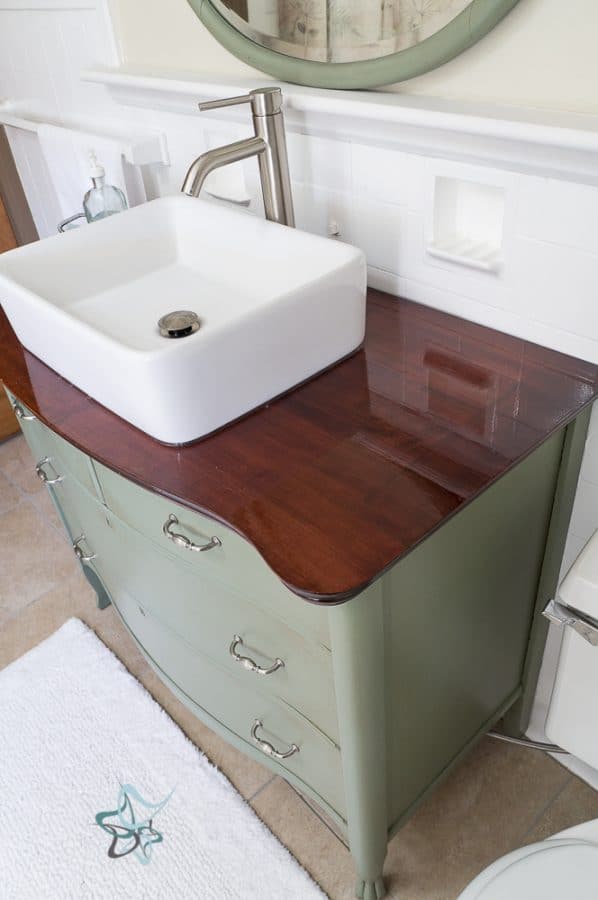
I restained the top and sealed using Rust-Oleum Spar Varnish. I followed the directions using the spar varnish and my advice is to let each coat dry overnight before applying the next coat. I used 3 coats. The sink and faucet were purchased from Home Depot.
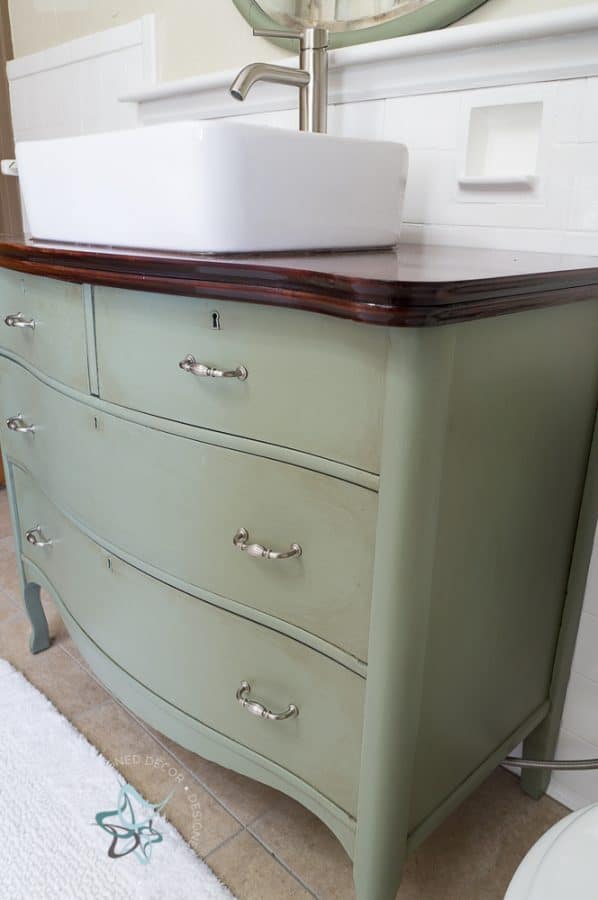
I used General Finishes Milk Paint in Basil and sealed it with a brown wax. I love how much character this vanity gives the bathroom. So much better than the pressed cabinet crap that was here before.
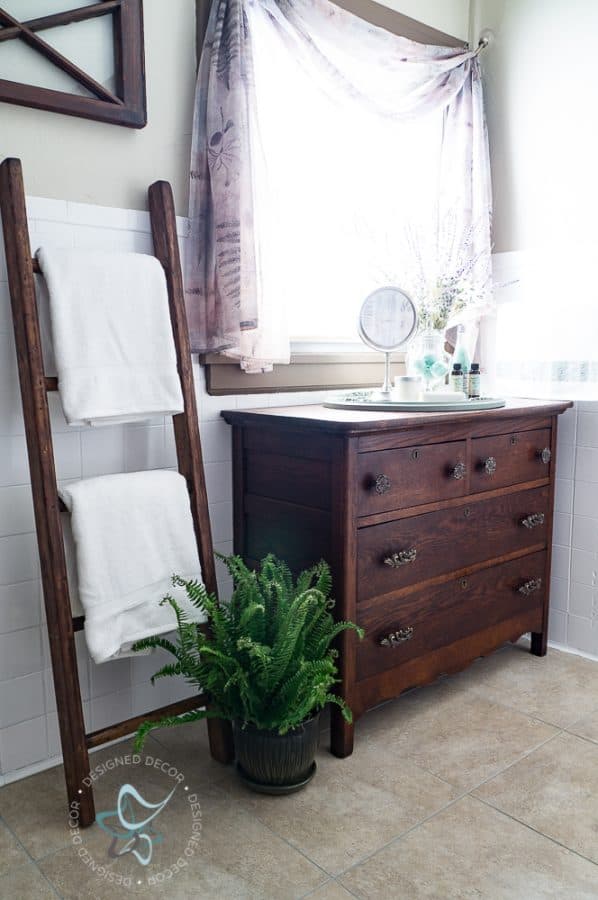
This antique dresser was my M-I-L’s and I used Howards Restore a finish in walnut. It was in desperate need of some moisture. It shows many years of use and I love it just the way it is!
I am going to miss this house and my main prayer was that the new homeowners will love it as much as we did and that they will take good care of it! Ben and Andrea, you have found the perfect home and I know you will have many many memories in this place as we do!
Supply List: Makeover under $1000
Tub & Tile Refinishing Kit (2) $51.94
Shower Rod & Support Bar $43.99 & $23.80
Vanity & Mirror – Free
Vanity Paint– Already had from Media Center
Vanity Light $39.98
Antique Dresser – Free
Ladder – $20
Flooring – $500
Rug $34.99
Plumbing – $42.12

Join the DD Community!

Join the Designed Decor Community and receive weekly free tips on DIY home projects, painted furniture, decorating, and much more.
Cheryl Kohan says
I know what you mean about those older tiles…they’re practically indestructable! My daughter had them in her last house and thought she’d replace them…they were a peachy color. Well….you can’t just pop those buggers off the wall. They are so thick! She ended up keeping them and used them as her inspiration. Turned out great!
Designed Decor says
Yes, that is exactly why they still are in homes. Nobody wants the labor or tearing all that cement out!
Allen Michael says
I love what you did to your bathtub and vanity! The vanity is my favorite as well. Thank you for your ideas and for linking these products! Definitely going to bookmark this article for the next time I might need them.
Fran says
Love all of your updates! Very talented, indeed – thanks for sharing!
Designed Decor says
Thanks so much, Fran!